1967 2000TC - HOT

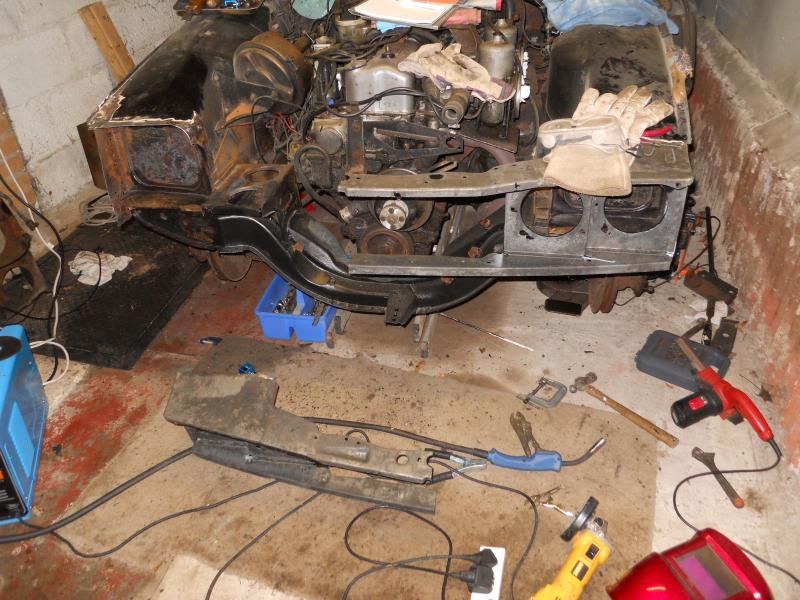
Following on from my last update where I trial fitted the new front panel it was time to take some brave pills and brake out the angle grinder to trim the overlap off.

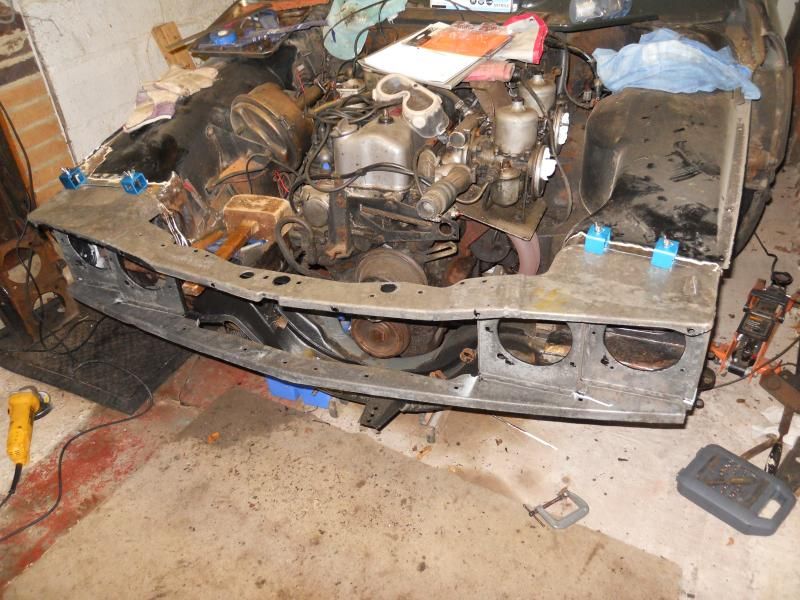
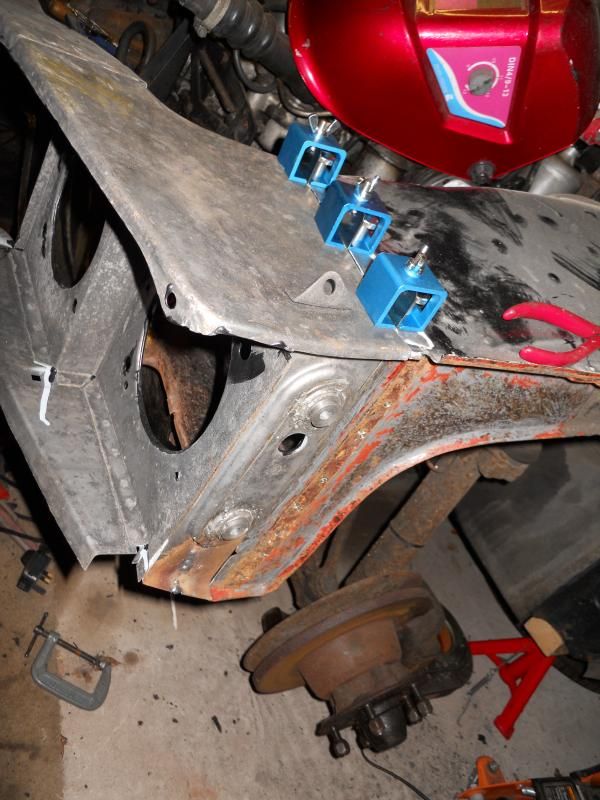
Here it is now held in place with more new tools, some butt welding clamps.


It lined up quite nicely on the passenger side.


But not brilliantly on the driver side. It seems that HOT is just about 4mm wider than Rebekah who donated her front panel.


So, drastic action was called for and the cutting discs came out again.


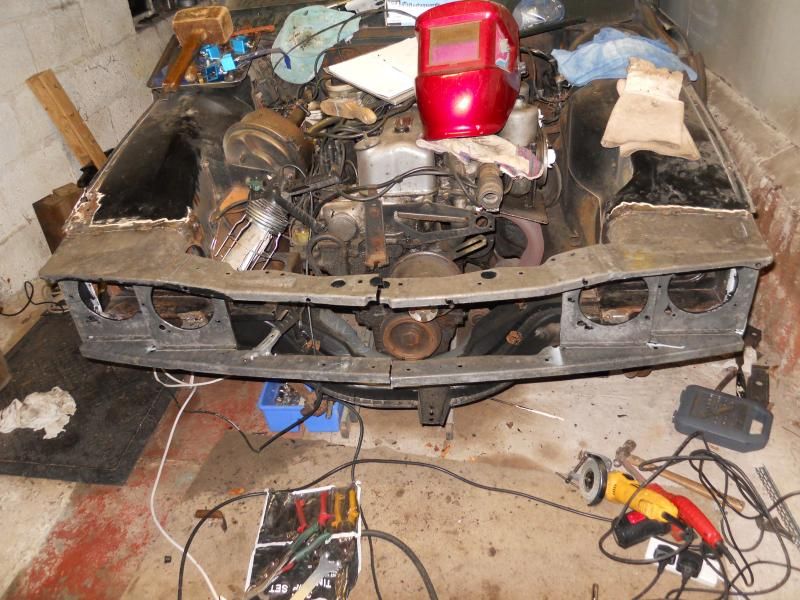
Both sides now tacked in place. I figured it would be best if the both sides lined up nicely when the bonnet was open and the joins in the middle would be hidden by the bonnet catch so it wouldn't be obvious.


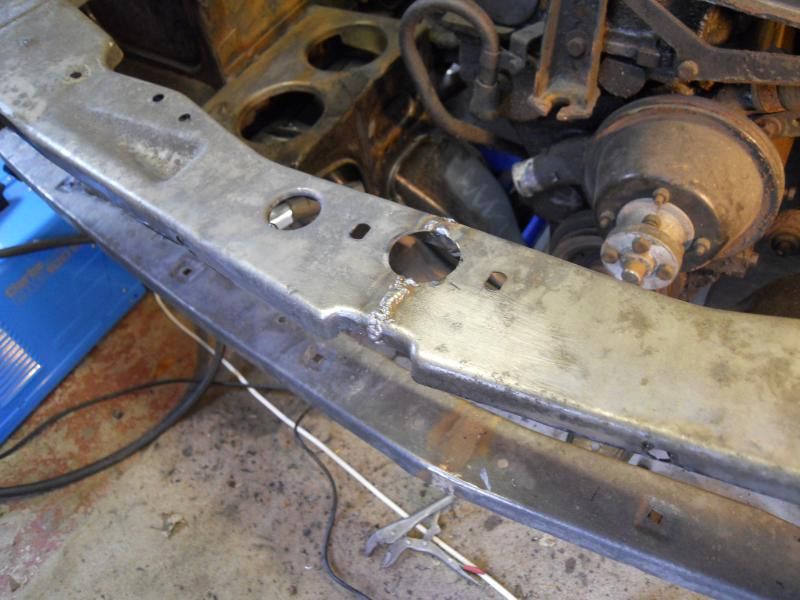
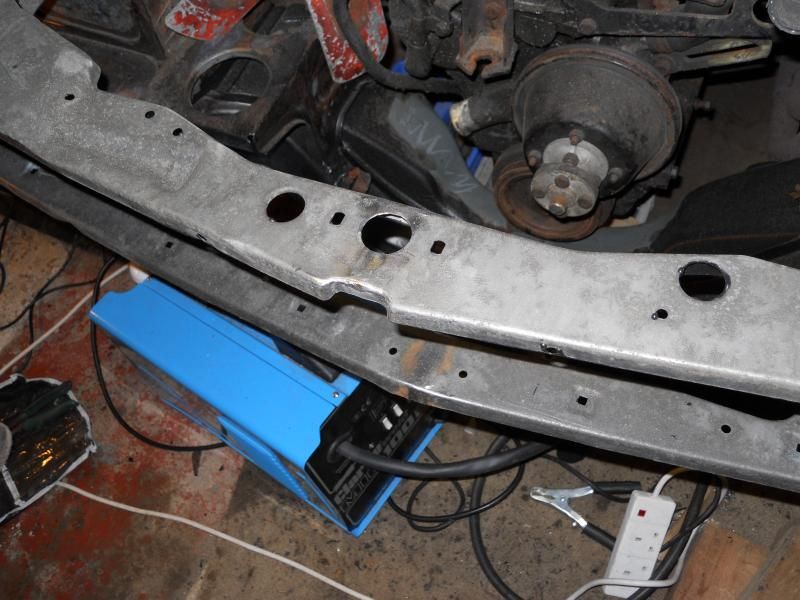
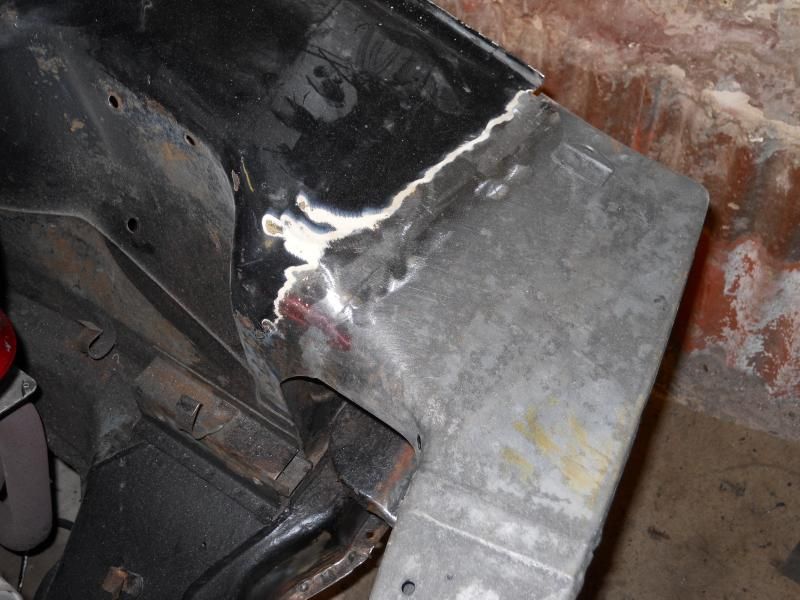
Fully welded up.


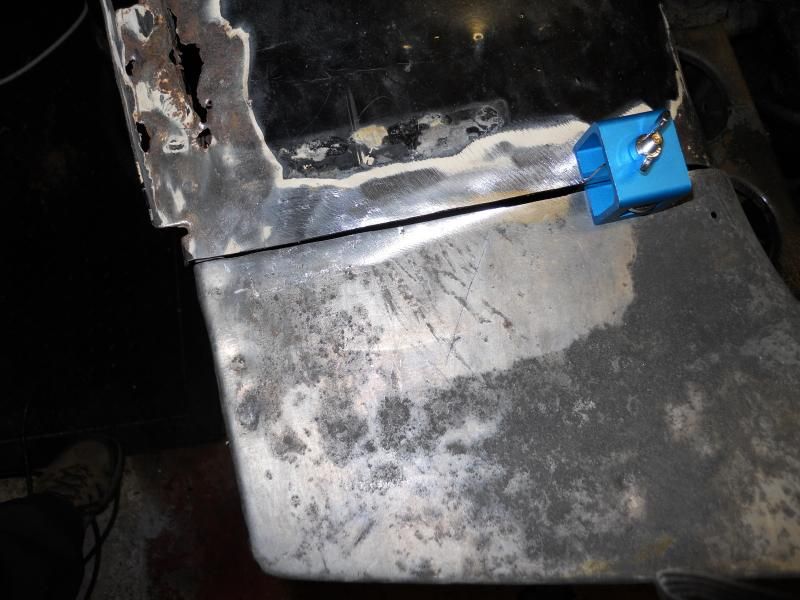
There's a little bit of distortion on the driver side, but that was most out of shape to start with.

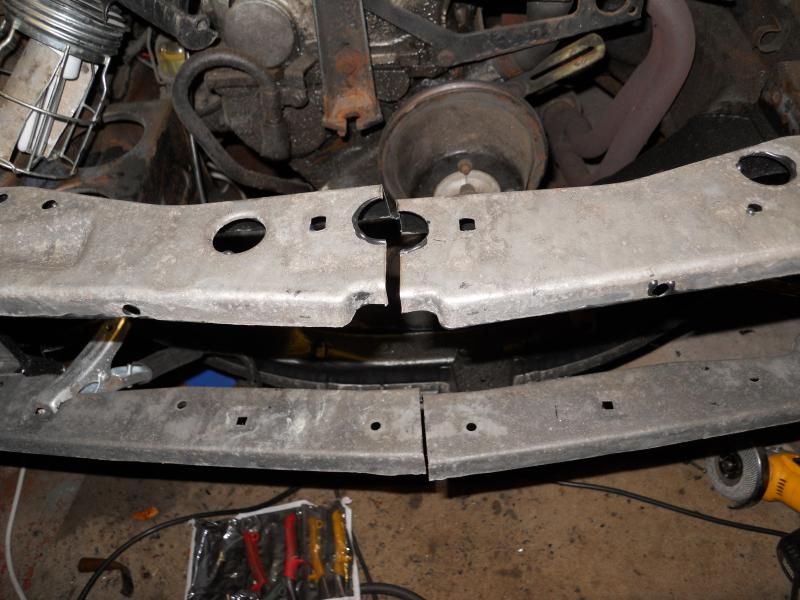
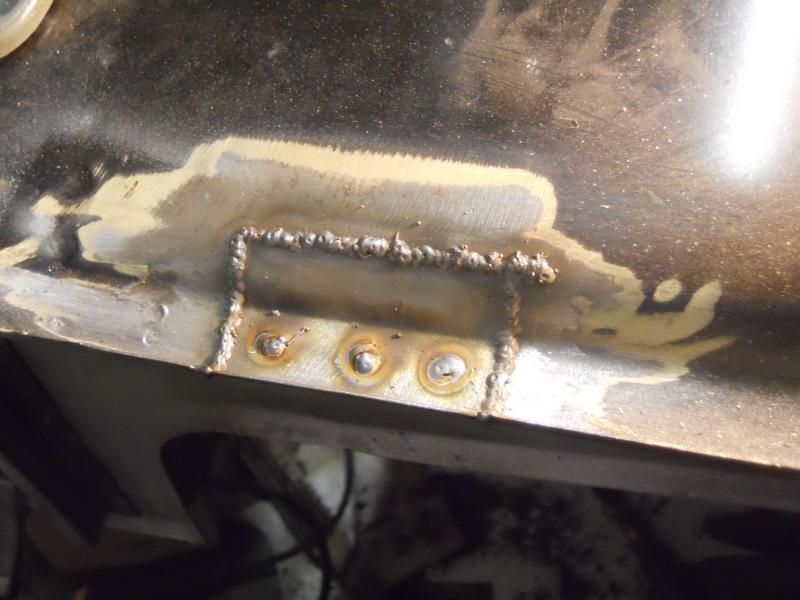
Instead of making a thin sliver of a patch I joined the centre sections back together by clamping a piece of copper pipe underneath and dragging the weld pool across the gap.


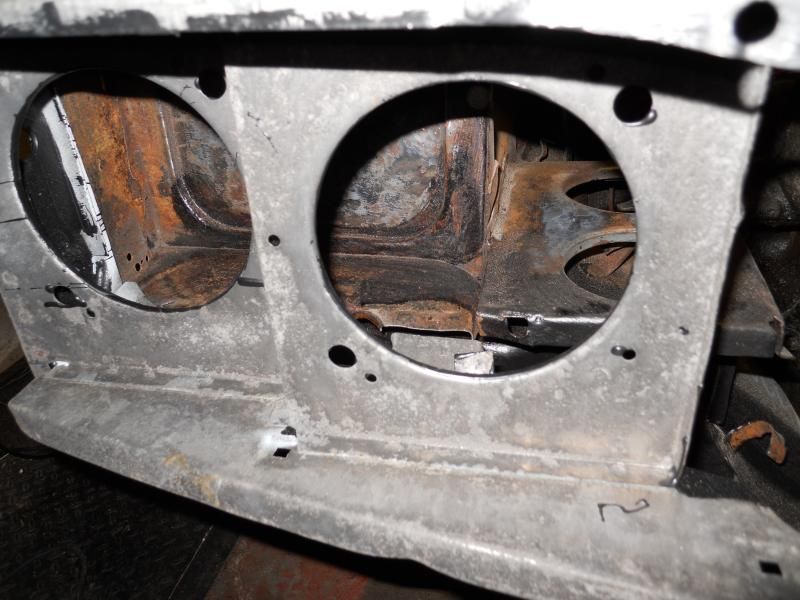
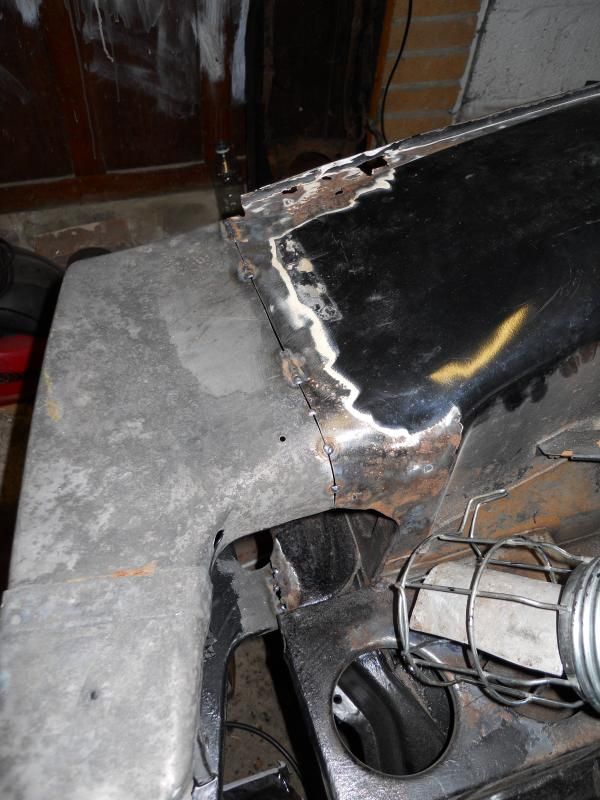
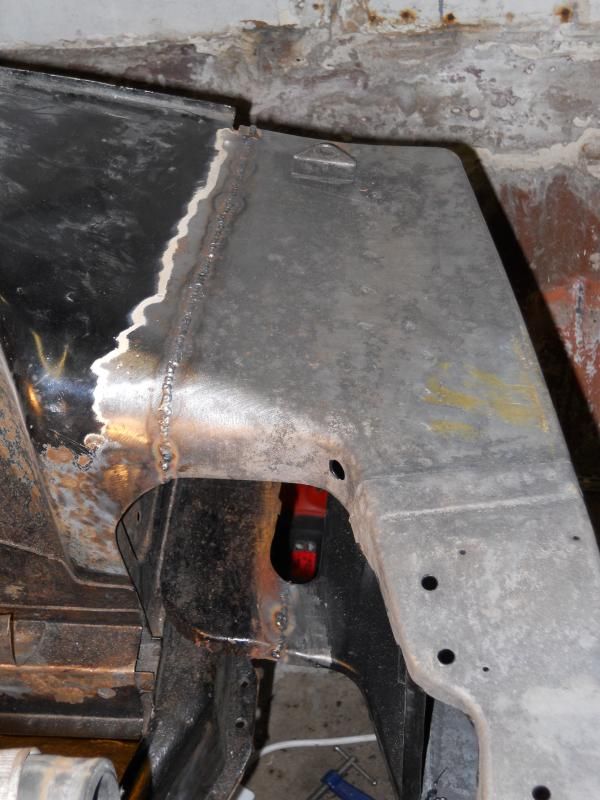
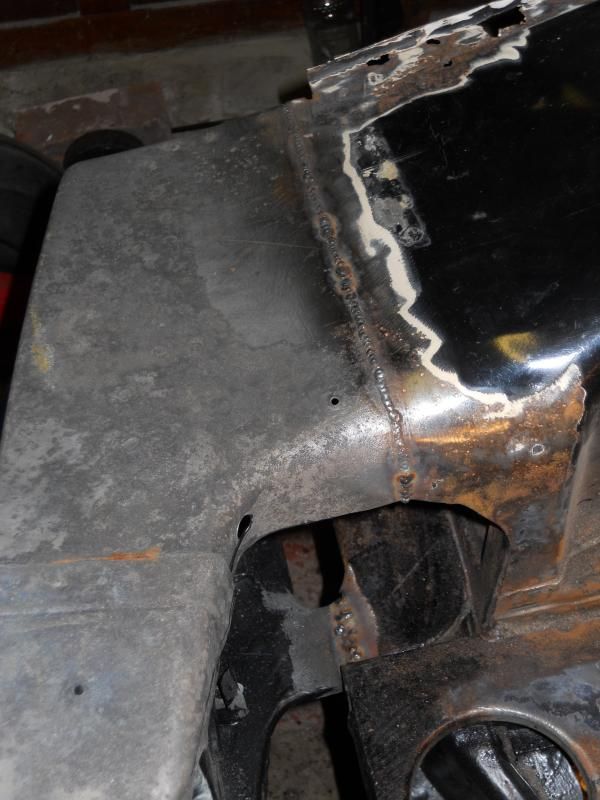
Passenger side fully welded up, still to be smoothed off.


Top section welds smoothed off. I don't think I'll need any filler on this side.


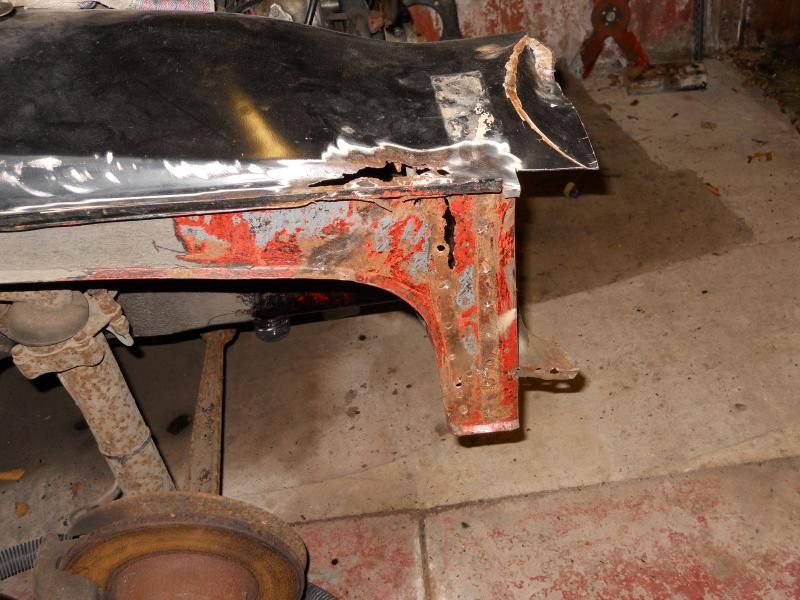
You might remember this bit of rust on the drivers side from earlier in the thread.


Well, I wanted to get the front panel inplace and lined up before cutting it out. So with that done it soon became another big hole.


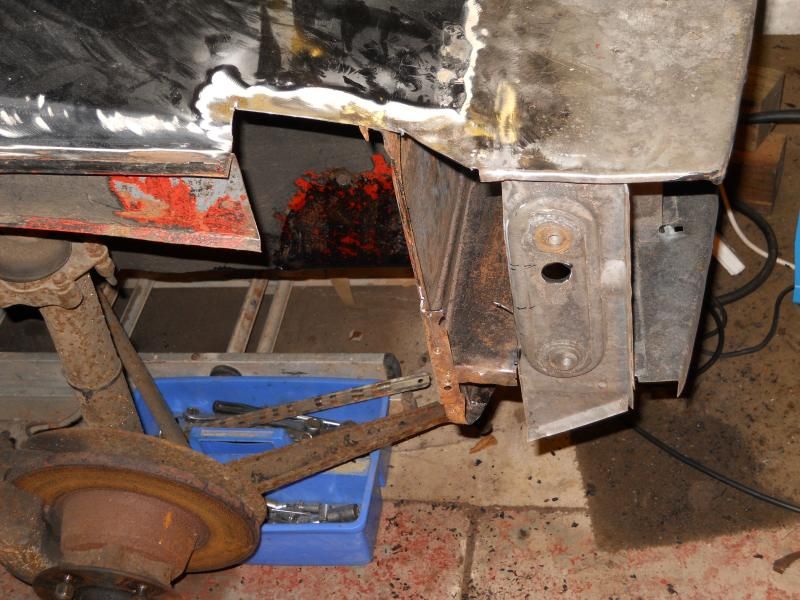
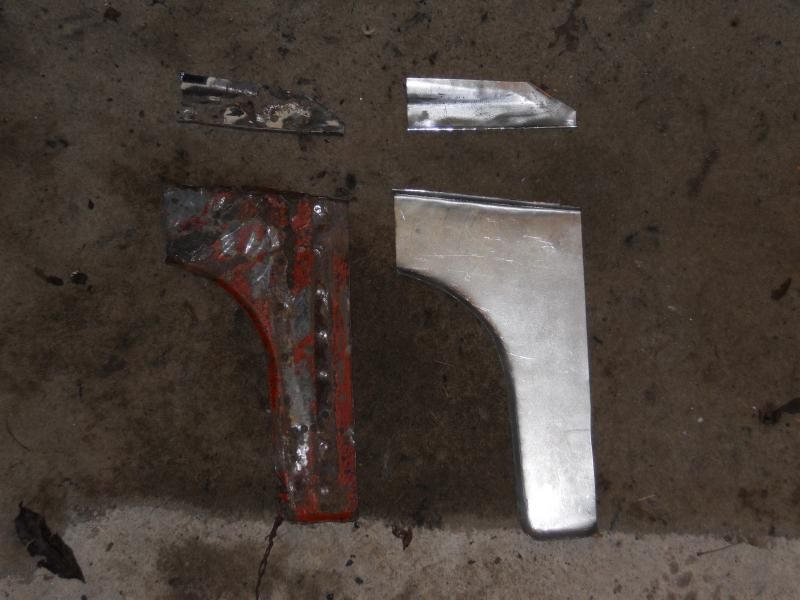
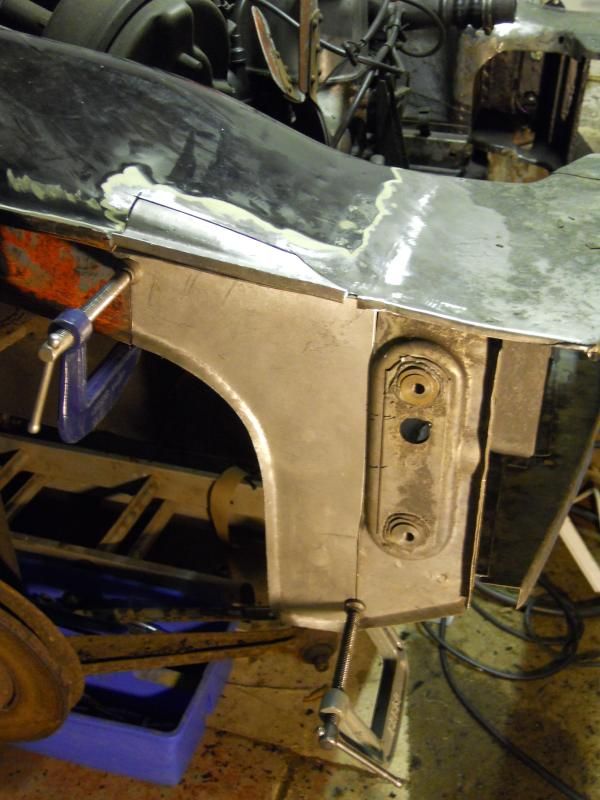
I made these pieces to fit back in.


Like this...


There's still some more trimming to do to get the fit just right but it's nearly there.
 
Truly excellent work, Paul...top man!

Although Rebekah is sadly no more, I'm consoled by seeing her live (partially) again.

Stan
 
Excellent work Paul :D

Those intergrip clamps are brilliant for that sort of job and neat work with the copper bar too. I'm not sure many people would've taken that sort of drastic action to ensure the alignment of that front section. Good to see that Rebekah has contributed to keep this car alive too.

You're putting us all to shame with this quality of work, but also inspiring others to have a go. Keep it up.

Johnny E said:
Can somebody please organise some sort of award for this man?

....or at the very least some sort of recognition in the Classic Car press. This would make a great story for PC or CM Paul :wink:

Dave
 
Johnny E said:
Can somebody please organise some sort of award for this man?

Inspirational stuff.

Thanks fellas. I like to try my best just to see if I can do it.

drabbers said:
That is good quality workmanship - maybe a career change as a body man !
Well Done.

Mark.

I just do it for my own amazement/amusement so I think doing it everyday might spoil it for me. I'd hate to be thinking 'I must get this done quickly so I can get paid' whilst doing it. It's all stuff I've picked up read other people's project threads like Sowen's plus a bit of practice.

Dave3066 said:
Excellent work Paul :D

Those intergrip clamps are brilliant for that sort of job and neat work with the copper bar too. I'm not sure many people would've taken that sort of drastic action to ensure the alignment of that front section. Good to see that Rebekah has contributed to keep this car alive too.

You're putting us all to shame with this quality of work, but also inspiring others to have a go. Keep it up.

Johnny E said:
Can somebody please organise some sort of award for this man?

....or at the very least some sort of recognition in the Classic Car press. This would make a great story for PC or CM Paul :wink:

Dave

I don't think it would have been possible to hold the front panel straight without the butt welding clamps as the two edges would never have lined up.

I don't know about the classic car mags, I'm always worried that I' post a picture of what I've been doing and get a load of 'That's not how your do that' posts but perhaps we'll start with something in the P6 Driver magazine?
 
catboy said:
Excellent work,

What's the score with the copper pipe?

A flat copper bar, not pipe, under the area you are welding helps to dissipate the heat. It's useful for welding right up to an edge as it stops the edge from melting away completely as you get to it.

Dave
 
Dave3066 said:
catboy said:
Excellent work,

What's the score with the copper pipe?

A flat copper bar, not pipe, under the area you are welding helps to dissipate the heat. It's useful for welding right up to an edge as it stops the edge from melting away completely as you get to it.

Dave

It also allows you to weld across gaps that are a bit to wide by supporting the weld pool from behind but the copper doesn't stick to the weld.

I actually use a piece of 22mm copper pipe which I flattened in the vice so it's about 35mm wide and 3mm thick and I can shape it to fit in gaps or behind panels.
 
testrider said:
Dave3066 said:
catboy said:
Excellent work,

What's the score with the copper pipe?

A flat copper bar, not pipe, under the area you are welding helps to dissipate the heat. It's useful for welding right up to an edge as it stops the edge from melting away completely as you get to it.

Dave

It also allows you to weld across gaps that are a bit to wide by supporting the weld pool from behind but the copper doesn't stick to the weld.

I actually use a piece of 22mm copper pipe which I flattened in the vice so it's about 35mm wide and 3mm thick and I can shape it to fit in gaps or behind panels.
I did similar to you but i got a piece of copper plate--i had to section v8 front panel into 2000 as light are in different positions and rad was in way--that learned me for putting v8 into 2000-keep at though it will be worth it al when you drive it :) :)
 
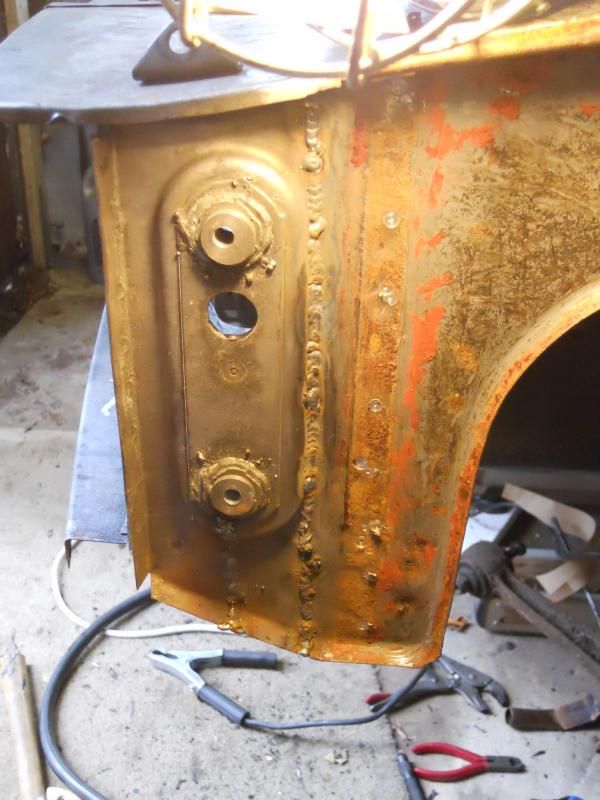
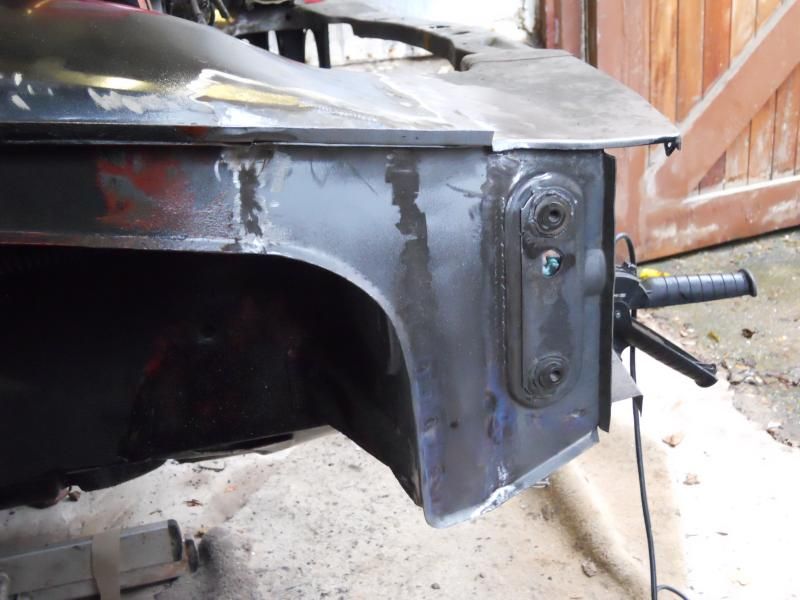
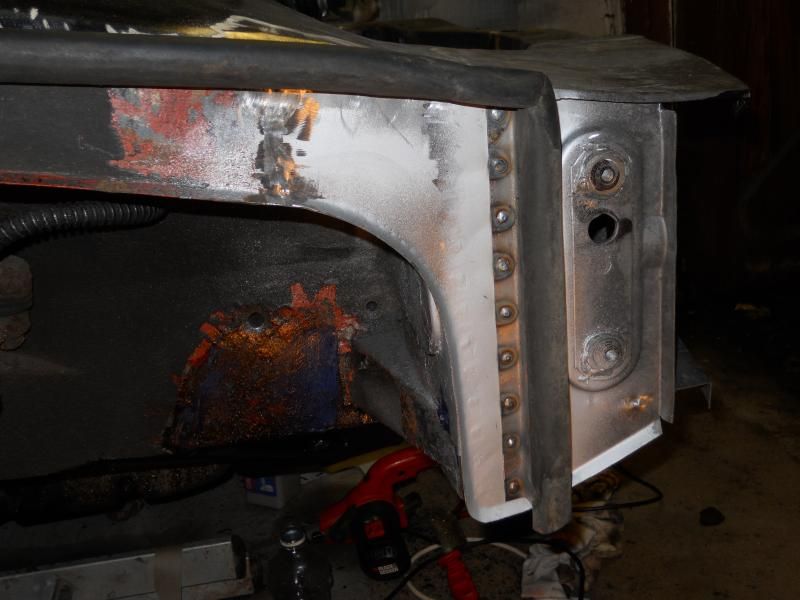
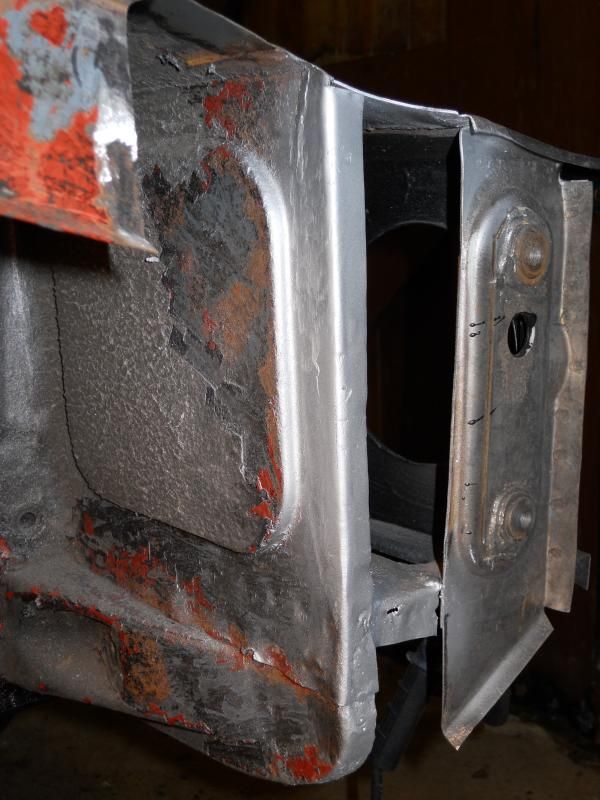
It's been a while since I last updated this thread, but I've not been slacking on it despite fitting a new bathroom in December. Last time I left you with these panels made to repair the Hockey stick, almost ready to weld in.


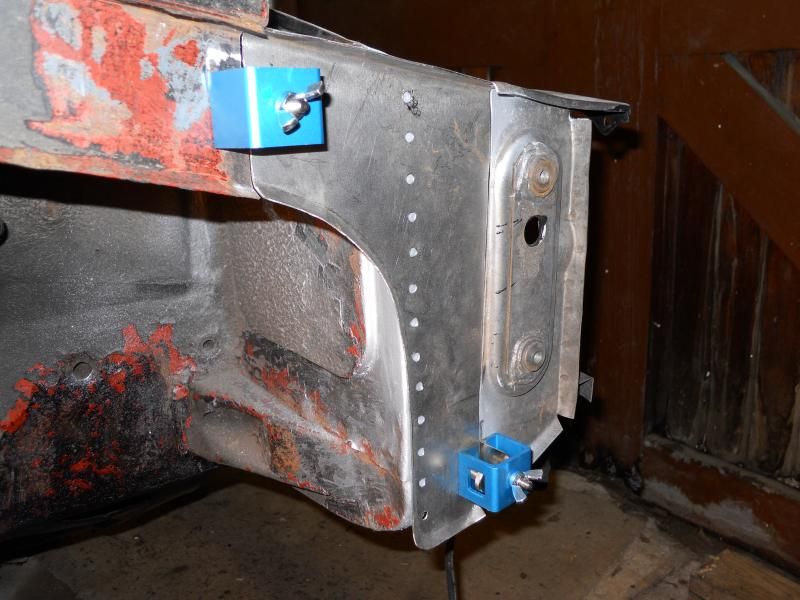
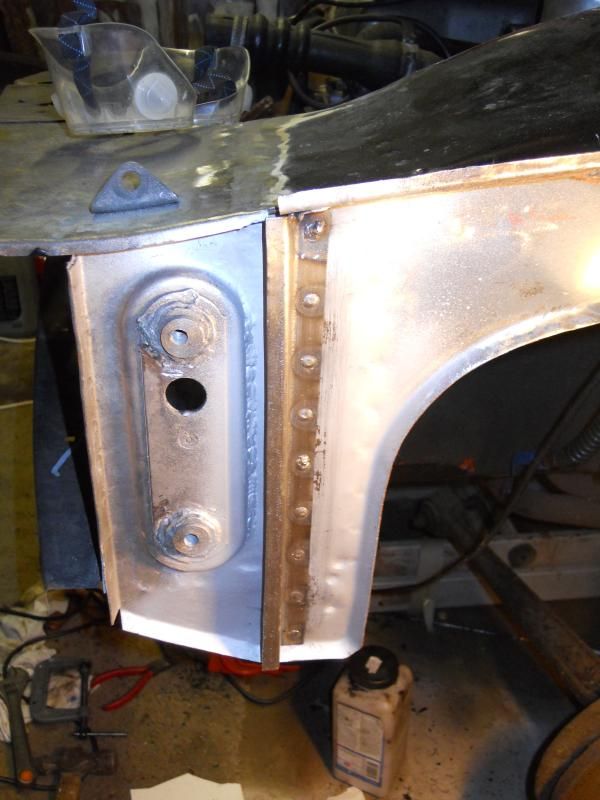
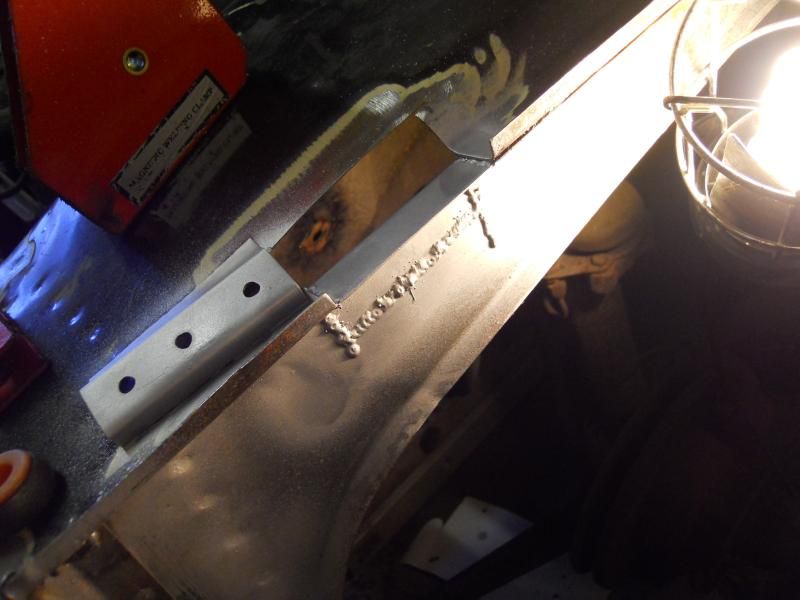
I bit more fettling got the edges and curves lined up nicely. Before welding in I had to make a small repair to the upright behind the headlights to make the flange to plug weld to. Here it is covered in weld through primer.


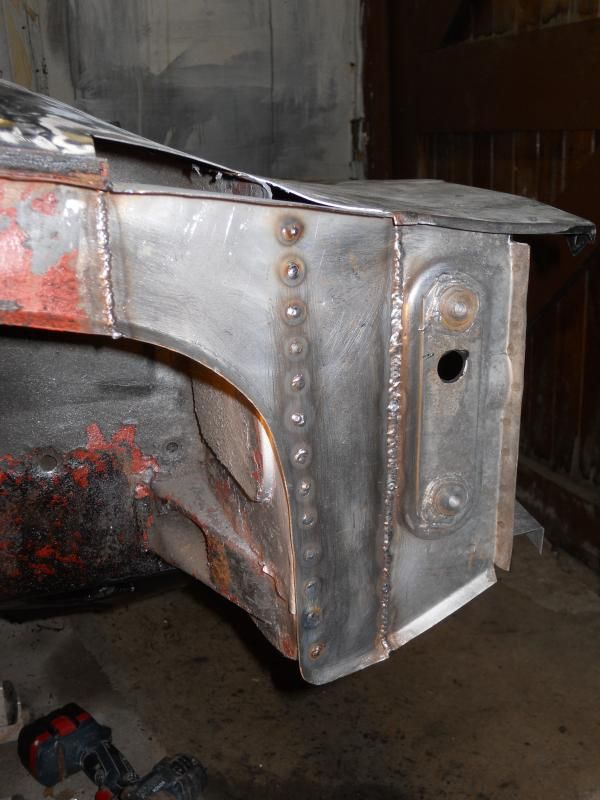
That flange lines up with these hole which will be plug welded in the next photo.


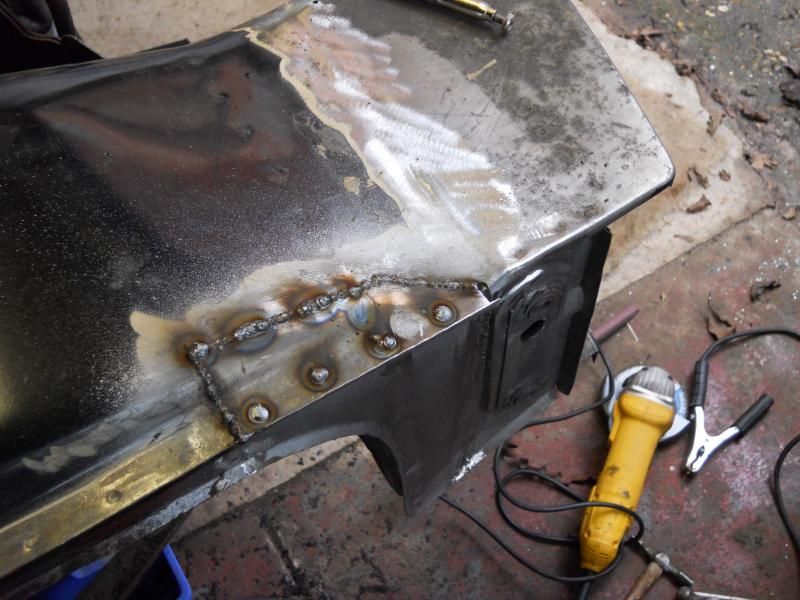
The hole in the top of the inner wing was filled in afterwards.


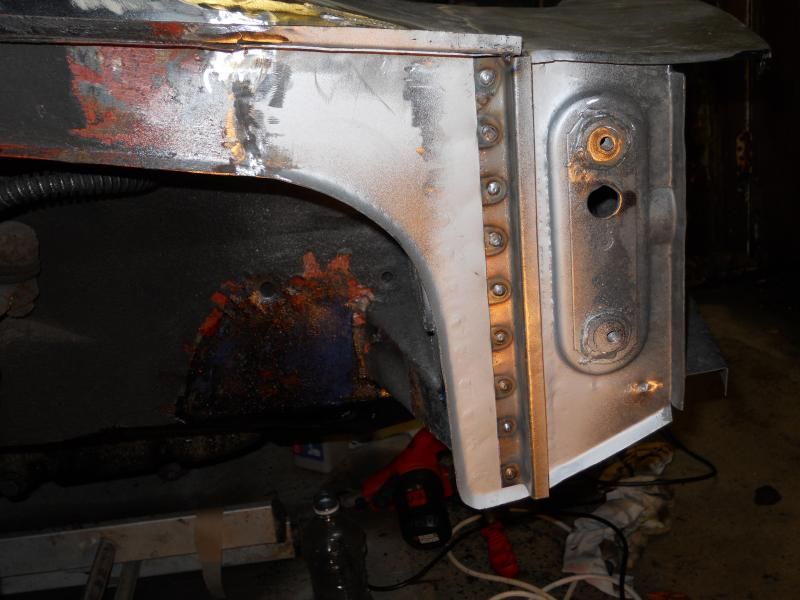
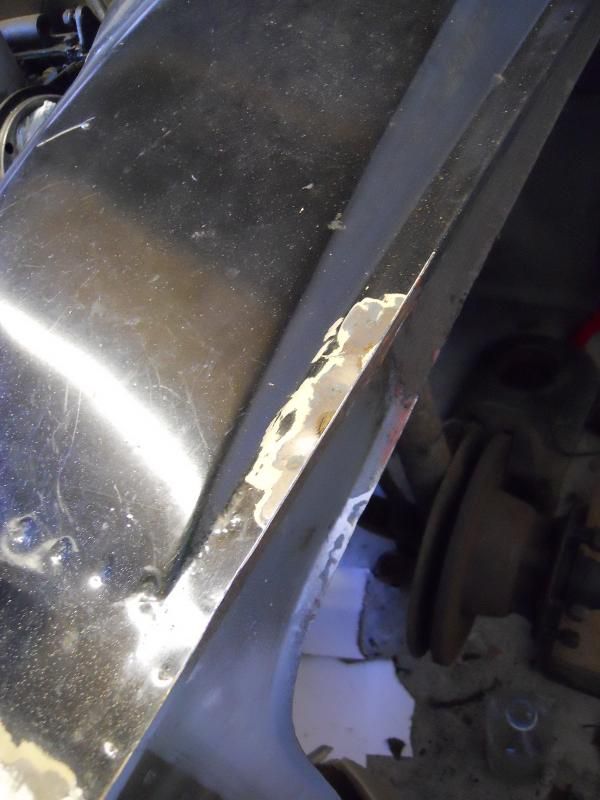
Then the welds were dressed off leaving a nice repair if I do say so myself.


Originally I'd intended to do this in a couple of small patches which would have been awkward shapes and fiddly to weld in, but I'm so glad I just cut the whole thing out and made one big patch.

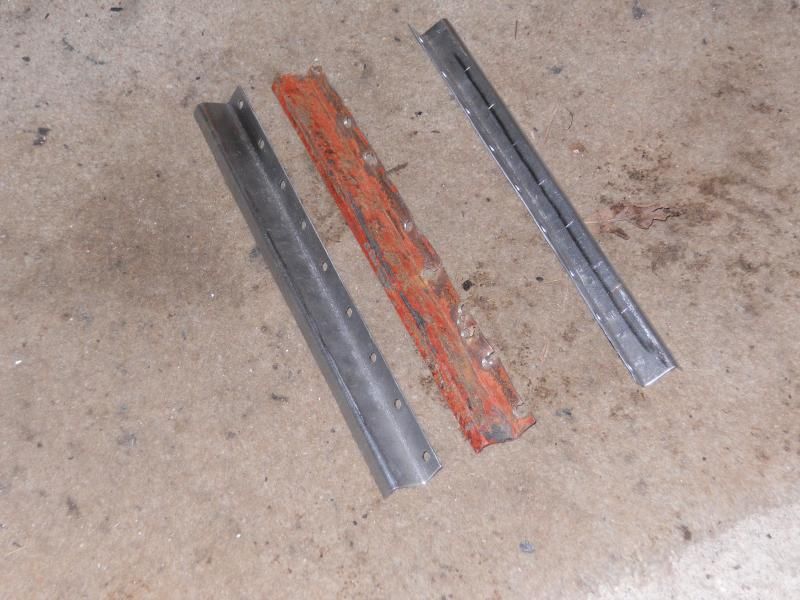
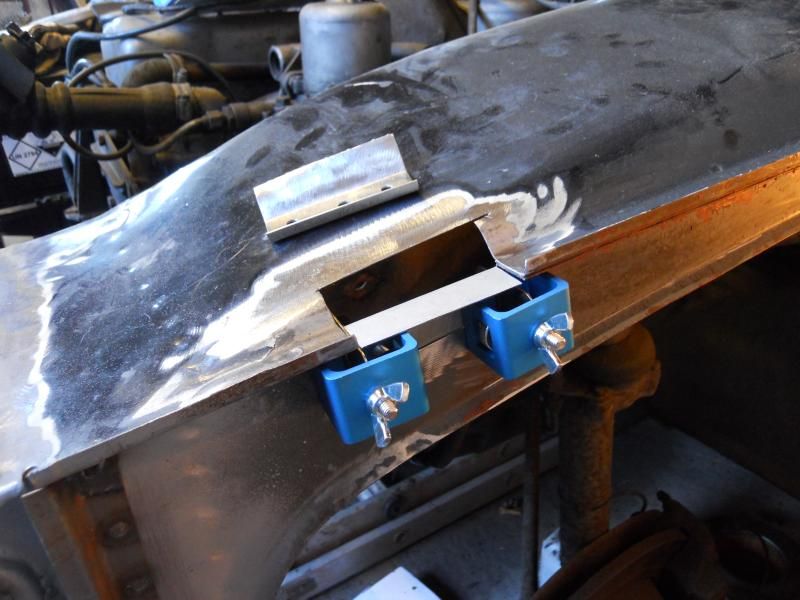
I saved the original wing seal channels with the intention of refitting them, but I lost one and the other didn't look so good after I'd made the pieces above so I made two new ones.


I keep thinking that this will be last bit of welding and it'll be ready for paint soon, but odd, innocuous bits like this keep catching my eye.


And they turn into these quite quickly


I've just uncovered two more of those near the bulkhead and I'll show those next time. It will be ready for paint soon.......
 
Amazing work!!! What are you using to shape the panels in terms of metal working tools? I only ask as I have a weldathon coming up soon on my Morris 8 that is nearly completely stripped and I am confident enough with my mig welding its more the metal working that I need to focus on.
 
Thanks guys.

Herbie, I don't have a lot of tools for shaping, just a selection of normal hammers and a big vice. I also use things like G clamps, mole grips and pliers for shaping bits. The 45º flange on that hockey stick repair piece was bent up gradually using a small adjustable spanner. Just be creative with whatever you have in the workshop, cold chisels, punches, sockets etc can all be used as formers or different shaped things to hit the piece with when it's in the vice.

Spend half an hour or so reading this thread about making panels on Retrorides http://retrorides.proboards.com/thread/70135/panels, it helped me a lot with visualising how to break down each piece into sections I know I can make.
 
Back
Top