1970 Rover 3500 - EMF

testrider

Active Member
As I've been on this forum for a good while now I thought it was high time I started a thread to show you my Rover and what I've been up to with it.

Many of you will have seen me and my car out and about at club meetings and shows and it wasn't until I started looking back through some old photos that I realised quite quite how much work I'd done on the car or how it's appearance had changed.

Anyway, time a proper introduction. I decided that I wanted a second car for nice days out with a V8 engine and an automatic gearbox and I thought the Rover P6 looked ideal for my budget. I bought it in February 2006 after seing it advertised on eBay, previous owner had it for nearly 10 years and it had just 33000 miles on the clock, he only did around 250 miles per year. It's was in generally sound condition, far better than anything else I'd seen, and thought to be unwelded (it has been patched on the sills but I wasn't sure how to spot it back then) so I was convinced that it was a good one. I decided that couldn't risk the bidding on it getting out of reach so I took and envelope of cash to seal the deal.

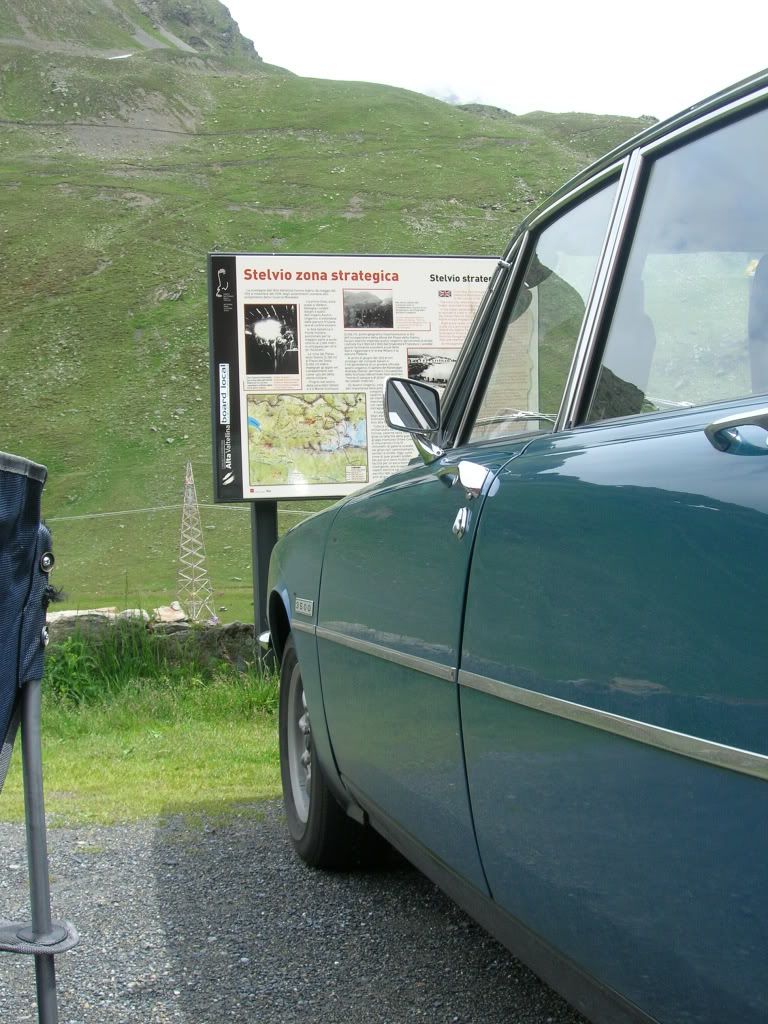
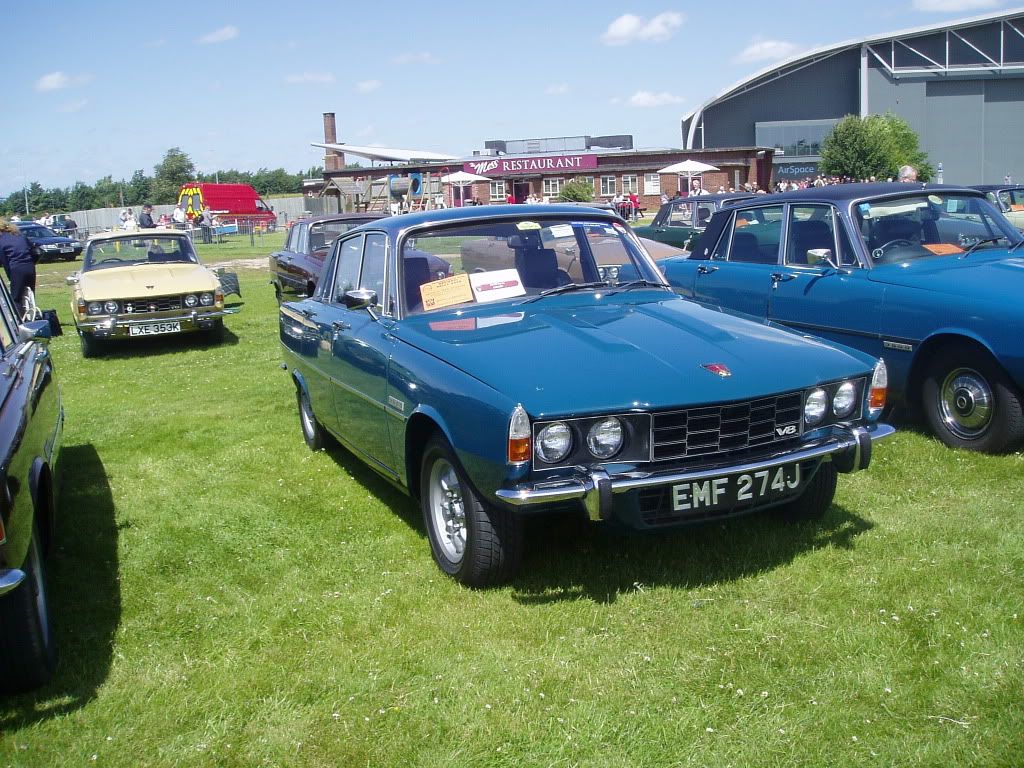
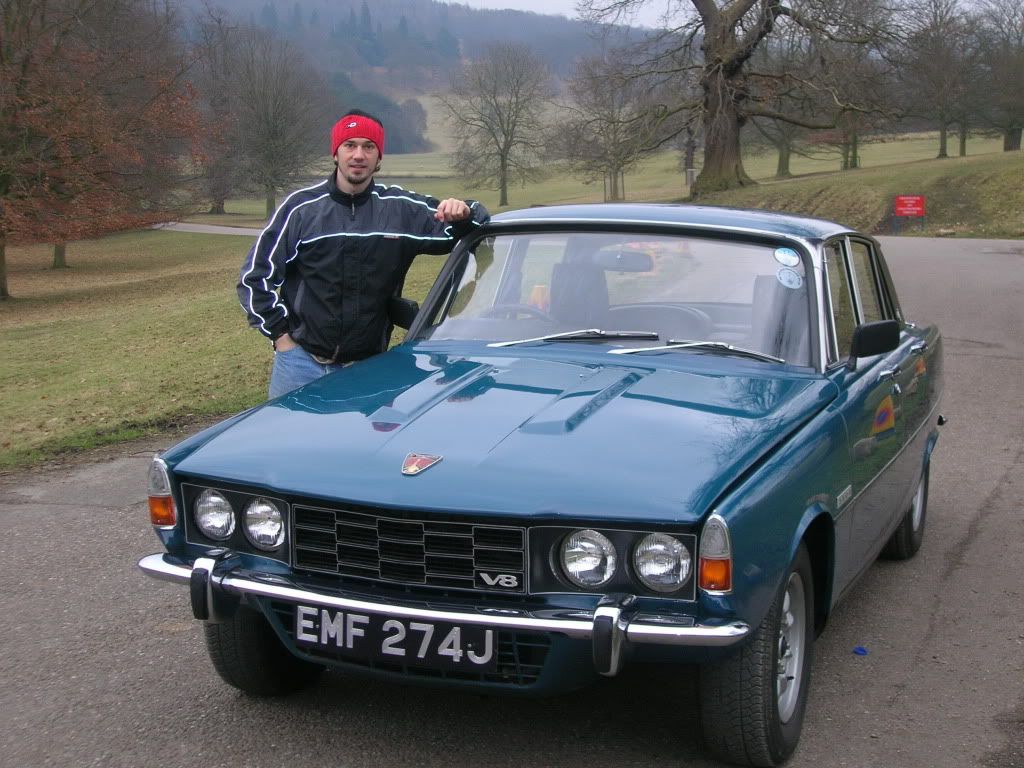
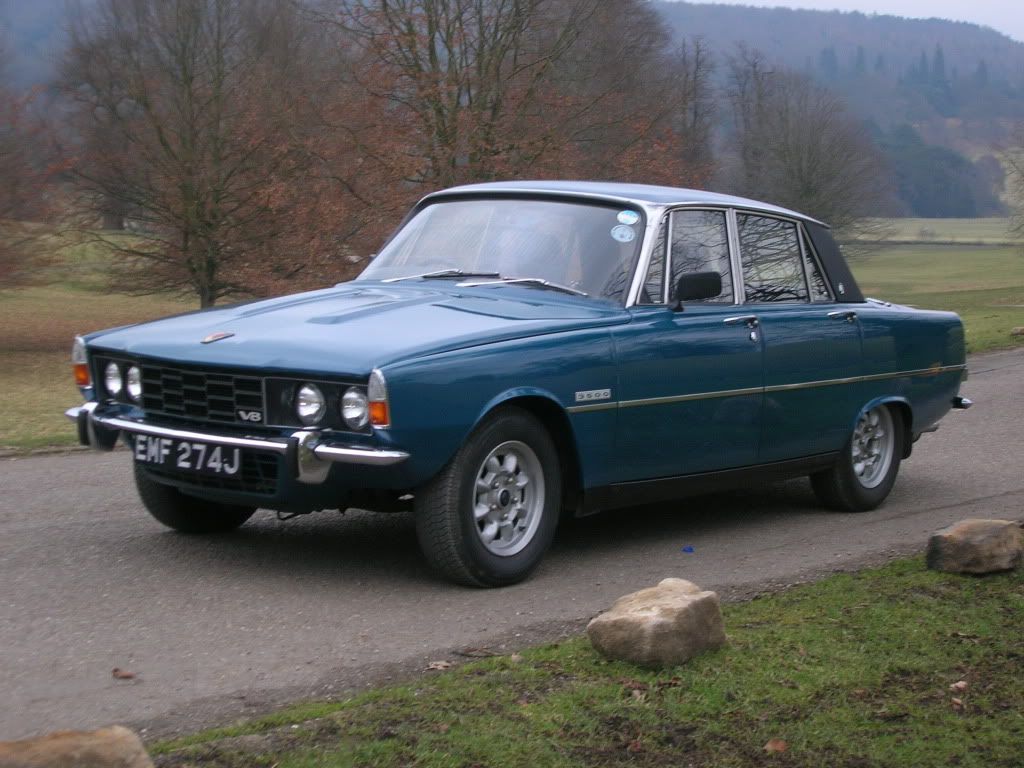
Here's me and my car on it's first day out with us at Chatsworth House. This was a week after I bought it, February 2006. It was a pretty cold trip as the heater didn't work at the time thanks to a blocked heater matrix. It ran fine that day and I couldn't help grinning when I caught a glimpse of it on our return to the car park

DSCN0112.jpg


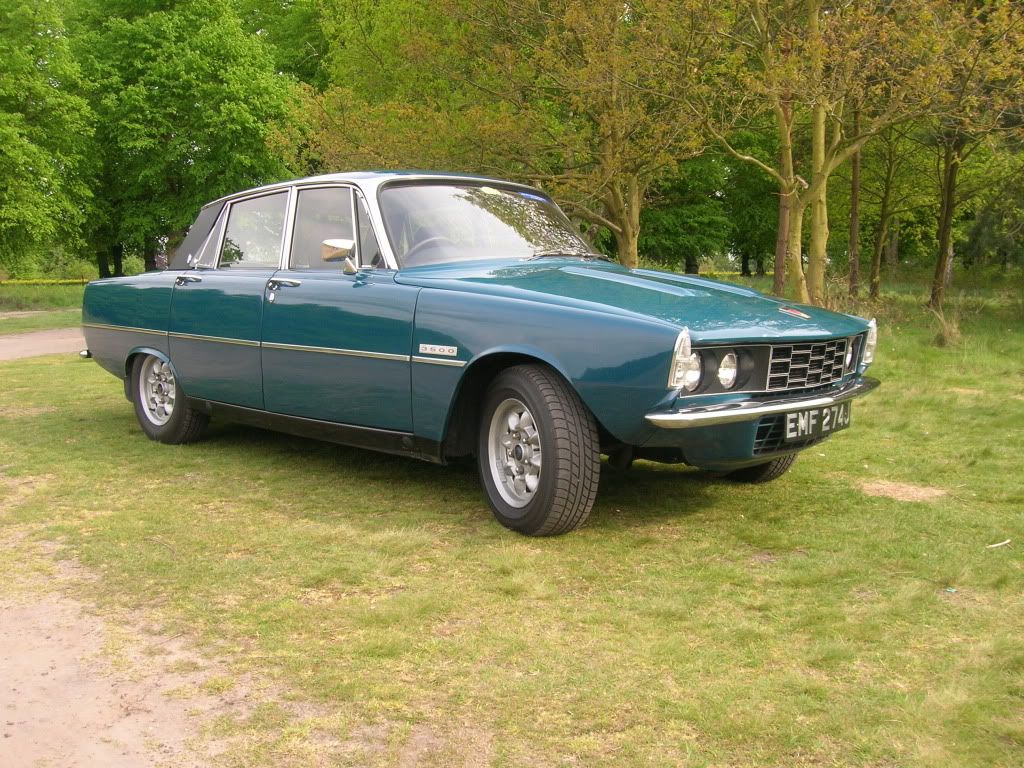
It's a series 1 1/2 in Zircon Blue and the Minilite wheels have been on it for as long as anyone can remember, they really sold the car to me as I hadn't seen another P6 with them fitted before. The previous owner added power steering and had the transmission overhauled too.

DSCN0110.jpg


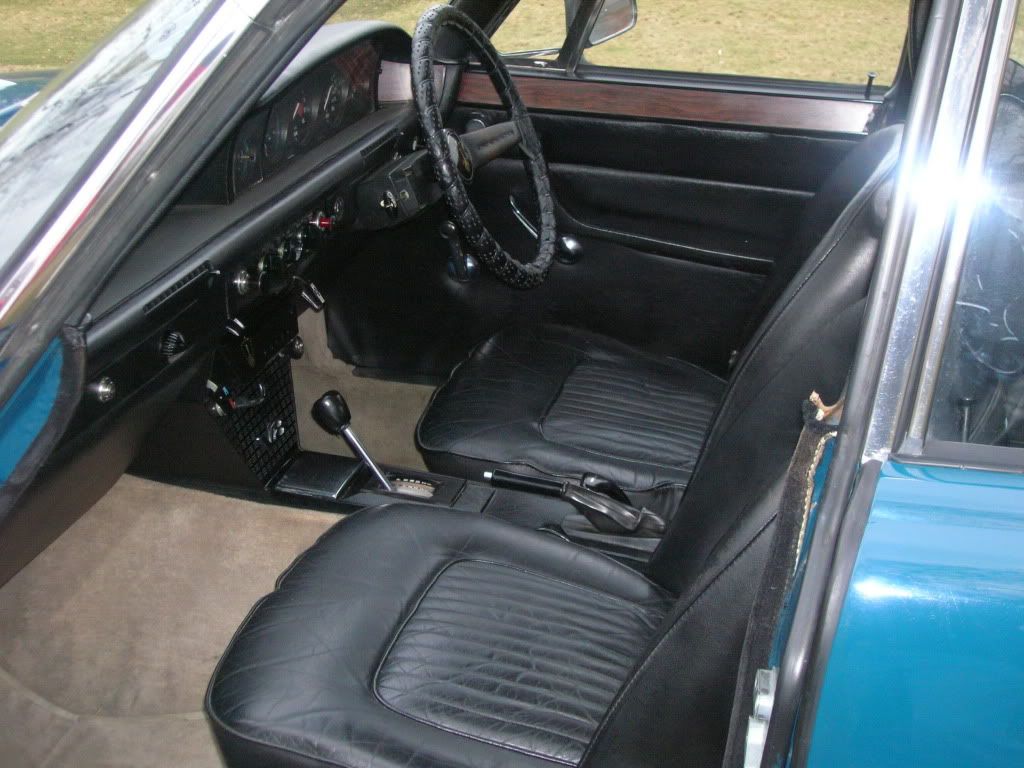
The interior was neat and tidy with all the leather in good condition, and no spare wheel on the boot lid - I don't like them on there. The black plastic wing mirrors would have to go though!

DSCN0114.jpg


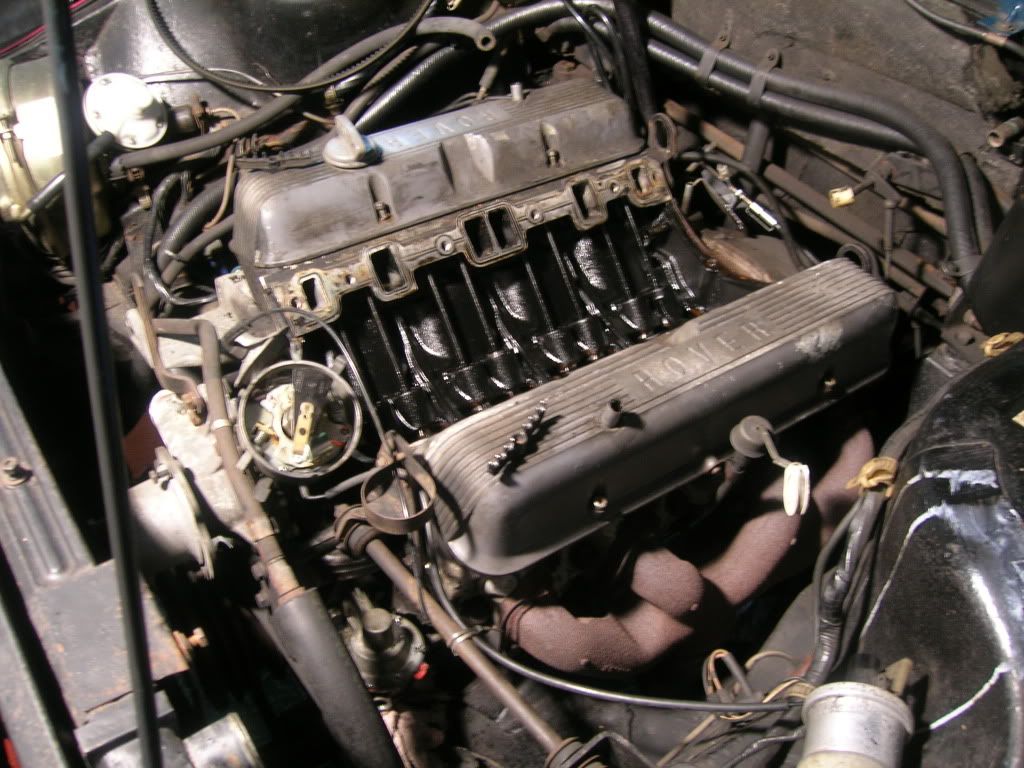
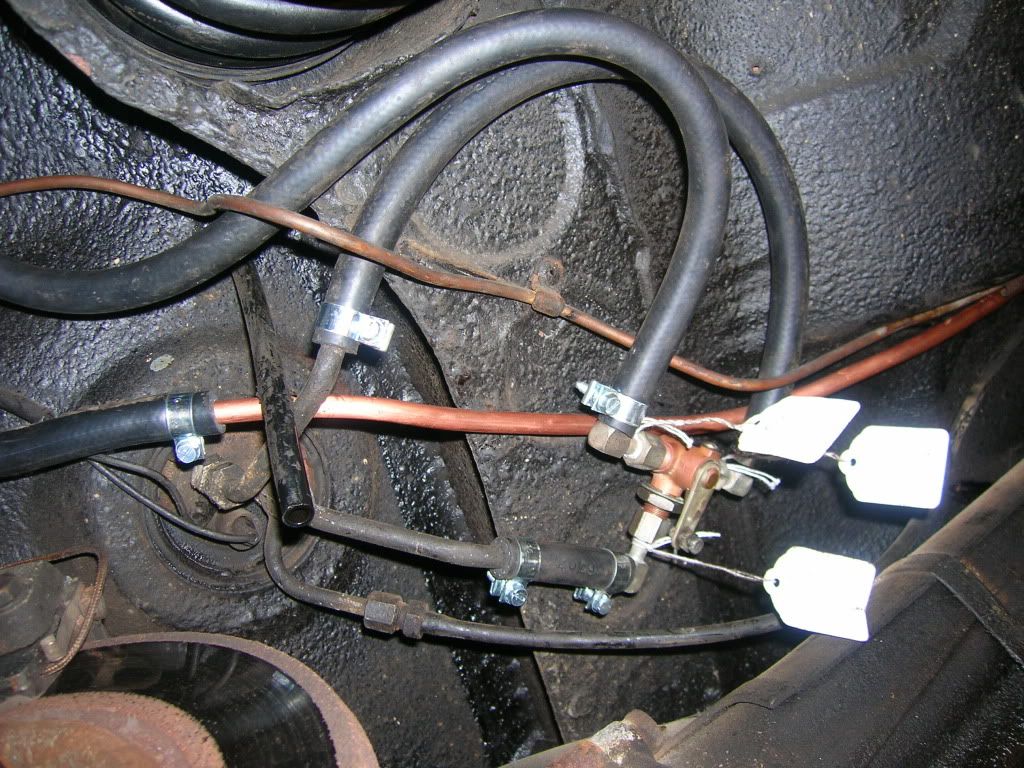
After running it through the summer and getting to know the car I decided to tackle the blocked heater matrix and replaced along with all the coolant hoses along with a service.

That started the journey of continuas tinering, fettling and upgrading, mainly replacing and sorting stuff that has deteriorated and worn out as a result of time and doing less than 500 miles per year for the last 20 years.

Some of the things I've done since then are :-
Rear caliper overhaul
Fitted Goodridge braided brake hoses
Replaced the shock with AVO adjustables
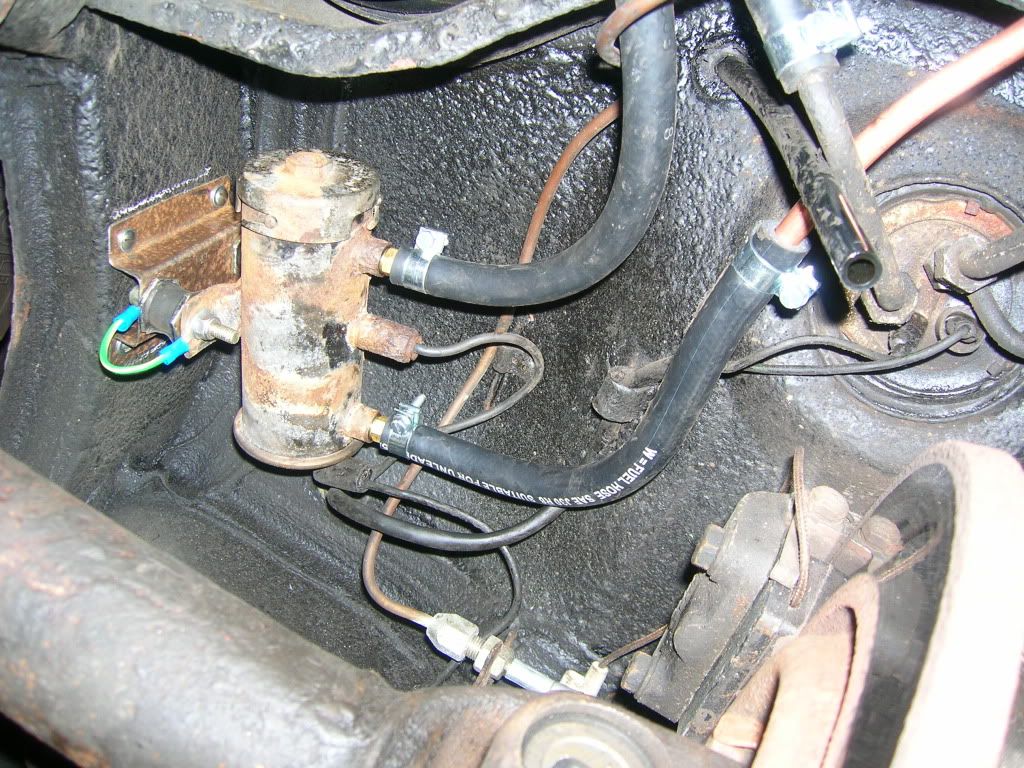
Rebuilt the brake master cylinder,
Rebuilt the front calipers
Had the roof repainted due to cracking and flaking paint
Replaced the UJ's on the rear axle
Fitted HD springs at the back
Replaced the lower bushes on the front suspension.

I'll show you some of the more indepth work I've done in the next few posts leading up to present where the fun and games have really started.
 
Yeah, a cracking motor that certainly is. Look forward to more tales of your rolling restoration.
I really like Zircon Blue, when I was a lad the local police force in Haringay, N. London had a couple of unmarked P6 3500S in that colour scheme, and those wheels. Also lots of SD1s with the same wheels.
I once saw two over-enthusiastic officers in one such Minilite-shod SD1 'Jam Sandwich' go 'hooning' round and round and round Muswell Hill roundabout – before their SD1 clipped the kerb and overturned on to it's roof, and right opposite the pub and full beer garden too! First car to respond to their 'Mayday' was a ZIrcon Blue P6 with two mightily amused policemen in it. I'll never forget that. :LOL: :LOL:
 
I've always thought EMF a tidy and well-loved car Paul...

...and no doubt the posts to come on your fun and games will include things like the electric fuel pump for instance...good install that I reckon!

Particularly remember why you did it as well, following your Stelvio post...which included some great pics! :D
 
Thanks guys, just sorting the photos out for the next post so stay tuned.

DaveHerns said:
That does look nice
Some chrome mirrors would finish it off

The black mirrors didn't stay on long Dave and the chrome ones do set it off nicely.
 
That car looks great, loving the Minilites. Somehow they not only set the car off in a sporty way, but let you enjoy the lines more...
 
Here's the next installment......

April 2009 Top End Rebuild

A number of factors including a (long) conversation with Chris at RPi and seeing Vaultsmans project lead me to remove the cylinder heads, initially just to replace the head gaskets prior to taking a long driving holiday in the Alps in July, but as we all know it's never that simple.

DSCN3189.jpg


As the engine had done lots of short journeys in it's past the insides were pretty filthy and you can see the sludge in the lifter gallery and where the head gaskets had been leaking.

DSCN3194.jpg


I ended up replacing the camshaft (with a Viper Hurricane one), followers, timing cogs (with steel ones) and chain and fitting a high flow oil pump kit. Then I decided to look for some later cyclinder heads with bigger valves and found some SD1 heads on eBay complete with new rockers, shafts and all the valves ground in for £60 - bargain! I fitted those along with composite head gaskets to lower the compression ratio.

I finished it all off with stainless bolts although I didn't have time to paint any of the engine parts and the Alps trip was looming and I wanted to get it run in and trouble free.

I can honestly say that starting the engine for the first time to bed in the camshaft was the most nerve racking thing I've ever done, but it's performed faultlessly since.

The changes allowed the engine to run fine with no loss of power on 95 RON fuel and no octane booster whereas before it was run on Shell V Power 99 RON plus octane booster. I wasn't sure that I could get 99 RON fuel in small Alpine villages and didn't want to end up stuck having to run the car on cheaper fuel with it set for 100 octane stuff.

To prove it made it to the Alps and back here's some pics.

A well earned rest half way down the Stelvio Pass.
DSCN3609.jpg


DSCN3604.jpg


We had a great time in the Alps and you can read more about it here. http://www.classicroverforum.com/viewto ... 000#p36000

April 2010 Electric Fuel Pump

Whilst the engine rebuild was sucessful I still got occasional vapour lock, once near the top of the Furka Pass after stopping for some cows to cross the road! There's much debate about whether fitting an elctric pump treats the symptoms or cures the root of the problem - either way it means that I don't have to wait for 2 hours for the engine to cool down before I can carry on my journey so I tried to copy the factory NADA style by fitting it at the back near the tank inside the chassis rail.

DSCN4815.jpg


DSCN4817.jpg


You can read more about how I did it here. viewtopic.php?f=5&t=7342&p=48898#

May 2010 Electric Fan Convertion

In order to free up some horsepower, save fuel and generally make the car more efficient I fitted a Kenlowe electric fan. It's a 13" heavy duty model which came with a two speed controller for it's 265W motor.

DSCN4841.jpg


I had to make a cut out in the front valance to clear the motor housing but otherwise it's a good fit.

DSCN5948.jpg


The control unit is fitted next to the washer bottle and takes it's control supply from the fuse box on the inner wing and the main power for the relay is via a 30amp wire connected to the main battery cable stud in the drivers footwell.

It seems to keep the car at a steady 85 degrees in traffic, but as the engine is only on tickover there's no charge coming from the alternator so the fan does not spin quite as fast as the manufacturer intended. Also, I think the way I've wired it up is confusing the ammeter as when the fan's on it shows positive charge not negative like it does when all of the other electric items are on.

Any one got any thoughts on how to solve this?
 
Hi Paul,

it is nice to see that you got yourself a very well cared for and tidy car. The maintenace and improvement work that you carry out in this case is pure enjoyment.

Regarding your question about the feed of the cooling fan, you should connect it somewhere after the ammeter shunt, in order to be shown as a consumption (discharge).

Demetris
 
well paul,every time i see your car i fall in love with it,lovely colour, solid and a very very straight car,and sounds good too,keep up the good work mate :D :D
 
Good work on the car so far Paul.

I was meaning to catch you at Rugeley last year to have a look at your electric fan installation so good to see these pictures. Have you tried running the car at fast idle in traffic so the alternator kicks in? Sometimes it's a catch 22 though as the extra revs generate more heat than the fan can shift, plus it also increases fuel consumption too. It should make the fan run at full speed though, bit like running the mechanical fan at high revs to cool the engine when stationary (although that also circulates the air in the engine bay too which the electric fan won't). I'm still undecided about whether to alter the rad mounts to allow more space to fit a big puller fan on the engine side of the rad or to fit a bigger fan like yours. The Kenlowe 2 speed puller fan is substantially deeper (75mm across the whole diameter) than the pusher you have. I'm not concerned at the moment because it's so cold that the 14" 70W fan I have does the job in winter. I want to get it sorted in time for summer though when the fan struggles a bit as the mercury rises.

Looking forward to the next installment :D

Dave
 
Hello Paul,

Those are some excellent improvements that you have made to your very fine Rover... :D

Top stuff!!

Ron.
 
Once again, thanks for the encouragement. It's only recently that I've started photographing the work done, beforehand I'd photograph the tricky bits whilst taking it to bits but not when going back together again.

Dave, I shall hopefully at the RP6C Beamish meet in May if all goes to plan so you could see the fan installation there. With regards to the alterantor speed Grim V8 mentioned that he'd been fitting smaller pullies to gear up the alternator but I don't know how much more charge it would put out at idle. Currently mines set to around 950rpm, but I'm going to slow it down before summer is I think it's that which may have cause the crack in my diff carrier plate.

There's plenty of room for a bigger pusher fan even though Kenlowe think that the maximum diameter that will fit it only 13", I reckon a 15" one would fit but they don't offer that size with the heavy duty 2 speed motor.

Demetris, is the ammeter shunt on the back of the ammeter itself? I wired it directly to the battery cable stud in the footwell because I wasn't sure if the rest of the wiring would be able to handle the high current or not.

More thrilling installments to come, working up to revealing this winters project.......
 
Appearance.

For the first couple of years the only change I made to the appearance was changing the black plastic mirrors to chrome ones as seen here at the P6ROC gathering at Duxford, June 2008.

P6220087.jpg


EMF has always been a fairly individual looking car even in a line of P6's, with it's Minilites, wider tyres and less common Zircon Blue colour, so I decided to take it a step further with some subtle modifications.

When I was at school I used to read Custom Car, Street Machine and VolksWorld magazines and all the best looking cars had a smooth, clean appearance. As I learnt more about Rover and the P6 I heard about the different light lenses available for the export market so I bought some clear indicator lenses for the front and red ones for the rear which I think look great. Currently they have orange bulbs in them but I'll be changing them to LEDs soon.

Another bit of tidying up saw the front overiders come off (never had any at the back) along with the V8 badge in the grill.

DSCN3232.jpg


Here's a shot of the back of the car with the red indicator lenses. One of my pet hates are the series II reflectors. I think aesthetically they're a really poor design and spoil the lines of the wing, looking like the after thought that they were, so as part of this winter's refurbishment they're coming off. I've got a few ideas of where to move them too, but I'll keep them under my hat for the time being!

DSCN3514.jpg


So that about brings us up to date with the mechanics and appearance and in the next post I'll tell you about what I've been upto recently and the plans for this year.
 
A few have said it, but EMF has the look and feel of a well loved and cared-for car, it also has a lovely original vintage vibe about it. I'm really looking forward to the next installments, and of course to find out the results of this Winter's work!
 
testrider said:
Here's the next installment......

April 2009 Top End Rebuild

A number of factors including a (long) conversation with Chris at RPi and seeing Vaultsmans project lead me to remove the cylinder heads, initially just to replace the head gaskets prior to taking a long driving holiday in the Alps in July, but as we all know it's never that simple.

As the engine had done lots of short journeys in it's past the insides were pretty filthy and you can see the sludge in the lifter gallery and where the head gaskets had been leaking.

I ended up replacing the camshaft (with a Viper Hurricane one), followers, timing cogs (with steel ones) and chain and fitting a high flow oil pump kit. Then I decided to look for some later cyclinder heads with bigger valves and found some SD1 heads on eBay complete with new rockers, shafts and all the valves ground in for £60 - bargain! I fitted those along with composite head gaskets to lower the compression ratio.

Hi Paul,
You have a luvly P6 there. I've just recently rebuilt my SD1 3.5 engine and agree with you on the lower compression ratio through the use of composite head gaskets a good idea, killing two birds with one stone really. I had to(like yourself)run my 9.75:1 V8 on super unleaded, and even then it wasn't perfect. Now I would think it would run on very low octane(with adjustment of course)petrol, and still deliver a good turn of performance.

How are you getting along with the Viper Hurricane camshaft? I had that fitted to my 3.5 when I bought it and found it a bit too lary for me, and the autobox. I fitted the Land Rover 3.9 cam to my 3.5, as it gives a bit more torque at lower revs and suits my lazy driving style. Incidentally, did you go for the Vitesse heads or standard? I think the Viper cam would probably suit the Vitesse heads for more power at higher revs?
 
Hi, Testrider. The idea of the shunt is so that the ammeter doesn't have to carry
the current, the ammeter just measures the difference across it. It is affixed to
the bulkhead behind the dash. As the ammeter is a 60 amp, the shunt will be able
to handle that and more. The shunt rarely carries that current only when you have
every thing switched on without the engine running. Your 265 watt fan motor is
drawing 22 amp, the same as main beam. The alternator provides all the electrical
power when running, so one place to pick up power would be the back of the
alternator and through a fuse to the relay/motor.

Colin
 
Indeed, it is as Colin says above.
If you feed the fan from the thick brown with white trace wire that connects to the back of the alternator (the other end of this wire connects to the ammeter shunt), it will show as a consumption in the ammeter, when the engine is not running.
If the alternator with the engine idling does not produce enough current to meet the demand, it will still show as a battery discharge in the ammeter.

Demetris
 
Hi Paul, your car looks great. I especially like the front end with those clear lenses :D

I plan to fit an electric fan to mine, so will be following with interest how it is best to wire it.
 
Back
Top