Hi all,
I promised I'd do a write up, and I've got my photos in order and picked the bettter ones. This is how Dave (Bigmoose) and I did the job.
1. Remove spark plugs - to make turning the engine over by hand easier
2. Remove Fan Belt - to take the strain off the crankshaft
3. Drain oil
4. Pop to the shops and buy some lollies and Graphogen
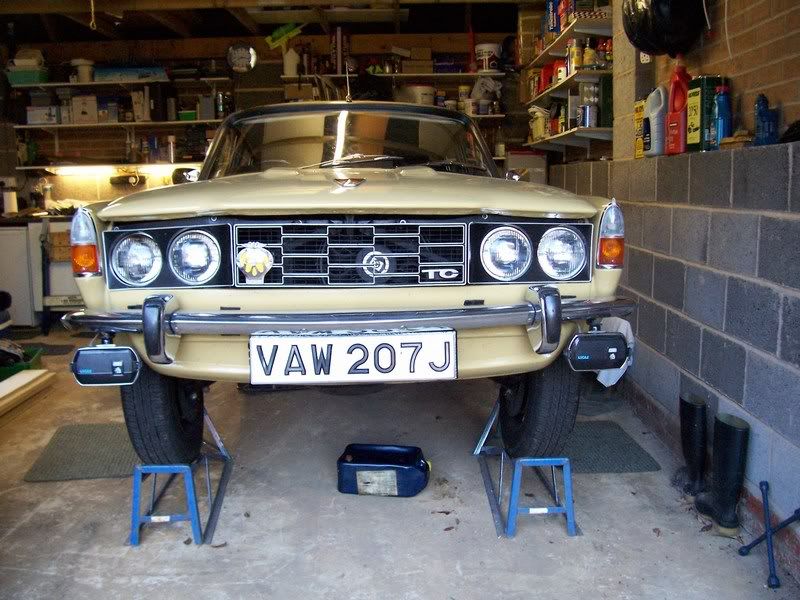
5. put the car up on ramps.
6. Follow Workshop manual (1967 version) Page 32A, Operation A1-13 - Sump and internal oil filter remove and refit.
I did the Big Ends in order, so ....
Turn the crank by hand using the crankshaft pulley until number 1 big end is at about 4 O'Clock to give room to access the top shell.
Undo the nuts on the Big End and remove
from the picture - slide the bearing shell out from the left hand side - the side without the 'notch' or 'lug' so that the lug comes out first. Then put the new shell in, in the same way that the old one came out. Plain end first starting on the 'notch' side so that the 'lug' goes in last and sits in the notch.
Then do the top shell. push the big end off the crank and lift over the top of the crank to the other side - that's why I said set it at 4 O'clock to give you room, and repeat the same remove / replace procedure of the shell - and smother it in Graphogen.
Then put both parts of the big end back, replace the nuts and torque up to 30Lb ft.
Repeat for the other 3 Big Ends.
Now start on the Mains
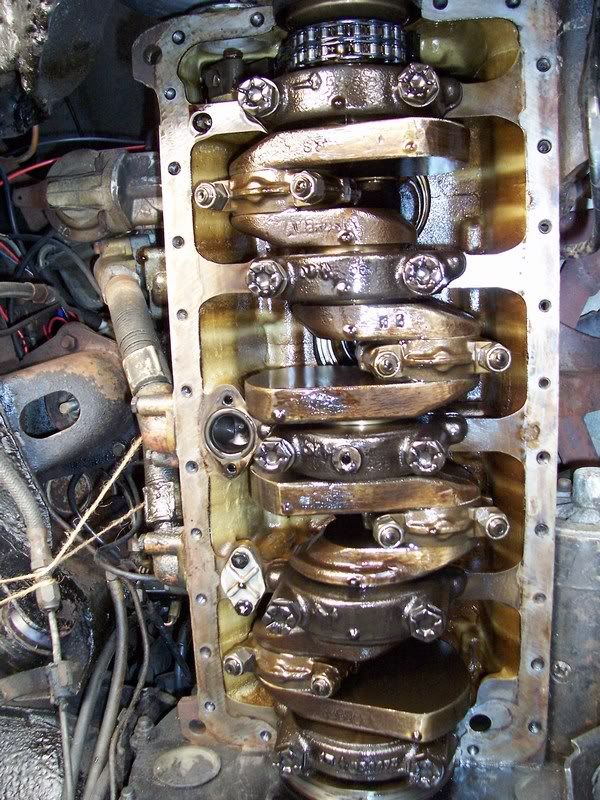
If you look at the main bearing caps, they are all numbered (you can just see it on the first photo), and all have an arrow pointing to the front of the engine. They are also sitting on lugs to prevent them being put on the wrong way round.
I removed all main bearing caps, these are pretty tight.
Main cap number 5 is different to the others, it also holds the rubber semi-circular sump seal, which you could replace, and underneath it is the rear crank lip seal. This one was stiff and needed tapping with a rubber mallet to free it up.
Next release the tension off the bottom chain - I forgot to do this and had trouble with my No 1 bearing!!
Give the crank a little wiggle, not a lot!!, don't go swinging on it!
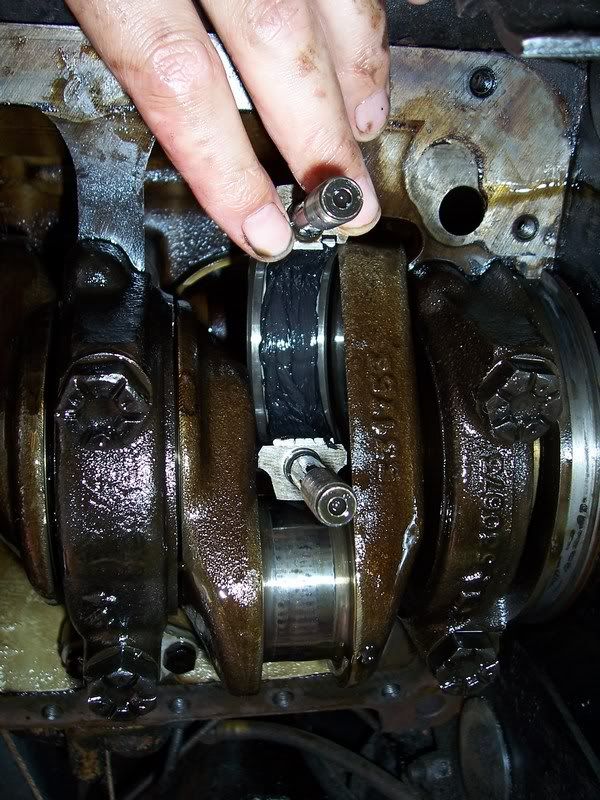
I started from bearing 5 and worked my way down to No.1
Using Harvey's "patented" special tool, insert the lolly stick on the other side of the bearing to the lug/notch and push/tap the bearing in. When you have about 5mm or so, it's possible to get a grip on the lug with your fingers and pull the bearing all the way round until it is sitting underneath the crank, you can then just lift it off!
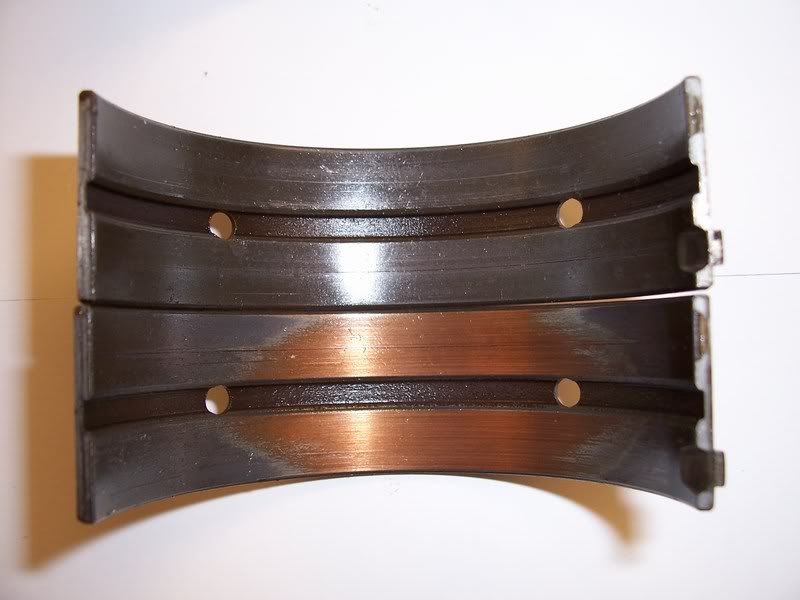
This is Main 5 - hence the orange rear crank lip seal.
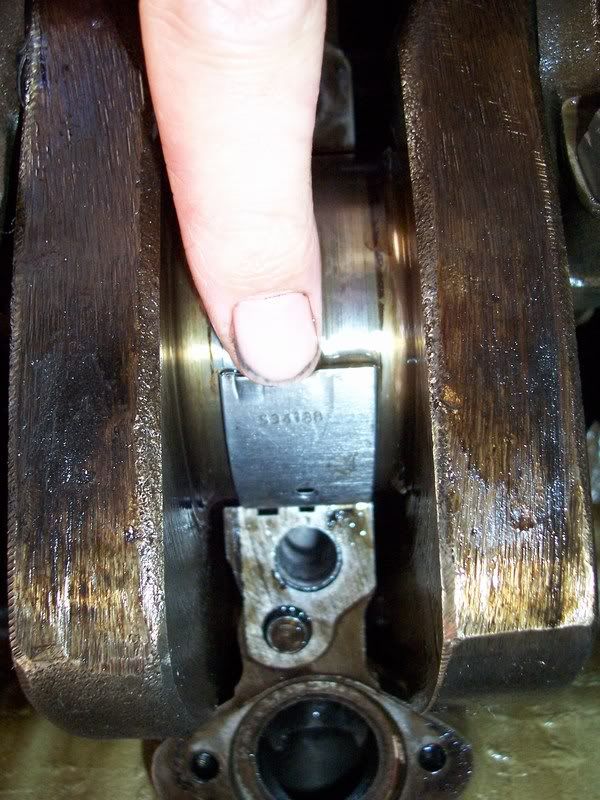
Next oil the new bearing (don't use graphogen on this one) and put it on the bottom of the crank with the plain end next to the notch and slide the bearing, slide it round the crank until the lug sits in the notch.
This one is the centre bearing - No.3
Repeat for all main bearings.
I had trouble with No.1. First I forgot to release the bottom chain tensioner which was preventing the crank from dropping, then it was still stiff, so Harvey suggested we turn the crank by hand (gently because it's the wrong way) to help twist out the bearing. That worked. However, after we got it out, it was obvious why it was stiff. The chain is still pulling on the crank, and pulling it towards the off-side, so Dave pushed the crank towards the near-side and the new bearing slipped in nice and easy just like the others.
We replaced the bottom bearings, smothered them in Graphogen and replaced them. These torque up to 65Lb ft.
All done!
Now put it all back together.
Don't forget to replace the Internal Oil Filter 'O' ring gasket with a new one.
Don't forget to put the tensioner back onto the lower chain
Don't forget to replace the rear sump oil seal on main No 5 bearing cap.
When you refit the sump, apply liquid gasket all around and do up all the bolts (26 of them) loosly - you need to refit the two bellhousing/sump bolts and torque them up to 25Lb ft first to ensure that the sump is pulled in nice and tight to the bellhousing/gearbox before you tighten them all up.
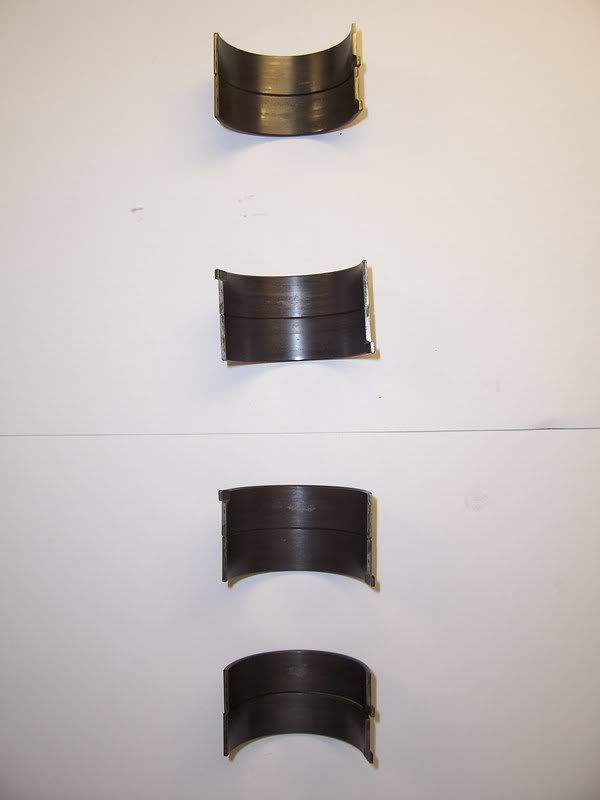
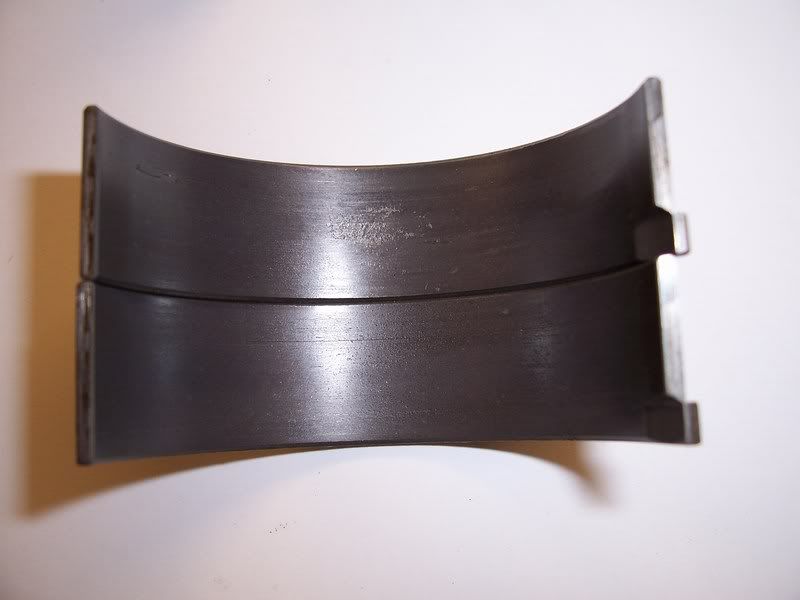
Here are my old Big End Bearings:
The worst one being Number 4
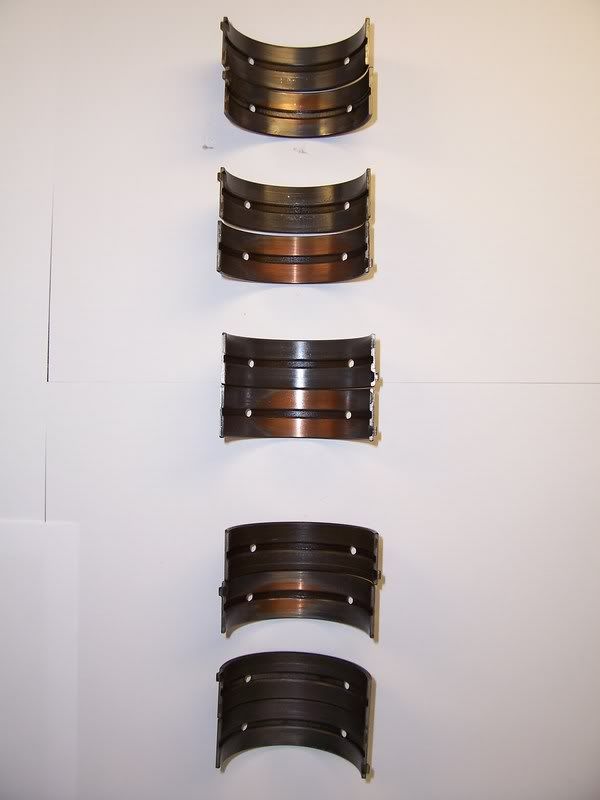
Here are my old Main Bearings:
The worst one being Number 3
And that's after 65,996 miles!
It is a straight forward job. Dave and I completed the job in 6-7 hours, and that included a lunch break and lots of prodding 'umm'ing and 'aah'ing and of course lots of Rover talk. We did the job very slowly, very methodically, but I believe we've done it right.
I'm still waiting for this damn weather to stop raining so that I can have a proper test drive :roll:
If anyone wants to say "Well Done" then Dave and I will gladly accept, but all praise for a couple of amateurs doing a job like this goes to Harvey.
Thank You Harvey
Cheers,
Brian.


")