

vaultsman
Well-Known Member
In August last year I happened to be in the right place at the right time (for once) and managed to pick up what seems (so far!) a pretty tidy Jaguar.
Some forum members may recall the thread I put up at the time...
http://www.classicroverforum.net/viewtopic.php?f=22&t=19655
Since then, I've changed the engine, gearbox, overdrive, and final drive oils and put about 1200 miles on the clock, but over the winter I've mainly been doing a few repairs and adding some (hopefully sympathetic) improvements.
The car had been laid up since 2008 so there were naturally some gremlins to banish. :roll:
1. Play in the Steering Column
The original top column bush was made of felt and had started to disintegrate, which made for some interest on the 150-mile drive home when I picked the car up.
The column had to come out to replace the bush, so I replaced the lower bush as well.
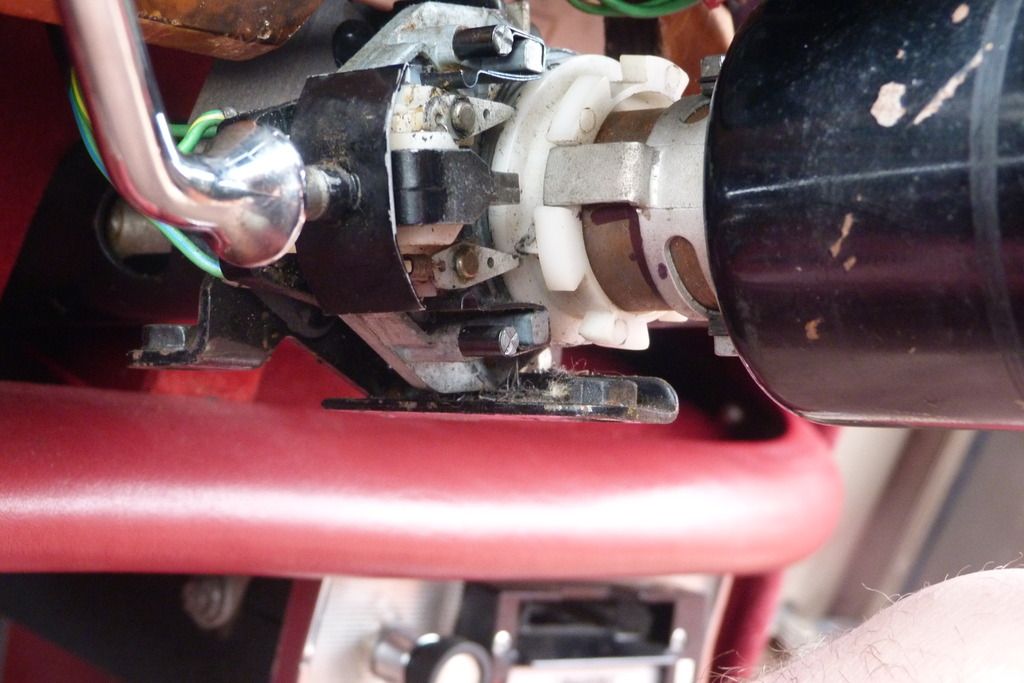
For anyone with sausage-fingers like mine, working in the engine bay on these cars can certainly spur you to invent even riper language than you might normally utter.
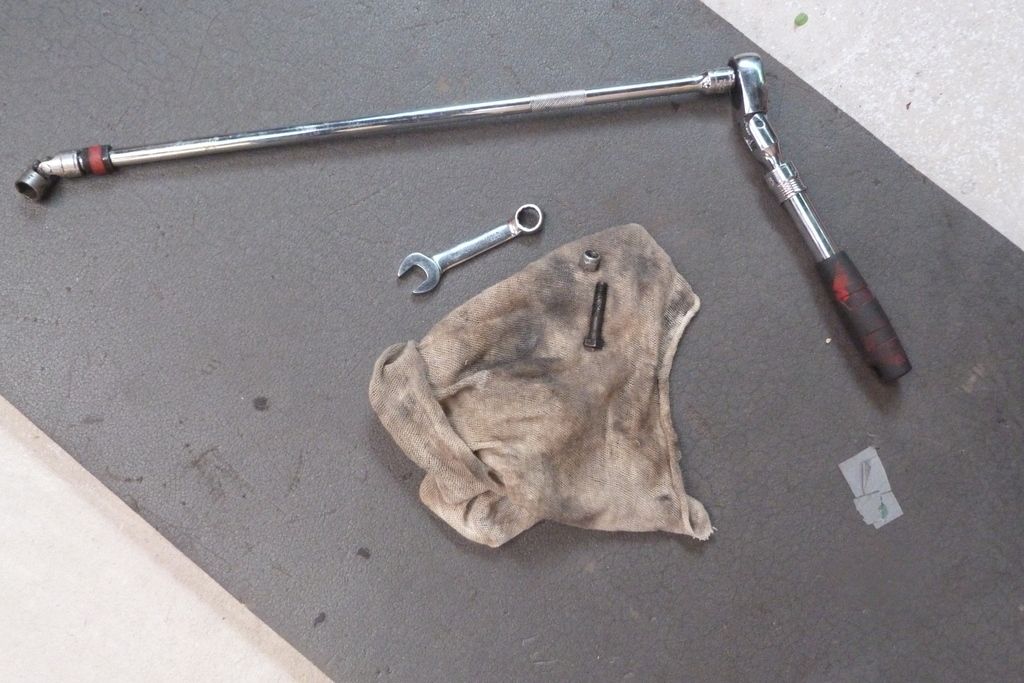
Tools needed to get at the pinch bolt on the lower column...
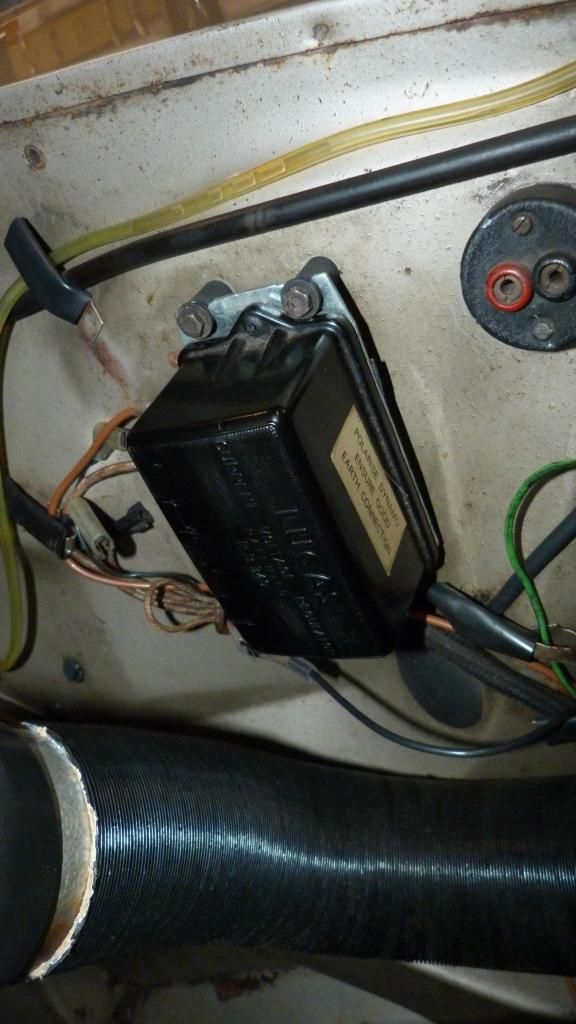
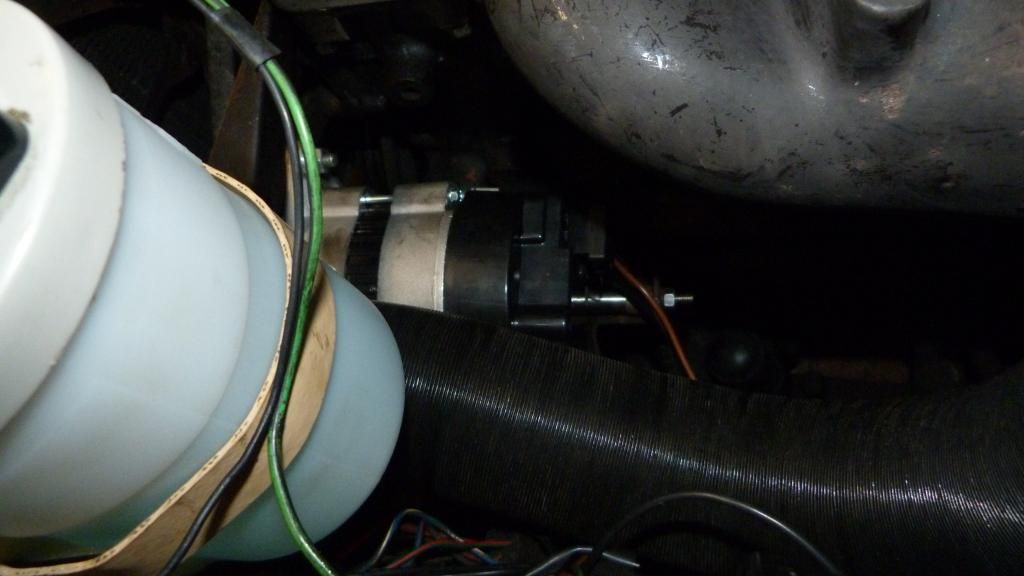
2. Alternator
As original, the car was positive earth and ran a C42 dynamo...design output of which was about 25 amps. It was noticeable that this struggled to keep the battery charged with lights and ancillaries on.
I gave some thought to the Dynalite-type units (that are basically alternators in dynamo clothes) but even these, at about £400, only output around 40A and I wanted a bit more than that for peace of mind so I eventually went for an uprated (55A) Lucas 18ACR. The original pulley needed about 5mm off the locating face. I gutted the R340 control box and rigged it up as a junction box to keep a somewhat original look, ran a new 6 sq mm cable from the alternator to the solenoid post, a 4sq mm cable to the control box, and a 2.5 sq mm cable to the WL terminal for the ignition warning light.
(Apologies for the crap picture quality)
The conversion to negative earth involved a few bits to do:
Fuel Pumps (there are twin tanks on the car, each with it's own SU pump and a changeover switch on the dash) needed conversion. Peter (the previous owner) had already rebuilt one of the pumps as dual-polarity and had kindly included a second rebuild kit with the car. So, as well as the diode, I was able to replace the diaphragm and points on the second pump whilst I was at it.
Radio. The original LW/MW Radiomobile had died at some point in the past so I took it to a local specialist. All the Mullard transistors needed replacing with modern equivalents and the power supply links desoldered and swapped over. I also had an auxiliary input lead added for MP3 input.
Dash Clock. This sits within the tacho and, even, back in the day, failed regularly on Jags. The Kienzle clock in P6's uses an intermittent power feed to wind the mechanism, but the Jaguar clocks don't have this refinement and consequently the contacts burnt out with alarming speed. Apparently, the clock in my car had been replaced twice under warranty but had lain dormant since the third failure. Again I used a specialist (Autoflux in Cornwall) who converted it to negative earth and interposed a bit of electronickery to drive the original mechanism.
Ammeter, Heater Fan, Windscreen Washer Pump, Coil. All connections reversed.
All seems good now. Battery comfortably holding charge....and I get to play my music through the radio!")
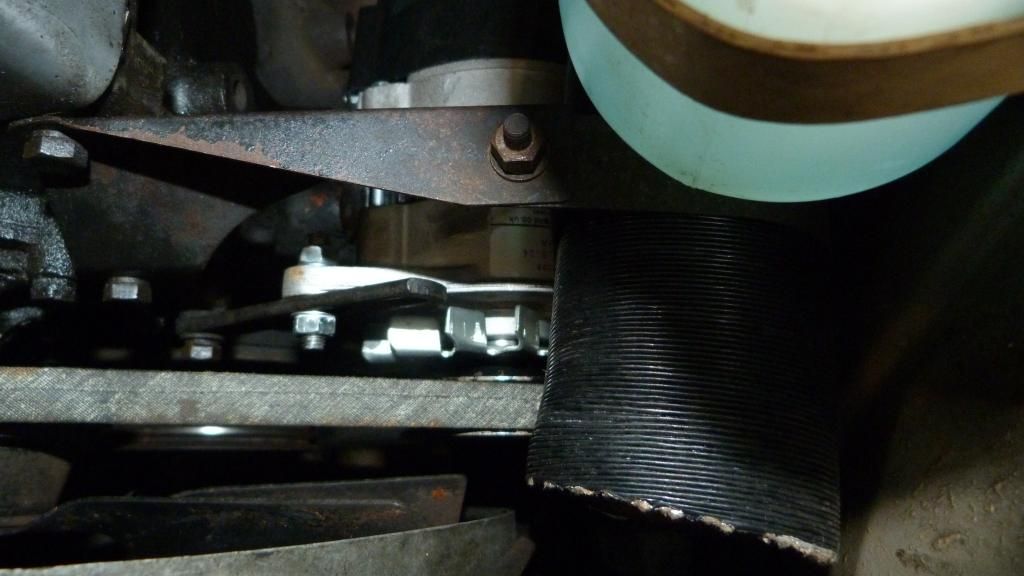
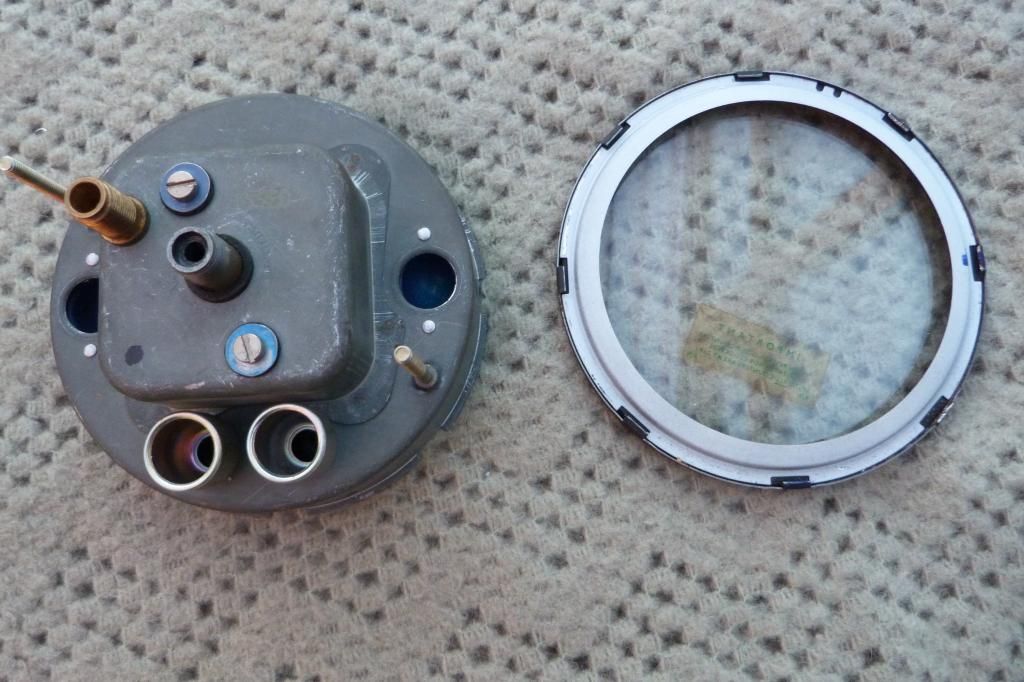
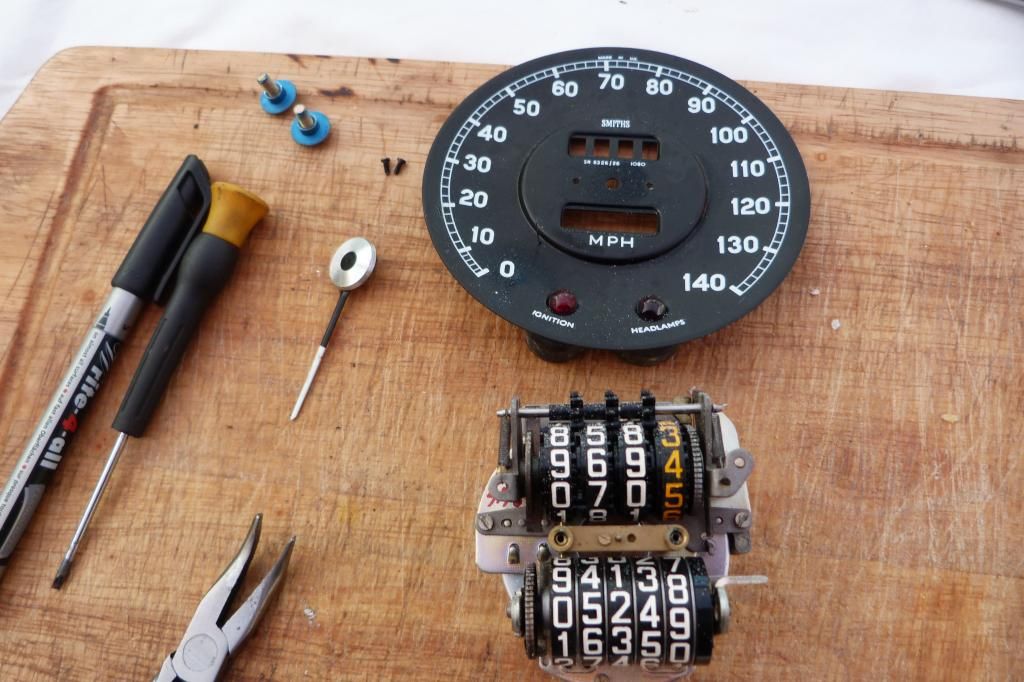
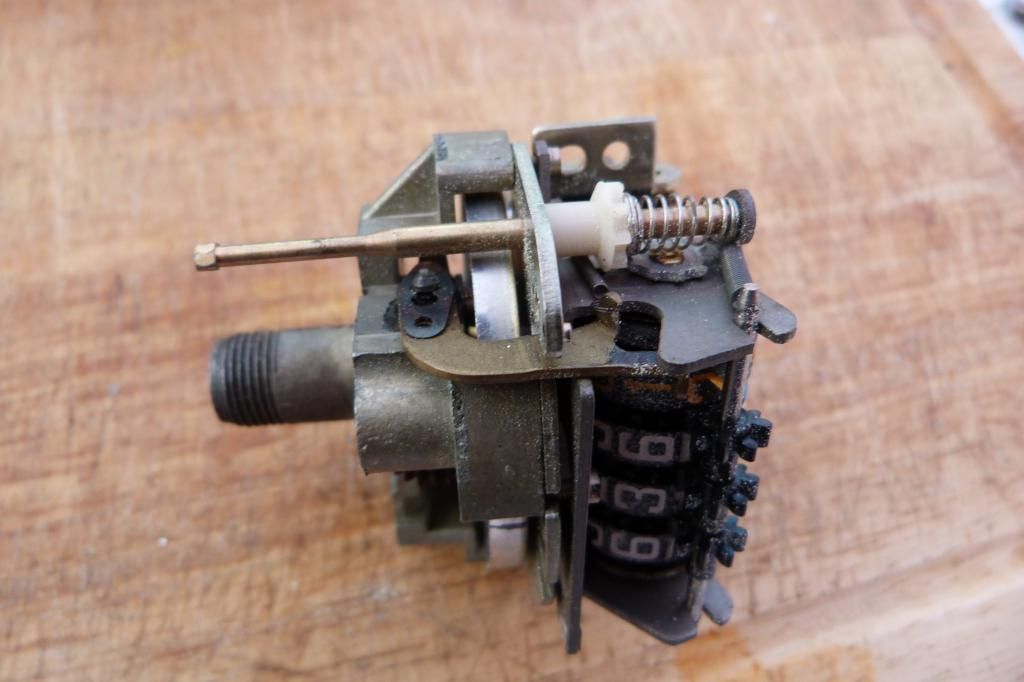
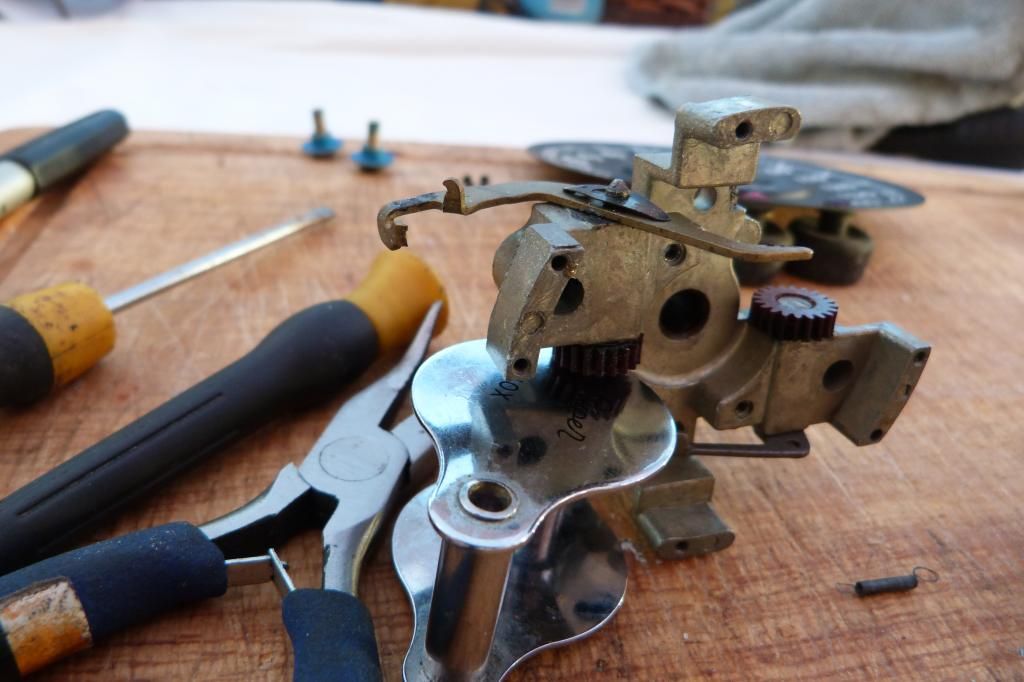
3. Speedometer
Heading down the A6 from Loughborough one evening, the speedometer suddenly died. The cable stub within the angle drive (gearbox end) had sheared off, but the original fault was that the speedo head had seized. :roll: Managed to pick up a similar speedo cheaply off ebay to practise on, so I thought I'd have a go myself. As long as you're not taking the odometer and trip wheel assemblies apart, stripping, cleaning, and lubricating the drive mechanism is not too difficult at all. I was also lucky enough to pick up a good used angle drive for £19.
Recalibrated on the road using a satnav, all seems good now....fingers crossed!
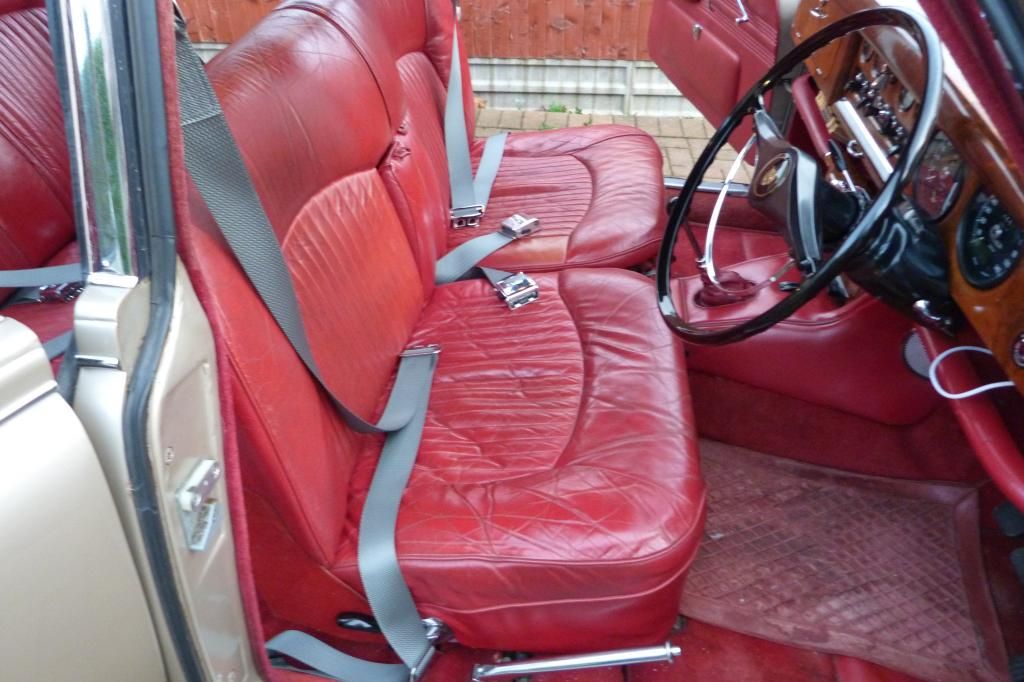
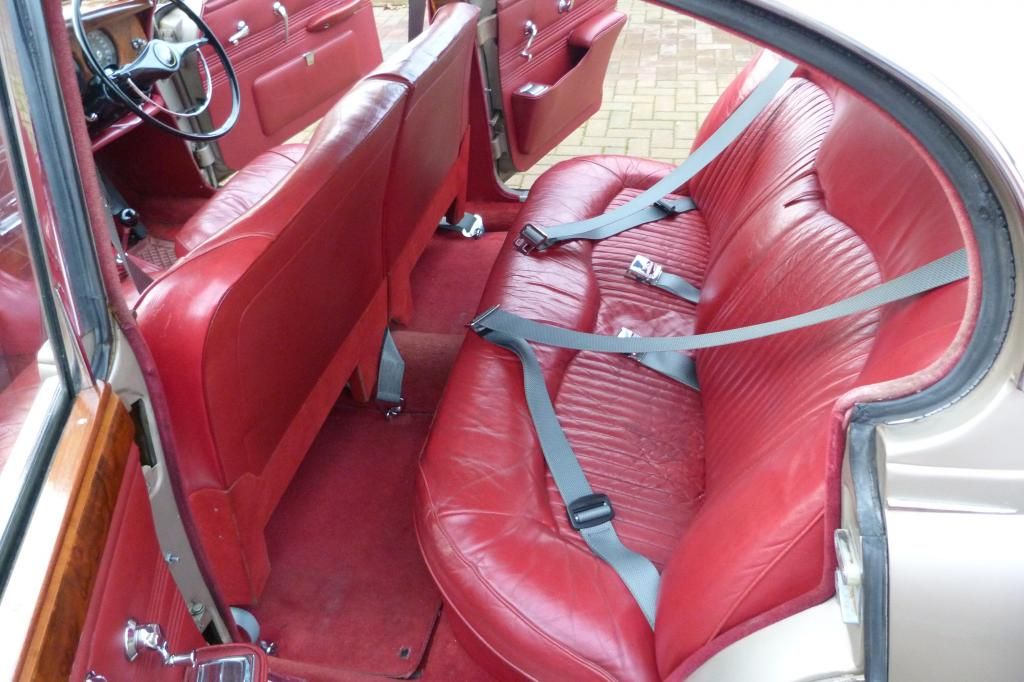
4. Rear Seat Belts
I'm always a little uncomfortable driving an older car without rear belts if there's a potential missile sitting behind me so....next job on the list.
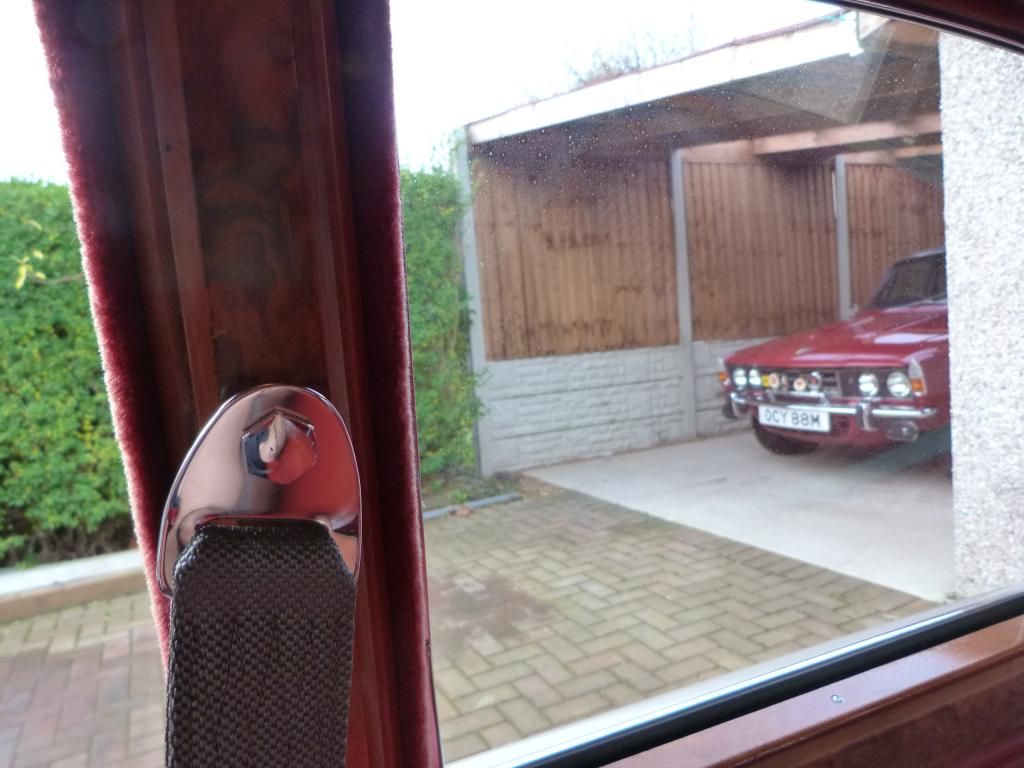
The car was fitted with Britax Lyfe-Lok front belts from new...
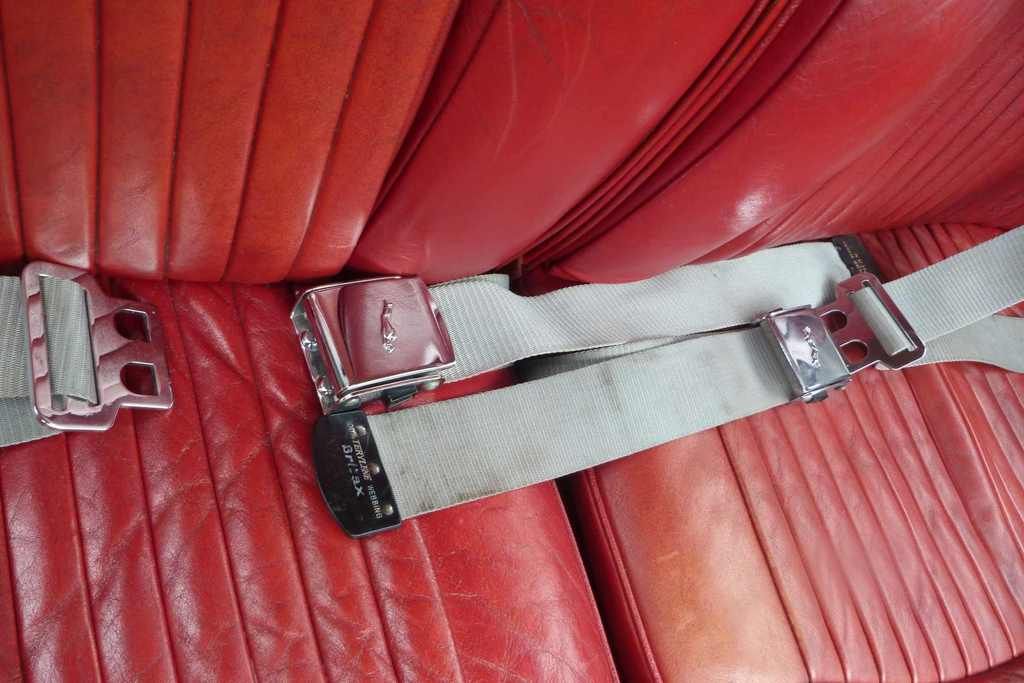
...and I wanted to stick with period static belts so I had a few conversations with various suppliers. At length, I went with FDTS Ltd. Superb service from a long-established Company....I've no connection with them, but I can't recommend them highly enough.
http://www.fdts-seatbelts.co.uk/
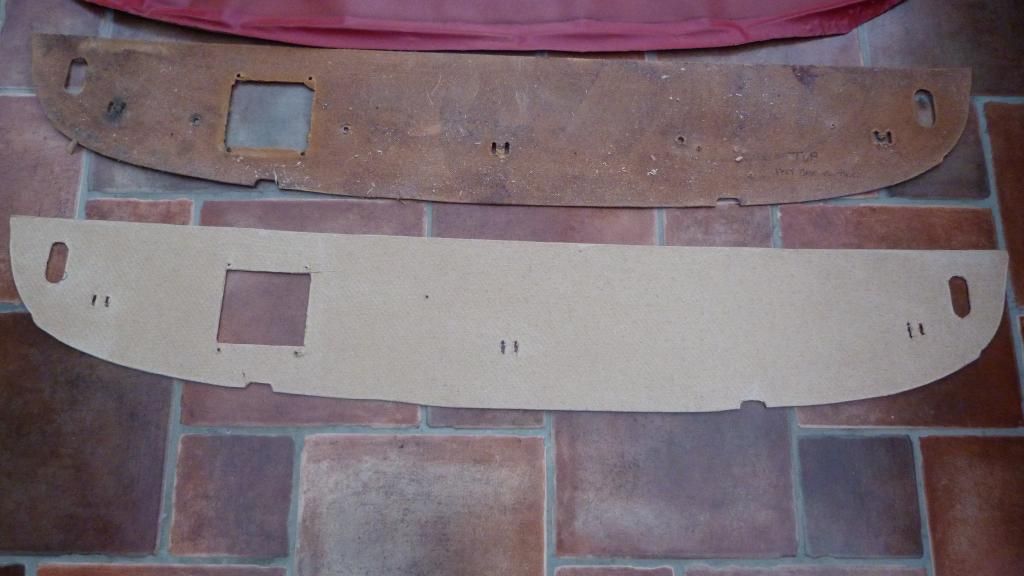
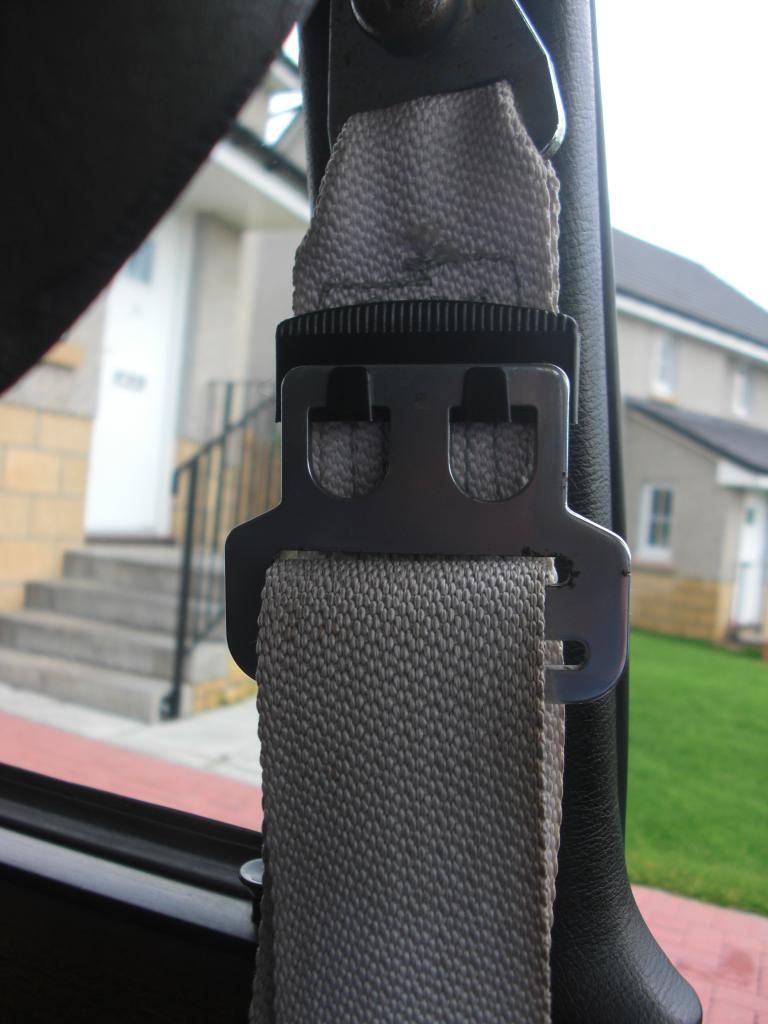
They actually had in stock a pair of rechromed buckles with the leaper logo...so that was a serendipity moment. They re-webbed the front belts and made up a pair of rear belts for me. I had to make a new parcel shelf as the original had been fitted with child seat brackets.
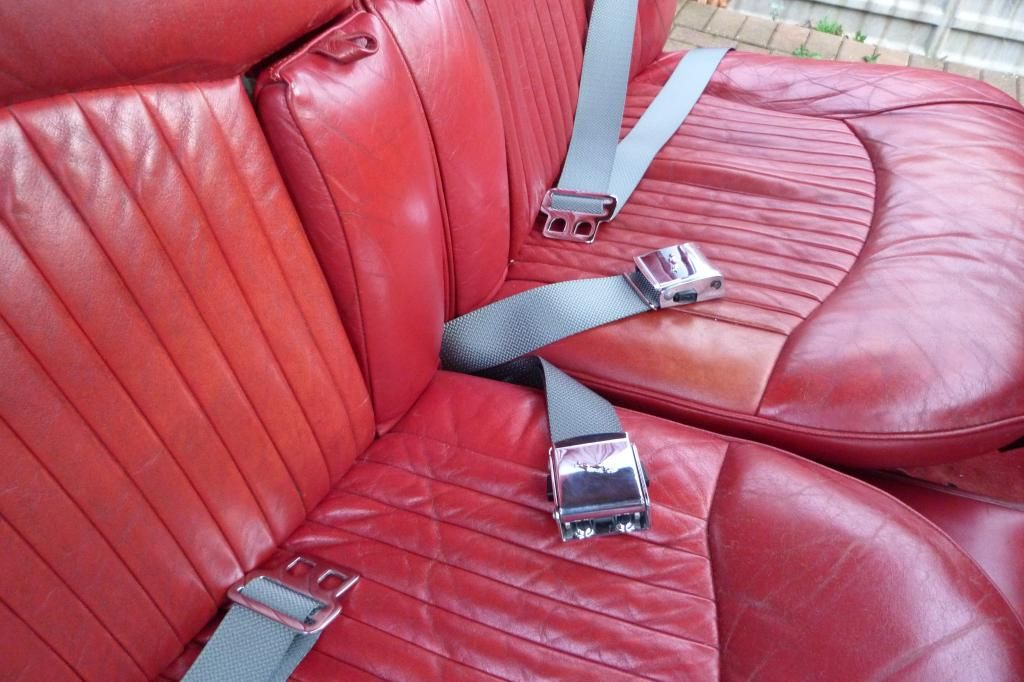
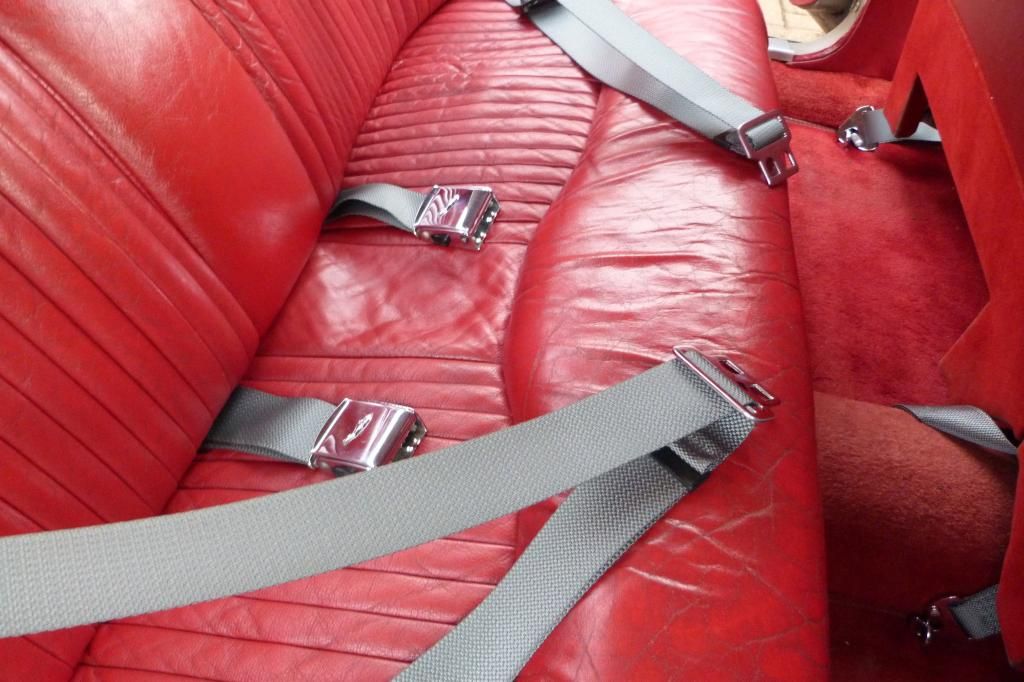
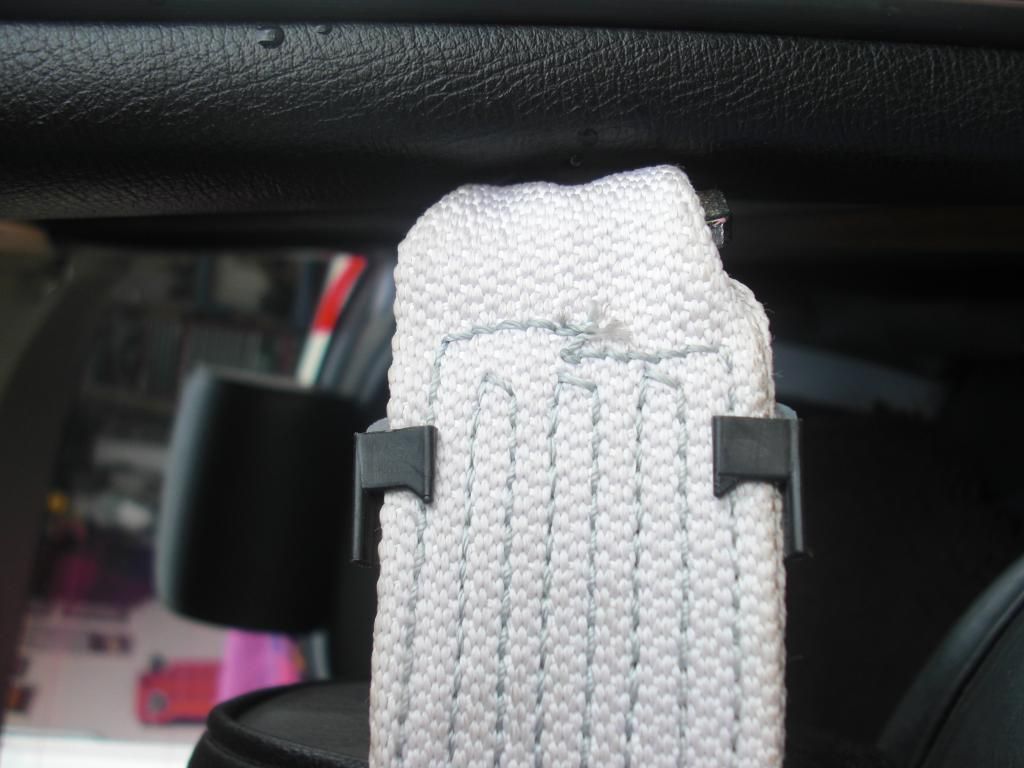
I'm now looking round for 4 clips to hold the tongues, the same as the ones that Dave Forrester picked up on ebay some time ago. So...if anyone has any like these tucked away, let me know please!
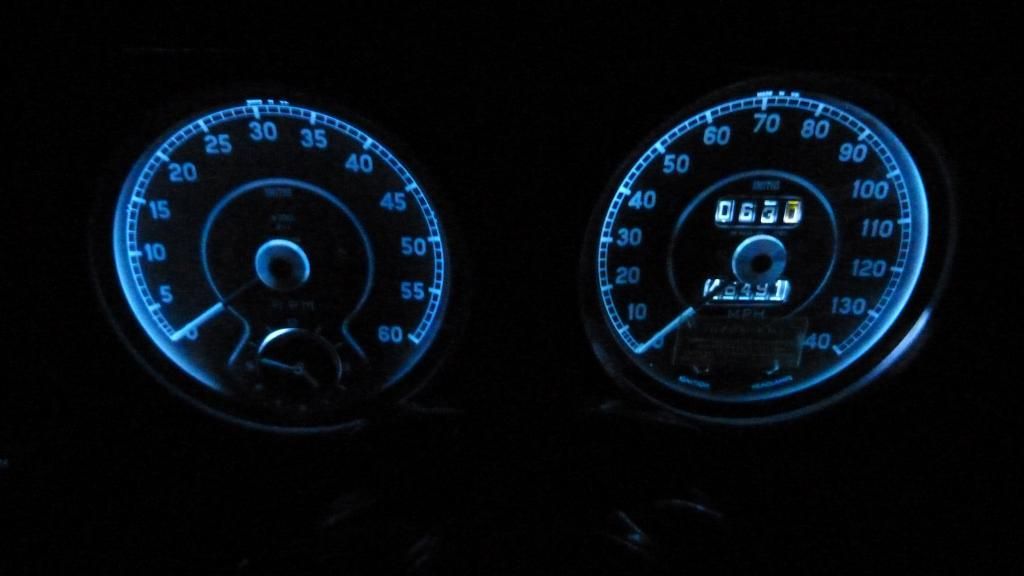
5. Instrument Lighting
There's a dash switch giving Bright and Dim options for this but a better description would have been Quarter-Candle and Half-Candle. Really quite hopeless illumination.
Peter had looked into LED's but, although these are available for positive earth, had refrained from taking the plunge as he'd anticipated a negative-earth conversion at some point.
I got mine from Gil Keane at Better Car Lighting.
http://www.bettercarlighting.co.uk/index.php?act=viewCat&catId=48
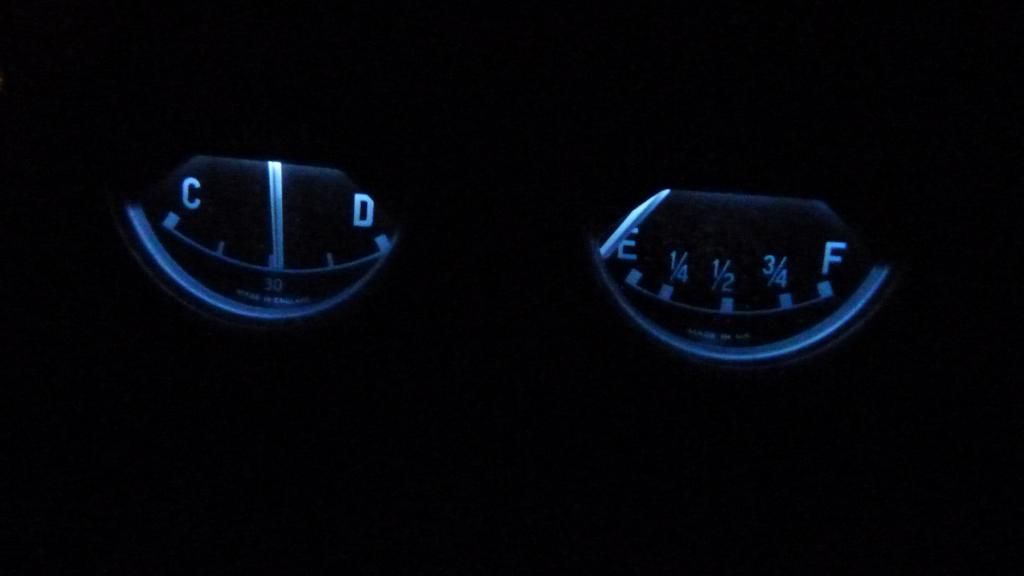
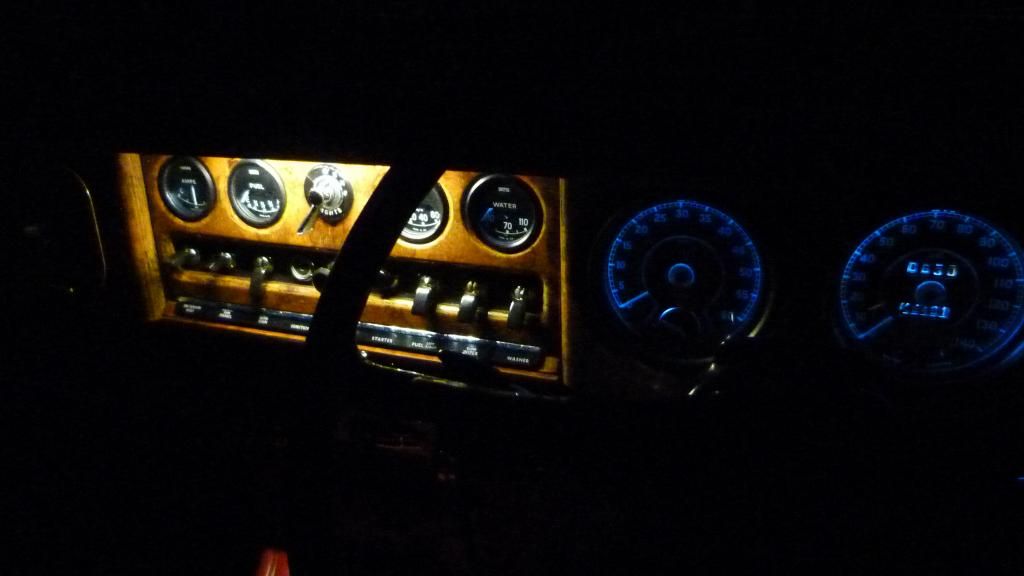
Great chap to deal with, and a really pleasing result. The pics below don't really do justice to how the dash now looks. The instruments have internal blue plastic lenses which explains the blue tinge to the resultant lighting. Also replaced the feeble maplight with an LED strip while I was at it.
(Apologies for the camera shake on the second pic! )


More anon, as this post is probably long enough anyway!
Stan
Some forum members may recall the thread I put up at the time...
http://www.classicroverforum.net/viewtopic.php?f=22&t=19655
Since then, I've changed the engine, gearbox, overdrive, and final drive oils and put about 1200 miles on the clock, but over the winter I've mainly been doing a few repairs and adding some (hopefully sympathetic) improvements.
The car had been laid up since 2008 so there were naturally some gremlins to banish. :roll:
1. Play in the Steering Column
The original top column bush was made of felt and had started to disintegrate, which made for some interest on the 150-mile drive home when I picked the car up.
The column had to come out to replace the bush, so I replaced the lower bush as well.

For anyone with sausage-fingers like mine, working in the engine bay on these cars can certainly spur you to invent even riper language than you might normally utter.
Tools needed to get at the pinch bolt on the lower column...

2. Alternator
As original, the car was positive earth and ran a C42 dynamo...design output of which was about 25 amps. It was noticeable that this struggled to keep the battery charged with lights and ancillaries on.
I gave some thought to the Dynalite-type units (that are basically alternators in dynamo clothes) but even these, at about £400, only output around 40A and I wanted a bit more than that for peace of mind so I eventually went for an uprated (55A) Lucas 18ACR. The original pulley needed about 5mm off the locating face. I gutted the R340 control box and rigged it up as a junction box to keep a somewhat original look, ran a new 6 sq mm cable from the alternator to the solenoid post, a 4sq mm cable to the control box, and a 2.5 sq mm cable to the WL terminal for the ignition warning light.
(Apologies for the crap picture quality)


The conversion to negative earth involved a few bits to do:
Fuel Pumps (there are twin tanks on the car, each with it's own SU pump and a changeover switch on the dash) needed conversion. Peter (the previous owner) had already rebuilt one of the pumps as dual-polarity and had kindly included a second rebuild kit with the car. So, as well as the diode, I was able to replace the diaphragm and points on the second pump whilst I was at it.
Radio. The original LW/MW Radiomobile had died at some point in the past so I took it to a local specialist. All the Mullard transistors needed replacing with modern equivalents and the power supply links desoldered and swapped over. I also had an auxiliary input lead added for MP3 input.
Dash Clock. This sits within the tacho and, even, back in the day, failed regularly on Jags. The Kienzle clock in P6's uses an intermittent power feed to wind the mechanism, but the Jaguar clocks don't have this refinement and consequently the contacts burnt out with alarming speed. Apparently, the clock in my car had been replaced twice under warranty but had lain dormant since the third failure. Again I used a specialist (Autoflux in Cornwall) who converted it to negative earth and interposed a bit of electronickery to drive the original mechanism.
Ammeter, Heater Fan, Windscreen Washer Pump, Coil. All connections reversed.
All seems good now. Battery comfortably holding charge....and I get to play my music through the radio!
3. Speedometer
Heading down the A6 from Loughborough one evening, the speedometer suddenly died. The cable stub within the angle drive (gearbox end) had sheared off, but the original fault was that the speedo head had seized. :roll: Managed to pick up a similar speedo cheaply off ebay to practise on, so I thought I'd have a go myself. As long as you're not taking the odometer and trip wheel assemblies apart, stripping, cleaning, and lubricating the drive mechanism is not too difficult at all. I was also lucky enough to pick up a good used angle drive for £19.
Recalibrated on the road using a satnav, all seems good now....fingers crossed!


4. Rear Seat Belts
I'm always a little uncomfortable driving an older car without rear belts if there's a potential missile sitting behind me so....next job on the list.
The car was fitted with Britax Lyfe-Lok front belts from new...

...and I wanted to stick with period static belts so I had a few conversations with various suppliers. At length, I went with FDTS Ltd. Superb service from a long-established Company....I've no connection with them, but I can't recommend them highly enough.
http://www.fdts-seatbelts.co.uk/
They actually had in stock a pair of rechromed buckles with the leaper logo...so that was a serendipity moment. They re-webbed the front belts and made up a pair of rear belts for me. I had to make a new parcel shelf as the original had been fitted with child seat brackets.


I'm now looking round for 4 clips to hold the tongues, the same as the ones that Dave Forrester picked up on ebay some time ago. So...if anyone has any like these tucked away, let me know please!


5. Instrument Lighting
There's a dash switch giving Bright and Dim options for this but a better description would have been Quarter-Candle and Half-Candle. Really quite hopeless illumination.
Peter had looked into LED's but, although these are available for positive earth, had refrained from taking the plunge as he'd anticipated a negative-earth conversion at some point.
I got mine from Gil Keane at Better Car Lighting.
http://www.bettercarlighting.co.uk/index.php?act=viewCat&catId=48
Great chap to deal with, and a really pleasing result. The pics below don't really do justice to how the dash now looks. The instruments have internal blue plastic lenses which explains the blue tinge to the resultant lighting. Also replaced the feeble maplight with an LED strip while I was at it.
(Apologies for the camera shake on the second pic!
)


More anon, as this post is probably long enough anyway!
Stan


