Hi iwish,
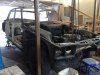
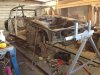
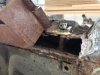
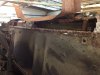
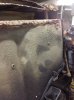
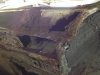
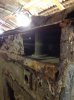
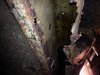
From an Australian ( corrosion ) point of view, that looks like a very big job. Look forward to seeing your catalogue of progress.
Ron.
From an Australian ( corrosion ) point of view, that looks like a very big job. Look forward to seeing your catalogue of progress.
Ron.
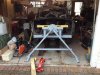
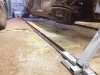
 I'd reserve judgment on condition until you've scraped off all the old underseal.