Rear of floor pan repair panels.

Hi All!,

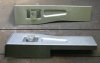
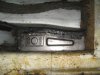
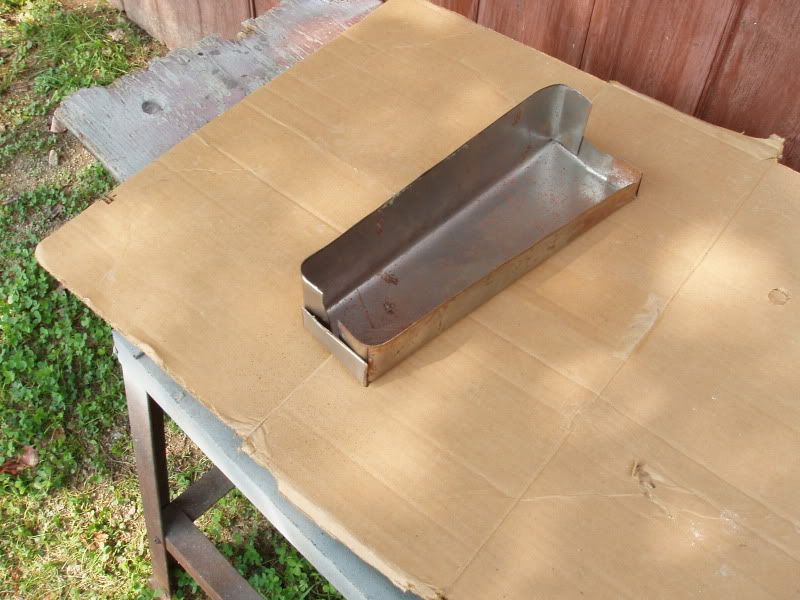
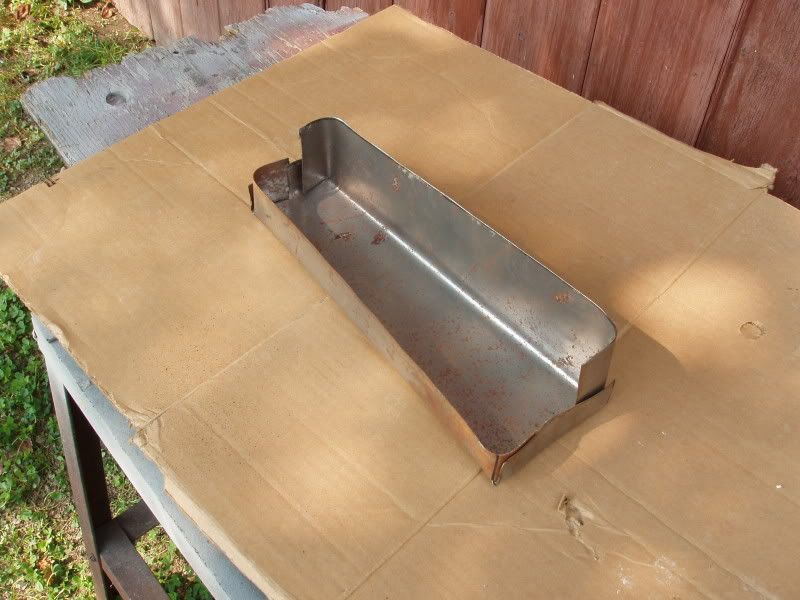
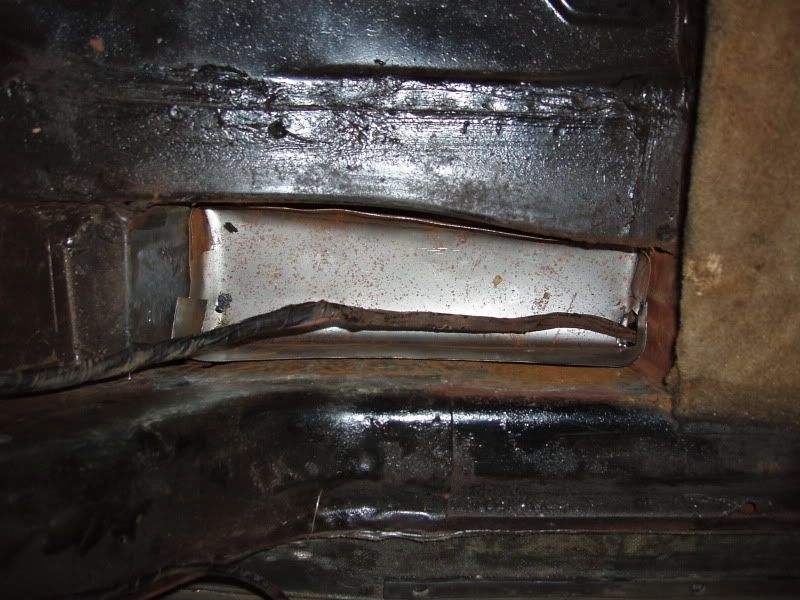
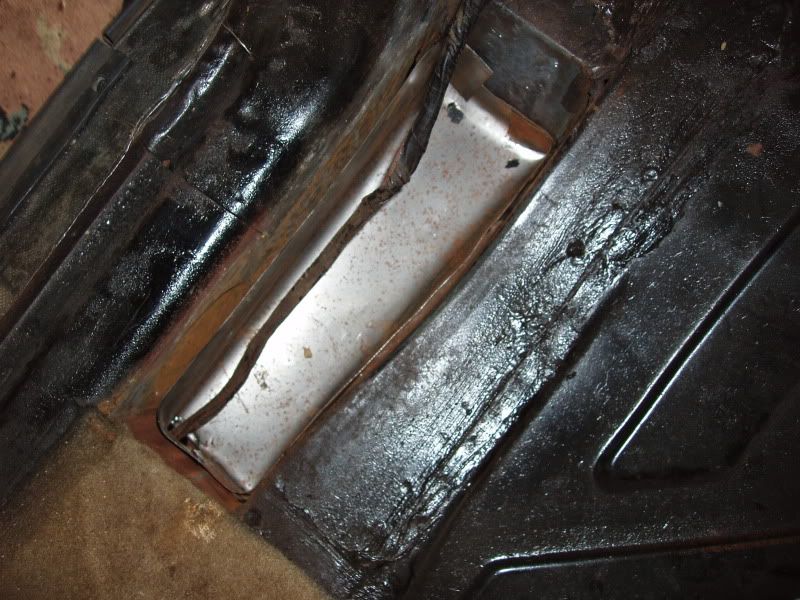
I have just made a batch of 3 pairs of P6 rear floor / side repair panels as close to the original specification as I could manage, complete with the mounting bracket used only during assembly at the factory.
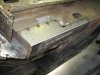
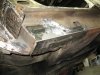
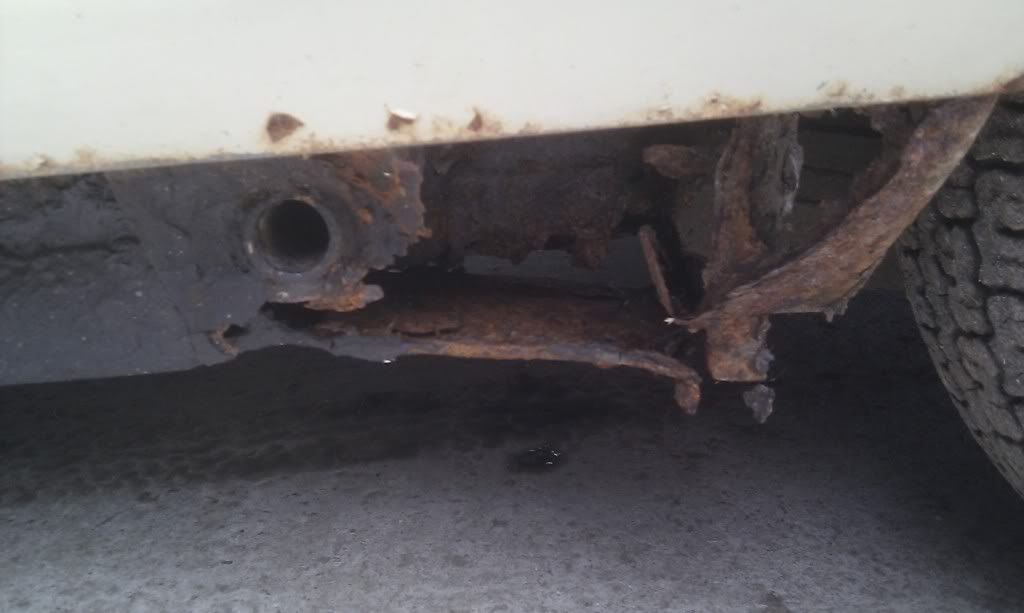
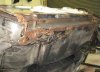
These were not cheap to produce, the blanks were laser cut, the press tools had to be specially made etc., however they do give the original factory look to the bottom of the well area under the ends of the rear seat, a very common rot spot as we know.

The following pics will explain all.

They are made in 1.2mm steel and are £25 each if anyone is interested, and charging myself the same that still works out at a slight loss for me, but hopefully someone will benefit.
I have used one pair on my own base unit, and have 2 of each side left to sell - when they are gone, I will not be making any more!.

Sorry for posting them here and not in 'for sale' but I thought here might be more relevant.
 

Attachments

  • 001.JPG
    001.JPG
    45.5 KB · Views: 1,784
  • 010.JPG
    010.JPG
    66.8 KB · Views: 1,783
  • 011.JPG
    011.JPG
    76.3 KB · Views: 1,783
  • 013.JPG
    013.JPG
    76.1 KB · Views: 1,783
That is seriously impressive! I wish I had seen this before I asked the question about mine just now. the areas repaired look alost identical to the tin worm on mine.

You think it would be ok for this? :shock:

IMAG1431.jpg
 
Hi Graham,

I've just read your previous post and PM, thanks.
My panels will most probably fix the rot in your rear floorpan corners, but bear in mind my photos are taken with the complete inner sill, D' post and jacking tube removed - what you are looking at is the vertical side of the floor pan pressing, not the sill.

Looking at your pics, and as someone else said, your inner sill has been repaired before along it's bottom edge with angle section welded (I would say) over the rust holes. To get in and repair this properly is going to be quite a big job, involving at least a new inner sill panel, and could open a can of worms of other rot areas like the lower edge of the floorpan, but work through it all in stages and you will be pleased with the result.

It will all be worth it and once done and rustproofed should never need touching again.

Here is the area with the complete inner sill and D' post fitted.....


And here just the complete inner sill has been roughly removed, exposing the side of the floorpan pressing, which despite looking quite sound in this pic is actually rotten almost it's full lower edge length.....
 

Attachments

  • Inner sill fitted.JPG
    Inner sill fitted.JPG
    81.7 KB · Views: 1,694
  • Inner sill removed.JPG
    Inner sill removed.JPG
    80.9 KB · Views: 1,694
Thanks very much for those great pics....they clearly show the areas that I need to work on as well. I have been over the whole underside of the car i have given it a good tap with the old toffee hammer and the only sections of sill that are horrendous are the one photographed. the rest of it is solid. The angled section that you spotted looks like a localised bodge repair as it doesn't run the full length of the sill, I can see where that section ends

Therere has been quite a bit of more recent welding in other sections. It is well covered up and sealed. I will check the sections before i commit to buying your panel, but I am still keen.

I am not after a perfect repair. Just itching to get it on the road just now, i may be able to fabricate something will get it down to good metal and see what is required. I don't really need the jacking tubes so can probably dispense with them.
 
At the risk of costing myself a sale, you can fabricate the area very simply using just flat plates, and it will do the job just fine.
I went to the effort to make the repair look factory original, which was a costly and time consuming exercise, but not necessary for a car you just want to use and enjoy. I would buy yourself a sheet of steel and get stuck in with the welder!
 
Those are exactly the areas I am working on at present. My idea is a complete box section which will fit up inside the old from beneath and be welded to the remaining good metal. Should have pics within the next two weeks
 
That would be great to see. I will hopefully get round to doing something in the next few weeks as well
 
Hi ERF,

Would I be able to put my name on a pair??

Will start posting pictures of my "ground up" 3500S restoration progress to date as soon as I have sorted out a host for my pictures taken to date.

Regards

Antony
 
MadAnt said:
Hi ERF,

Would I be able to put my name on a pair??

Will start posting pictures of my "ground up" 3500S restoration progress to date as soon as I have sorted out a host for my pictures taken to date.

Regards

Antony

Hi Antony,

Yes, I have one pair left available.
Please PM me if you definately want them, and I will reserve them for you.

Thanks,
Martin.
 
As mentioned, a more simple steel box section will do if you do if you only have a hammer and some steel. It looks like this:
BoxsectionRover002.jpg


BoxsectionRover001.jpg


This should fit down in the hole and be welded to the remaining good metal
 
Hi Martin,

PM appears to be playing up as both of my messages sent yesterday to confirm payment are still in my out box.

Can you see if you can PM me back your preferred payment method details please.

regards

Antony
 
Back
Top