Ruskie the 3500s

I can't put my hands on my tap and die set, I want to give the threads a clean out before I put the heads back on.

The sump needed a tidied up after I treated it with acid a few weeks back. I have given it a couple of coats of black epoxy mastic.

548671919ce84c60219bfb262d57a976ea25c918e0af71e6974ea4f7516b78ce286df515.jpg


129803256b7c4159bfe6e16b3f9919dd1fbaa1a8d52a6409626aca0a77d181198461c530.jpg


This is the first I have used the replacement compressor to do any spraying so will be interesting to see what it looks like when the epoxy dries.
 
I can't put my hands on my tap and die set, I want to give the threads a clean out before I put the heads back on.

Get a bolt with the correct thread and stick it in your vise. Cut the bolt lengthways at an angle to create a flute in the bolt shank, turn it 2 flats and repeat for a quick and easy thread chaser.
 
I cannot believe how time passes so quickly.

The heads went back on before christmas, then it pretty much rained of was too cold to work even in the garage.

I have taken this week off and the P6 has been getting sometime. Nothing to exciting just putting the engine back together.

The timing cover has had the high capacity gear upgrade, new relief valve and rope seal replaced with the neoprene version. Easy jobs just a little bit of drilling and deburring.

298400454b5d43e9345108f97565accd1ecd927ed39338b015f295d99ae02bcbe233a155.jpg

81929548770d57311bdda3986a5ac0f632947a470a6cc5741636aef8c8bb0076fb428e4e.jpg


New timing chain set

4710977741e488fb4f0ba6f039e745a66a385139e5e6c91962249b32f8c52fc588d52842.jpg


All 16 of hydraulic followers stripped and cleaned out.

76097530d44da5fa854cc7a00aaeda64fe12822a404146c70e2e48c4fa3a4612384f1f54.jpg


09906835b503837710c19d4b77cde8ca603a138e0a7faf19811e123abc468e7c54b9ee0e.jpg


The Rocker shafts and arms were stripped and clean, there wasnt much sludge in them but worth cleaning and blowing them out with an air line. Also blew air through the oil gallery.

96956236f7cf1d382b7745609f348cd24498904752c37e6a3c82a02a73eb7fc34143f9e7.jpg


981566824a5256783f496f3499e9e00647288358b332a55f8831c66d2f4e6c95cf642feb.jpg


The rocker covers in the photo were powder coated about 6 years ago. A concern I have is that they did the insides. I tried to get the coating off an it was an absolute mission. Went back to see the company today any they say it is fine. Not convinced myself but have got a spare set I will use for now.

Will need to start building up the inlet manifold. There are a few parts missing in action but hopefully they will turn up.
 
Last edited:
Not a bad bit of work done this week, I have had to spend a bit of time hunting for parts I have put in safe places. Still missing the timing pointer from the timing cover but this might turn up.

Have been a bit disappointed with the stainless bolt kit I bought years ago, some of the bolts arent quite right so I have had to clean and re-use the originals.

My plan once the engine is back running is to remove the engine and box, strip and re-paint the engine bay. This is the main reason I have left of my refurbished carbs and manifold, they will go on when all the messy things have been done which may be a while.

The rocker covers I picked up as an interim fit were disgusting, it looked like the engine they were on hadnt seen an oil change in 200,000 miles. I eventually got the crud off with some white spirt and elbow grease.

52772202d80625c34ee687d4f645be35e1df465442cadc4af3237815411754e32c231cb0.jpg


I primed the oil pump with a drill until I could see fresh oil getting to the rocker shafts. I them spent ages trying to get the distributor to line up with the oil pump.

It doesnt look pretty but should be ready to fire up. I will rig up a fuel can for now as I want to get the tank cleaned as I have no idea what it is like in side.

226495275e3f76ed9a4af222d545359ab6b45a118fce1d7b0ae6698f1a700837fc2feabe.jpg
 
Was close to getting the engine fire up but was thwarted by a couple of things.

The hi torque starter I have bought has the solenoid at the top so doesn't fit. I managed to get the old one running again but quite frustrating as I bought it back in 2016/2017, it will be a spare for my P5 though. Part number is GXE4442X so if you buy one please check the orientation.

60631073e68728bebe9b55a7fabc6d827d76b5795c95f3b7931e394220ed33c3d49de890.jpg


The other thing that prevented me from getting the engine starter was junk parts. The points in my refurbed distributor werent making contact with the cam, whilst trying to adjust them, not even very forcefully the spot welded screw fell off. Why cant anyone make parts that are worth fitting? I have found some NOS points for now but will be fitting some electronic points later.

13427028df384d37272ad6bd75aae97deabe6f7d4b5c26f628cf00b99b63a717698b05c6.jpg


Despite these set backs it was a good weeks holiday from work and a bit of motivation to get the car on the road.
 
I need a bit of help with this.

The new points arrived which should be correct for the late P6 35d8 distributor with the round plate.

717291282826071ad2ab54eb41cfe0731d72b11624d883ae18b7ca2d68c068c44409e30d.jpg


624705502db343e92fce8b16285b256fde3772771db835e75b5d13a60f56adb9092c273b.jpg


Like the ones that fell apart there is not enough adjustment to get the points to open. I have a spare distributor (old points are long gone) and it is the same.

79729112bb6aefbeefef564d0df9cb45780ec3bb1c7a4ab56ef2613e14fc99b6642187bd.jpg


Any ideas? it is like I need a few mm on the plastic or adjustment screw.

Cheers
 
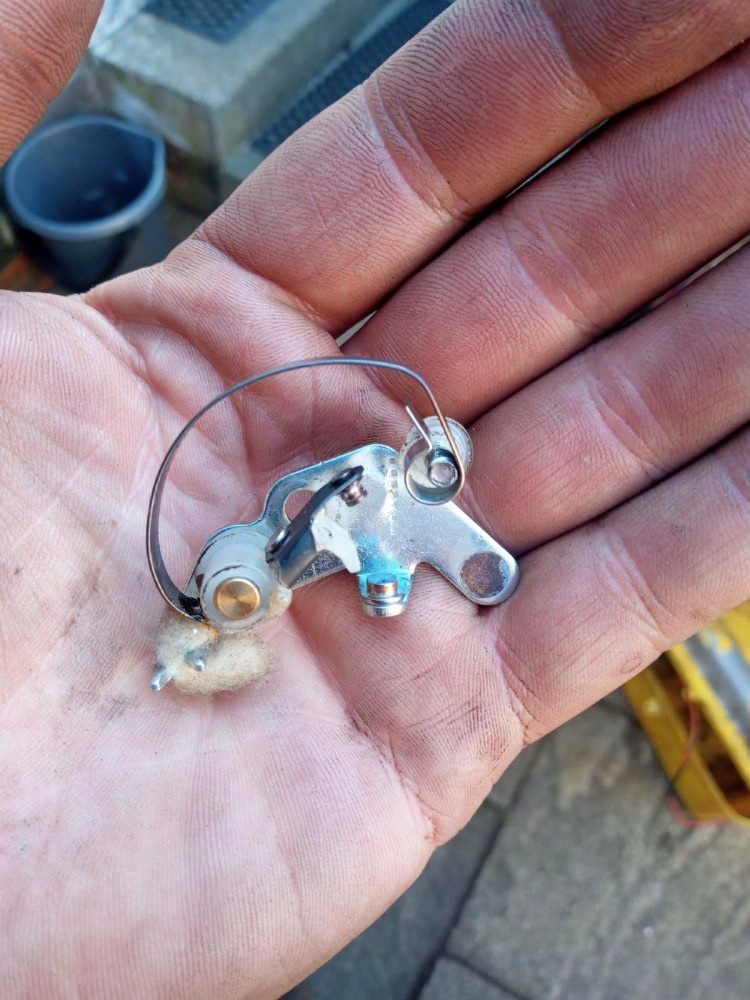
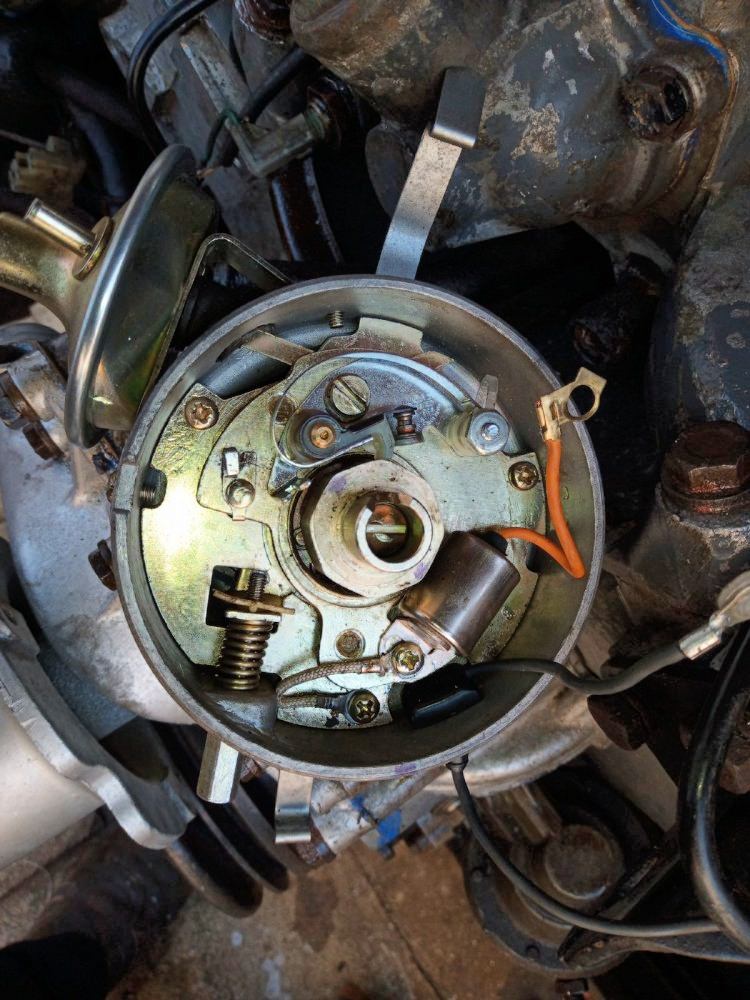
I was able to get the points operating but had to pack the adjustment screw with washers, which isnt right.

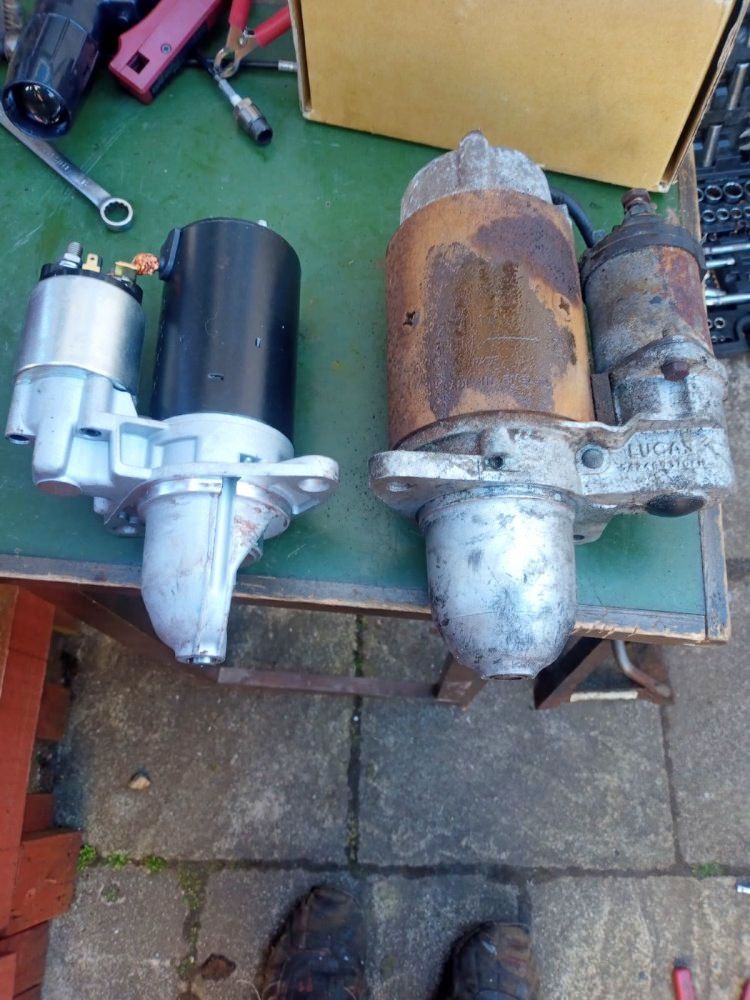
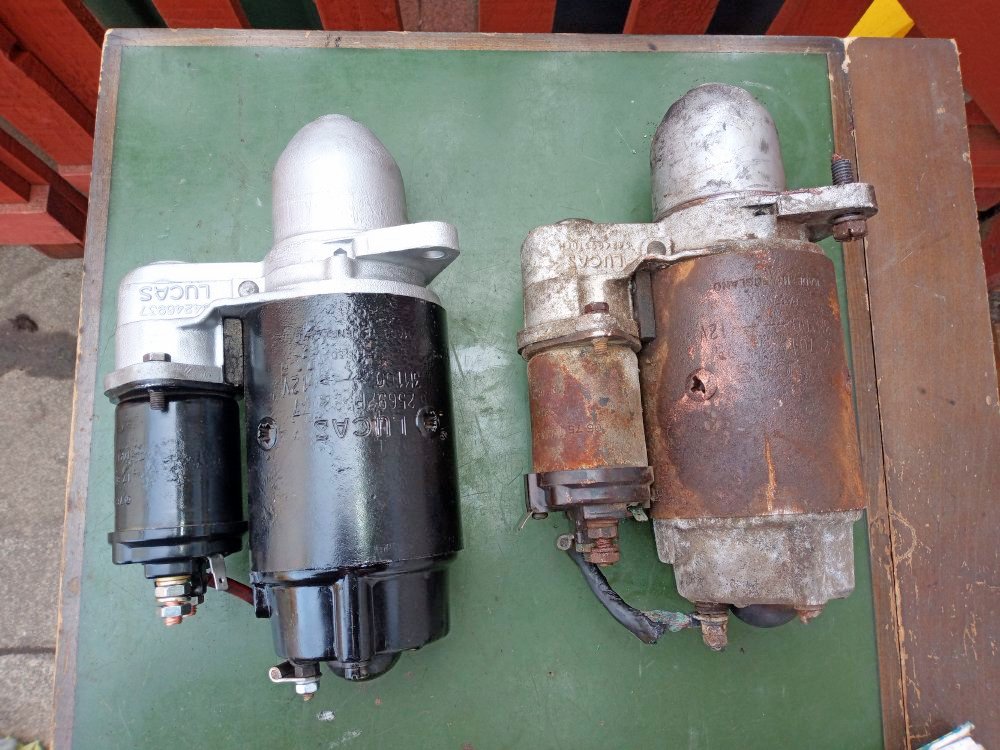
Then I couldn't get the car to start and ended up knackering the starter.

Managed to get covid and it as taken me a few weeks to get back into it.

I pick up a secondhand starter but the solenoid was faulty so I dropped it off at Prolek who are the only place in Glasgow that refurbishes alternator and starters. I will take my original in and have it refurbished as a spare along the alternator.

78234919cdc155629a52f8319a8c4f793bcf4ab20fb5dc6f96e5750a6e959d2c1691bc19.jpg


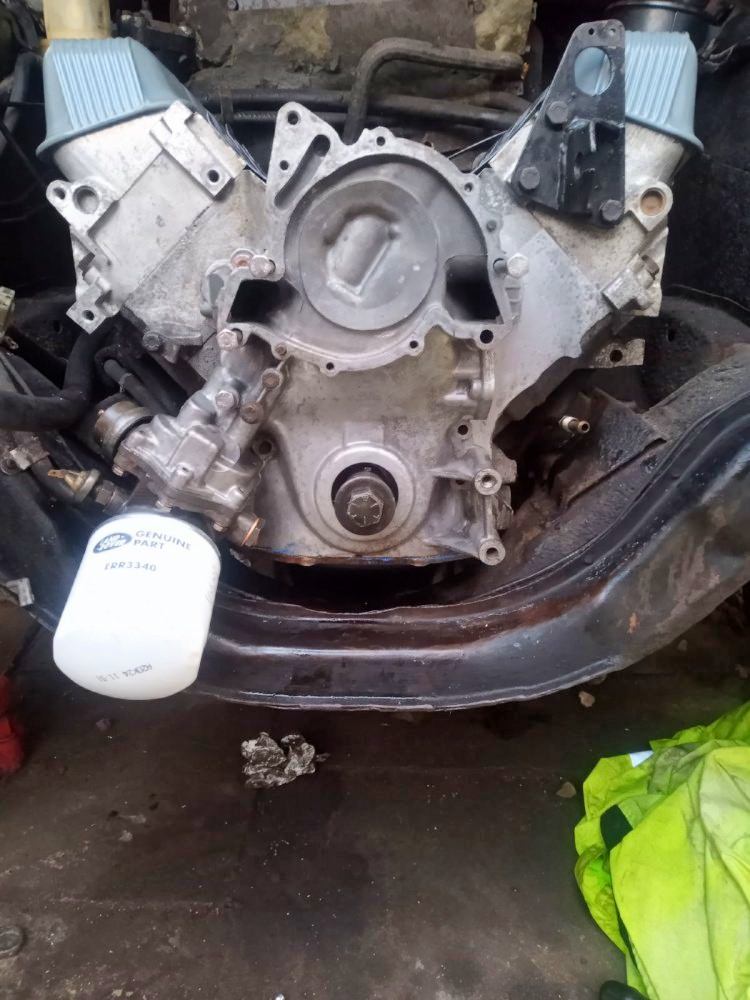
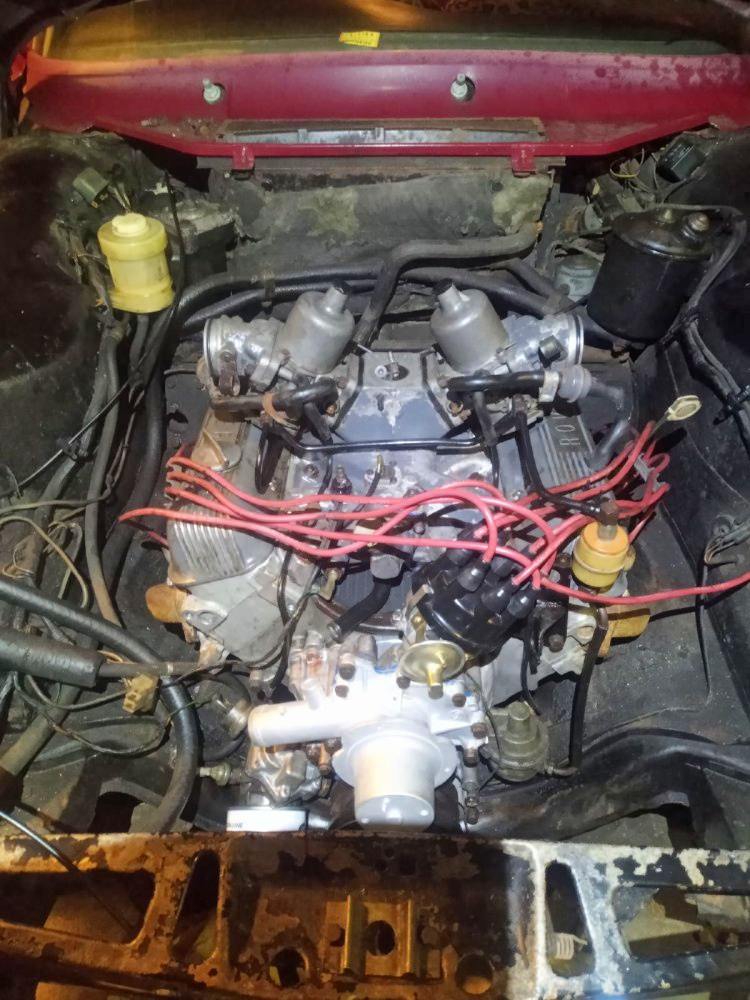
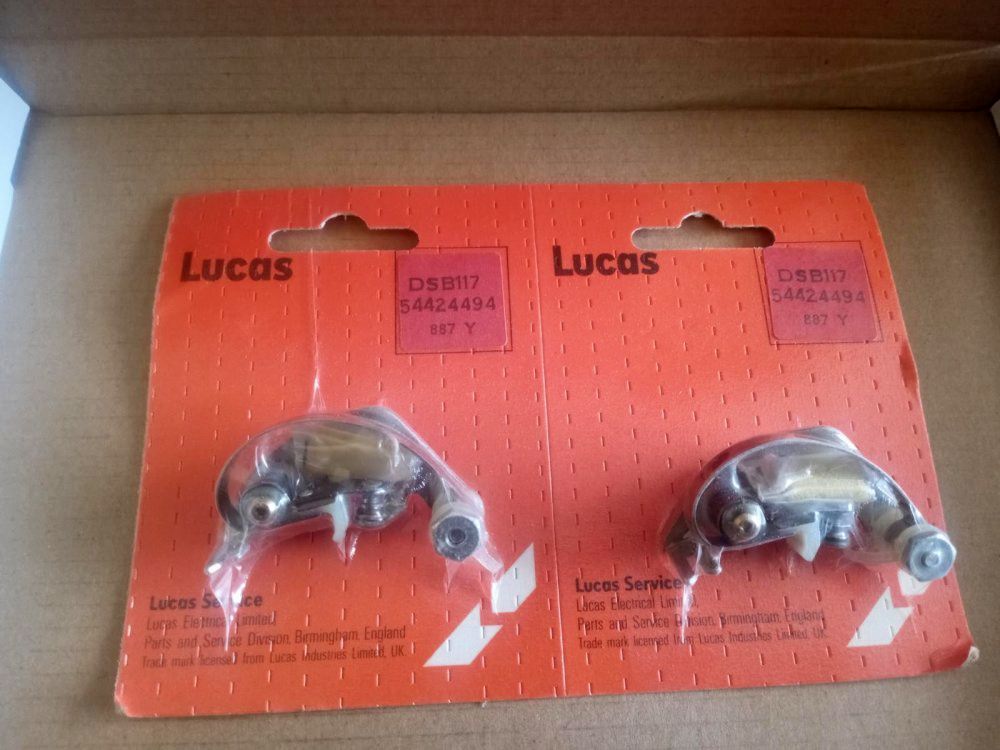
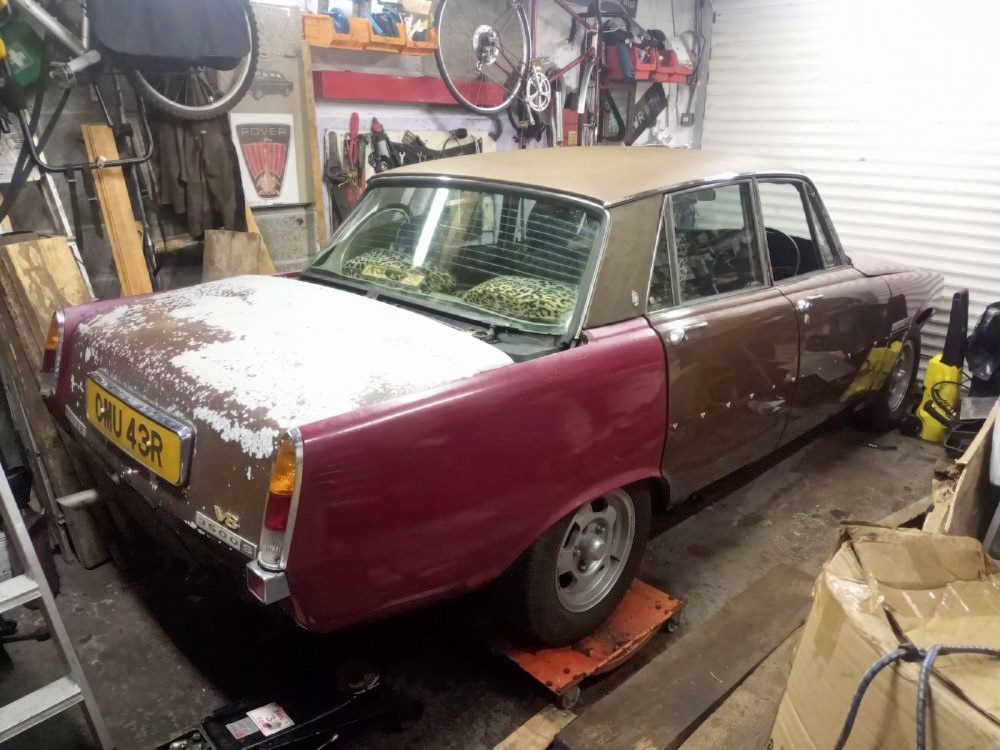
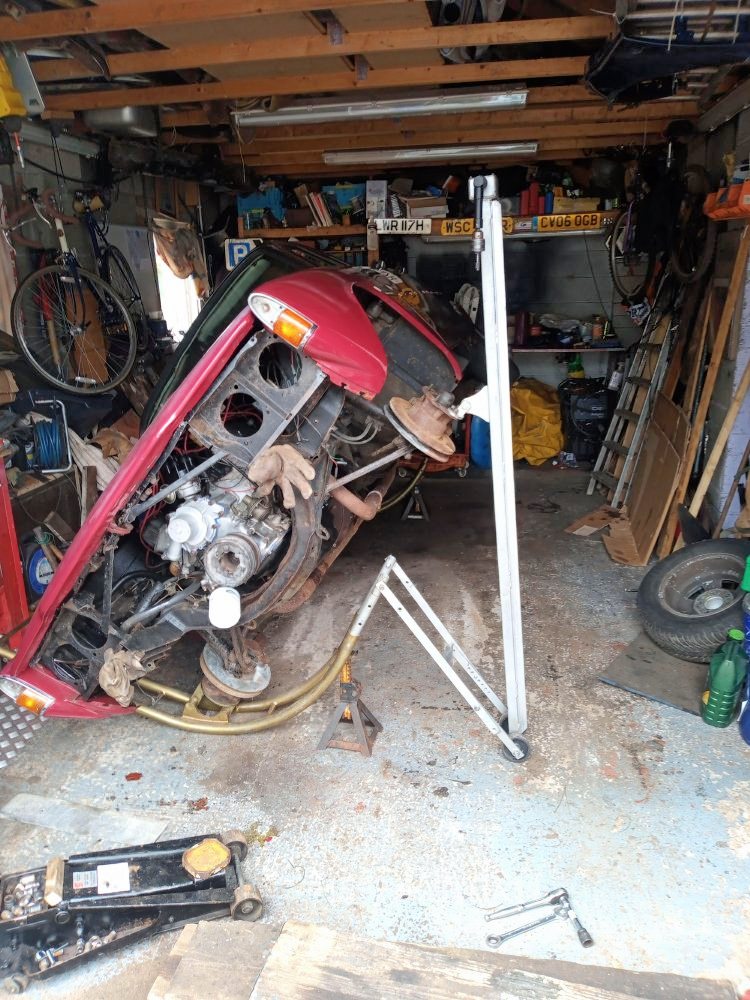
So today I was under the bonnet, fitted the starter and electronic points. I hadn't intended to do it just now but they couldn't get a solenoid cap with the 12v feed to the coil. This wasnt a problem as I told the guy I was converting to a 12v coil. I have powered the coil using the screen washer pump feed for now but will wire it in properly later.

It took a bit of messing about but eventually it fired up. I have rigged up a remote switch which saves having to get an assistant or using questionable methods to activate the starter.

371076644620acf0f84c25cabc3169ba805a049a5da4a85655b803d8b5766e0746d8e373.jpg


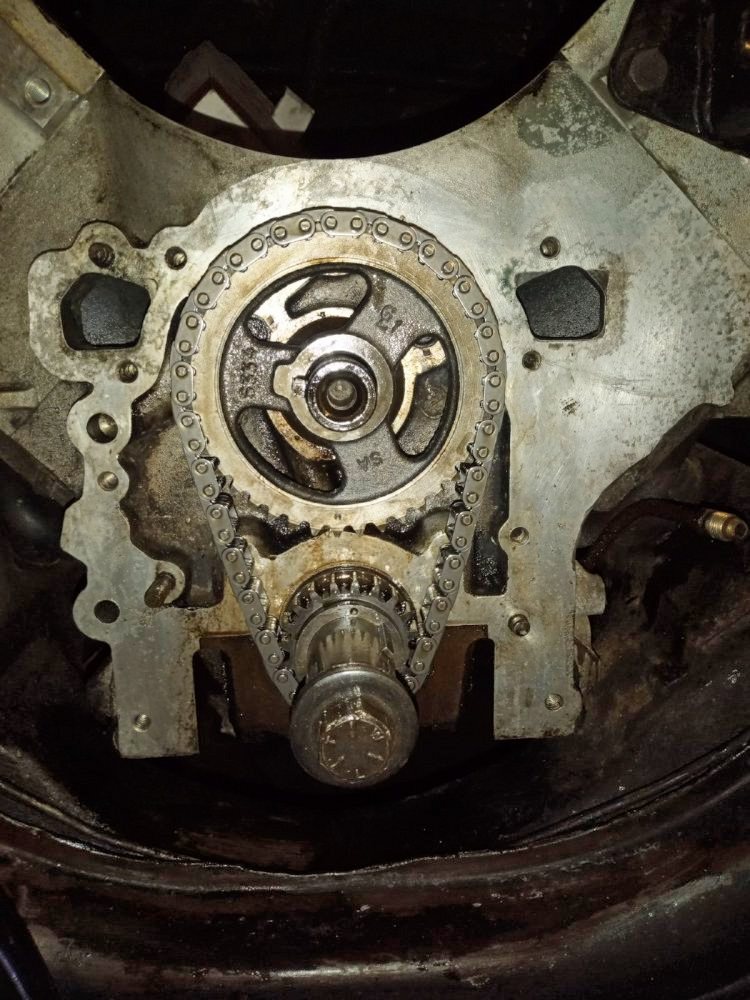
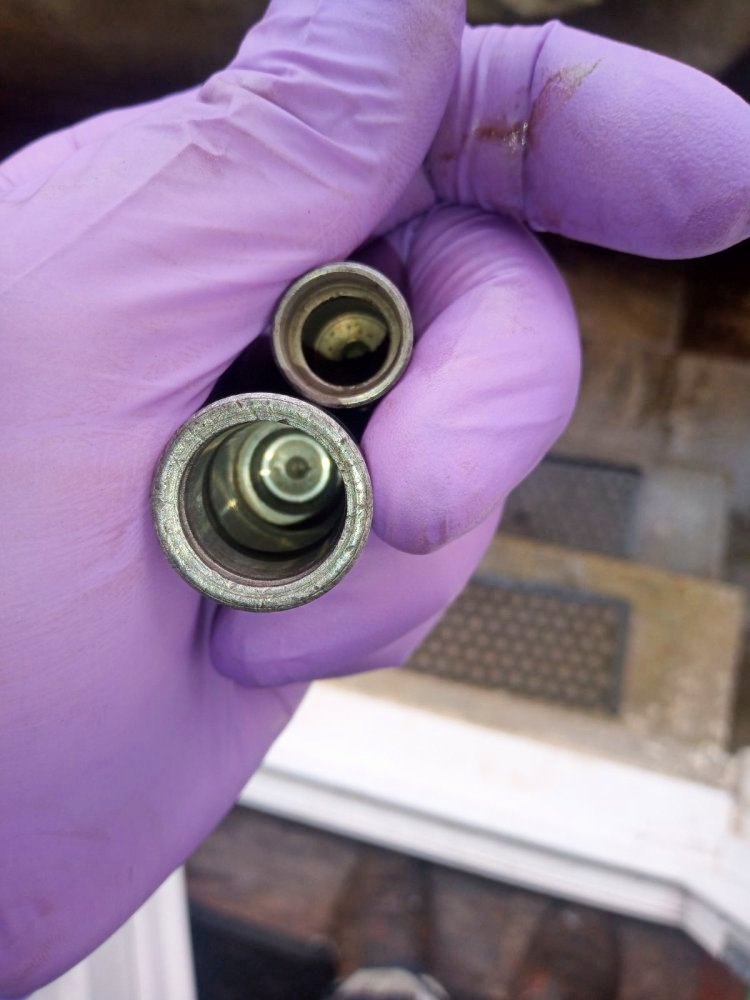
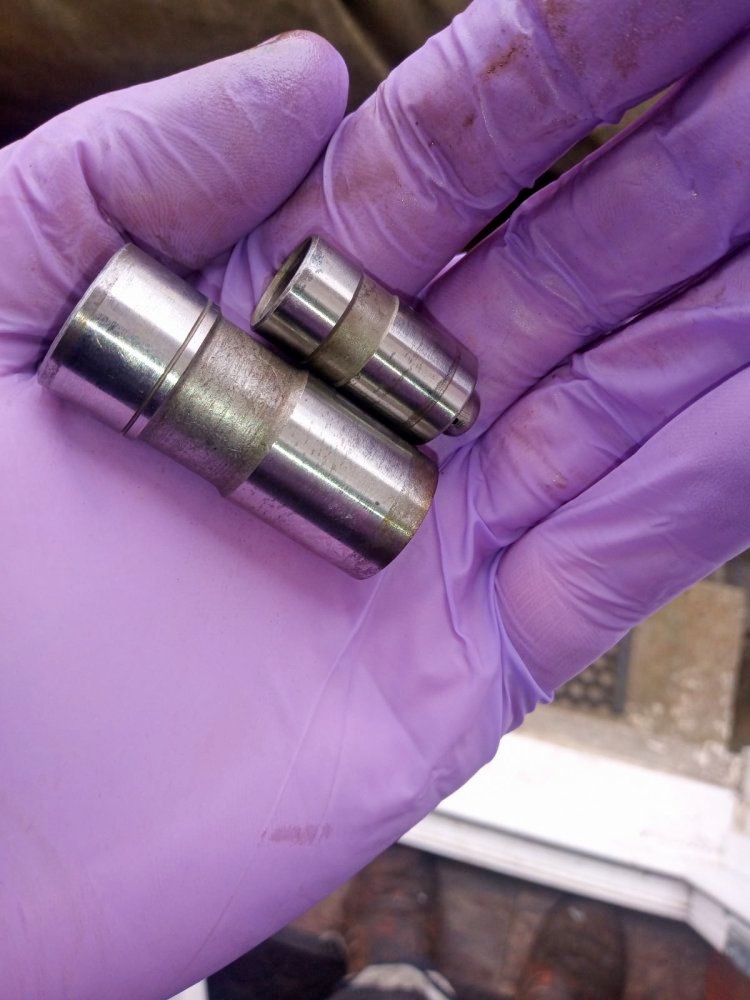
There was a fair bit of smoke coming out of the exhaust but it was the first time in the 6 years I have had it that it has ran and I think the previous owner only briefly ran the engine due to a stuck oil pressure relief valve.

2284556178a01d80857b2078182a984e366735abf48d5bfa1600a0da948f0e392cc25c72.jpg


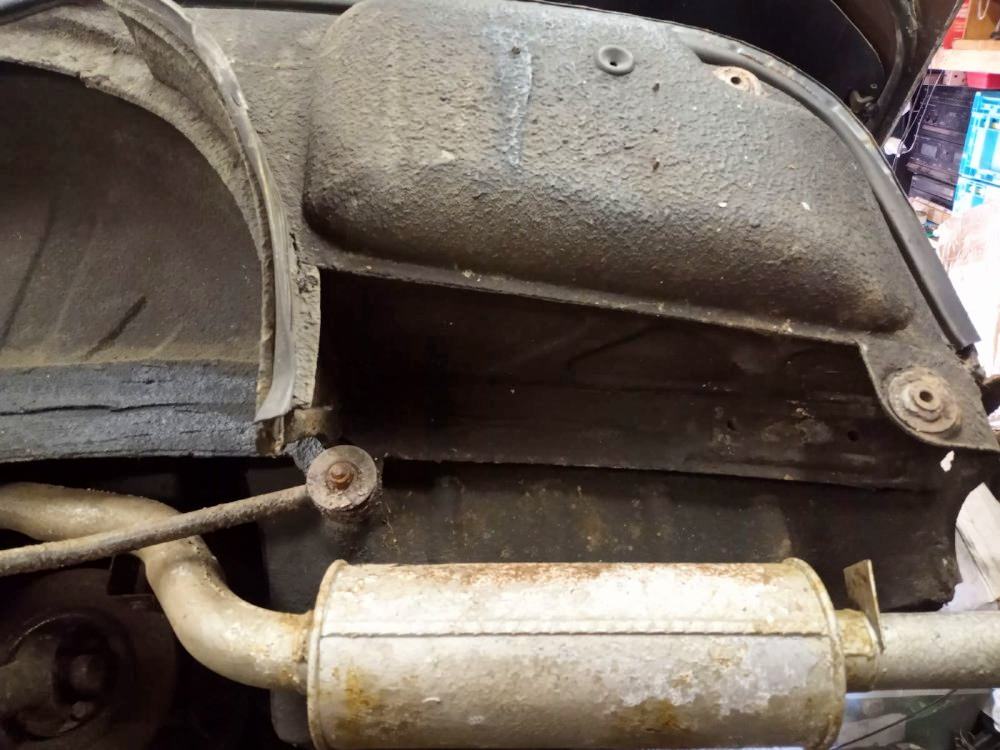
I need to reconnect the cooling system before I run the car for any length of time, also my neighbours bedroom window is near the exhaust so I don't want to be an inconsiderate neighbour.

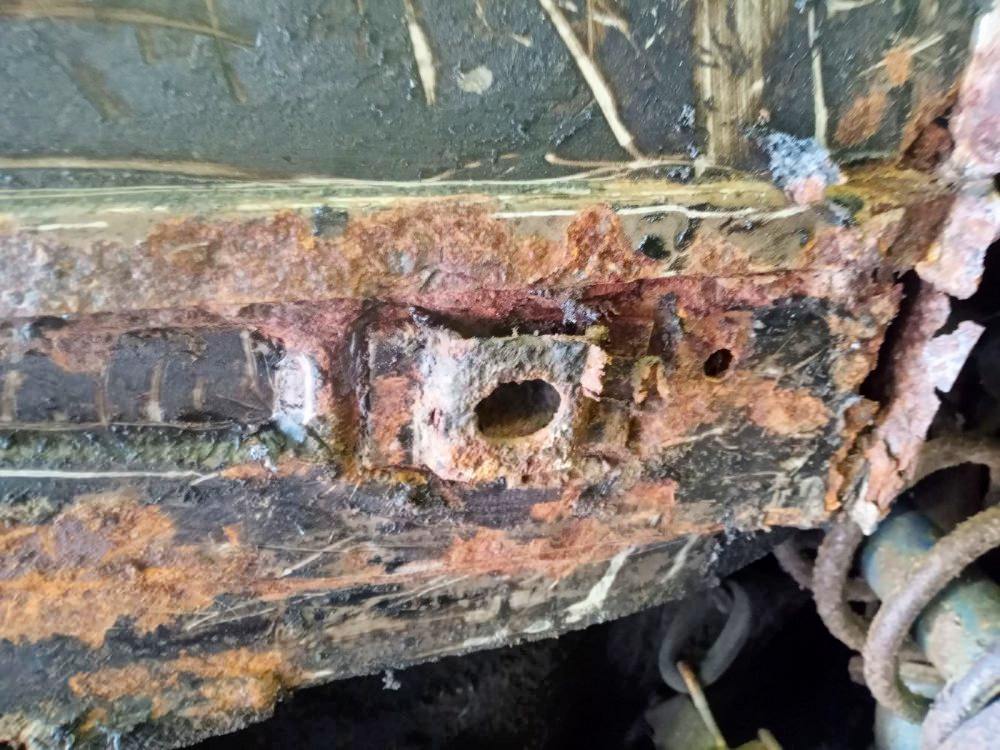
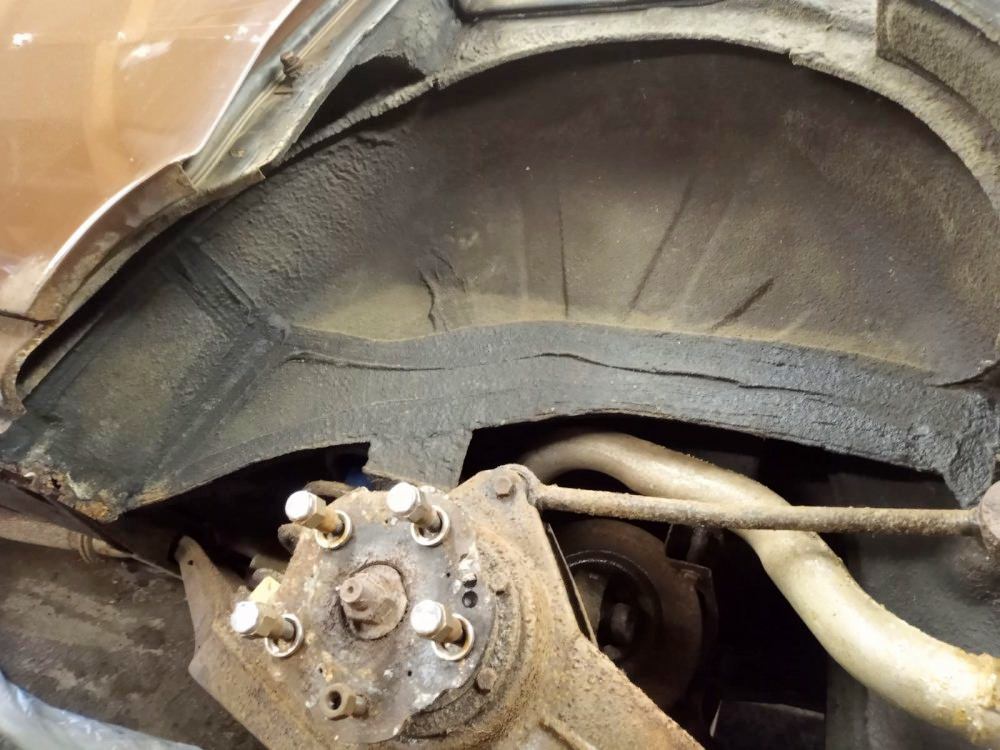
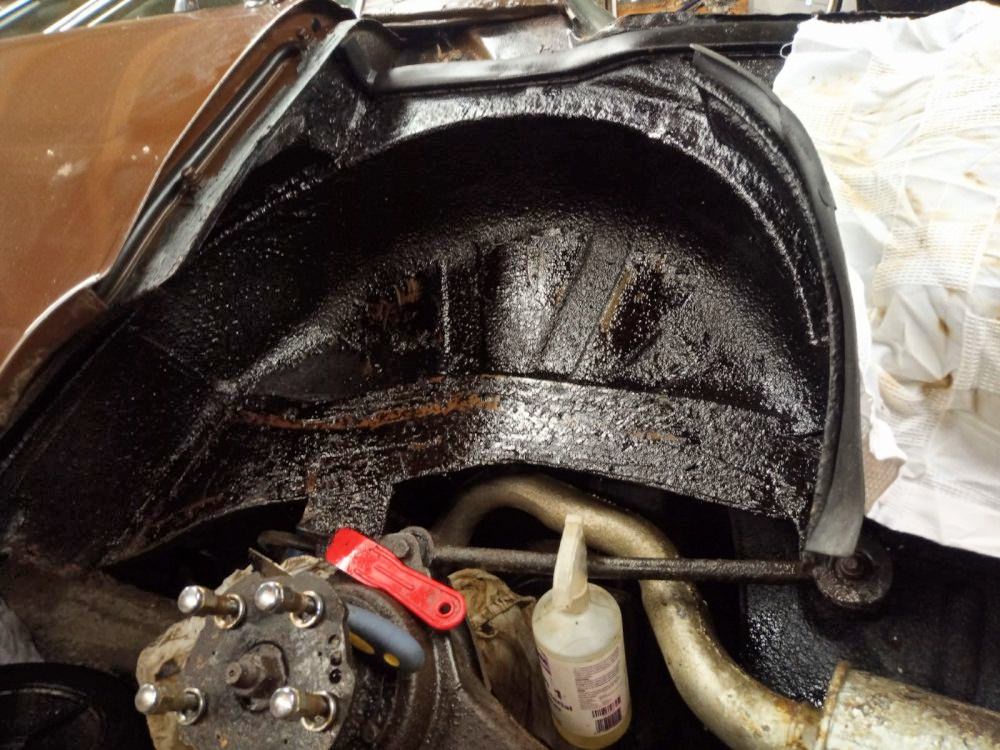
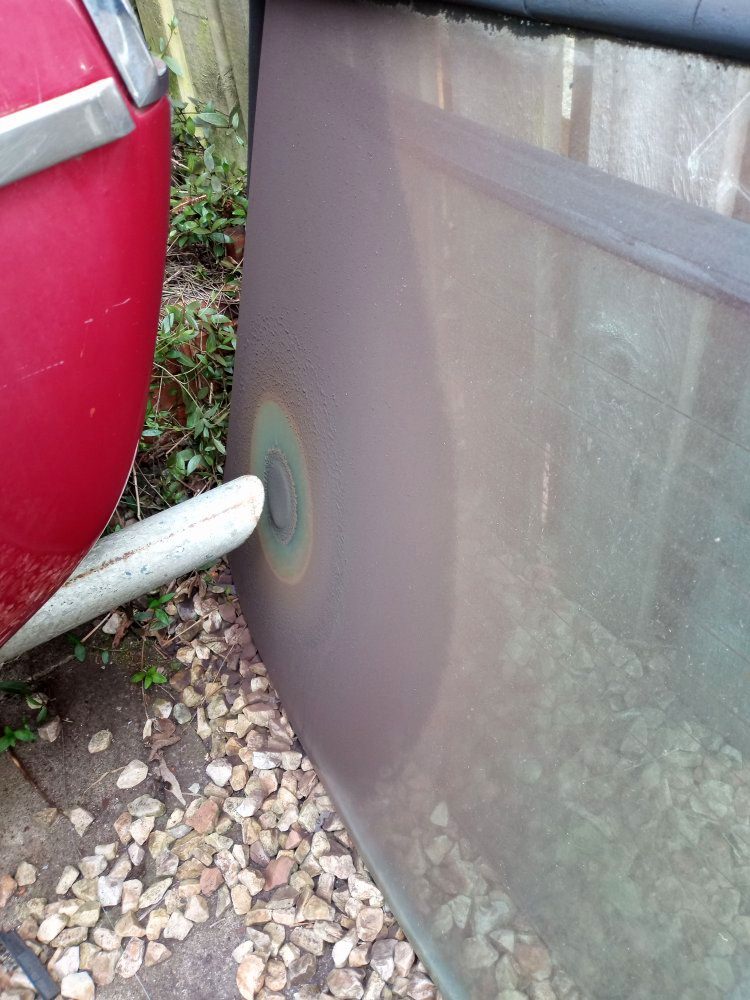
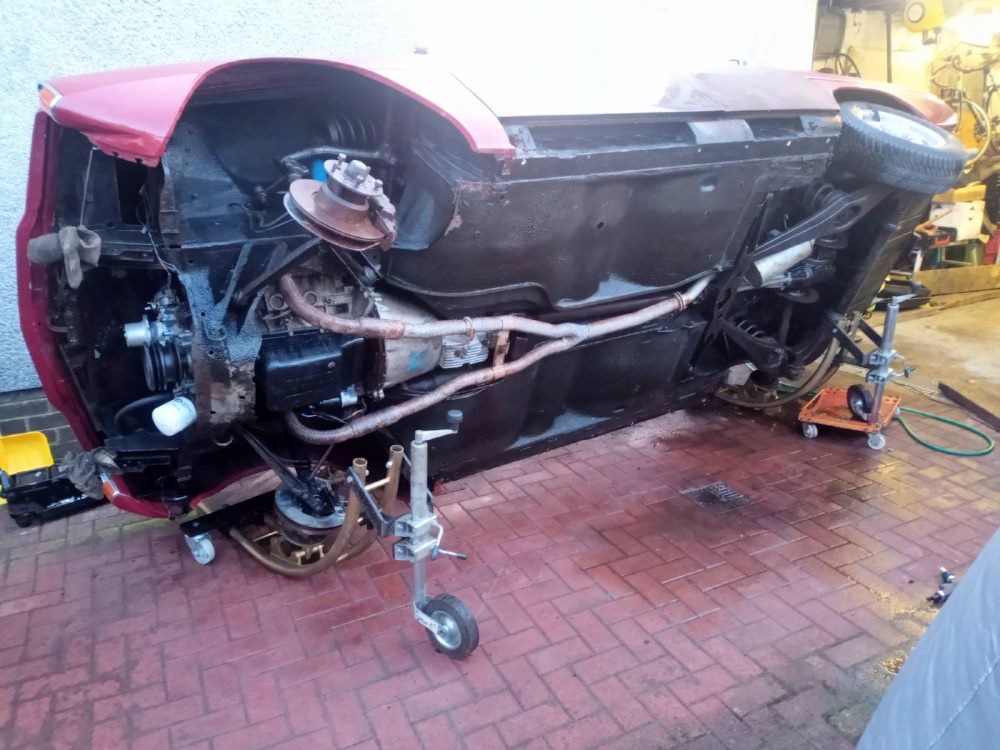
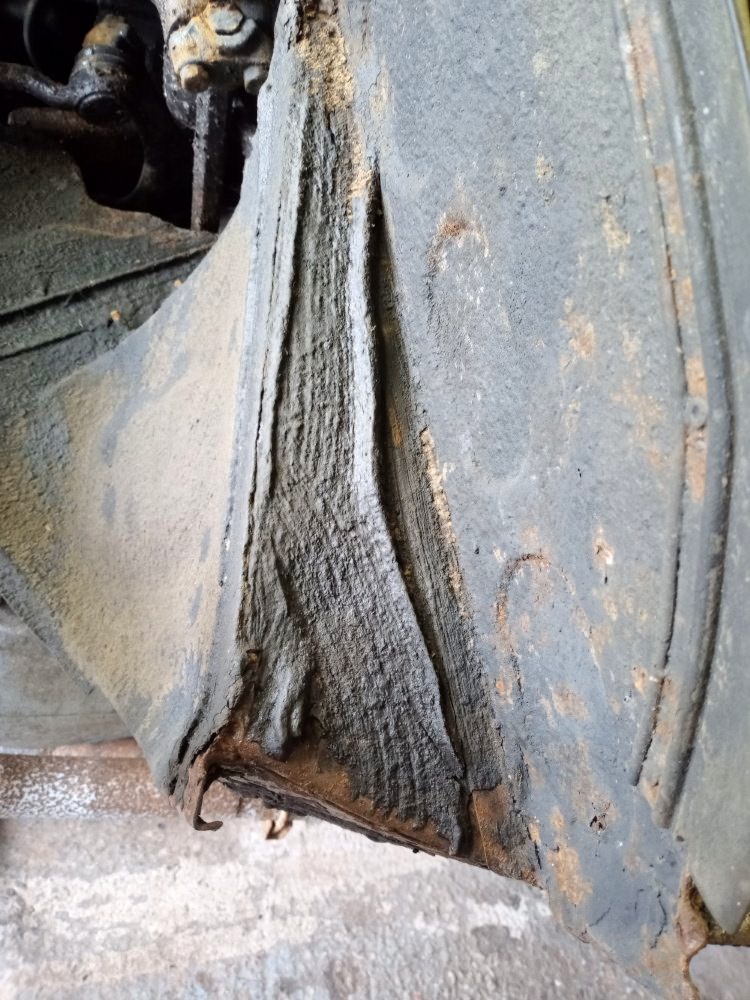
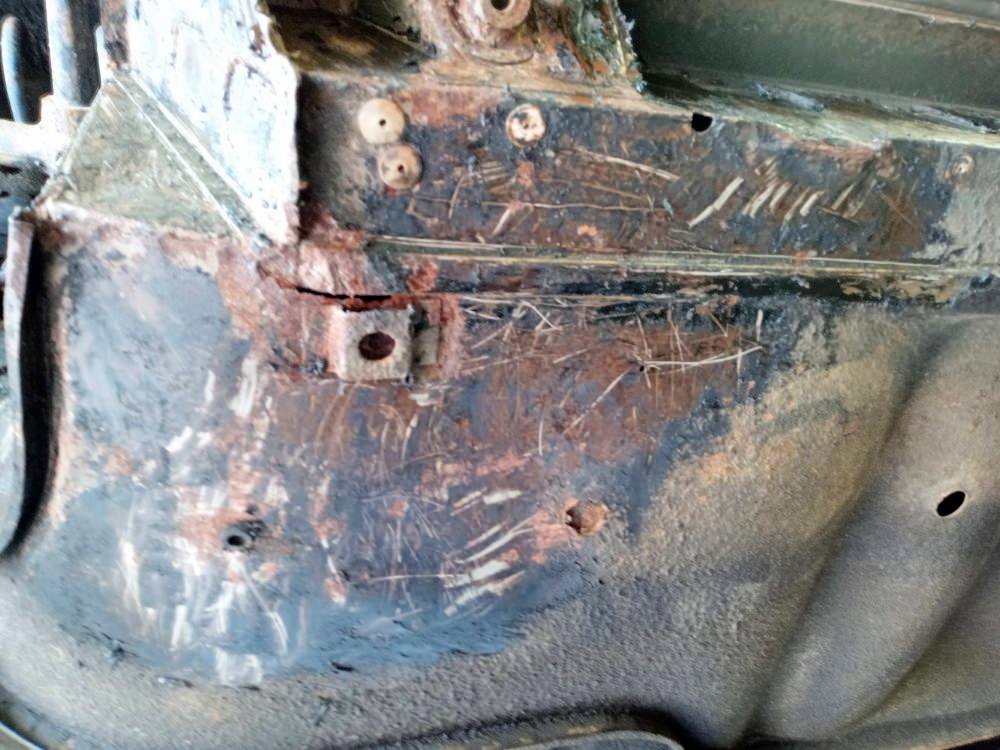
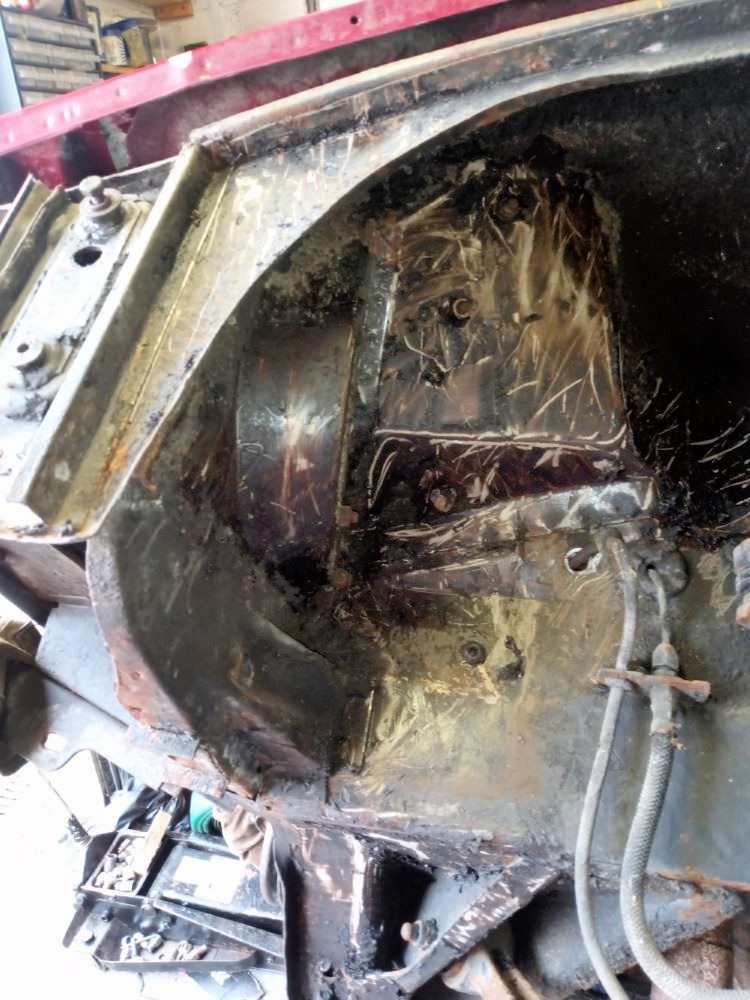
Glad to have the engine running again, next step will be to get the brakes back on and make new brake pipes. This will mean getting the underseal off and painting the underside which should me managable with the weather changing for the warmer.

remote starter video

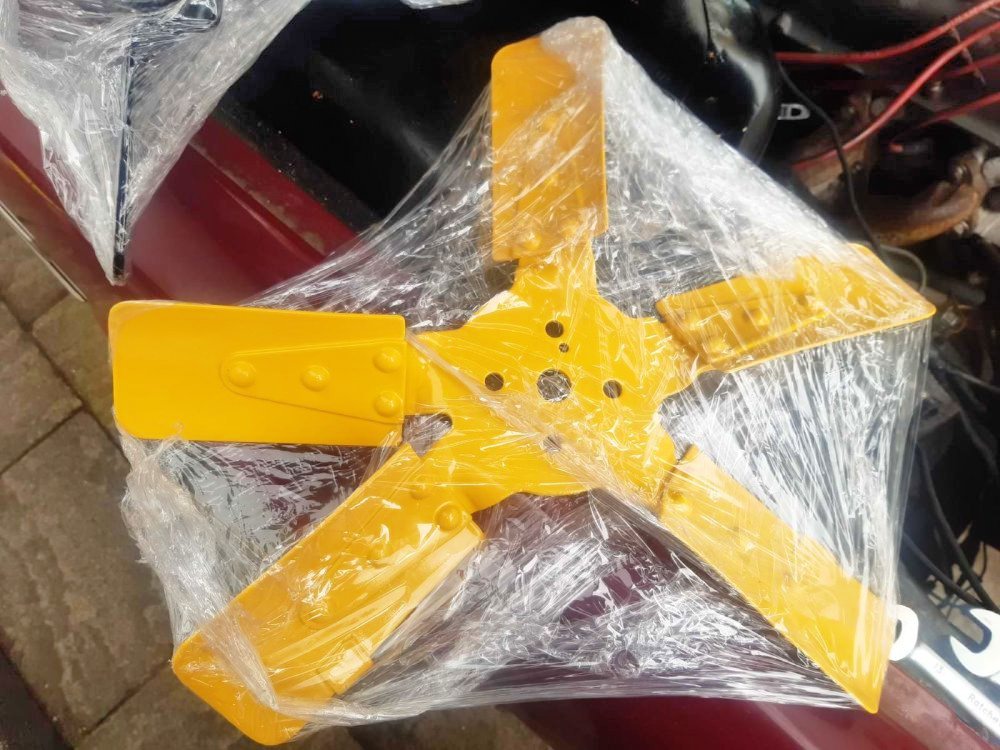
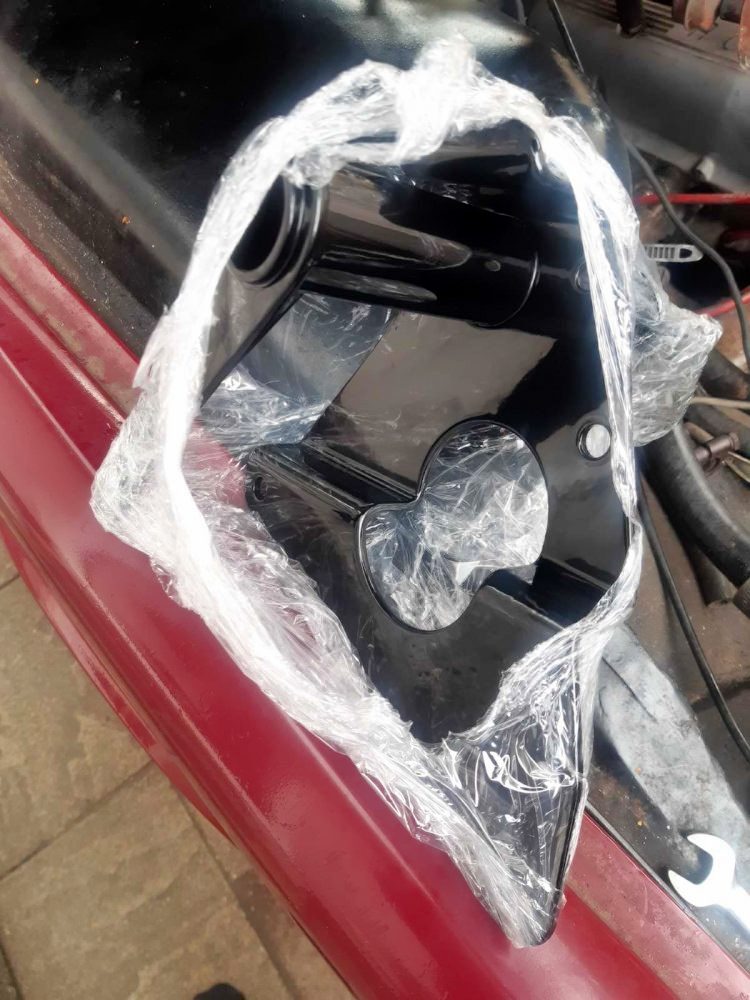
The fan blade and PAS bracket have been powder coated, I think the guy did a good job as it would take ages to clean up the bracket. I will spray the other part myself with epoxy.

0498713084b7c3c07fd49cbfcf446bffa320af46112883cf88088fbf274a7c28ad3f393f.jpg


74595244183d783ab68c1a6faffcba6afa142399c8f638d944615e840f80af8a19866776.jpg
 
Last edited:
I have the week off work and have put time aside for the P6.

Long over due and perhaps a reason I have been putting the project off for so long, removal of the underseal.

I should of just moved the car from the back of the house in to the garage and then used the roller but I wanted to put it up and then push it in. To be fair it did work but I have a monobloc drive and a few things that knackered the wheels. Lessons learned and it did create a talking point with my neighbours.

57763591793562cb32f82204a72f7e569422c7569a0a01b7e0ef4bd3f5cf689aa3fe7907.jpg


2332924619e1e03563c3c73051ddfe6b6b62d5848299a898dca3b826054b4517fc25a3d1.jpg


7056408055232c035883efc9b2b662ae928c0fddd0f42ff61ed4489f9a23ff4de15ddd31.jpg


It has been a while since I have have a P6 in my garage and it is nice to have a bit of space to work.

I have started removing the underseal with a heat gun and I now stink of bitumen. It seems to be straight forward, I do have a couple of bits of rust to sort out so will be busy for a few weeks. It is a worthwile job though.

Has anyone had their panels dipped and coated? I need to get my panels sorted.

71185235f54f7e56ab1ee2f6bda37d77209130feedbd562607d69ec057ba78772ee49efb.jpg


935850121d6f7ad406192177494fe184a5b178aad3ed96d329f5fc2be424fc006c94e10d.jpg


510489834f4c894f682dafa0b9b4a907de15498494f6d66ab5fc1bf6c766c2df3fffa423.jpg
42373765e8910b312892948ff4f4673079bc97db39dcfd76a4e951180de51e152ff0d422.jpg
5255104461615e66a470aa419603bddca66bfcd31e6dadbcff1d5f16b0d3c19f78b3ba93.jpg
 
Last edited:
@arthuy Go over all the old underseal first with a cloth soaked in diesel, and let it work in for a day or two. It seems to soften it up, and it then comes off much easier, with less application of heat, and you'll make fewer scratches in the original mustardish coloured paint. Wear gloves 'cos diesel doesn't half stink!
 
Has anyone had their panels dipped and coated? I need to get my panels sorted.

Yes - Sparky's winter/spring/summer/autumn work

You are told that all of the rust will be removed at a molecular lever and will be removed from inside seams and joints, it has nowhere to hide. Well, it is good but I found some behind the strengthening panel on the front wing and when I removed the lower part of one of the doors, there was still some rust in the folded seam.

It does get a lot more off than you can yourself though so is worth it in my opinion.
 
The main concern I have is after the few resprays I have had you can get spiders legs of rust which show through.

I will have a read back on the sparky thread, cheers.
 
@arthuy Go over all the old underseal first with a cloth soaked in diesel, and let it work in for a day or two. It seems to soften it up, and it then comes off much easier, with less application of heat, and you'll make fewer scratches in the original mustardish coloured paint. Wear gloves 'cos diesel doesn't half stink!

I will give that a bash, I popped in to poundstretcher today and got lucky, they had sets of plastic scrapers so that will help alomg with some lovely marigolds.

I would like to break the back of it this week but atleast I have made a start.
 
Yes - Sparky's winter/spring/summer/autumn work

You are told that all of the rust will be removed at a molecular lever and will be removed from inside seams and joints, it has nowhere to hide. Well, it is good but I found some behind the strengthening panel on the front wing and when I removed the lower part of one of the doors, there was still some rust in the folded seam.

It does get a lot more off than you can yourself though so is worth it in my opinion.

I had a read back over the sparky thread, a few names of fellow owners who are no longer with us. I always smile what I see Richard Taylor (webmaster) post.

The dip and e-coat looks the buisness, I really want to stop any rust from under the paint so that should be the way to go. actually need to do this on my P5 so using the P6 as a test case is ideal :)

What did you do with the bonnet and boot lid? Did you have any corrosion to deal with?
 
What did you do with the bonnet and boot lid? Did you have any corrosion to deal with?

The bootlid was fine anyway but the bonnet had a hole in it which had to be repaired. I'm really not good at applying paint so took all of the panels, including the newly e-coated ones down to Clive Annabel who did a superb job on it. He cut out an area around the hole and welded a small piece of aluminium into and got it absolutely perfect.

The paint has been on there for around 11 years now and apart from a few light scratches here and there (my fault), is as good as the day it was applied - very please with that.
 
Manage an hour removing under seal before my brother popped down to have his car looked at.

I have seen this on other P6 I have worked on where water gets between the underseal and metal. most of it will clean up but I will need to break the welding torch out.

Hopefully I can get the passenger side cleaned up this weekend.

02146828e42757e235423417810392141ce52fbf89725deafa040b34babdbfdf8c86788f.jpg
 
Got a chance to get back on the underseal removal.

Tried soaking it in diesel, this worked quite well. It did scrape off easier though the underseal is really thick.

Gave it a clean up with white spirit, more elbow grease required though.

94123020173cf3fee95f450495df82c93c869849d8c00bdbad4d83311ffcfbd80424571f.jpg


4904408742231dd9bd0aa7bbf3184cc5ad2d9e34eb9d2066a209b3865d5512e9751bf1df.jpg


12824910a94fdf0cb64e4d81d68869fbc58fa04d22461986056352128d45915822678294.jpg


83107348b2287b342986b4a48088e18a90e7fe611e2cdf92669773f4cd19b462f719d894.jpg


65958804344dd532f8f2c2f5715d14af8fef2e3df5b532b613dc59759053ac5a3b169cf1.jpg
 
'Orrible job! In this scorching heat, to boot! Pun not intended. Car looks to have been well preserved though. My base unit had loads of holes in places where yours looks nice'n'solid. My mate had been doing the same to his P5B recently, and subsequently applied 'Raptor' (?) urethane based underseal with rollers. He says he was very pleased with how it went on, and how it looks. What are you planning on applying once you've got all the original stuff off?
 
Back
Top