ewokracing
Active Member
Decided to do a quick write up and picture dump of how I swapped over to a larger swaybar on my p6b.
(plus a few niggles that I found).
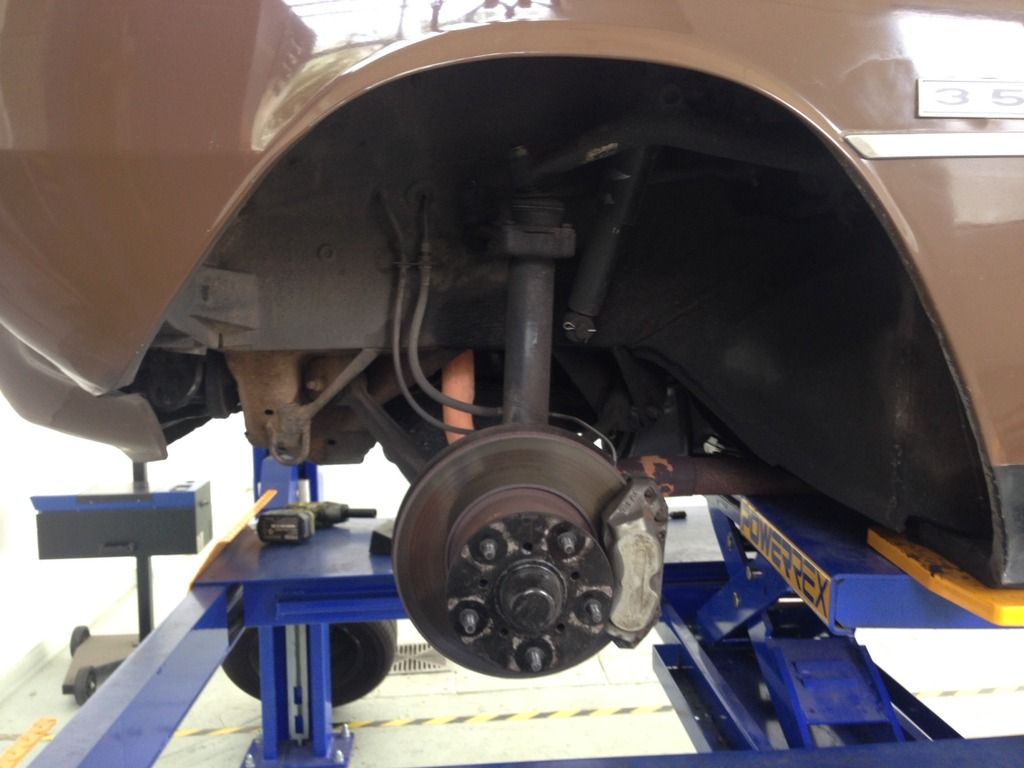
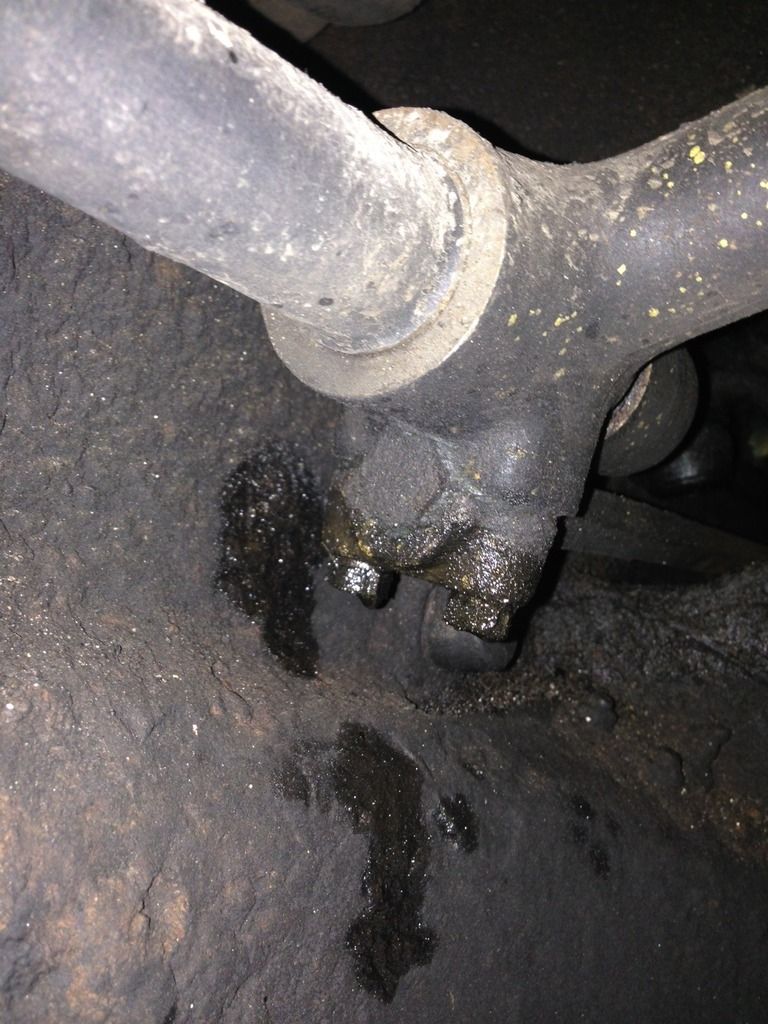
1. Car with front wheels up in the air. Luckily I had access to a hoist which then has a sub hoist underneath it, so I was able to get the car up in the air at a perfect working height, with both front wheels off the ground. Wheels off, suspension exposed. (I noticed that the grease on the drivers side has gotten very hot and has been leaking out of the grease cap.)
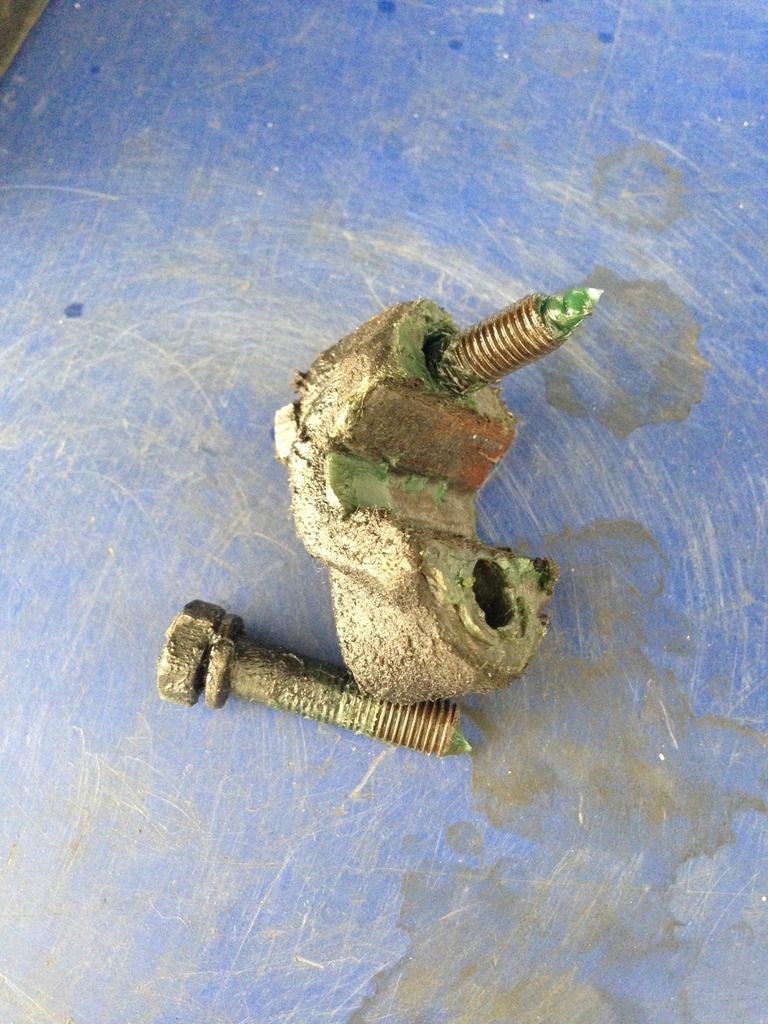
2. There are 4 bolts to undo. I found mine were probably around the correct tightness (30 ft pounds). They also had what looks like factory grease on them and the end of the factory sway bar
I had given them a quick squirt of Penetrene thinking they would be hard to get off but they were easy. I used a ratchet ring spanner.
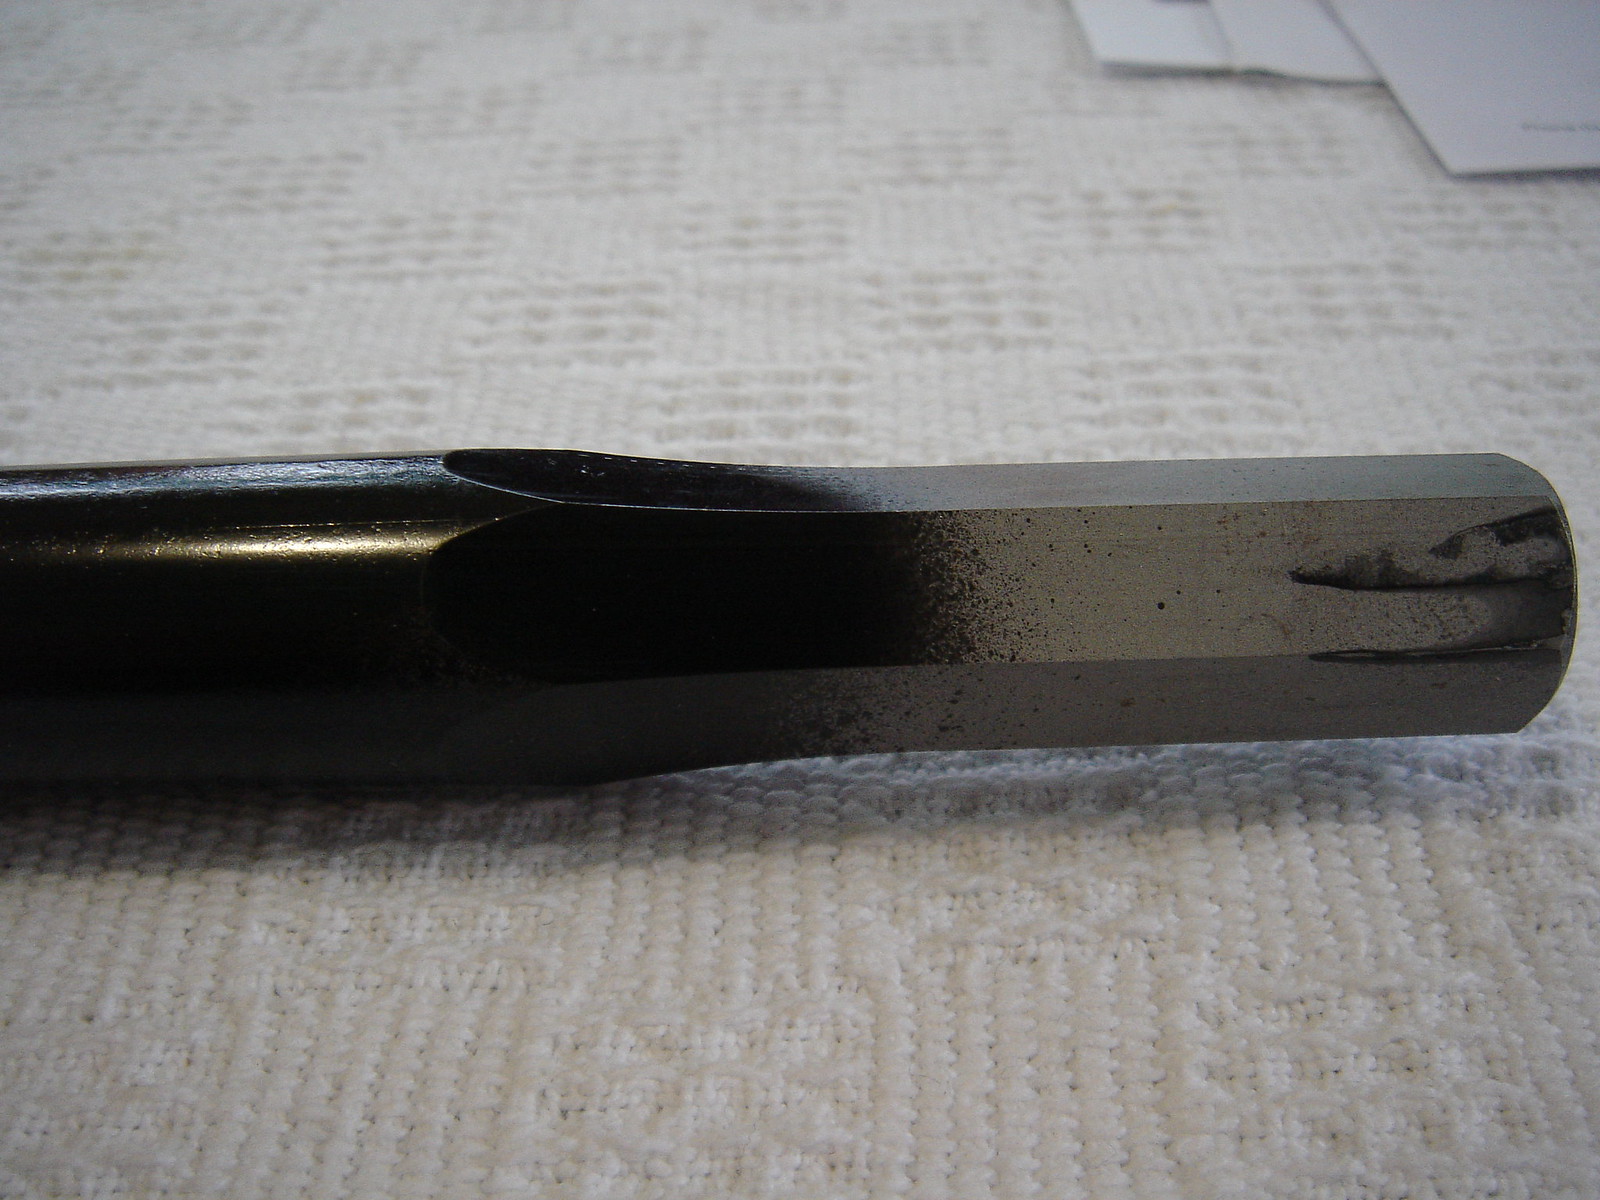
Once both sets of bolts are out, out comes the sway bar. I found it easy to take out from the passenger side. New and old are compared below
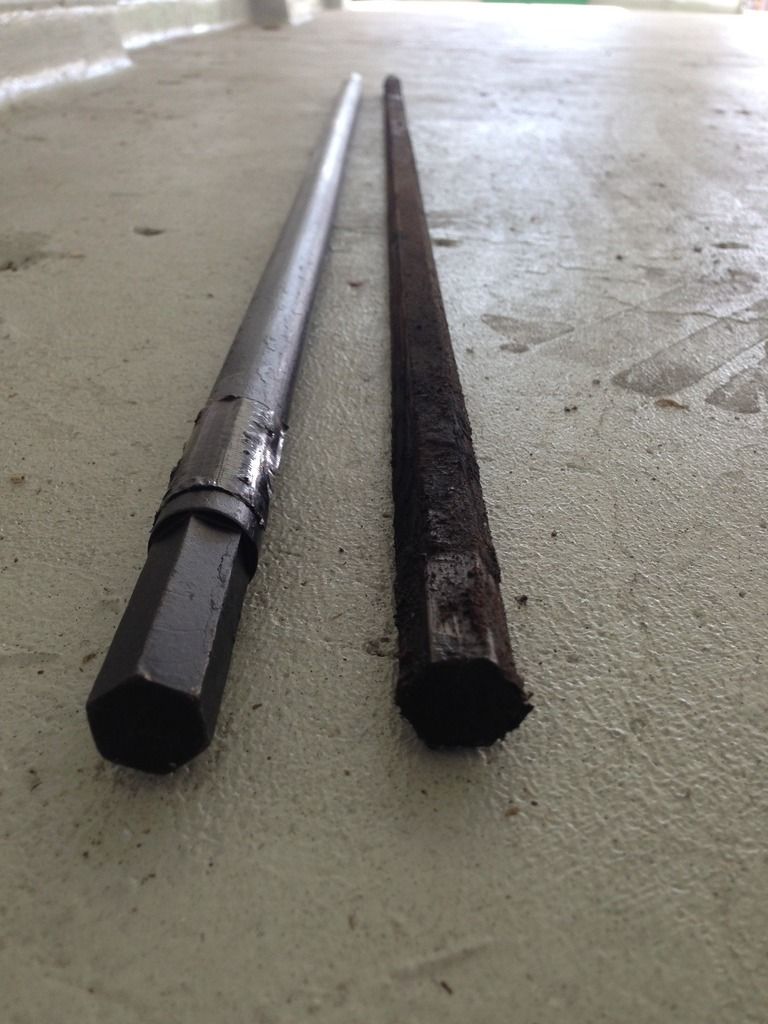
The only problem is fitting the new bar. I slid the bar in from the passenger side and it was an extremely tight fit, to the point where I scraped some paint off the inside lip of the wheel arch. If you have a concours car, I'd recommend either taping the bar ends or the inside lip of the guard.
Bolts were done up to 30ft pounds but they do keep loosening. I've done them tighter each time (I'm checking at the end of each day). If they keep loosening, I'll do them up to 30ft and add in a dab of loctite.
One of the easiest pieces of work I've done on the car yet. Recommend it.
(plus a few niggles that I found).
1. Car with front wheels up in the air. Luckily I had access to a hoist which then has a sub hoist underneath it, so I was able to get the car up in the air at a perfect working height, with both front wheels off the ground. Wheels off, suspension exposed. (I noticed that the grease on the drivers side has gotten very hot and has been leaking out of the grease cap.)
2. There are 4 bolts to undo. I found mine were probably around the correct tightness (30 ft pounds). They also had what looks like factory grease on them and the end of the factory sway bar
I had given them a quick squirt of Penetrene thinking they would be hard to get off but they were easy. I used a ratchet ring spanner.
Once both sets of bolts are out, out comes the sway bar. I found it easy to take out from the passenger side. New and old are compared below
The only problem is fitting the new bar. I slid the bar in from the passenger side and it was an extremely tight fit, to the point where I scraped some paint off the inside lip of the wheel arch. If you have a concours car, I'd recommend either taping the bar ends or the inside lip of the guard.
Bolts were done up to 30ft pounds but they do keep loosening. I've done them tighter each time (I'm checking at the end of each day). If they keep loosening, I'll do them up to 30ft and add in a dab of loctite.
One of the easiest pieces of work I've done on the car yet. Recommend it.
Last edited: