Thanks all - certainly getting there now - I can almost hear him cough into life 
I love it when you have painted a piece and you notice a small flaw in it, so you get the tin out and give it a quick blast only to watch in horror as the surface pickles before your eyes.
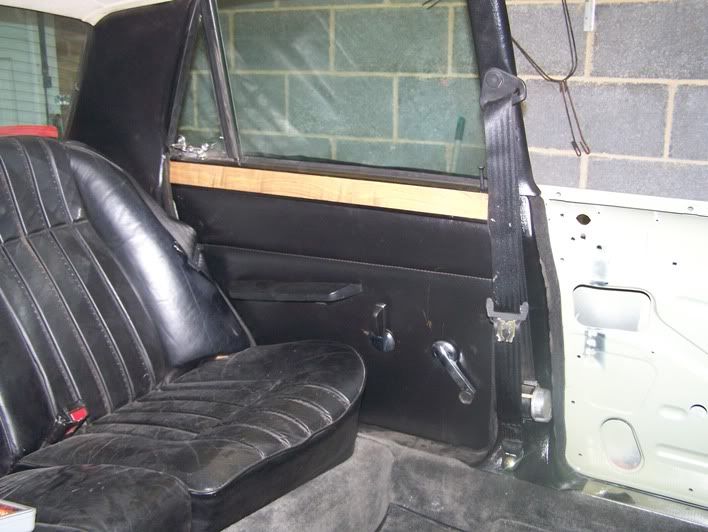
I was going to refix the reflectors as they should be. On my old car, I got hold of some series one reflectors and blended them into the boot lid, looked great but Sparky's is already painted so not going to do that.
I haven't been back to Derby since the first time I saw your car, so sorry, can't help there. Our delivery van goes that way now and then, so it picks up whatever is ready as and when. I only have 2 sills there now, everything else is here ready to go back on
I'd would give him a call.
Richard
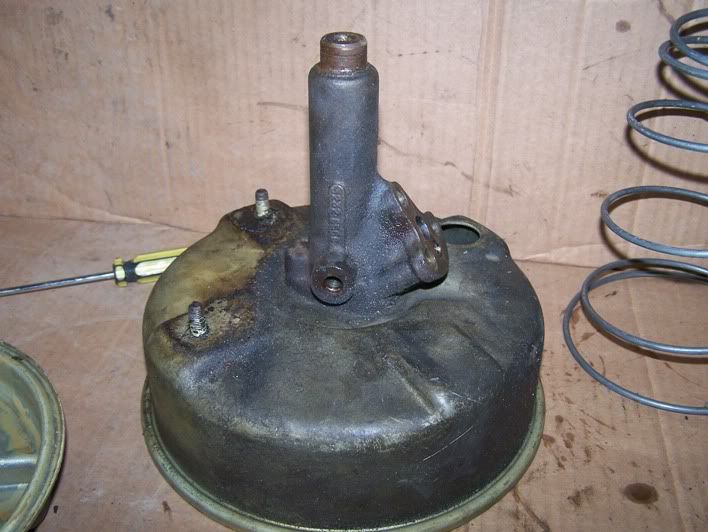
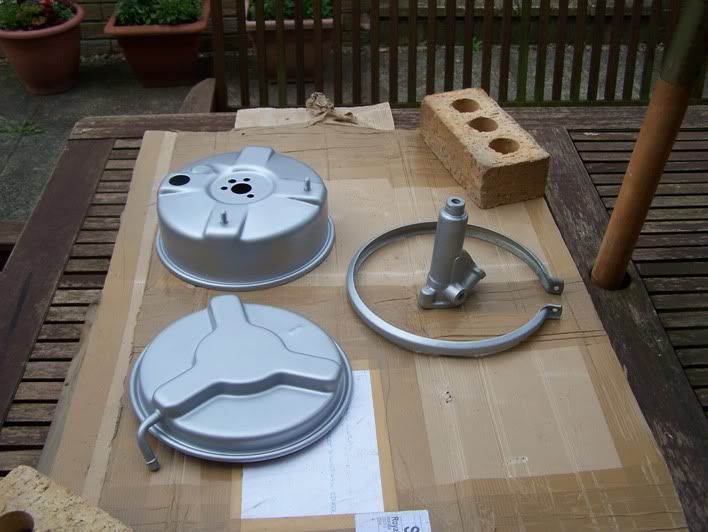
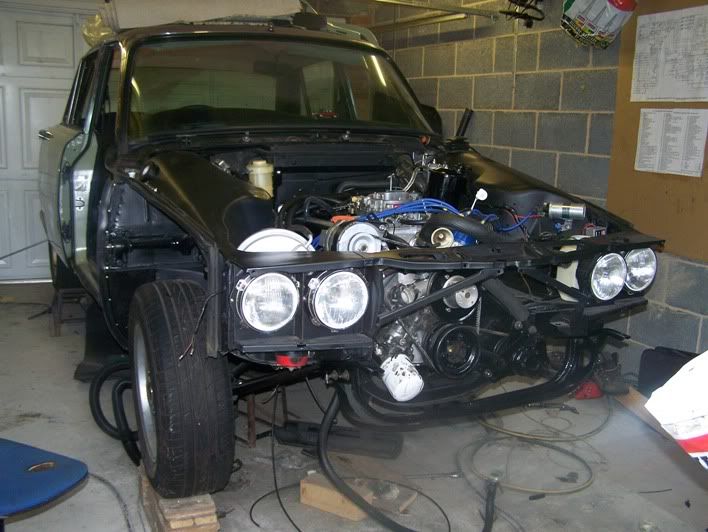
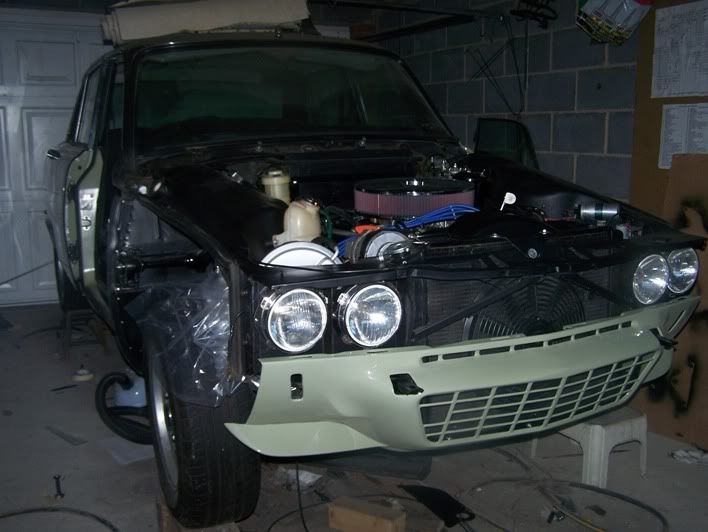
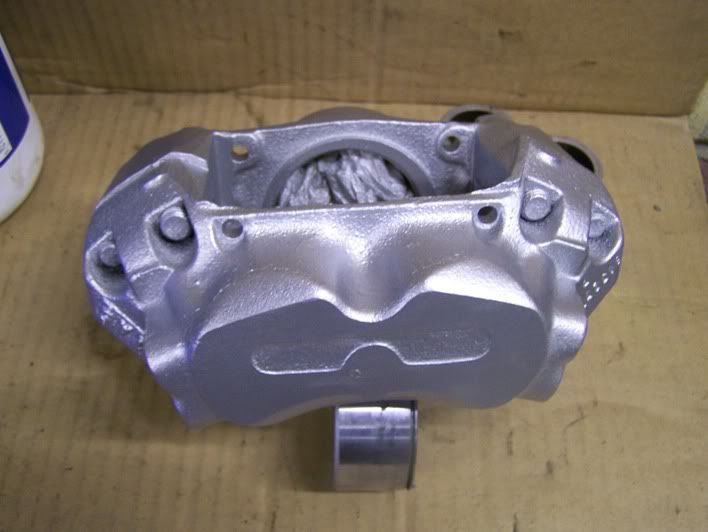
testrider said:quattro said:Cleaning, de-rusting and painting the engine stay bar and its brackets (that was more work than it seems)
Tell me about it! An afternoon to clean them, then two coats of primer. Wait a day, then two coats of black paint and reasseble only to find that you'd missed a bit dangling from a wire hook with no paint on!
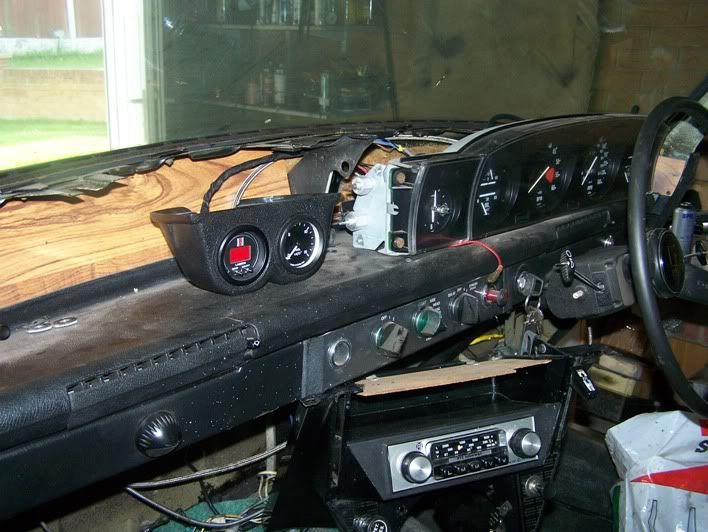
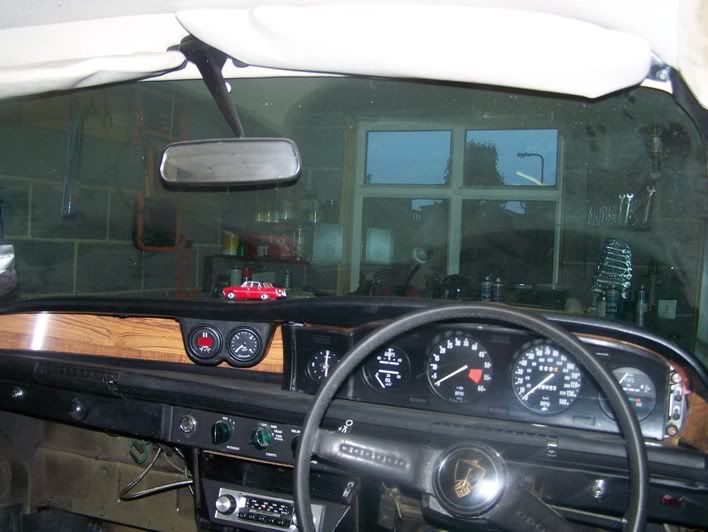
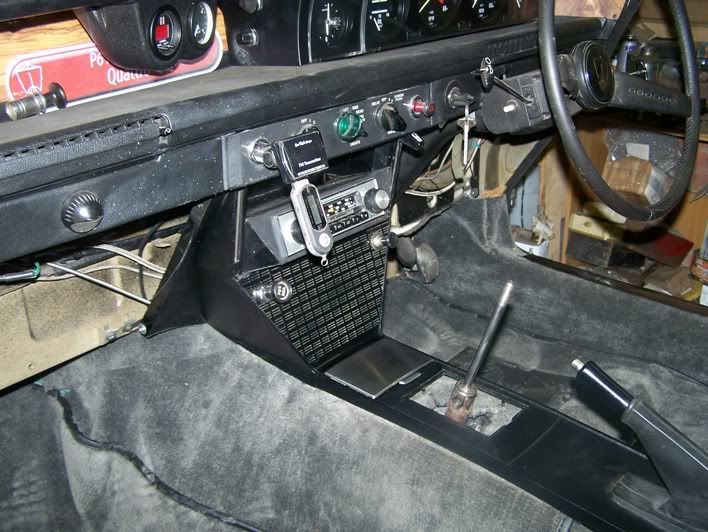
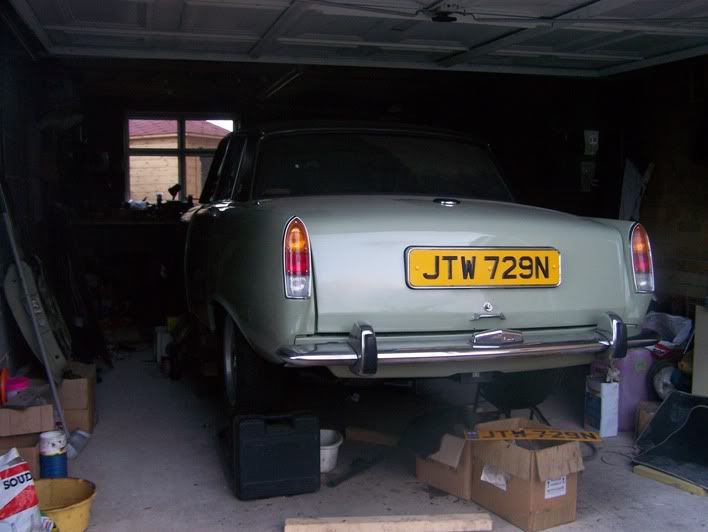
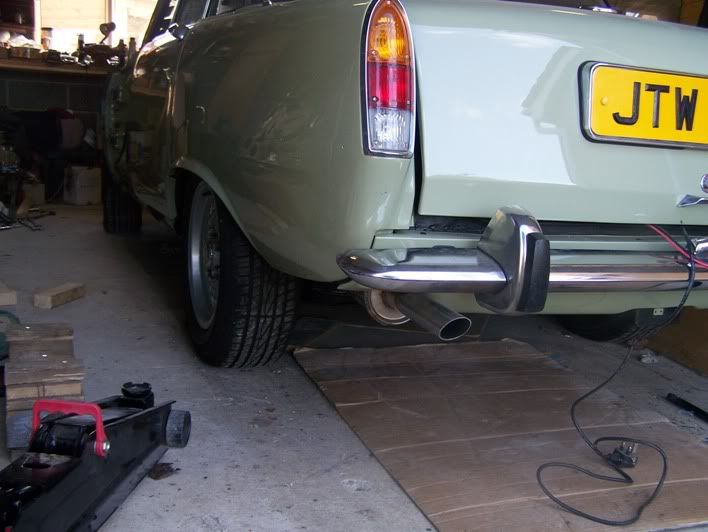
Sparky's coming on a treat now though and I bet you're glad that you can cross the heater box off the list with all those fiddly bolts and levers behind the dash. Are you going to refit the badges and reflectors at the back? I've got a couple of ideas to try out for those.
Don't 'spose you seen my again car at the paint shop recently have you? I like to keep ringing up asking about it, but I'm going to have to go over and have a look this week.
I love it when you have painted a piece and you notice a small flaw in it, so you get the tin out and give it a quick blast only to watch in horror as the surface pickles before your eyes.
I was going to refix the reflectors as they should be. On my old car, I got hold of some series one reflectors and blended them into the boot lid, looked great but Sparky's is already painted so not going to do that.
I haven't been back to Derby since the first time I saw your car, so sorry, can't help there. Our delivery van goes that way now and then, so it picks up whatever is ready as and when. I only have 2 sills there now, everything else is here ready to go back on
I'd would give him a call.
Richard