vaultsman
Well-Known Member
Re: gearbox mount ideas
Hi Richard,
Yes, I can see how that would work OK with the wider tunnel. Don't worry too much about the pics, but if you do manage some it'd be interesting to compare the two tunnel widths.
Thanks Richard,
quattro said:Hi Stan
Sparky's 5 speed was already fitted so I don't know exactly how it was done, but the 5 speed mount you have has been modified by flattening out the outer fixings and then bolted to new bracketry which has been welded to the inside of the centre tunnel. I'll see if I can get some pics if you like. Sparky was an auto though - so probably not a lot of good.
Hi Richard,
Yes, I can see how that would work OK with the wider tunnel. Don't worry too much about the pics, but if you do manage some it'd be interesting to compare the two tunnel widths.
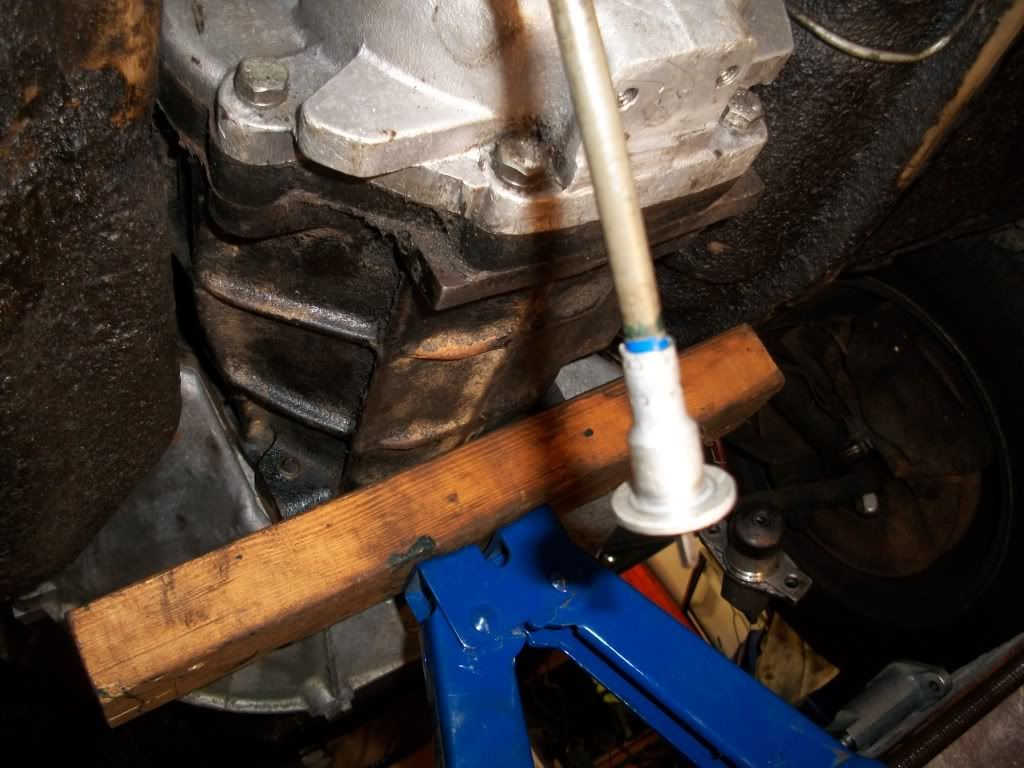
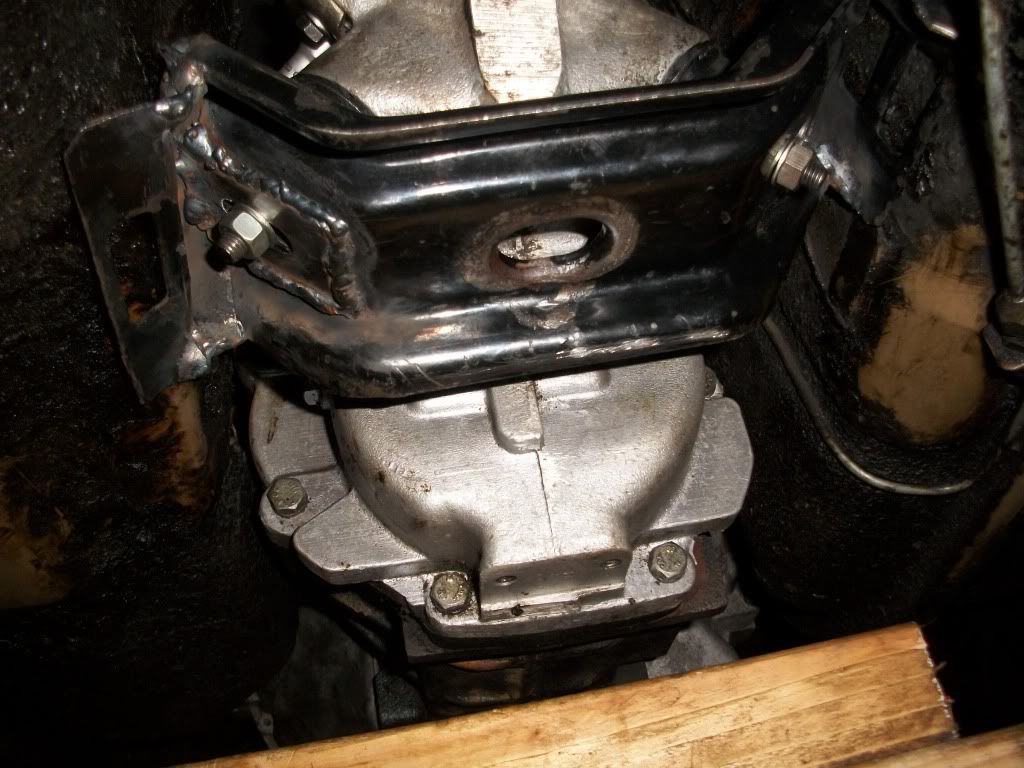
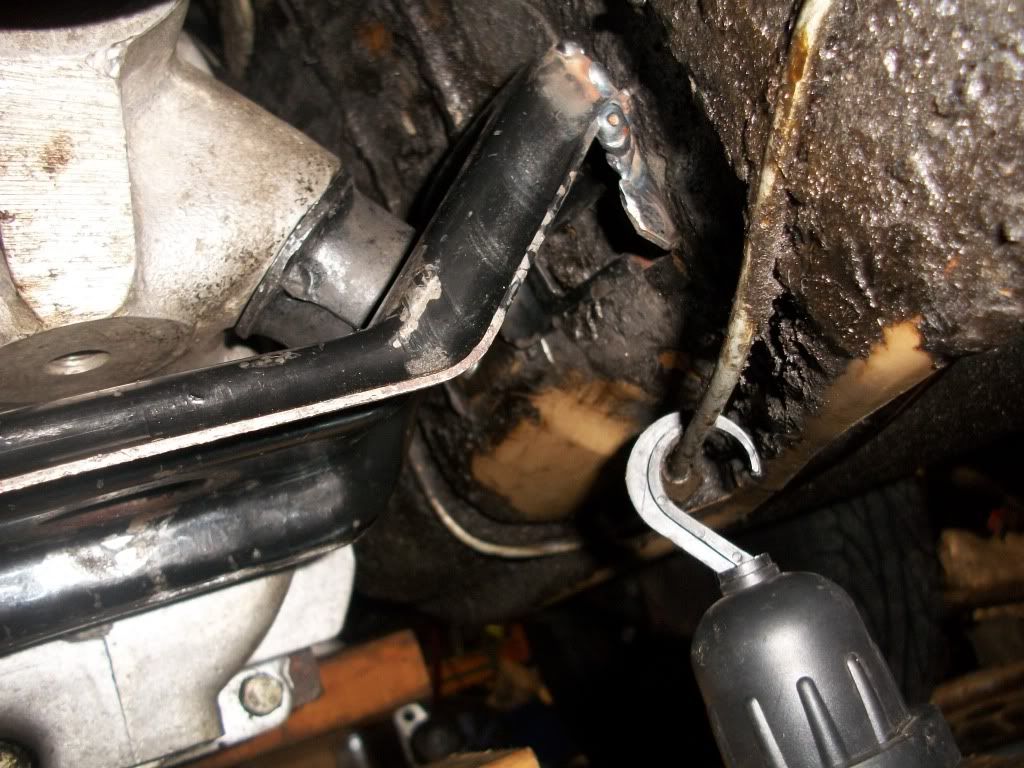
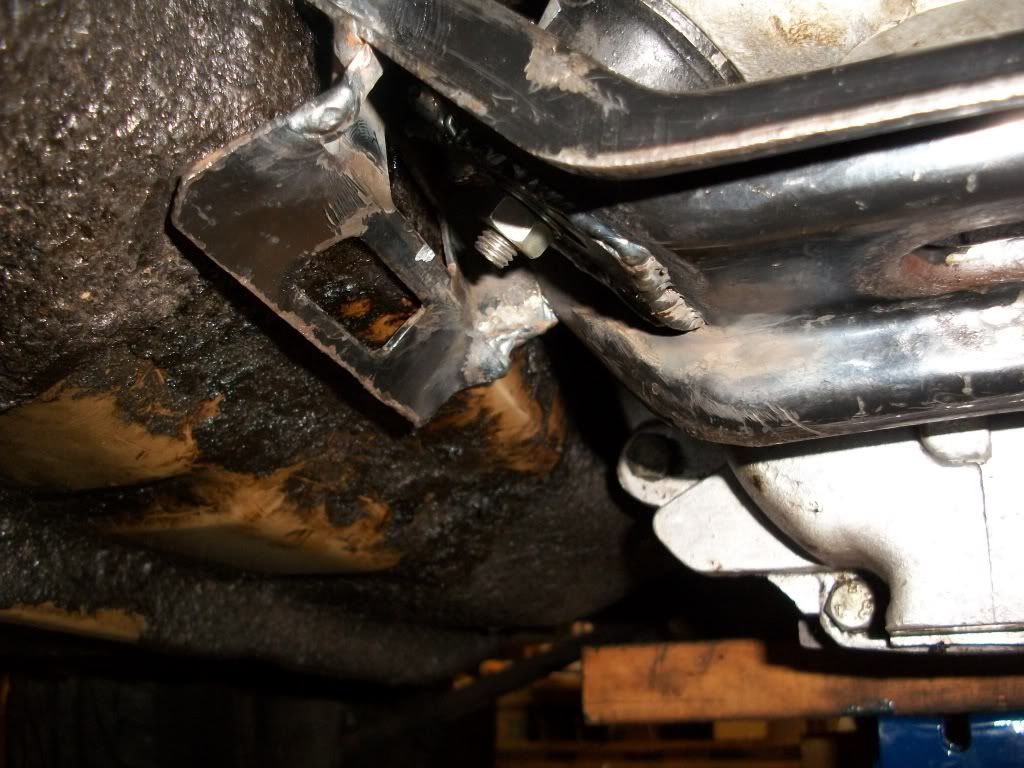
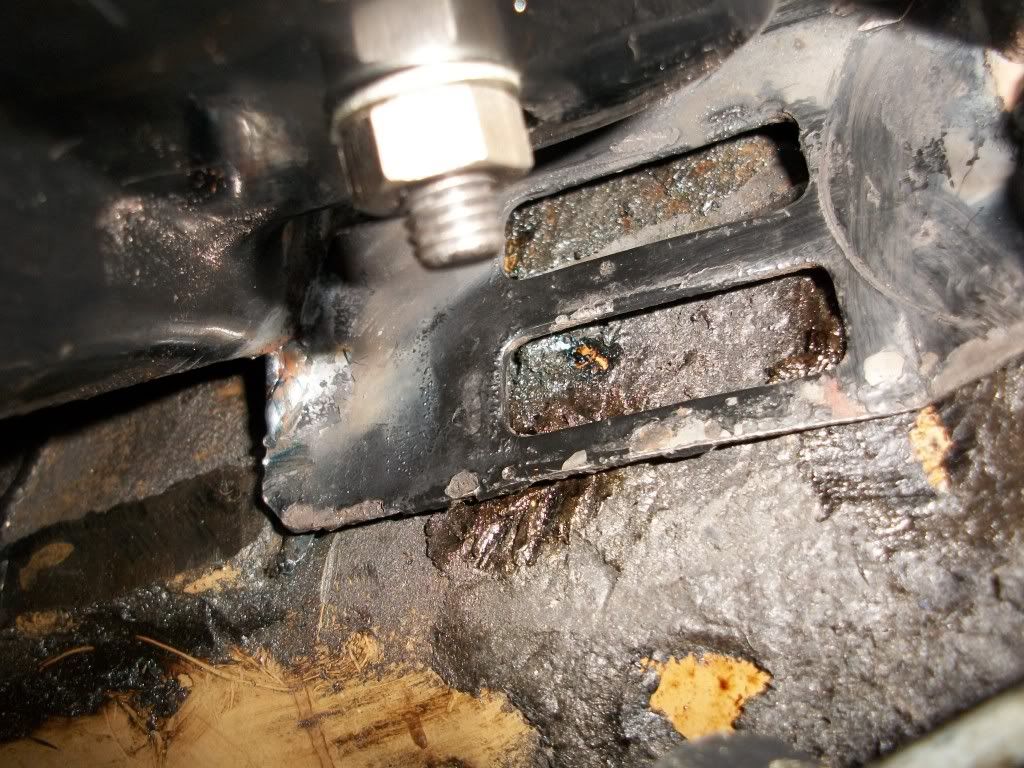
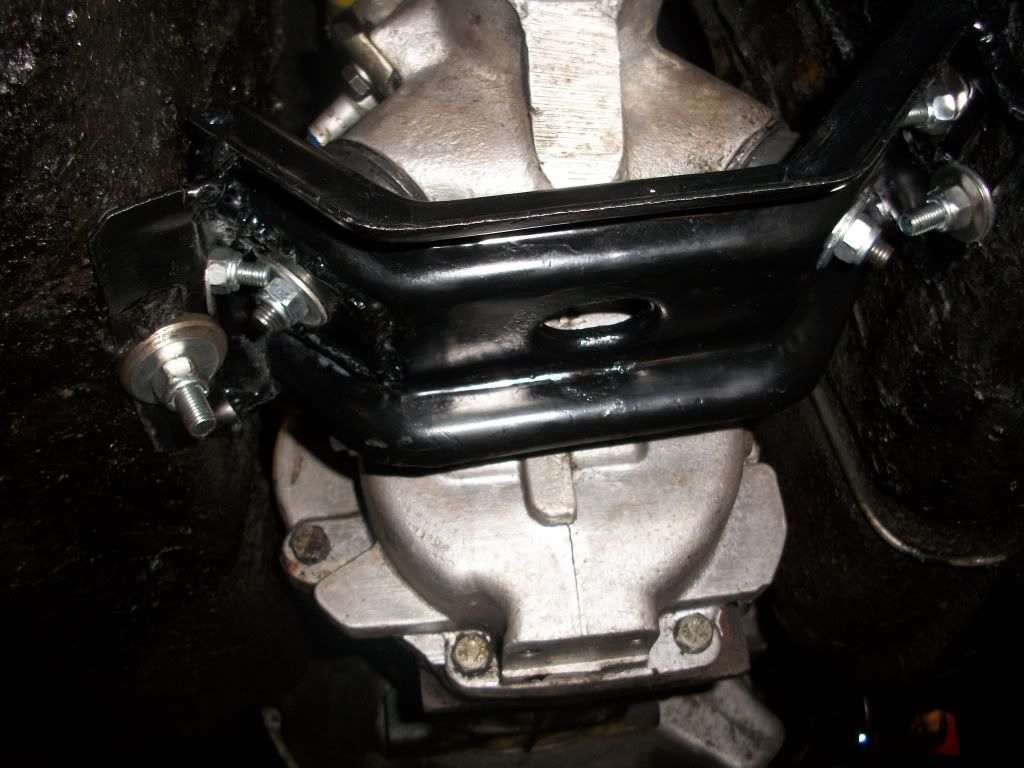
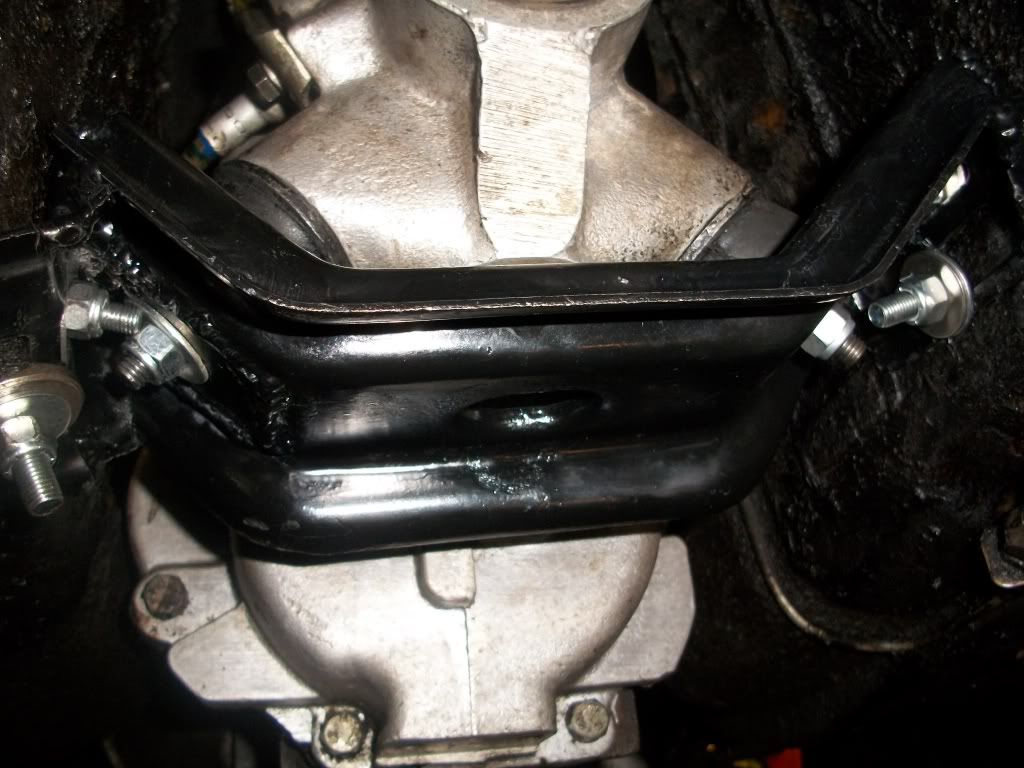
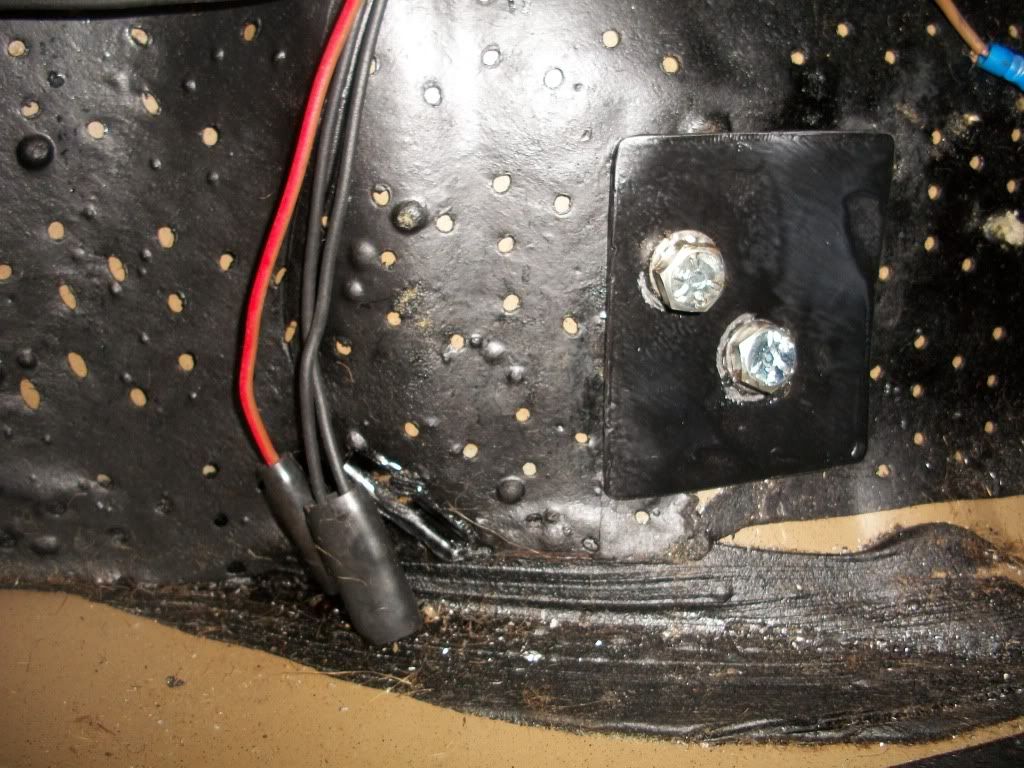
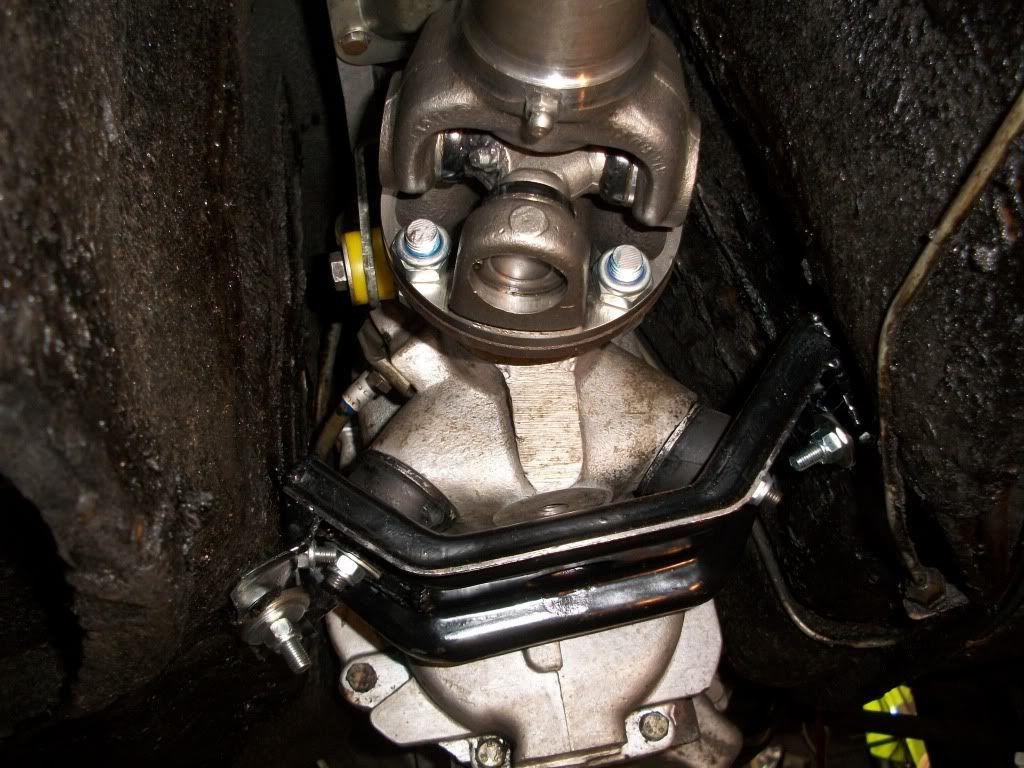
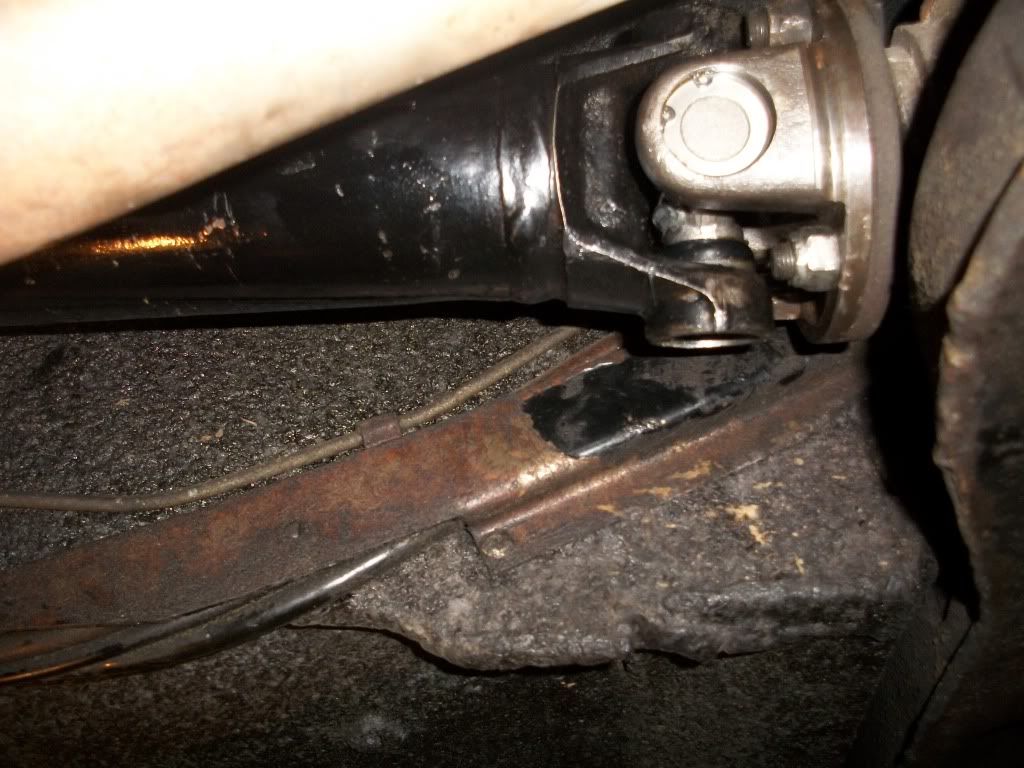
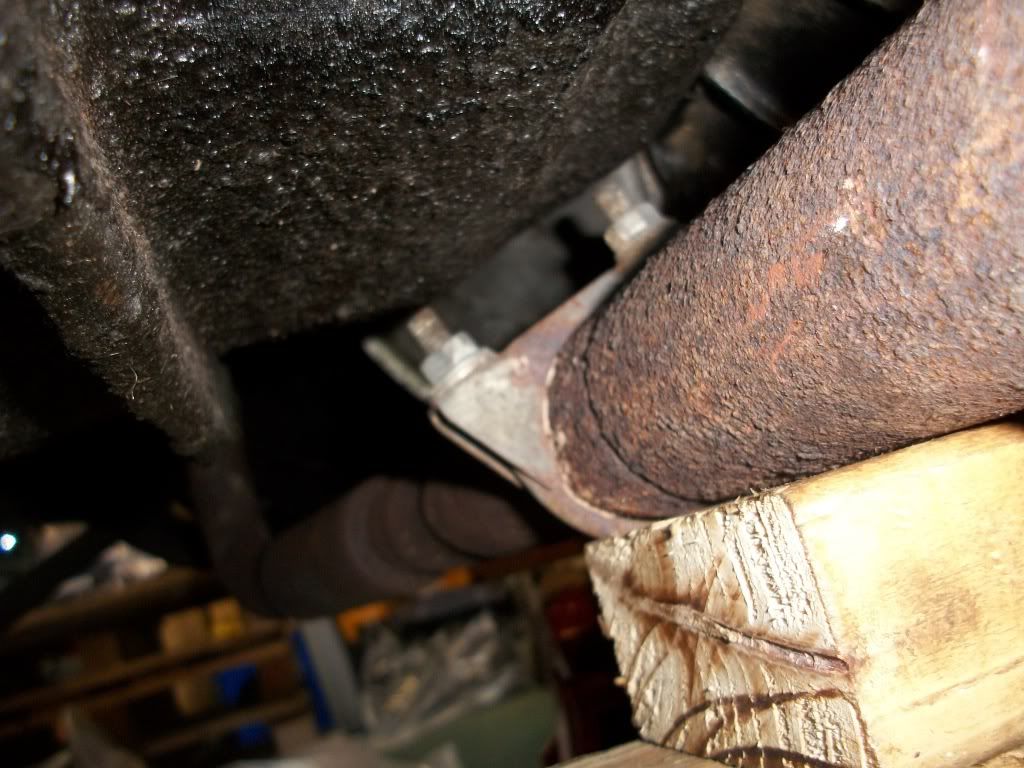
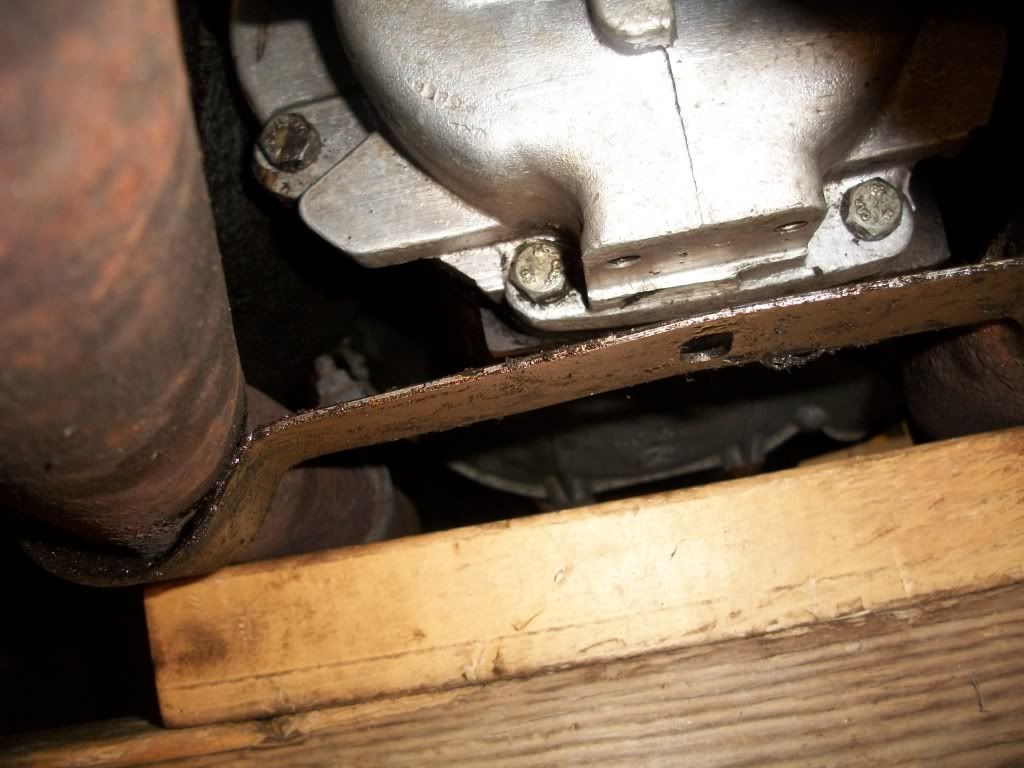
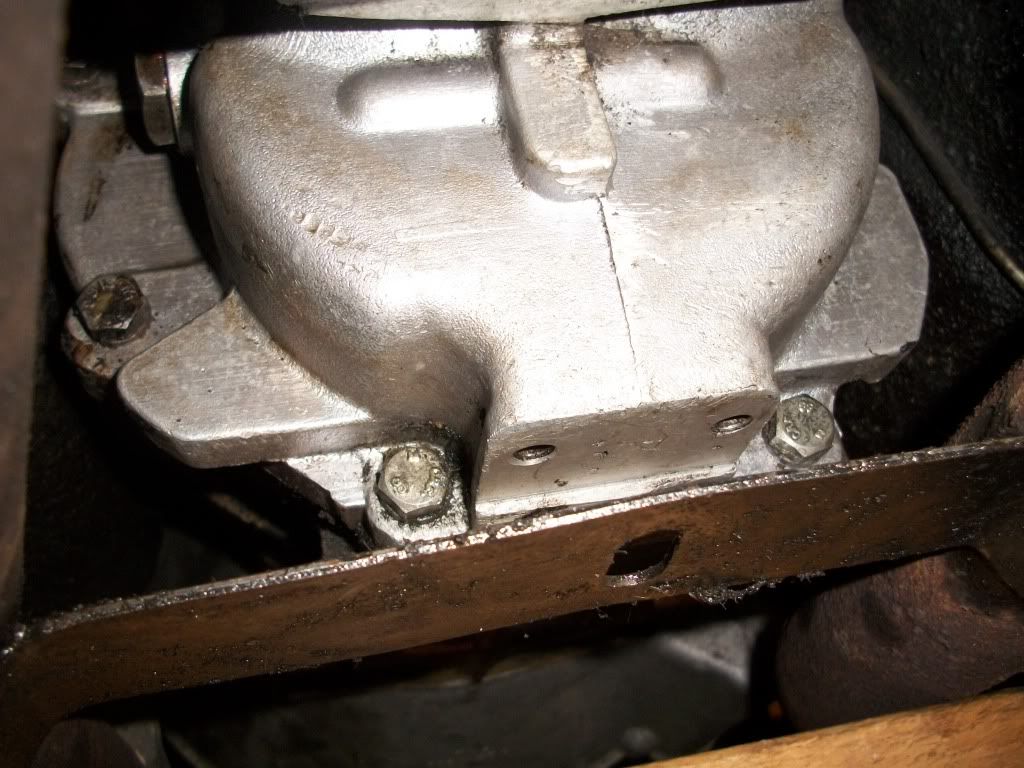
Using the forward tapped holes is my fallback position as I think the angled arrangement gives better lateral support, and also allows for fitting the snub rubber as per the original design.quattro said:When I did the job, many years ago, I left the original mountings welded to the inner tunnel, then put some smaller rubber mountings into the vertical (forward) mountings on the gearbox.
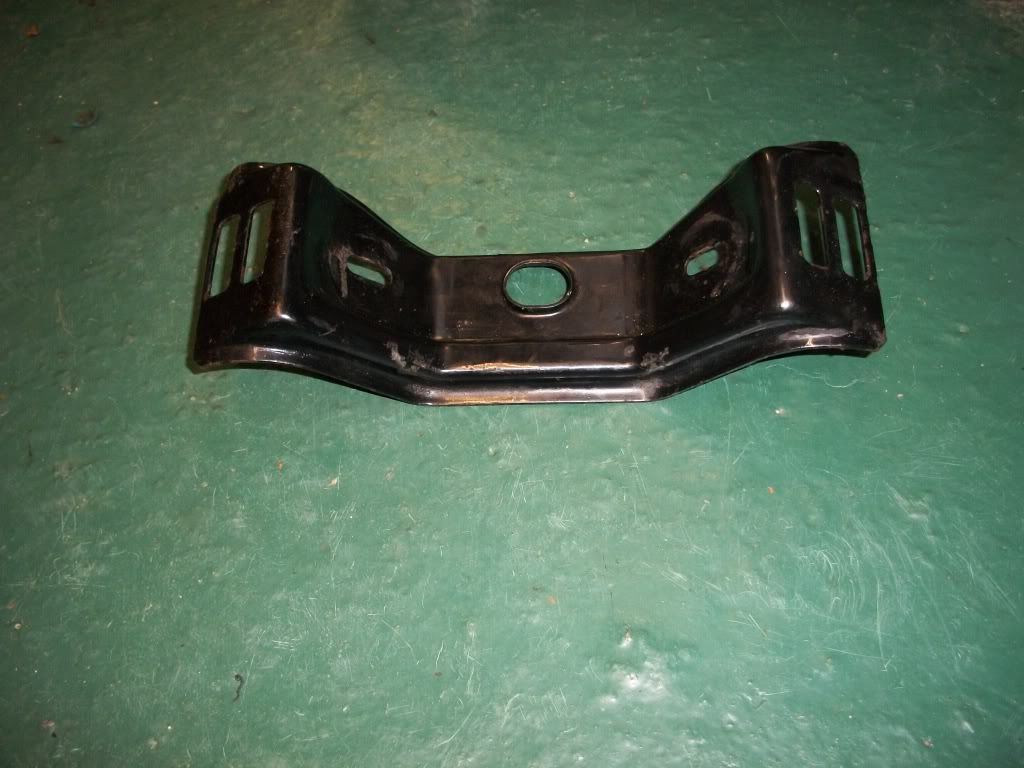
Jacked the box up to where I wanted it and made a flat plate up to match up the fixing studs. I used an old bumper bracket for this - worked a treat.
Best of luck with it
Richard
Thanks Richard,
")