Next bit
")
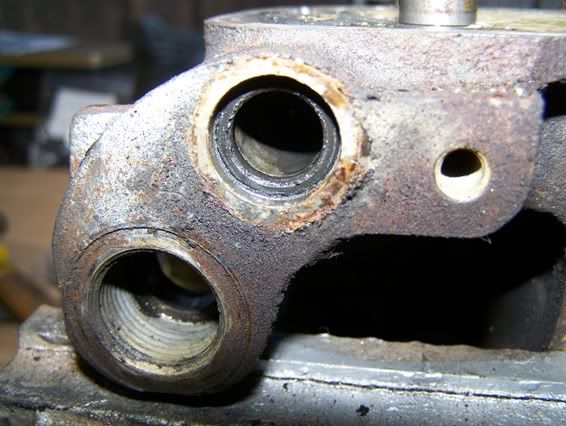
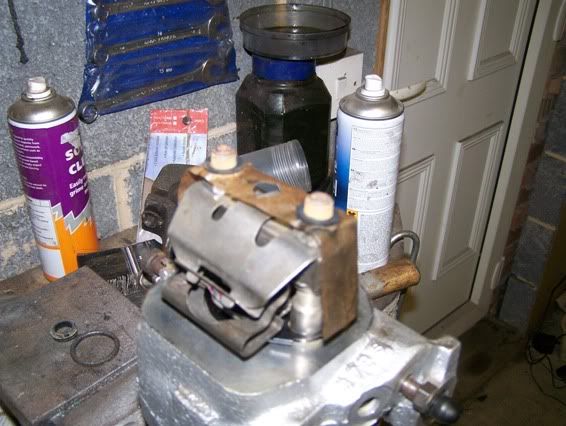
I had a good look at every bit, and cleaned, de-rusted and painted where required. The cylinders were fine so no stainless sleeving was required - pheww
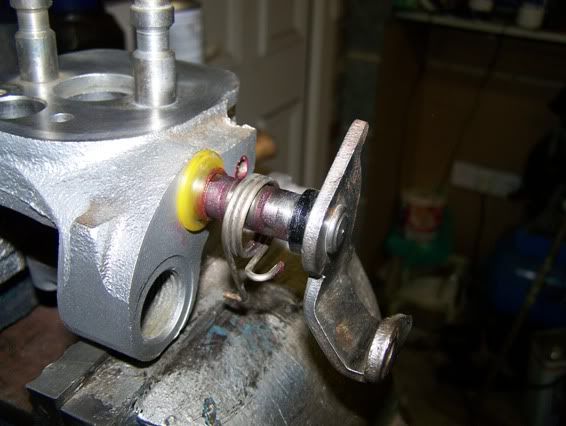
There are 5 O rings of about the same size. The chunkiest one fits inside the hand brake lever shaft aperture, followed by the nylon guide. Then apply some of the brake grease to the shaft and fit it to the caliper. The black nylon guide is still on the shaft as per picture. Clipped the spring into place, then fitted to stop pin to hold it in place.
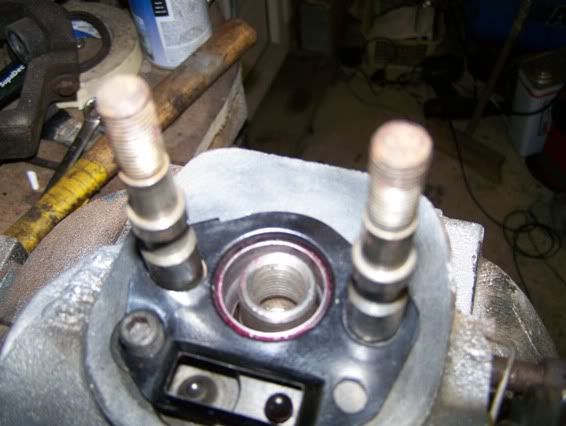
Next, I fitted the new seal onto the piston, and with a quick wipe of brake fluid into the cylinder, slotted it back into place.
Then I greased the hand brake pin and dropped it in, replaced to piston stop washer, the plate and allen headed bolt. I then fitted the new rubber seal into the large cylinder from below, greased up the cup assembly and refitted it.
Next, I greased the thread on knurled bolt and screwed it back into the cup assembly, but only 3 complete turns.
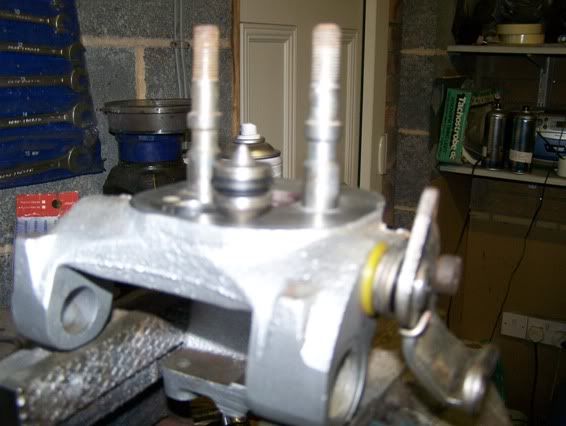
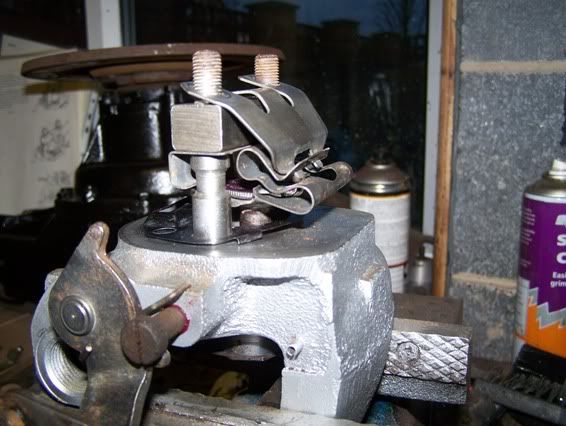
I then clipped the S spring back into place, dropped the beam along with its plate (if fitted to your calipers) and put the large spring back over the studs. It was then quite easy just to clip them together thus.
Put the nuts back on to stop the whole lot pinging apart (again). Then I greased up the strut/lever/pawl assembly and eased it into place. It did help by pulling the cup assembly down slightly to get the final upright in.
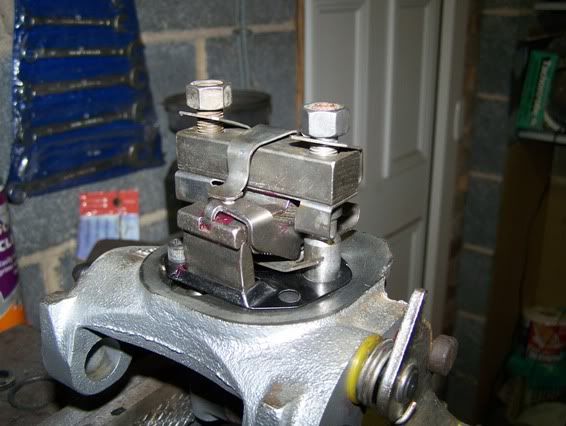
Then torqued the bolts down to 30lb/ft (should be 28 but my torque wrench only goes down to 30). Tested it by moving the handbrake lever back and forth, then just check that the knurled nut moves around a notch at a time. Then back on with the paper, two new rubber washers
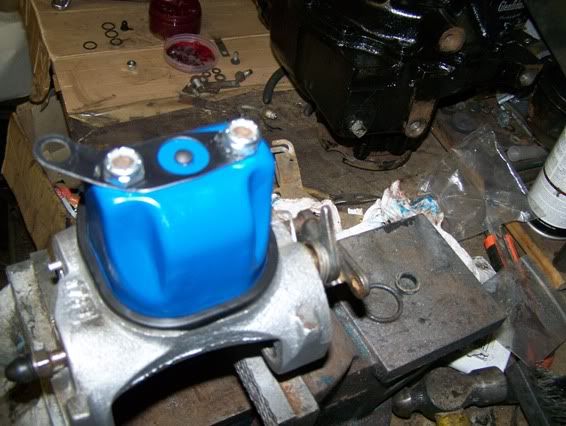
And then the cover, brake pipe bracket and new nuts. Small drop of grease, then ease the new plug into place in the centre – job’s a good un.
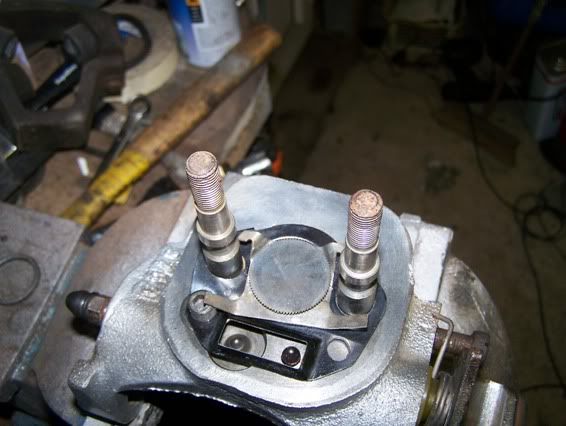
Finally, just screwed the cup assembly back in fully.
Actually a lot easier than I expected it to be – hope it works now.