

Mike Allfrey
Member
I am in the process of installing a second-hand swivel pillar (king pin and stub axle assembly). I am trying to do the right procedure by installing new ball joints, top and bottom.
Reading the Repair Operations Manual, the upper joint is simply "drifted downwards' after removing the three 0.25" UNF setscrews, but leaving the large taper shank securing nut tight. This tells me that the fit is not all that tight. However, a fair session with a lump hammer has failed to remove the ball joint assembly.
The bottom ball joint is also extremely stubborn too. The book shows a puller, which I do not have, but could get made if necessary.
My questions are for those who have been there before. My understanding is that the ball joint housing is not hardened steel, steering and suspension loads are taken by plastic cups and a brass threaded cup that stops it all falling apart. My thoughts are that the inner face of the housing can be milled away so that the swivel pillar housing's parent metal can be revealed and a puller can push against the parent metal of the housing, while the ball joint housing has a bearing puller flange clamped firmly in the groove for the rubber boot. The question is this -- Are the bores for the ball joints completely blind? Or, did Rover, in the interests of reducing unsprung weight, employ hollow ends at the swivel pillar?
I have read a thread on a similar topic, but the concern there was looseness of the ball joint assembly in the swivel pillar housing. That, frankly is alarming, as is the comment about the spiral spring clip not being able to hold a loose lower ball joint assembly. I also wonder about the effectiveness of the three quarter-inch setscrews holding a loose upper ball joint.
The pair of new ball joints that I have purchased, appear to feature bonded rubber boots, there is no facility for the securing spring ring, as there was for the old boots.
Any suggestions will be appreciated. Also suggestions of a machine shop in Melbourne's eastern suburbs that could handle my job will also be appreciated.
Thanks folks,
Mike A.
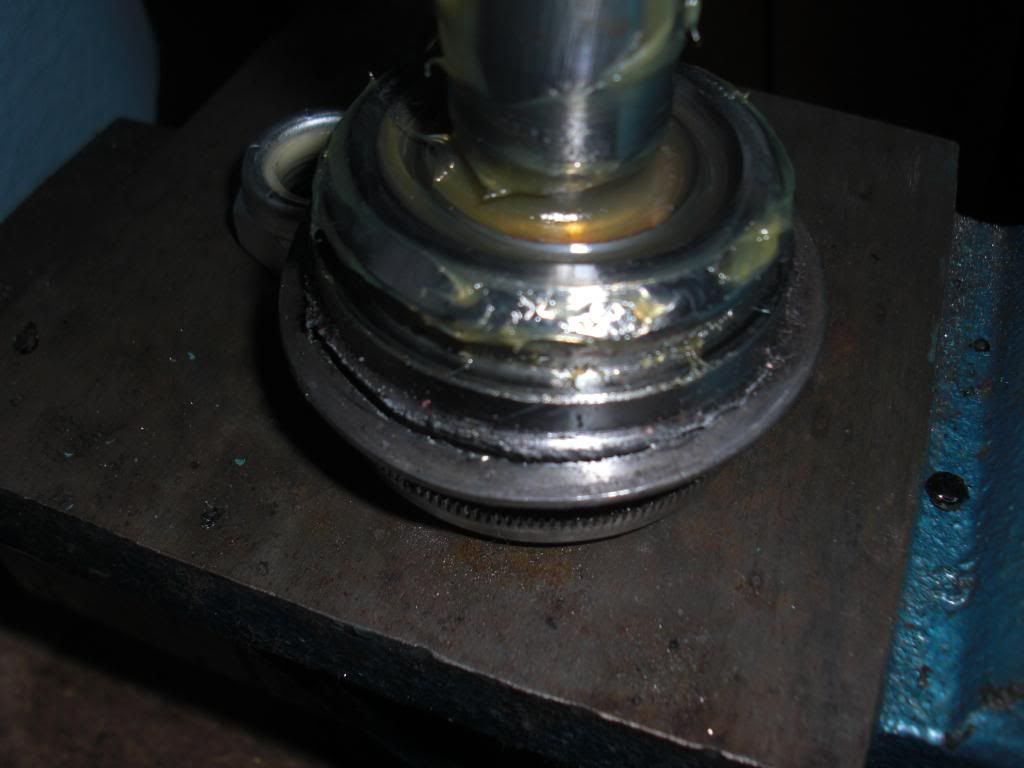
 . For the second attempt I used a big impact socket that sat on the inner shoulder of the joint itself.