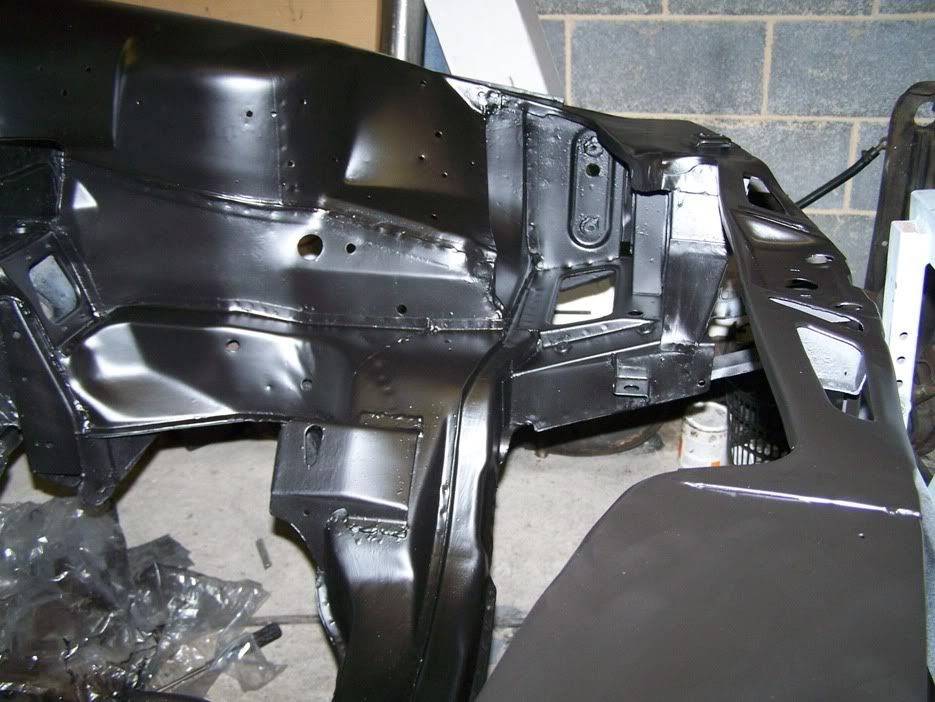
Last Saturday I tried to do the Dinitrol injection, but the fitting on the gun was different to my compressor and nothing I tried would connect it up, so I had to do some other stuff instead.
I fitted a new lower windscreen seal as the original had a few small chunks missing from it, possibly why the heater had rotted out. Cleaned up and painted the throttle linkage and fitted a new grommet. Cleaned the master cylinder and fitted new seals and fitted it along with most of the brake pipes. They are not exactly right yet, but I will wait until other stuff is fitted before getting them to their correct place.
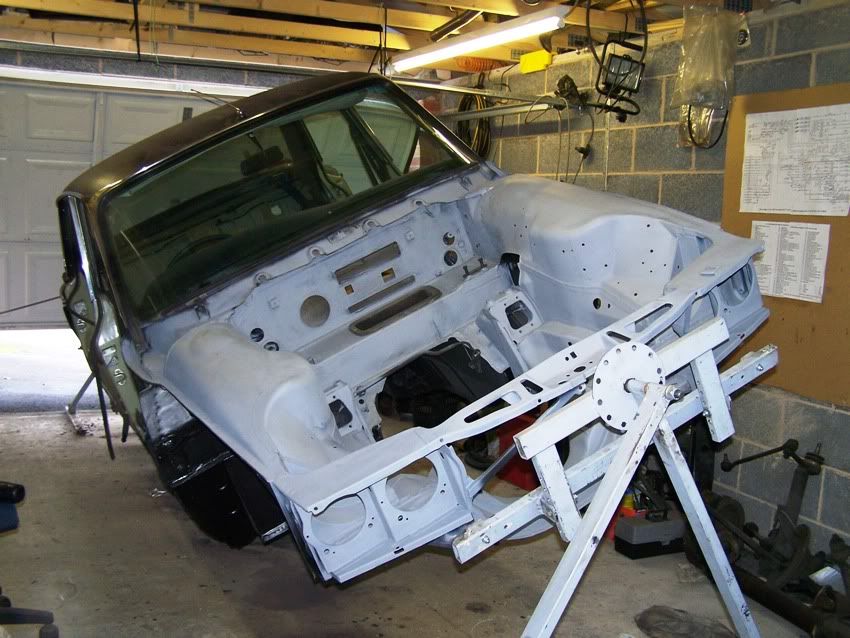
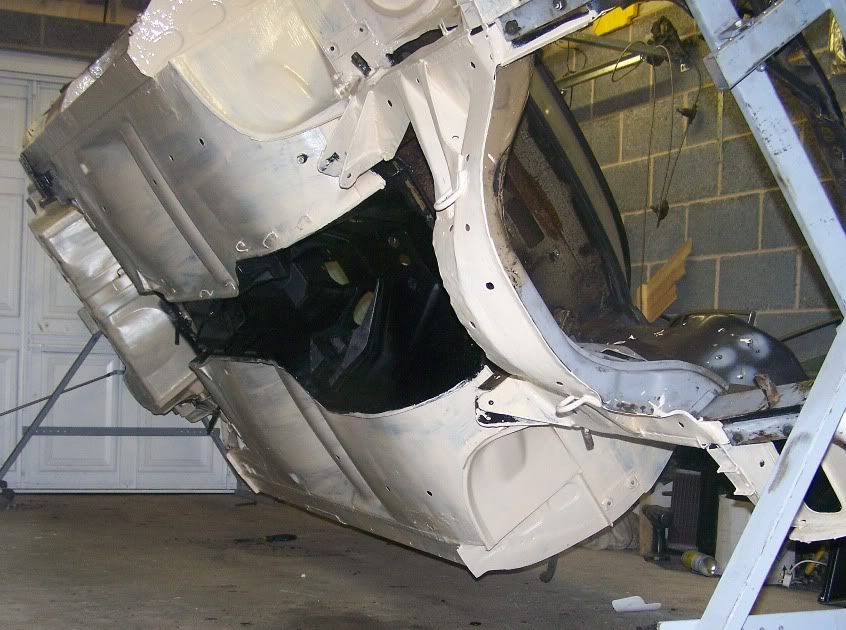
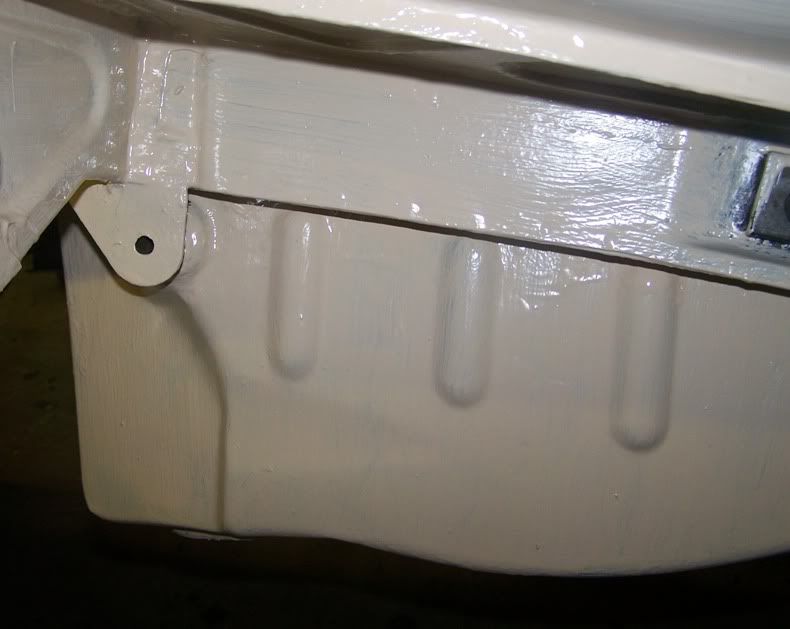
T’other side
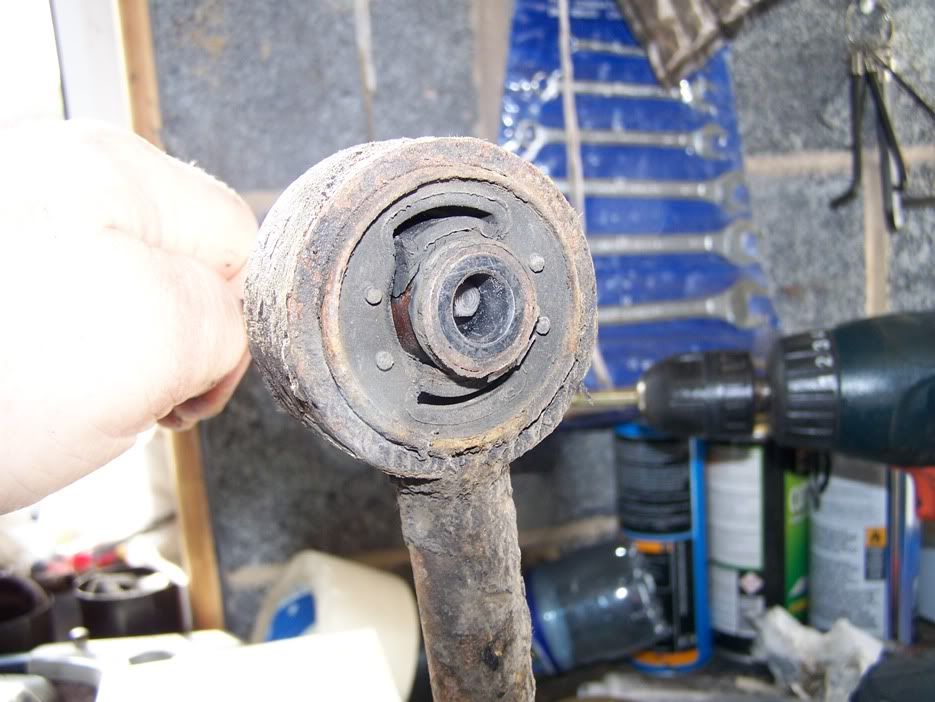
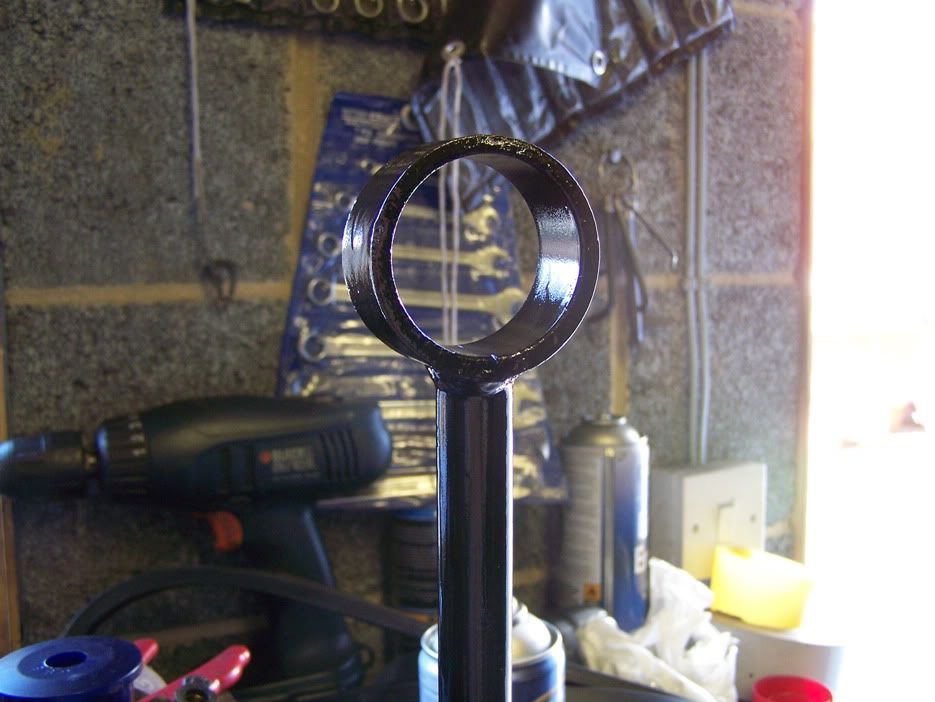
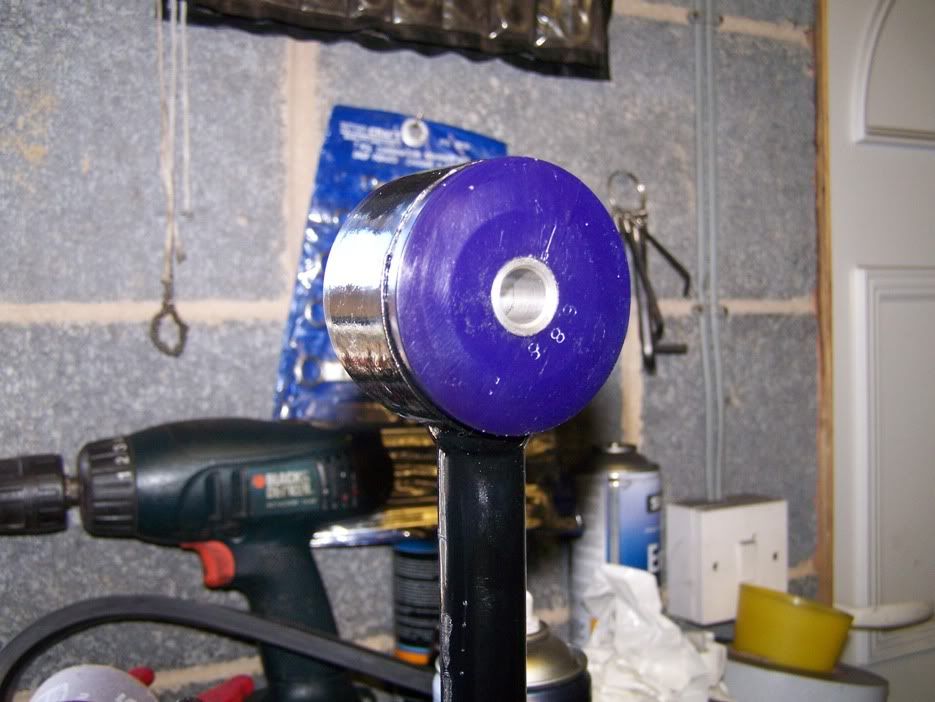
Rear top link bushes were ronnied, well one of them was so both have been renewed with Polyflex ones. I couldn’t get rubber ones, until I had finished, and now there is a complete set of top link bushes on ebay!!
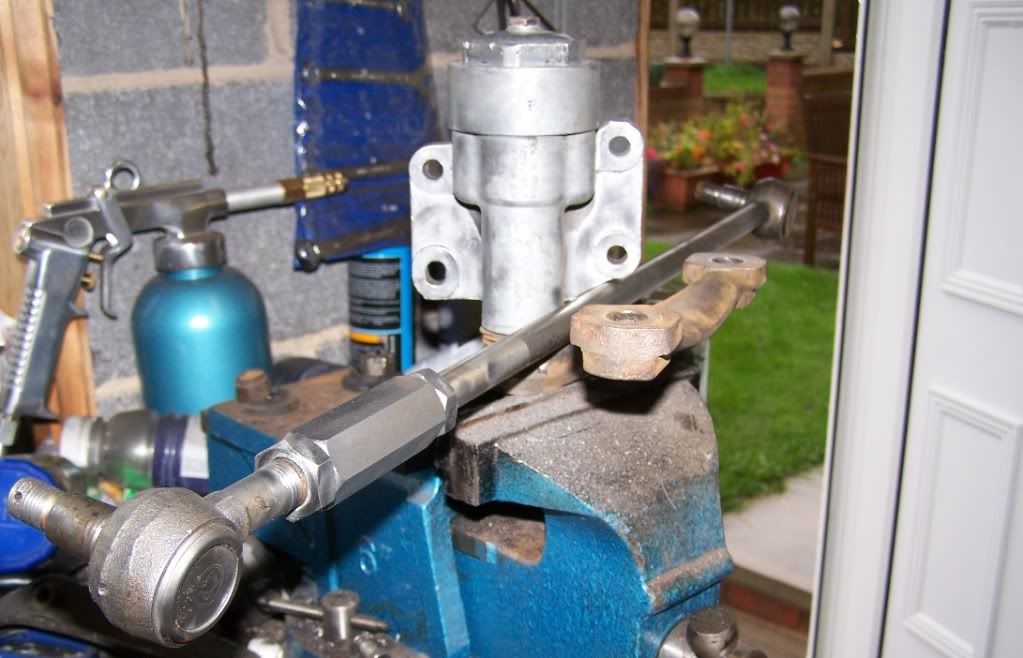
The steering damper cleaned up nicely and I am wondering whether to leave it aluminium or paint it black? Track rod assembly cleaned up just like new in a couple of minutes (I bought myself a bench grinder with a wire brush on it), that will get a coat of Smoothrite, except the threaded bits of course.
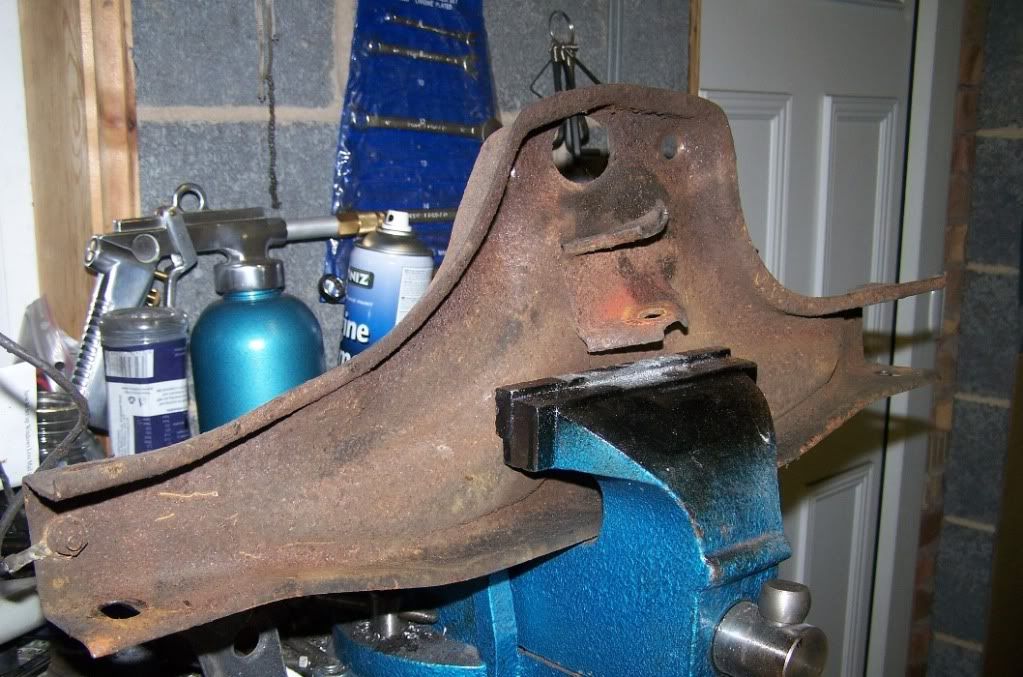
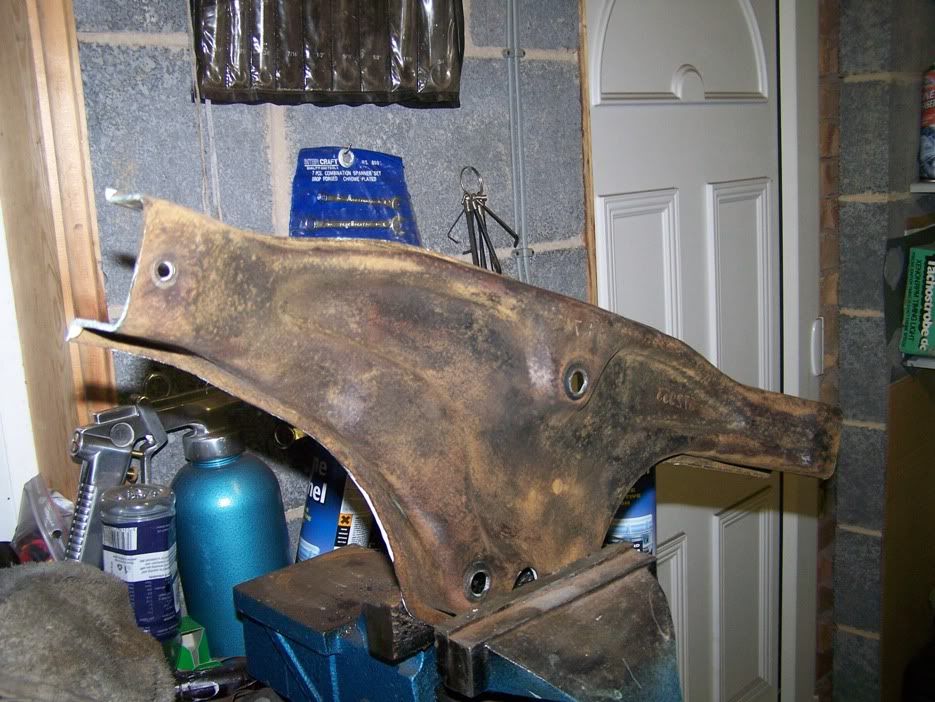
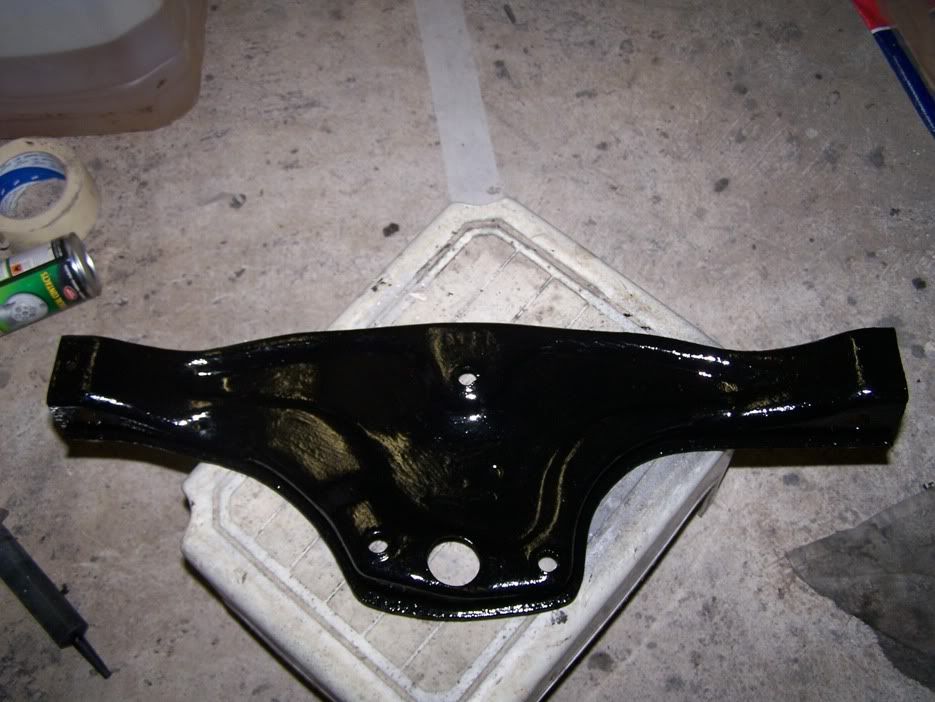
The diff hanger was a bit of a mess, so was duly attacked with a wire brush followed by some rust convertor and a generous coat or three of Smoothrite.
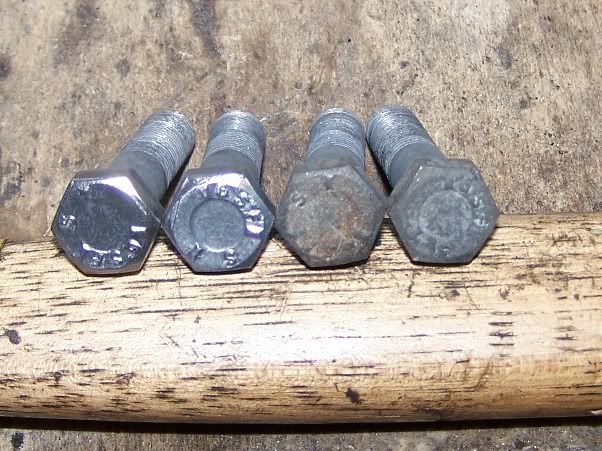
Had a quick go at some of the bolts when the grinder was on, and they came up every well indeed. Took a while though, not cleaning them, finding one of them when the wire brush caught it and playfully threw it to the other side of the garage.
Dinitrol tomorrow now, if I get the inclination.
Richard


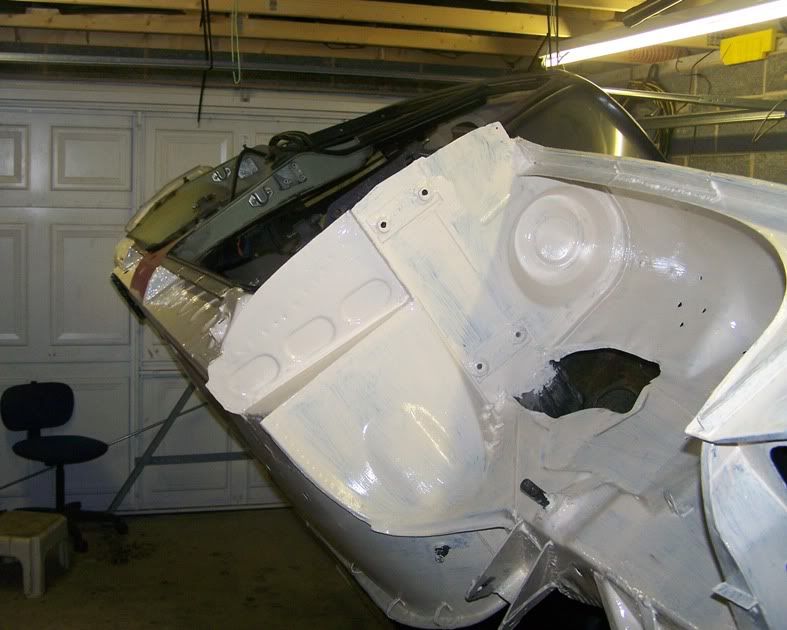
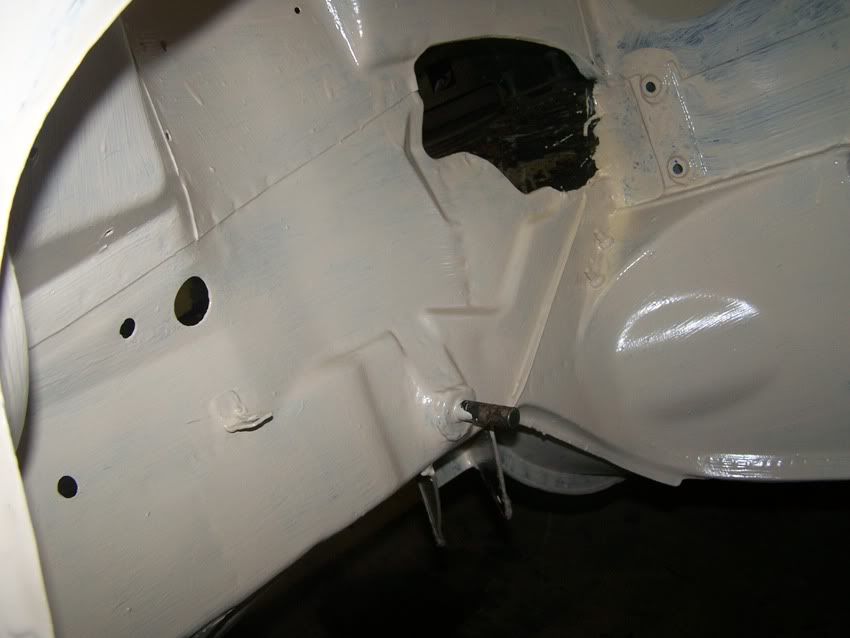

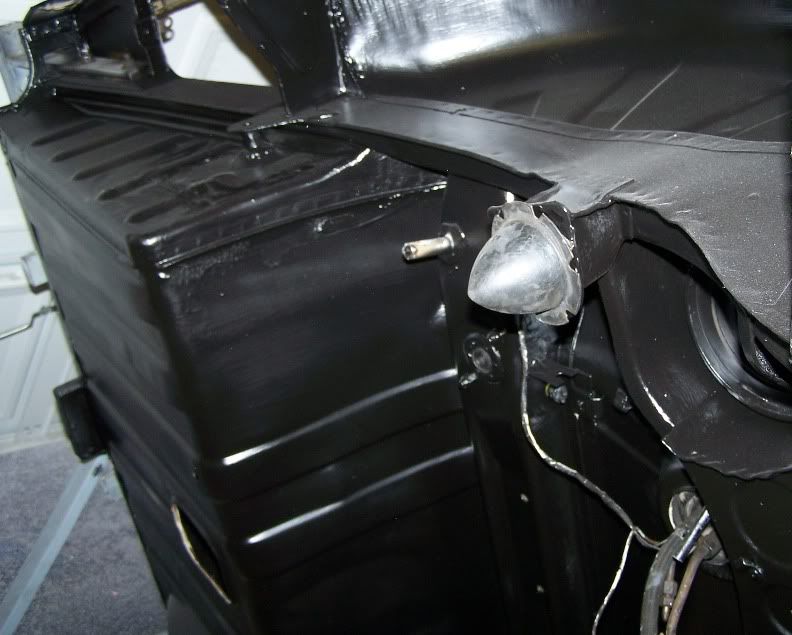
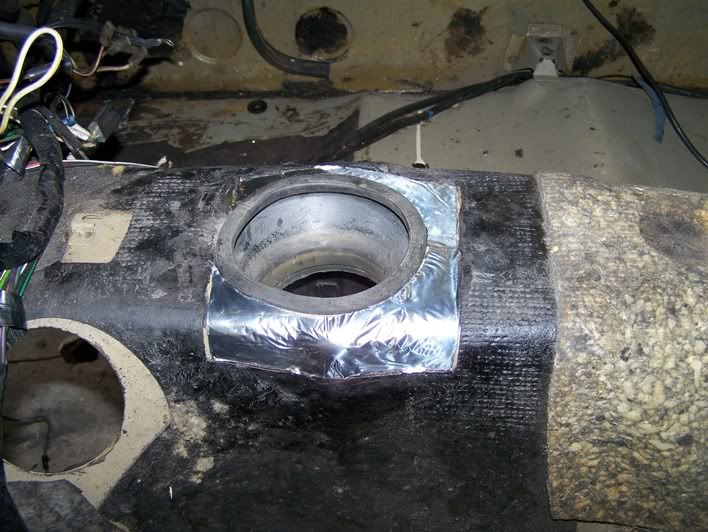
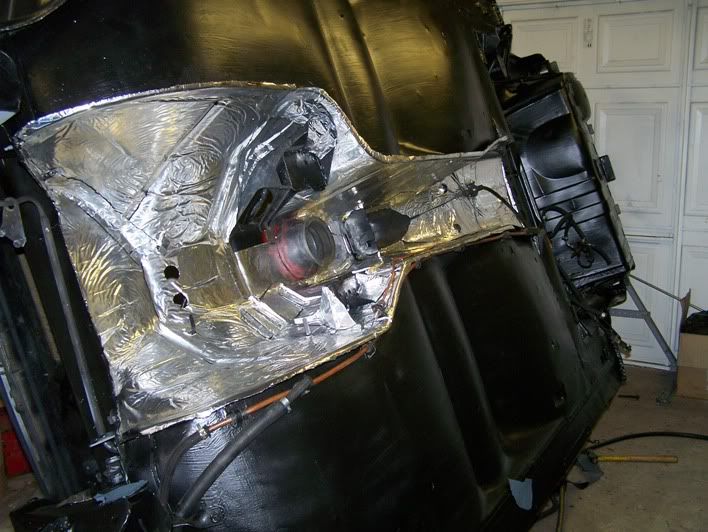
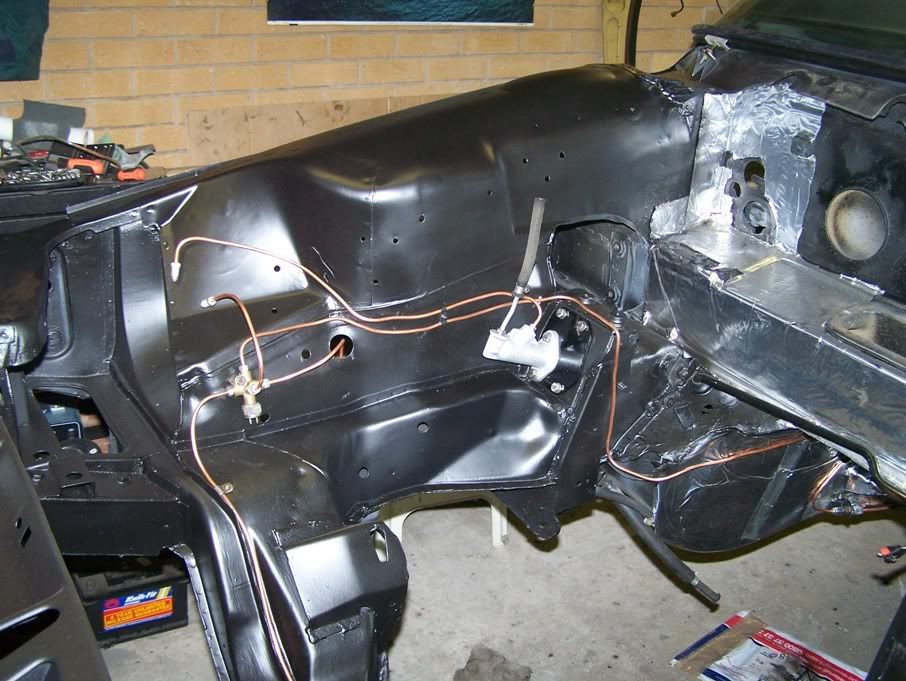
") - That has to come off again so that I can fire some dinitrol in there but it did feel good actually putting something back on at last.
- That has to come off again so that I can fire some dinitrol in there but it did feel good actually putting something back on at last.