Windscreen Replacement With New Seal Corner Fit Tips

Lovel

Member
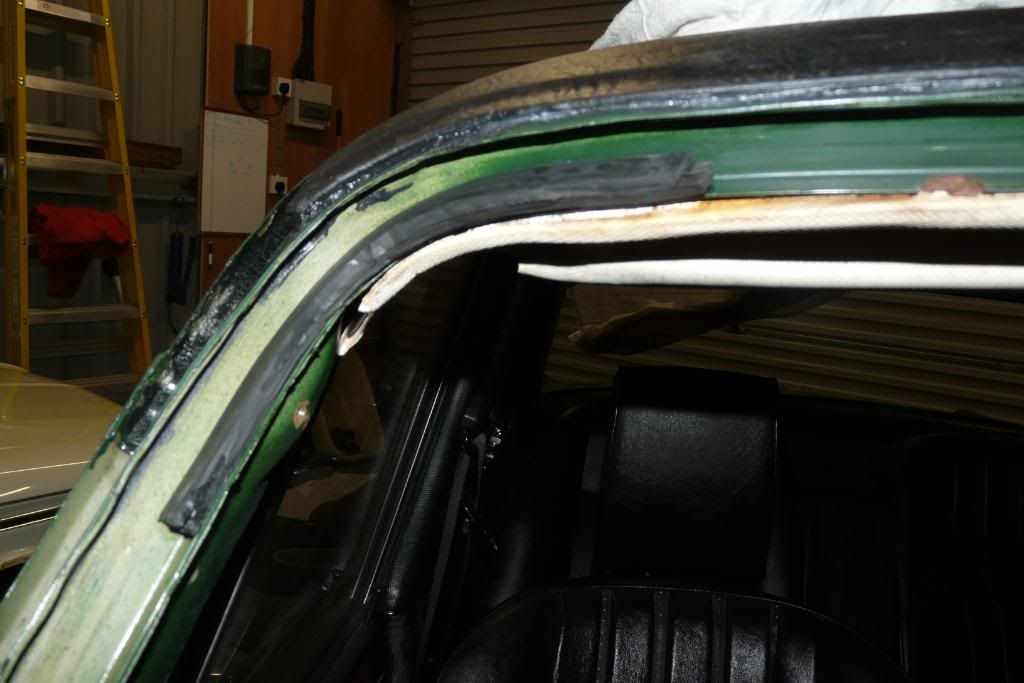
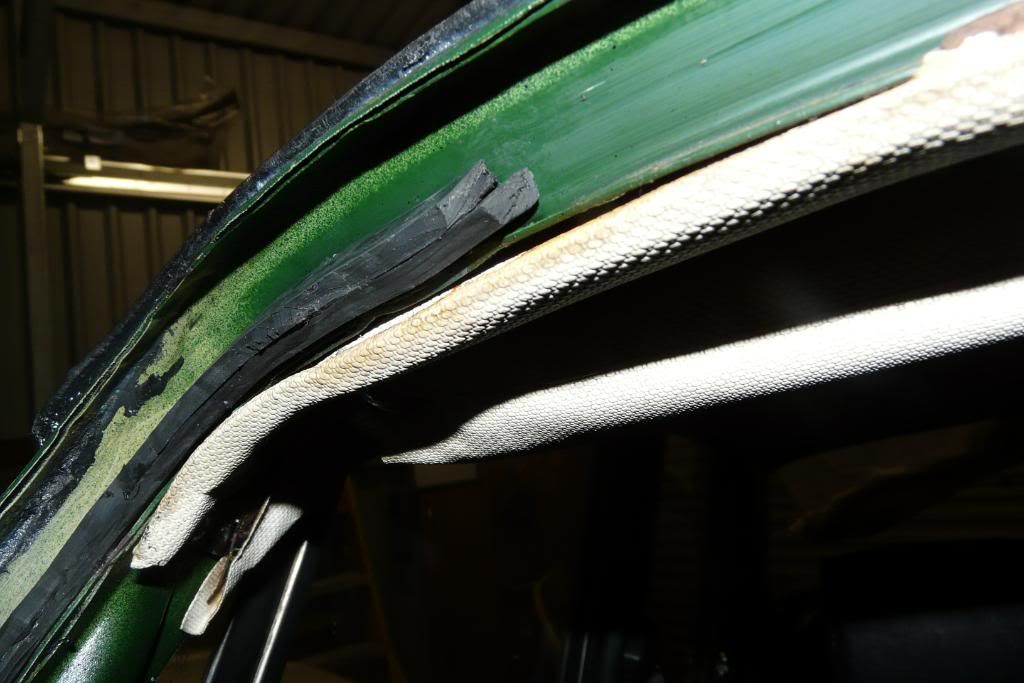
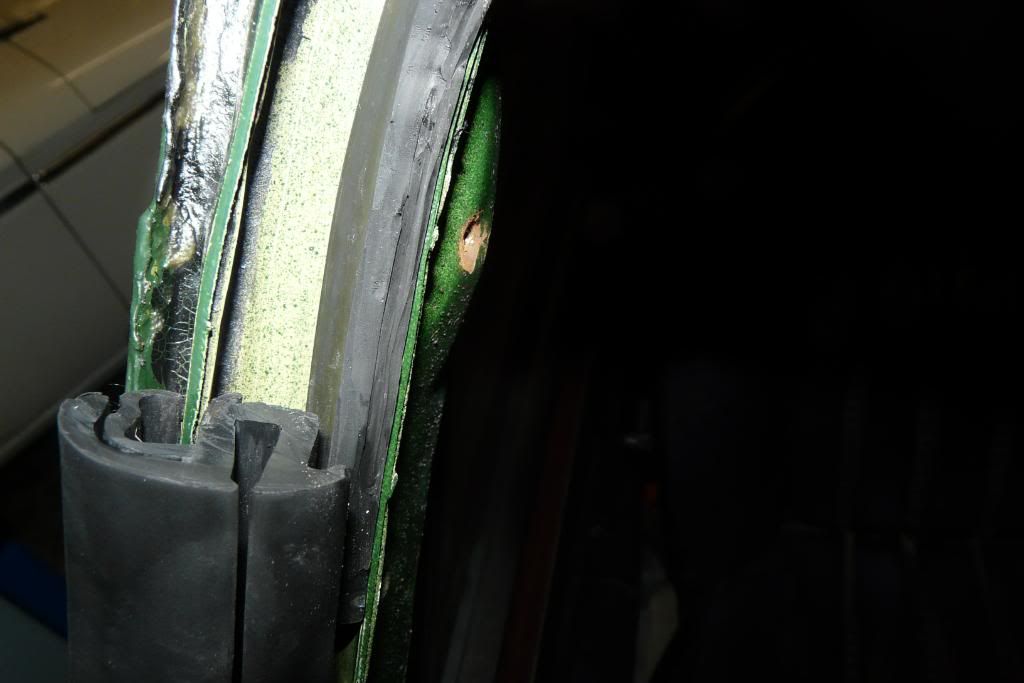
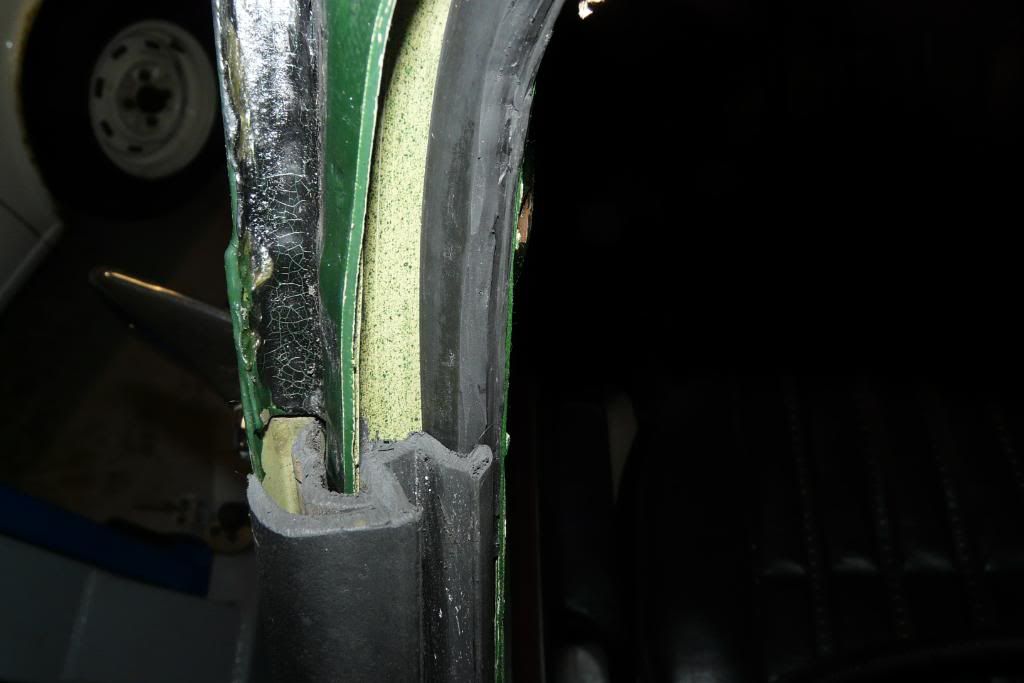
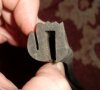
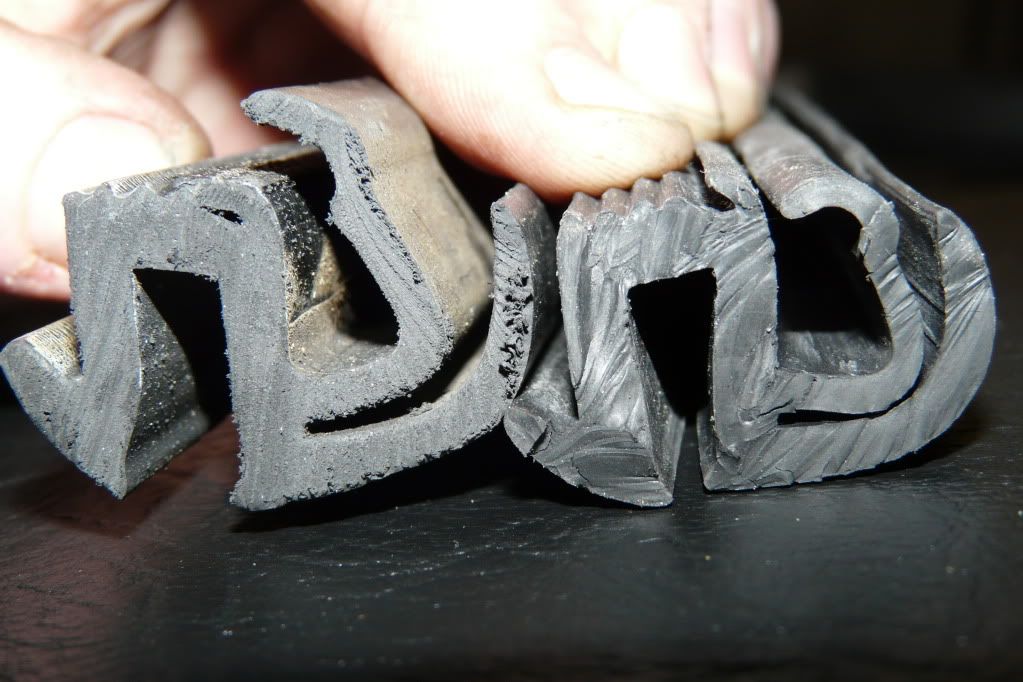
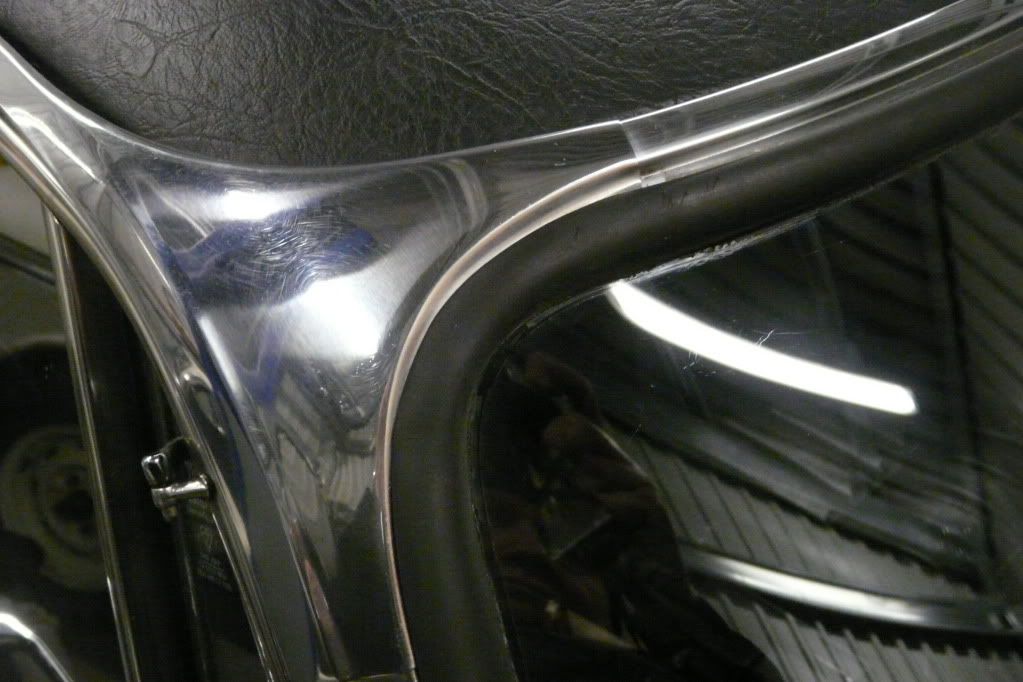
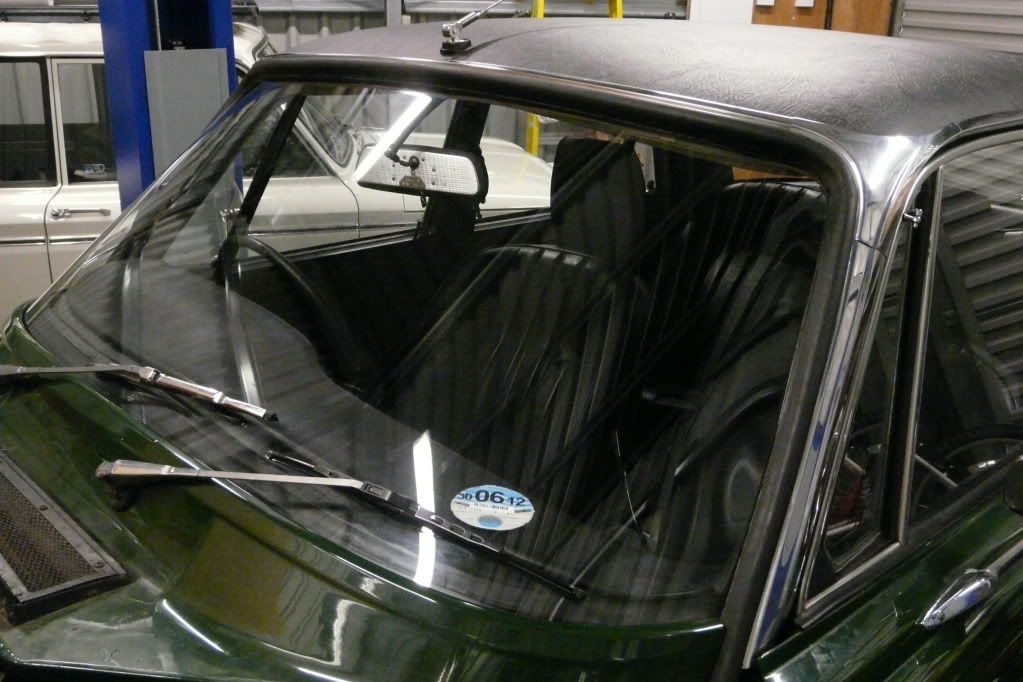
I'm currently installing a new front screen and seal (old screen delaminating and old seal was perished) and I am having difficulty obtaining a good fit in the top corners where the stainless finishers meet the screen rubber. Does anyone have any solutions to improve upon the fit? Iv'e read a few posts on here that have had the same issue as mine.

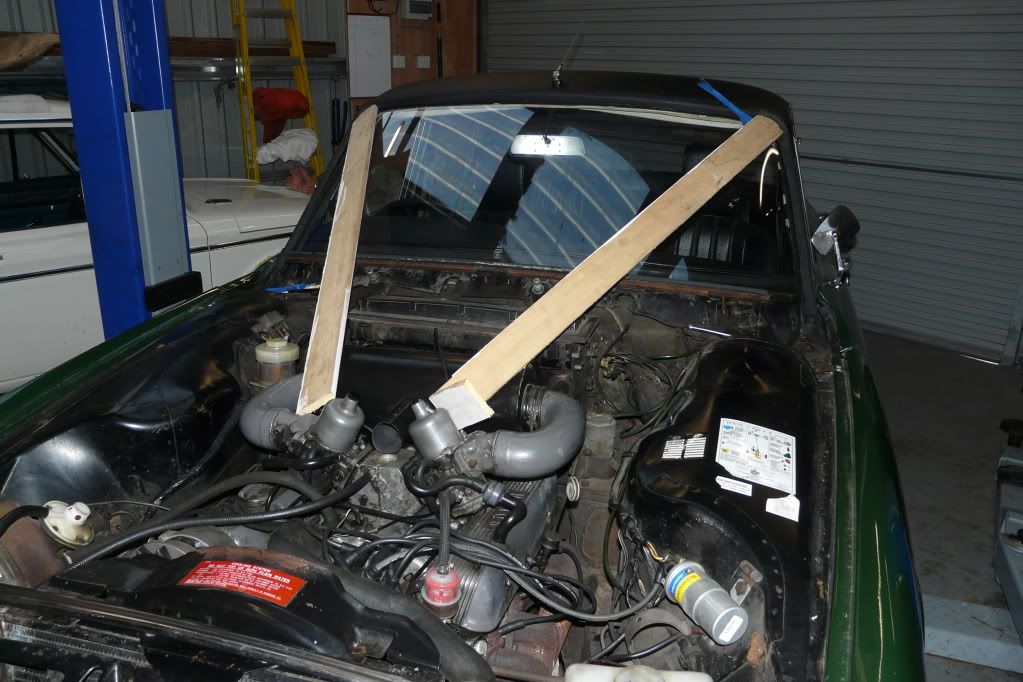
If it were possible to fit the rubber seal before the glass? I would be almost tempted to hold the seal in place in each corner via 1 or 2 self tapping screws driven into the inner screen channel. :shock:
 
I had similar problems when I changed my windscreen a few months back. I suspect that the replacement screen was a slightly different shape/size and, like your's sounds, the rubber wasn't sitting right on the stainless steel trim on the the roof corners. IIRC I improved the situtation by doing two things:

1. I raised the screen height slightly using the two jacking points that the screen assembly sits on. You have to be careful though to leave some slack between the top of the screen rubber seal and the metal frame to allow some movement. I went by the Haynes manual which suggests a 1/8" gap between the seal and the base unit.

2. When the screen was in place, I pushed the rubber seal running up the side of the screen up towards the offending corners. This had the effect of pushing more rubber seal into the top corners to cover up the steel trim properly. Should mention I used sealant between the screen and rubber seal. I used small blocks of wood on the bottom free ends of the seal to keep it pushed up until the sealant had gone off enough to hold things in place (a few hours).

I would be wary of putting screws through the rubber as you might end up with leaks?
 
JVY said:
I had similar problems when I changed my windscreen a few months back. I suspect that the replacement screen was a slightly different shape/size and, like your's sounds, the rubber wasn't sitting right on the stainless steel trim on the the roof corners. IIRC I improved the situtation by doing two things:

1. I raised the screen height slightly using the two jacking points that the screen assembly sits on. You have to be careful though to leave some slack between the top of the screen rubber seal and the metal frame to allow some movement. I went by the Haynes manual which suggests a 1/8" gap between the seal and the base unit.

2. When the screen was in place, I pushed the rubber seal running up the side of the screen up towards the offending corners. This had the effect of pushing more rubber seal into the top corners to cover up the steel trim properly. Should mention I used sealant between the screen and rubber seal. I used small blocks of wood on the bottom free ends of the seal to keep it pushed up until the sealant had gone off enough to hold things in place (a few hours).

I would be wary of putting screws through the rubber as you might end up with leaks?

OK, so after reading your response and your suggested methods to improve the fit of the seal at the top corner I decided to remove the screen again. This involved cleaning off all the sealer :( 
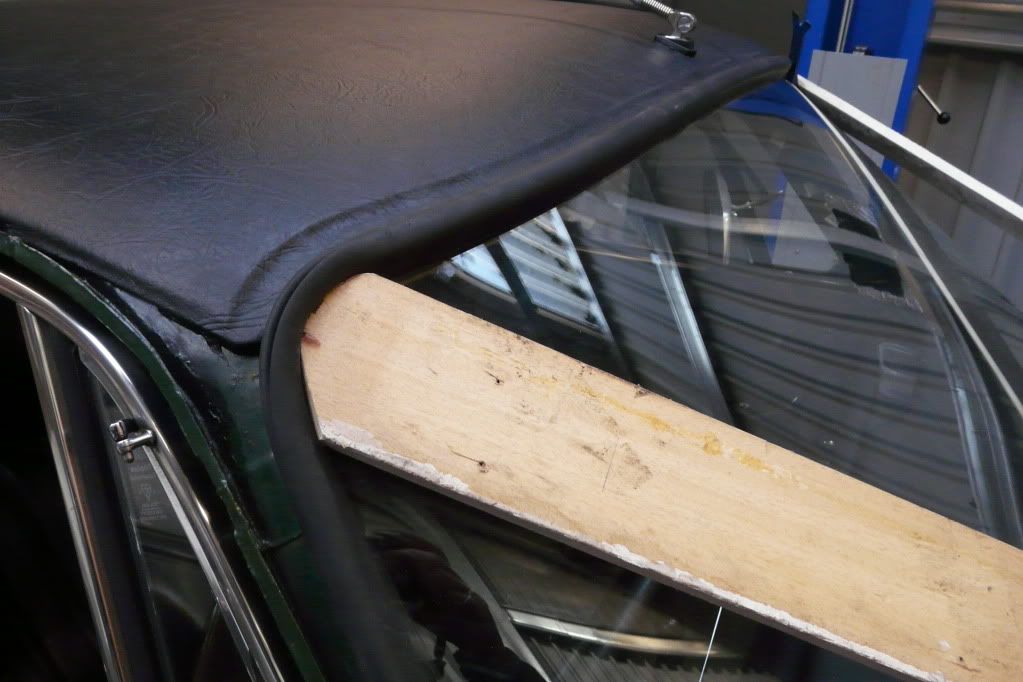
not a nice job believe me. (I did carry out a dry run first before applying the sealer but didnt see the issue initially)

From my observations the new screen seal at the top corners was tilting over due to the large gap between the windscreen channel and the seal itself, so I made up some rubber packings from the original screen seal which came to 8mm thick and super glued them into place at each corner. I have since trial fitted again and found the seal to be much improved. When I come to installing with the sealant again I will also try and push up from the bottom of the pillars to minimise the gap. I still reckon I will need to super glue or Tigerbond the outer edge down to make it look good though.

P1030459.jpg
P1030460.jpg
Replacement seal
P1030461.jpg
Original Seal lower pic
P1030458.jpg

Regards, Gary.
 
Daft question, do you have you're old seal to hand to campare the profile ?

I ask because it doesn't look like that seal is remotely filling the channel, so I dug mine out of the garage to look at and I've got 2 seals (which I presume are front and rear) both have the same profile, which is...


Can anybody else confirm ?
 

Attachments

  • seal.jpg
    seal.jpg
    366.6 KB · Views: 1,484
:? Richard, the seal in your picture doesn't look like the one on my windscreen. The one that I have has the same profile as my Haynes manual. Also, looking at Gary's pictures, both his old and new seals look like mine (& the Haynes manual). So I'm guessing Gary has the correct seal?

Gary, hope you get it sorted. Would it be possible to tell us where you got your replacement seal from? it might help confirm that you have the right one.
 
When I did mine I had the same issue, getting two long lumps of wood and some gentle but forceful persuasion got it to go in at the end.
 
Sorry if I may have dropped a red herring, they may be rear screen seals, in which case I've got 2 and no front screen seal :oops:
 
Guys, the pics I posted are of the original and the replacement front seals both pretty much similar in design although the replacement has just an ever so slightly smaller depth of reach on the stainless corner finisher, hence the outer lips lack of coverage which I think will have to be glued down for a satisfactory look.
I obtained the seal from one of the main P6 suppliers, but I dont think this is an issue as most of them will get this item from one supplier anyway. What is strange though and in both original and replacement is why there is such a large gap between the channel and the seal of 8mm or so, that's rather a large tolerance I would think :?:

Comparison of original and replacement seals side by side.
P1030473.jpg
 
Rather a sweeping statement on the suppliers, Lovell. At least one of the suppliers still sells his seals as straight extrusions. Rover-Classics and Wynn's now sell seals that have the corners correctly moulded, so that there is no issue with trying to get the corners to lie down. They do both come from the same source. The third variety is Scott's from Australia which also have the moulded corners. The Scott's vareity fit perfectly, I've only tried rear screen seals from Rover-Classics / Wynns and they are of similar quality.

Chris
 
chrisyork said:
They do both come from the same source. The third variety is Scott's from Australia which also have the moulded corners.
Chris

Lovel said 'as most of them will get this item from one supplier anyway.'

That's what he said then Chris :LOL:

I've suffered this problem over the years, just the prices vary greatly on the same item. Same in any trade though I guess :roll:
 
chrisyork said:
Rather a sweeping statement on the suppliers, Lovell. At least one of the suppliers still sells his seals as straight extrusions. Rover-Classics and Wynn's now sell seals that have the corners correctly moulded, so that there is no issue with trying to get the corners to lie down. They do both come from the same source. The third variety is Scott's from Australia which also have the moulded corners. The Scott's vareity fit perfectly, I've only tried rear screen seals from Rover-Classics / Wynns and they are of similar quality.

Chris


Chris,

Interesting info there. I thought the market for replacement seals would be quite limited and not large enough to justify multiple manufacturers, just goes to show how wrong I am then. I hope this also applies to other parts that are available for the P6 ? The seal I am using is sourced from UK and is moulded to the corners, but the lip seal is imho a little bit shorter than the original hence the barely enough coverage where it meets the corner stainless trim even when pressed hard against the window frame channel.

Gary.
 
Hi Grim

chrisyork wrote:
They do both come from the same source. The third variety is Scott's from Australia which also have the moulded corners.
Chris

Lovel said 'as most of them will get this item from one supplier anyway.'

That's what he said then Chris

I was trying to be diplomatic, Grim - there must be another UK supplier, mustn't there? And they clearly don't use the same source.....

I wonder if there is something missing from this discussion? Namely the body to screen seal? I've added the links to the parts catalogue from Ian's Rover-Classics site. Both show the screen to base unit seal at the base of the two screens (372373/367293). But I was under the impression that that seal went all the way around the aperture? If so then Lovel's problems and solution make sesne.

Also don't forget to install seal 364396, this seal carries a rain channel that deflects water away from the heater. Without it you risk wet feet inside the car!

Chris

http://www.rover-classics.co.uk/ima...k/gallery/pages/Backlight & Mouldings_jpg.htm

http://www.rover-classics.co.uk/ima...k/gallery/pages/Backlight & Mouldings_jpg.htm
 
Well eventually after having the screen out and in a few times, I have ended up with a decent fit. In the first two photos you can see I wedged the seal with some battons of wood and Tigerseal in the top corners between the seal and the body aperture and left overnight.

A sort of V1
P1030487.jpg
P1030485.jpg

Second photo's showing stainless trim installed. I still ended up using superglue on the corners.
P1030494.jpg
P1030488.jpg
P1030489.jpg
 
That looks fine, doesn't it! The Scott's seals definitely sit down better after they have been left out in the sun a few times.

Chris
 
Looking good Lovel :) . Who says you can't fix a car with a big lump of wood (or two)!
Did you have fun putting the stainless steel trim back on? I certainly found it a little fiddly but got there in the end.
 
JVY said:
Looking good Lovel :) . Who says you can't fix a car with a big lump of wood (or two)!
Did you have fun putting the stainless steel trim back on? I certainly found it a little fiddly but got there in the end.

:LOL: :LOL: by the time I had fitted the screen the stainless trims were so worn from being on and off the car from trial fittings that they just fell on. I used no.8 stainless self tapping screws instead of rivets just in case. :shock:
 
Back
Top