arthuy
Well-Known Member
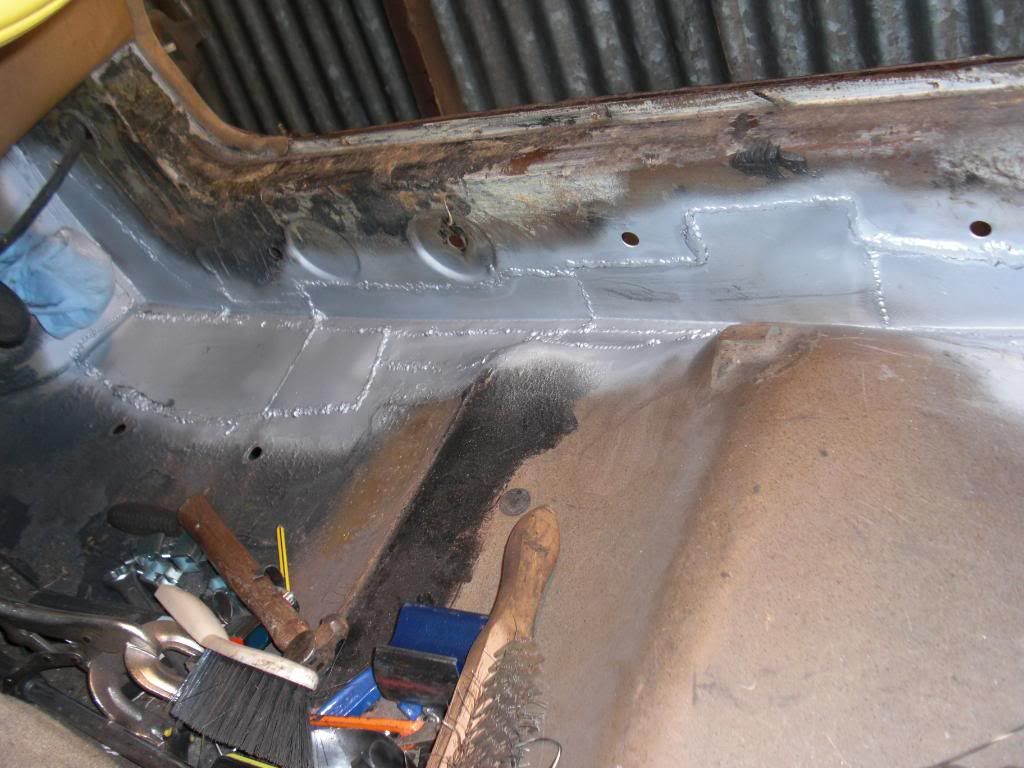
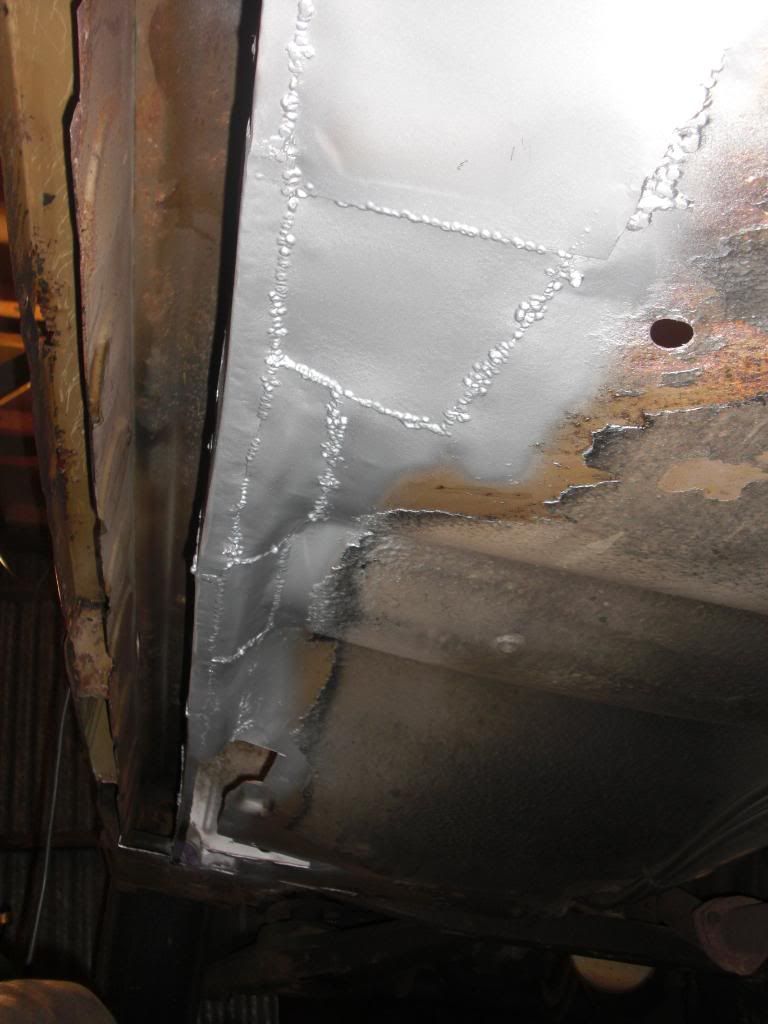
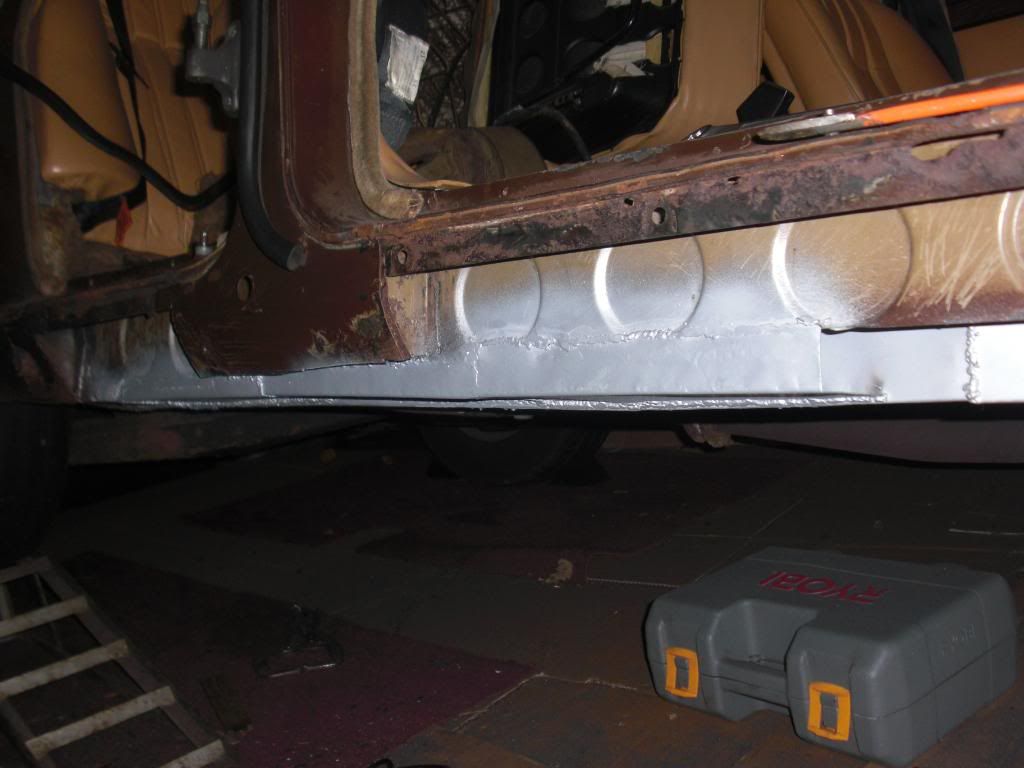
I put a small lip on the inner sill sections i made. The outer has a step the two flanges clamped and seam welded for a nice strong box section. The floor was the welded from the inside which avoids upside down welding.
You will be amazed how few welds makes the strength return.
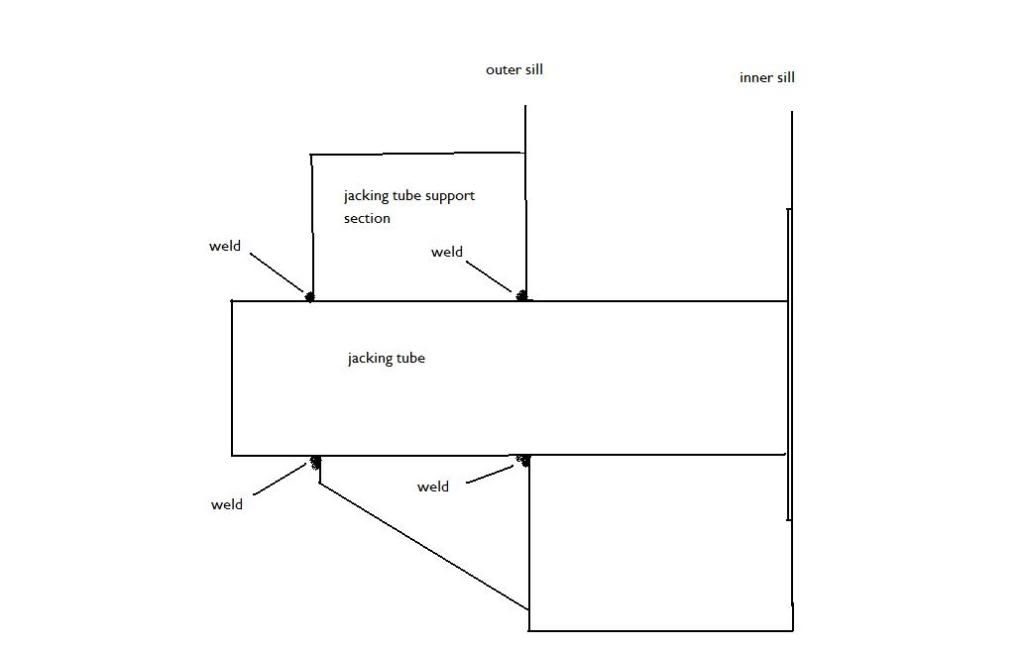
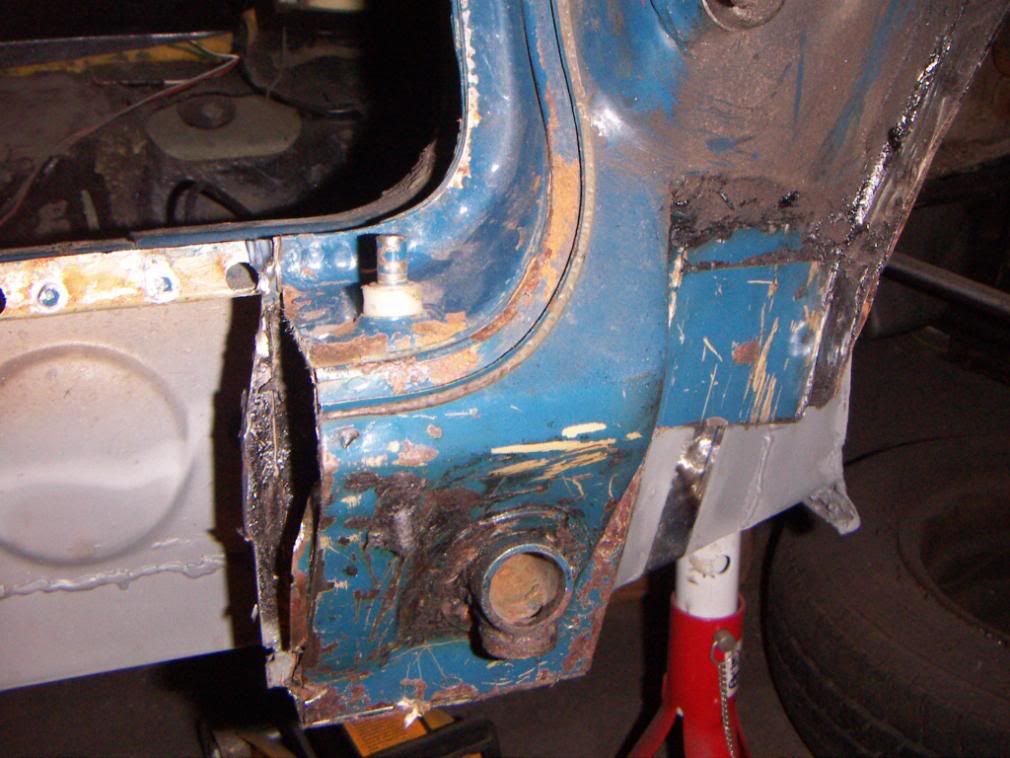
Also something to consider is the jack tubes, they may be ok but good op to toughen them.
Colin
You will be amazed how few welds makes the strength return.
Also something to consider is the jack tubes, they may be ok but good op to toughen them.
Colin
")