Dave3066
Well-Known Member
We've just got back from our weekend at the RSR Jubilee and RP6C 50th Anniversary Rally and it was a cracking weekend. We stayed at a local pub about a mile from the venue

We arrived around 7:30pm on the Friday after a pretty wet drive of around 330 miles. The volume of spray on the roads was tremendous and I think we got caught in stationary traffic on around half a dozen occasions. However, The Green Dragon Inn in the lovely village of Sambourne was also holding its annual village fete. So we had live music in the pub for the Friday evening and a fantastic atmosphere to kick start our weekend.
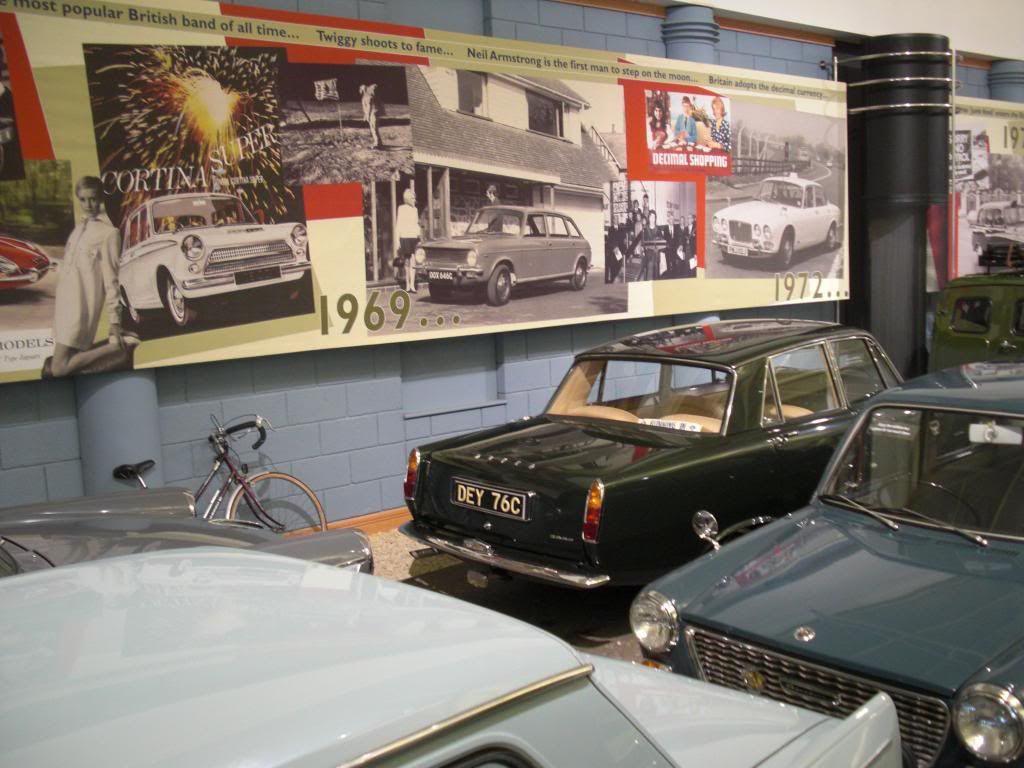
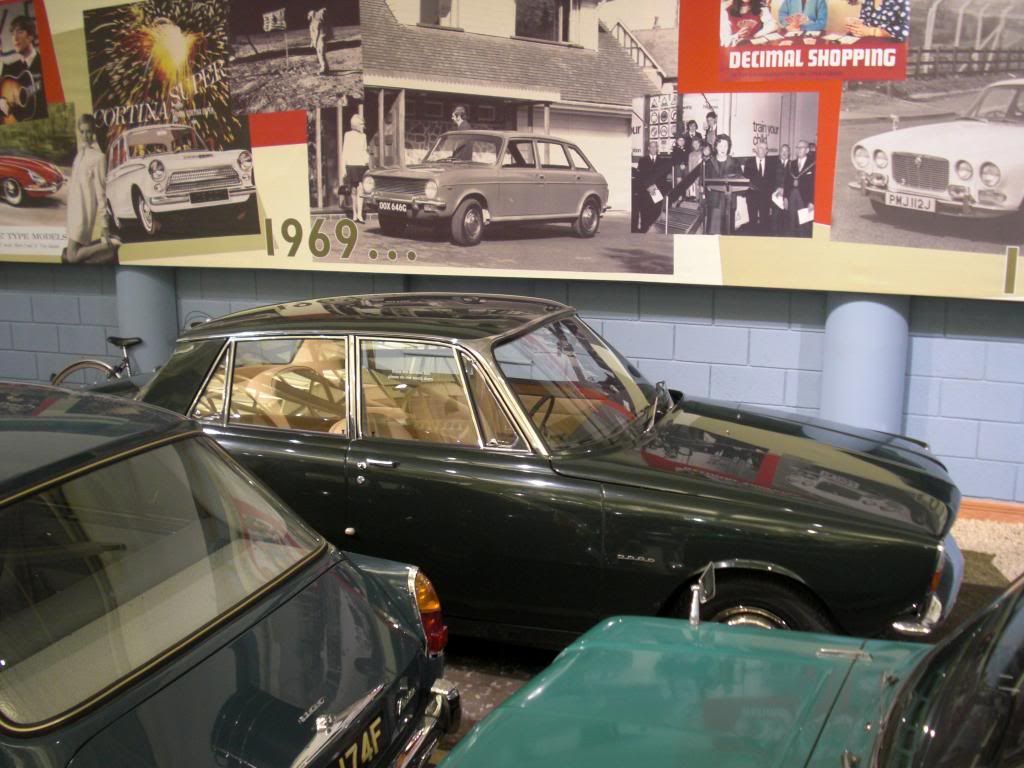
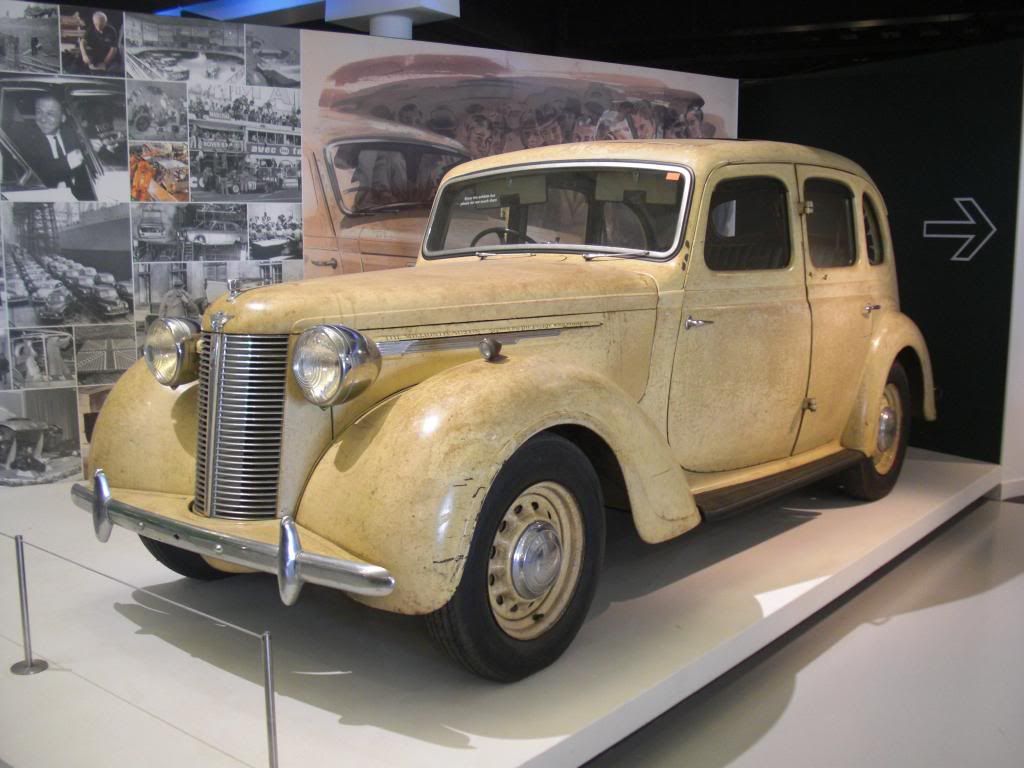
We set off for the RSR road run on the Saturday morning and met loads of fellow P6ers in the car park of the King's Court Hotel. The road run looked interesting enough but all I wanted to do was get to Gaydon for a look around the museum. This was my first visit and I wasn't disappointed. So much motoring history under one roof I really couldn't take it all in. There were lots of little P6 bits and pieces dotted around the museum, including this one hiding in the timeline of cars:
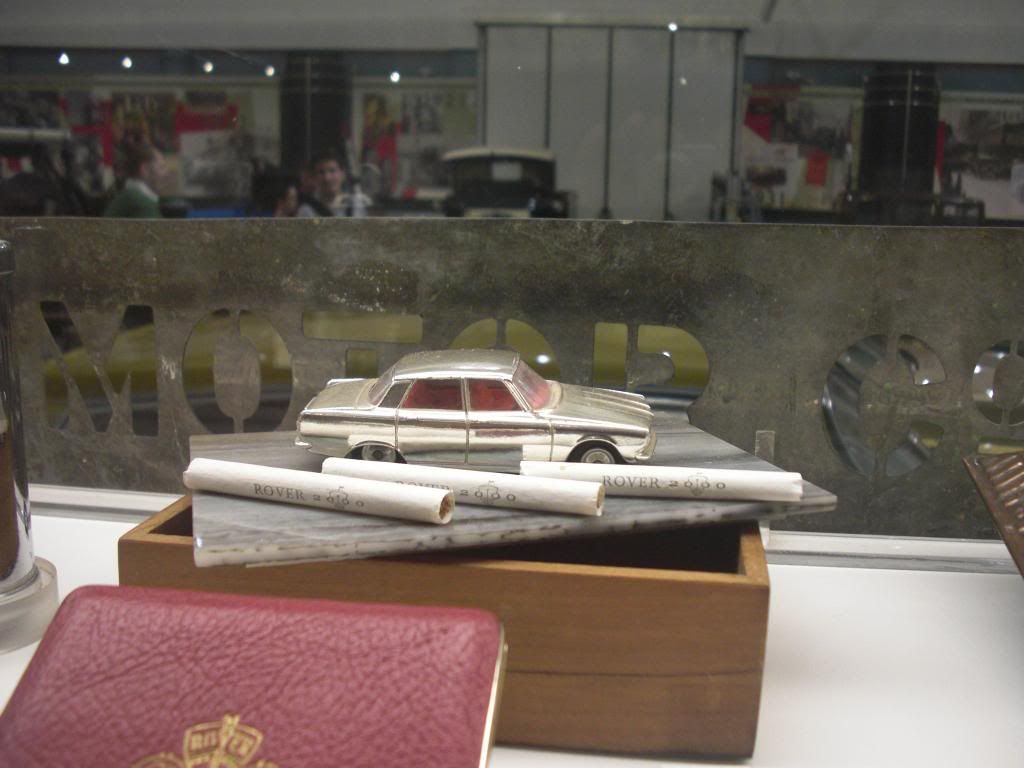
And these Rover 2000 cigarettes!
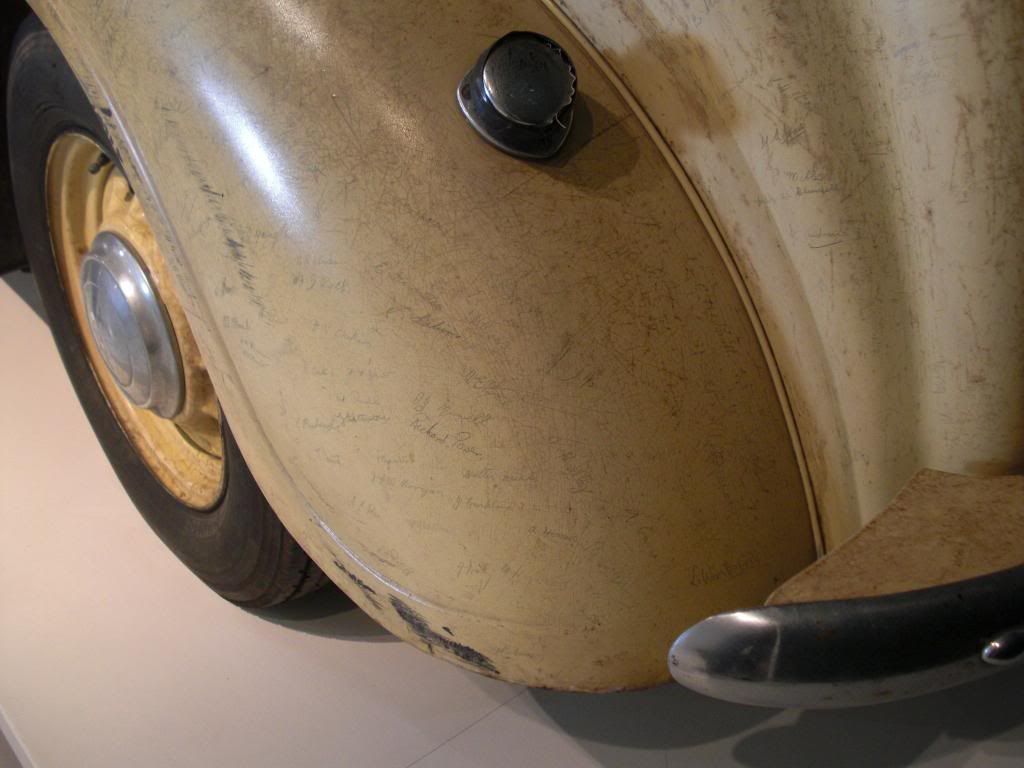
This is the 1,000,000th Austin off the line and it was signed by all of the workers
After a short break for a bite to eat we spent around an hour in the museum's theatre watching all the old Rover Review films brilliant.
The evening event was the RP6C 50th Anniversary Dinner and we were fortunate to be joined by Reg Mason, founder of the RP6C. Reg talked about how the RP6C was formed in his living room by 7 people and in those early days committee meetings were held in peoples' living rooms on a rotational basis. We couldn't do that now as committee members are scattered all over the UK.
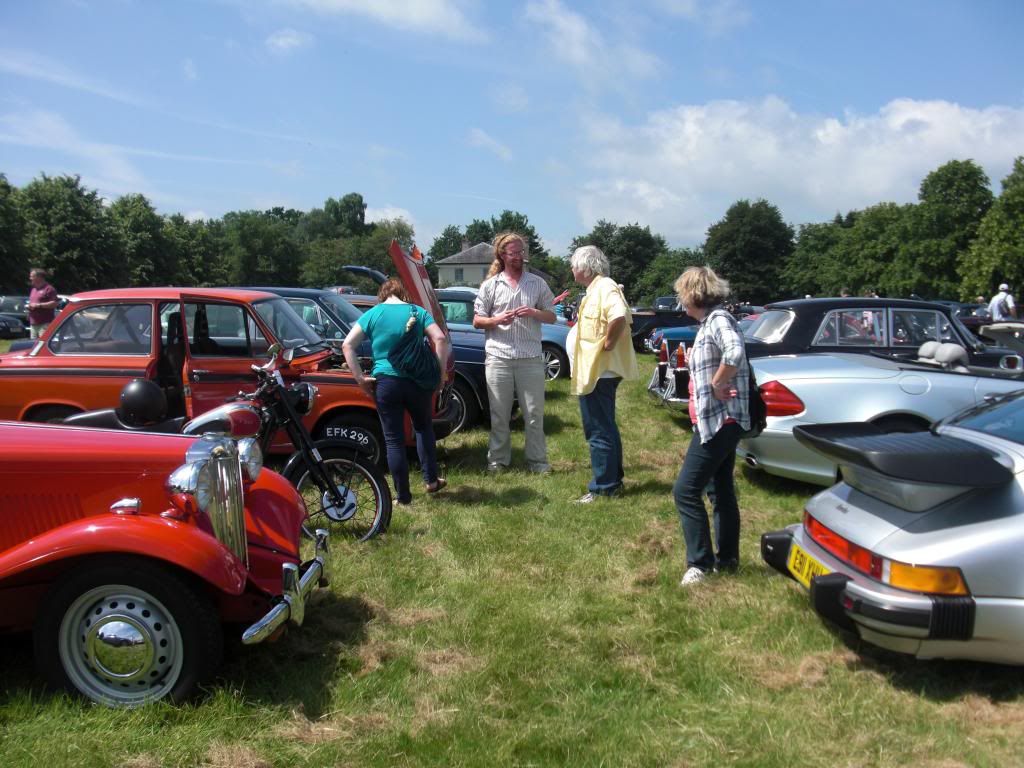
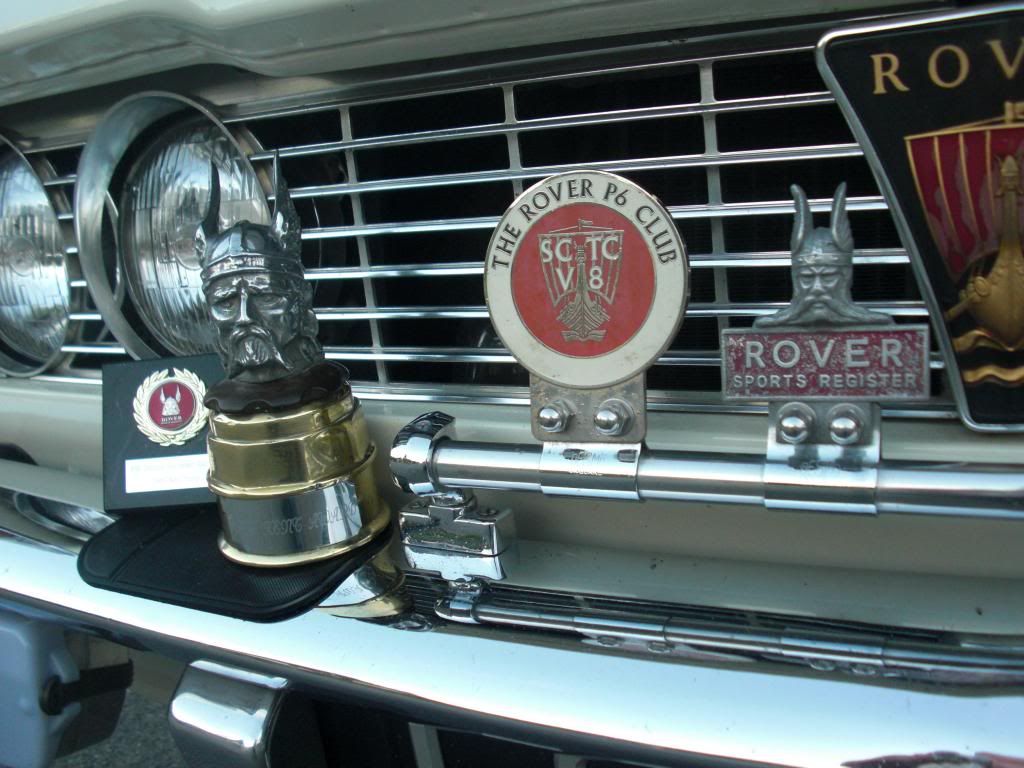
Sunday morning we arrived, as instructed, just after 10am and watched the fields fill up with cars. It was a great sight to see. Most of the pictures will be elsewhere on the forum but every single P6 that turned up was a star of the day. From the early pre-production FLK cars, those that people have put their own personal touch to and those that retain much of their originality, every single P6 there made the day the great event it was.
We had a couple of familiar faces from the classic car press, including Danny Hopkins with his Three Thousand Five and Sam Glover with his......DAF...
It was all over far too quick and I think I managed to walk up and down the line of P6s once. I didn't have time to look at any other make of Rover there which gives you an idea of the number of P6s there!
It was also great meeting so many people who frequent this forum, testrider, stina, happy days, hermione, brian-northampton, redrover and pilkie to name just a few.
I took Lady C there simply to enjoy the event, not even imagining she would have any chance of a trophy of any kind in such illustrious company. I'm delighted to say I was wrong:
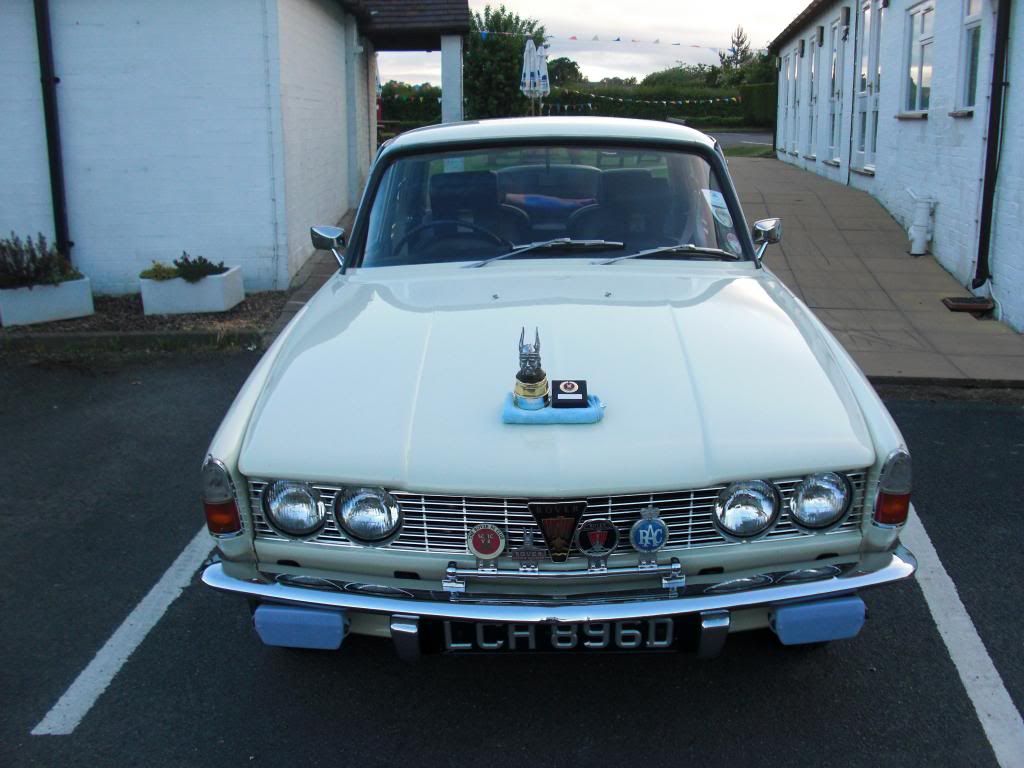
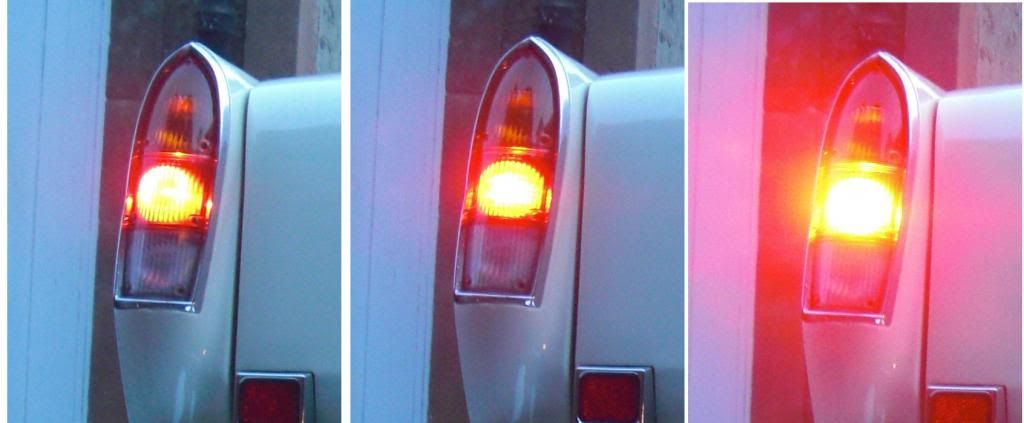
This is the RSR trophy for the Most Regularly Used Rover. Guess I'll be going to next year's RSR National Rally now.
Dave
We arrived around 7:30pm on the Friday after a pretty wet drive of around 330 miles. The volume of spray on the roads was tremendous and I think we got caught in stationary traffic on around half a dozen occasions. However, The Green Dragon Inn in the lovely village of Sambourne was also holding its annual village fete. So we had live music in the pub for the Friday evening and a fantastic atmosphere to kick start our weekend.
We set off for the RSR road run on the Saturday morning and met loads of fellow P6ers in the car park of the King's Court Hotel. The road run looked interesting enough but all I wanted to do was get to Gaydon for a look around the museum. This was my first visit and I wasn't disappointed. So much motoring history under one roof I really couldn't take it all in. There were lots of little P6 bits and pieces dotted around the museum, including this one hiding in the timeline of cars:
And these Rover 2000 cigarettes!
This is the 1,000,000th Austin off the line and it was signed by all of the workers
After a short break for a bite to eat we spent around an hour in the museum's theatre watching all the old Rover Review films
brilliant.The evening event was the RP6C 50th Anniversary Dinner and we were fortunate to be joined by Reg Mason, founder of the RP6C. Reg talked about how the RP6C was formed in his living room by 7 people and in those early days committee meetings were held in peoples' living rooms on a rotational basis. We couldn't do that now as committee members are scattered all over the UK.
Sunday morning we arrived, as instructed, just after 10am and watched the fields fill up with cars. It was a great sight to see. Most of the pictures will be elsewhere on the forum but every single P6 that turned up was a star of the day. From the early pre-production FLK cars, those that people have put their own personal touch to and those that retain much of their originality, every single P6 there made the day the great event it was.
We had a couple of familiar faces from the classic car press, including Danny Hopkins with his Three Thousand Five and Sam Glover with his......DAF...
It was all over far too quick and I think I managed to walk up and down the line of P6s once. I didn't have time to look at any other make of Rover there which gives you an idea of the number of P6s there!
It was also great meeting so many people who frequent this forum, testrider, stina, happy days, hermione, brian-northampton, redrover and pilkie to name just a few.
I took Lady C there simply to enjoy the event, not even imagining she would have any chance of a trophy of any kind in such illustrious company. I'm delighted to say I was wrong:
This is the RSR trophy for the Most Regularly Used Rover. Guess I'll be going to next year's RSR National Rally now.
Dave