Dave3066
Well-Known Member
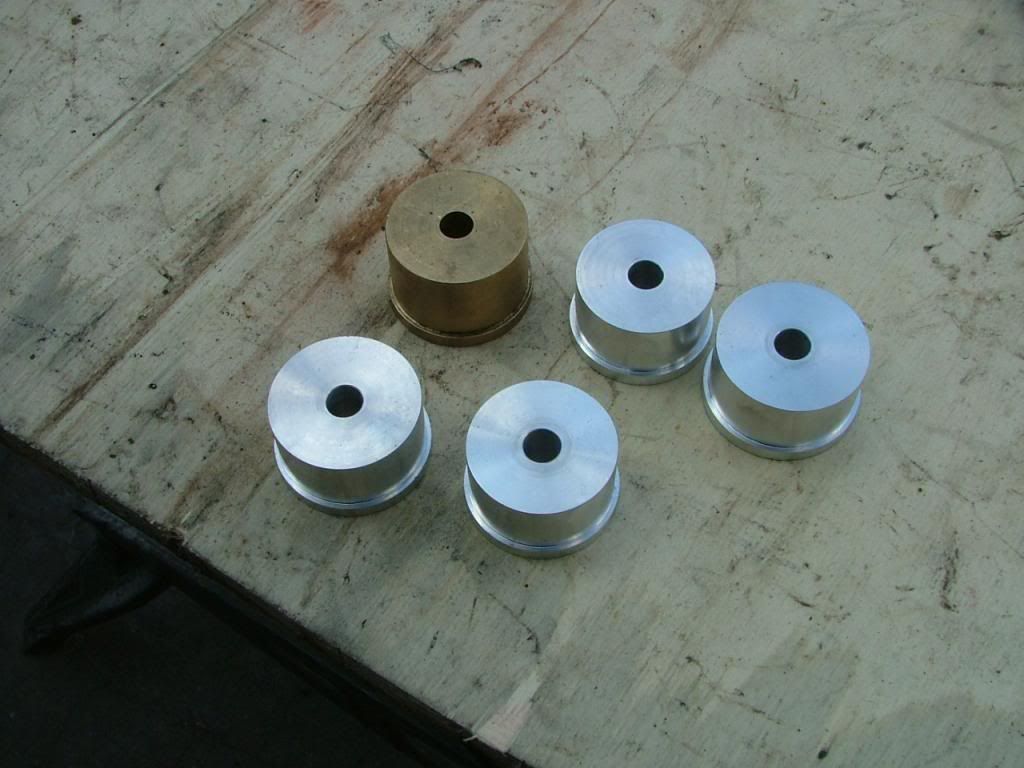
westOz74P6B said:Also not there are the ARP stud kits for the bottom end. They had to be ordered so will arrive later.
Hi Dave, fun and enjoyable times ahead assembling your motor indeed...
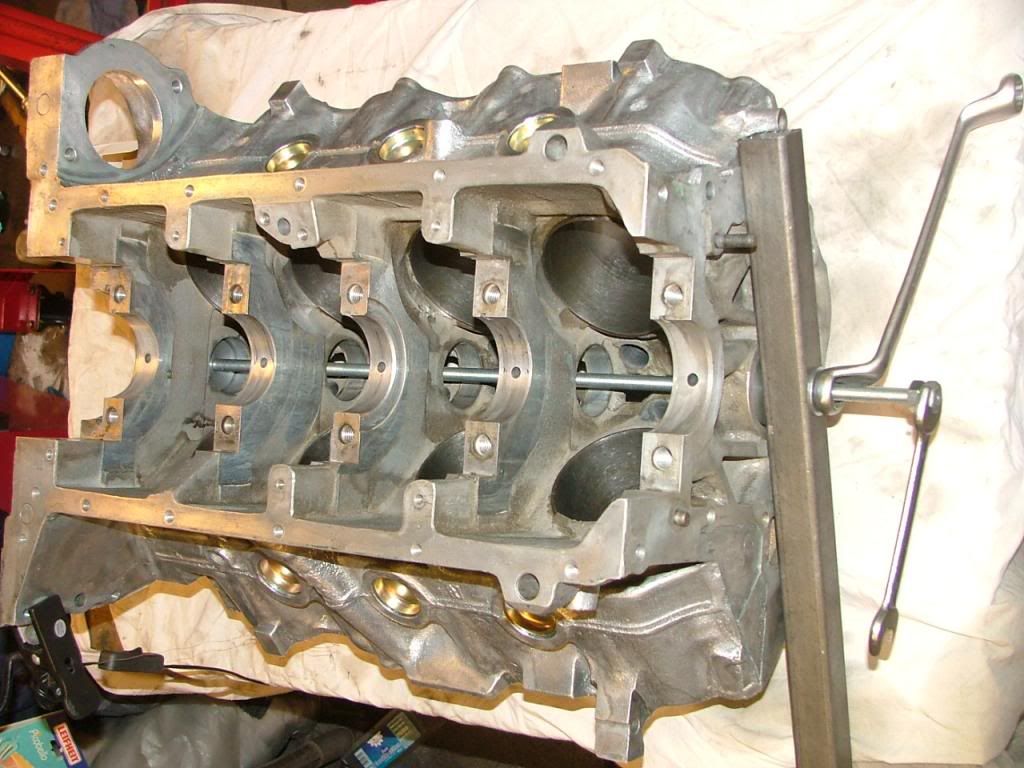
Just wondering if, as part of the block machining work, and the fact that arp main studs are being fitted, because of the higher torque tension on the studs they will have to be fitted and the caps torqued up to the new setting so the main tunnel can be aligned bored at this new torque setting. As if you just fit the studs and not do the machining then the main caps will distort and potentially damage the bearings and crankshaft. I had this work done on my block and the machine shop even had etched the new torque setting on the bottom of the block as a reminder for future users. You may read in the arp instructions that they also recommended this align boring of the main tunnel.
So wondering if you have considered this work on your block?
Regards,
Scott
Scott
Yes I am aware of the issue around crank tunnel alignment with ARP studs. When I spoke to the guys at RPi they said it wasn't a huge issue and very seldom creates problems. There is apparently a technique for torqueing down the caps in such a way that you minimise the risk of distortion. Those instructions will come from RPi with the studs. If I get to the stage where it looks likely to affect my engine I'll take the block back and get them to align bore the tunnel.
No point in having work done unless it's needed.
Dave


")