My mean green hornet

Hi Jim

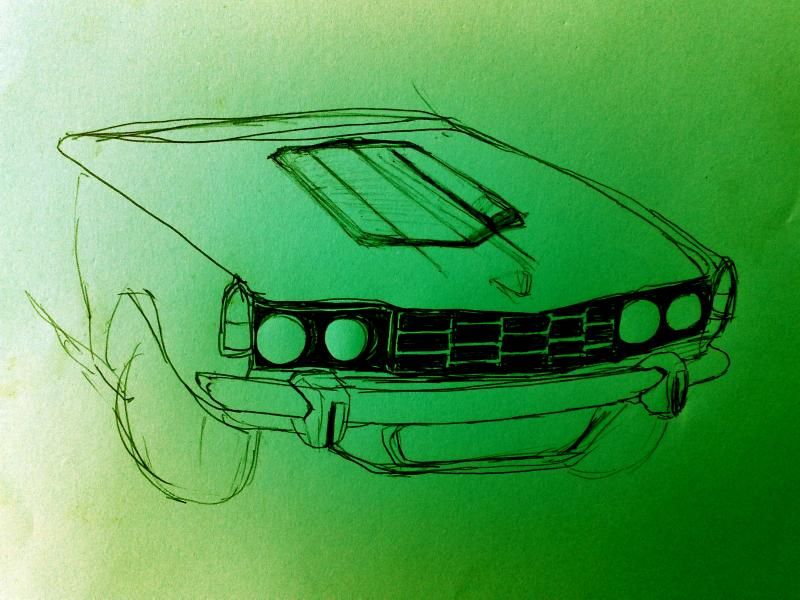
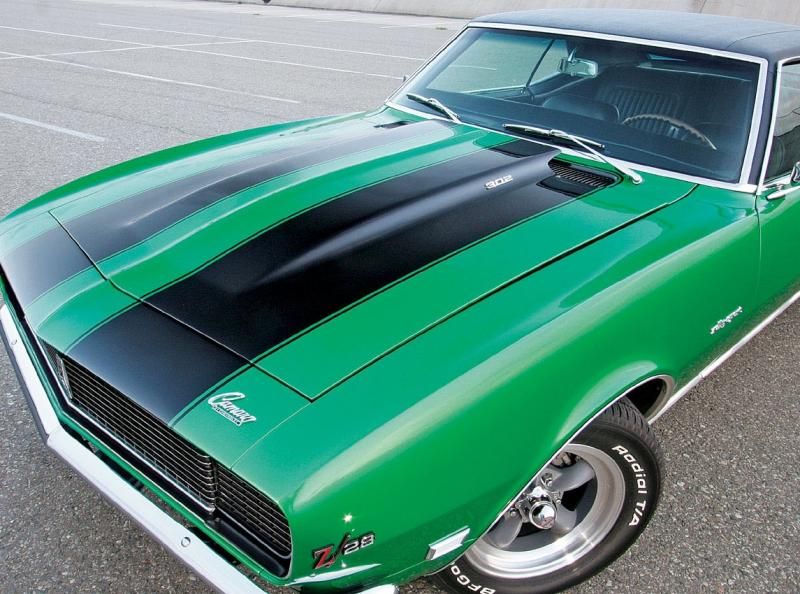
I think I'd want to very carefully establish where the low pressure areas are on the bonnet and where the high pressure. I think I know that the area towards the rear of the bonnet outboard of the "cam covers" is a low pressure area - because of the factory siting extract vents there on some prototypes.

To check where the air is going, why not use the old fashioned substitute for a wind tunnel - little skeins of wool stuck all over the surface at one end. Then drive around! Makes crystal clear which way the flow is going.

Chris
 
chrisyork said:
To check where the air is going, why not use the old fashioned substitute for a wind tunnel - little skeins of wool stuck all over the surface at one end. Then drive around! Makes crystal clear which way the flow is going.

A good idea Chris but that will only show airflow, not areas of high and low pressure. The two are not necessarily connected. The curve of the bonnet should naturally produce a low pressure area across the whole bonnet (although a flat plate will generate lift if you move the airflow fast enough over it). I suspect that the areas towards the rear of the bonnet, outboard of the "cam covers" would be quite turbulent due to the airflow off the back of the humps. Likewise with any rear facing scoop there would be quite a bit of turbulence off the trailing edge. The trick is to create the low pressure area on the underside of the bonnet so that it sucks air in. If you go looking for, or creating a low pressure area on the top surface of the bonnet, then put an aperture (or hole) there by whatever means, it will suck air out of the engine compartment, not the other way around.

Dave
 
I agree Dave

But this method does give you a fair clue what is going on!

Whether the pressure above the bonnet is higher or lower than the pressure under is going to have a lot to do with what is going on with the flow through the rad and how it subsequently escapes.

Jim is right though, in identifying the heater air intake as a high pressure area - we know that from what the face vents do!

Chris
 
Thanks Chris,
What do you think to hot air escaping via the same opening? I guess this could only occur at certain times, when not drawing so much air at very little/no throttle?
Here's a quick sketch I just did to illustrate the shape and location if I went with the wider idea incorporating the existing bulges

04042013948_zpsa3ed8670.jpg


Jim
 
Styling wise, I think I might go straight across the bonnet between the "cam covers" rather than having a "V". Just the fronts of the cam covers angled back?

Logically, when the car is stationary the intake is actually going to act as a vent for the engine bay unless it is solid coupled to the carb intake. That could be quite good news.

Why not try removing the rubber seal in front of the heater intake and adding a couple of tufts of wool to see which way the air flows in which circumstance?

Chris
 
That was the plan, that it could be both useful as an cold intake and a heat extractor.
I think if possible the best looking idea would be a graduated smoothing toward the existing bulges, with the "roof" of the scoop continuing to level with the rear of the bonnet (overhanging the opening which would be roughly where the bulges end).
I have no idea what would be the most ideal way to fabricate this yet. Fibreglass, or an aluminium sheet welded and then fibreglassed.
The other (simpler) idea was to use one of the nada scoops reversed with the corresponding nada seasonal flaps..
After doing more searches, the correct term is of course cowl induction.
Most cars which have factory designed cowl induction have this overhang right up to the windscreen, requiring a forward opening bonnet which is out of the question. Like this, sorry my camaro/green fetish is showing itself :LOL:
camarocowlinductionhood_zps05ed6ab6.jpg


Jim
 
Judging by the Camaro-picture the Nada scoops wouldn't really suit your wishes, because they are screwed on and you would like it to be a integrated part of the bonnet a la Maserati 3500 GT (mjumm)? It's much smoother and subtle than the Nada ones, or most American ones.

60-Maserati_3500GT_Vignale_KM-08_RH-06.jpg


I would like this, but there's isn't really any space to fit it, let alone it be functional!

Salvarola_Terme-30.jpg


Found this by the way ; http://www.myspareparts.com.au/product_view.php?product_id=140
 
That Maserati is very nice!
Thanks Brenten, I hadn't seen that under bonnet photo.
I'll have to do plenty of experimentation of course, but as you say Chris I don't want it sealed to the airbox as such.
The original Chevy design had an air valve which opened it at certain throttle openings..that would be interesting to link it to auto box kickdown!
Jim
 
Removed alternator and dismantled ready for polishing today.
Some markings on the back include "USA"...On what I thought a Lucas alternator?
Anyway, quick question regarding water pump.
How easy/what's the process for separating the water pump pulley/nose?
If it's too much effort, I can fairly easily polish it in situ..
Thanks
Jim
 
corazon said:
How easy/what's the process for separating the water pump pulley/nose?
If it's too much effort, I can fairly easily polish it in situ..

If the sole reason for removing it is to polish it (you sad, sad man, you....... :LOL: ) then I'd say polish it as it is.
 
Honestly I wanted to remove, thoroughly inspect, make an detailed drawing, check for wear, check the balance, and then just wipe a rag over it to finish :LOL:
If I had a deathwish, I could polish it by running the engine and just offering up paper/compounds :shock:
No I won't be doing that, even though I have no engine driven fan!
Thanks Mr H, I thought it might be more hassle than needed :D
Jim
 
Ok, I polished it to a hand finish today.
I might try and get a drill and mop in there tomorrow, otherwise when the engine comes out to paint etc I can finish it properly :D
I'm painting the steel pulley black..You can get a billet pulley set for the Buick but it's a little out of my price range right now, especially as it would mean essentially replacing working parts :LOL:
I've also now got the same problem Rich rockdemon had with his alternator, the fan/pulley nut is fused solid.
I've tried holding the spanner on the nut in a vice and using an allen socket with a breaker bar to no avail..I'll try heating it tomorrow.

waterpumppulleypolished_zps7f174715.jpg


Jim
 
Hi Jim,

Any of the aluminium alloy parts that you polish Jim that are not anodised are going to tarnish again reasonably quickly. I appreciate that you have not as yet polished or painted the water pump, save for the nose that locates the fan, but the body being dull and covered with oxide is a prime example.

Ron.
 
Ron, I'll be painting the waterpump body but yes that's a good comparison with badly oxidised aluminium- the UK's damp climate is terrible for this!
All the polished alloy gets final finished with a product called belgom alu, which protects it very well and keeps the shine.
I've barely touched the elbows since I polished them (years now), they dull a little over time but then buff up very easily again.
Jim
 
Carrying on from what you were saying Ron..if funds permitted I probably would get some of my polished parts anodised to better preserve them.
In the future I may look into this, but for now it essentially doesn't cost me anything other than time to polish and look after the parts.
In other news, I've discovered my alternator is actually a Lucas A127 which is a 55 Amp model- I still don't understand why there's USA markings on the back :?
In the interest of engine bay detailing, I'm trying to find out if a billet pulley would be exchangeable on my alternator and line up correctly for the belt.
Something along these lines, if it's not at all possible then the current ones will be painted black to match
http://www.ebay.co.uk/itm/121089718230?ssPageName=STRK:MEWAX:IT&_trksid=p3984.m1423.l2649
Jim
 
The car has been sitting outside for a few months now awaiting it's little stay in the car hotel (my workshop).
The hotel is slowly being cleared of it's other guests most of whom have definitely now outstayed their welcome.
Bodywork is definitely the worst part of the car currently, but since I've lots of plans and a respray in mind, not really a worry.
On monday I did however give it some attention.
The final look I'm after has always meant removal of the side strips, but I'd not actually seen in the flesh what it would look like on my particular series 2.
So I removed one whole side and the 3500 badge, wet sanded and blended the paint that hasn't seen the light for years and gave it a quick polish.
As expected, the lines of the car are clearer with the more minimal panels.
It looks sleeker from all angles, just what I want.


Once the bonnet scoop idea is finalised and fabricated I may get a couple of badges like so..


I got a couple of ebay tool bargains this week too. A brand new long shaft air die grinder (especially good for my head porting work) and a MotoMeter compression tester both for £20 :D
Jim
 
It's hard to tell in those photos but I already did them in cameron green last year Dave, however the jacking holes need welding and smoothing before the new paint.
Jim
 
Today I acquired a series one grill for playing around with.
The main idea I've had in my head is joining the two sections into a seamless one piece, blacking out all the vertical and lamp surround areas and polishing the horizontal bars.
Just before dark I managed to mock it up with some black electrical tape


Looking at the pics I think the thin rings around the lamps will also be done black.
I don't have the welding skills yet to join the two sections, but after mocking up I decided a piece of polished or black aluminium cut to fit the gap could look just as good for now. The bonnet badge would be removed and the centre shape become the new "nose" ...

Jim
 
Back
Top