

You are using an out of date browser. It may not display this or other websites correctly.
You should upgrade or use an alternative browser.
You should upgrade or use an alternative browser.
Sparky's winter/spring/summer/autumn work
- Thread starter quattro
- Start date
Mmm. The ride height thing is annoying.
P6B's seem to like to run absolutely spot on Zero for tracking. I know the book gives a tolerence, but it would wouldn't it! In my experience, if the tracking is away from zero you feel it on bumpy roads, where the front end feels a tad more skittish than you'd like. I've rationalised this as being due to the camber change in bump of the front suspension. If there's any toe in or out you get a steering effect if one wheel is a different camber to the other - ie on a bump.
But back to ride height. Assuming the top link bushes have freed up - which they probably haven't yet - you might be able to detect toe in or toe out by rolling the car to and fro. One way you tend to jack the suspension up, the other pull it down. But my guess is the error has to be quite large and the top link bushes pretty loose.
I can't remember whether you renewed the front or rear springs? If so you could expect a bit of settlememt to come. The effect of the tyres should be equal front to rear, so that isn't really a concern. How do the rear ride heights measure up? If you finished up after two to three months - to allow everything to settle down - with the front riding noticeably higher then the rear, then the easiest solution is to raise the rear slightly with some extra shims in the spring seats. I don't believe in the concept of a P6 that's too high at the back! At the same time it might be fun to try the water levell technique I used on Lucky to get everything spot on. Whatever you decided, I certainly wouldn't touch anything before the winter to give all the bushes time to bed in.
Chris
Cheers Chris
The toe in is around 3mm which is what the book says, are you saying it should be zero?
Thanks Dave and Mike, it does look a bit shiny on that photo. The paint system used was base and laquer which does make it shine well. I can't wait to get the chrome work done, then I may have to change the name to Sparkly! :shock: Just kidding, but that is the sort of job you get from Clive, I am well pleased with it.
Richard
testrider
Active Member
quattro said:Thanks Dave and Mike, it does look a bit shiny on that photo. The paint system used was base and laquer which does make it shine well. I can't wait to get the chrome work done, then I may have to change the name to Sparkly! :shock: Just kidding, but that is the sort of job you get from Clive, I am well pleased with it.
Richard
Oooh I'm getting excited about getting mine back now. I saw some of your panels at Clives before they were polished and they were pretty shiney then, but it looks superb now it's all rebuilt.
Regarding the badges, I wasn't sure whether I would refit mine, especially as Clive welds up all the holes as a matter of course, and now I've seen yours I'm pretty sure I won't refit them.
Do you think the front springs could have reset themselves to standard length after they had been off the car and uncompressed for so long?
I've been thinking about the badges and whether to fit them or not. Then there is the thought, what badges do I put on?
3500 ones as per original? But it's got a manual box so has Synchromesh
3500S badges, but it's not really a 3500S as it was originally a 3500, has an LT77 5 speed and an auto transmission tunnel :shock:
I like the look of the badges so decided to go for something a little different, 4000S ones")
Started off with some old badges, 3500S size and removed the pins on the back as there are no fixing holes now.
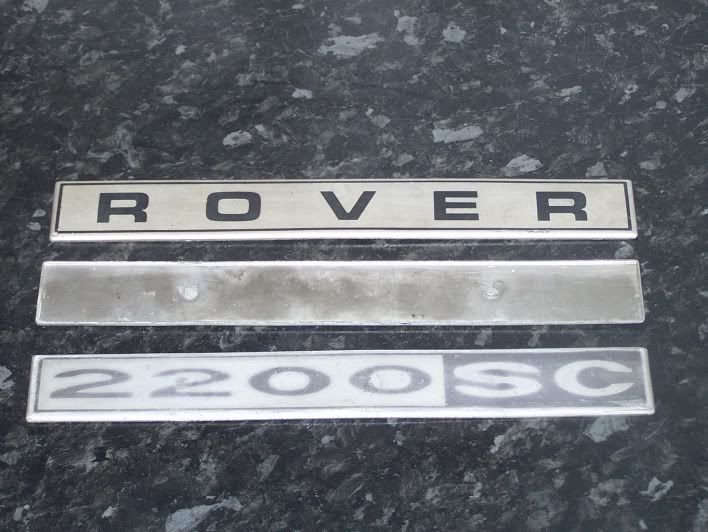
Rubbed them down and painted them with some silver engine enamel

Then it was off down to the local vehicle signwriter who very kindly made up some vinyl lettering in the right design
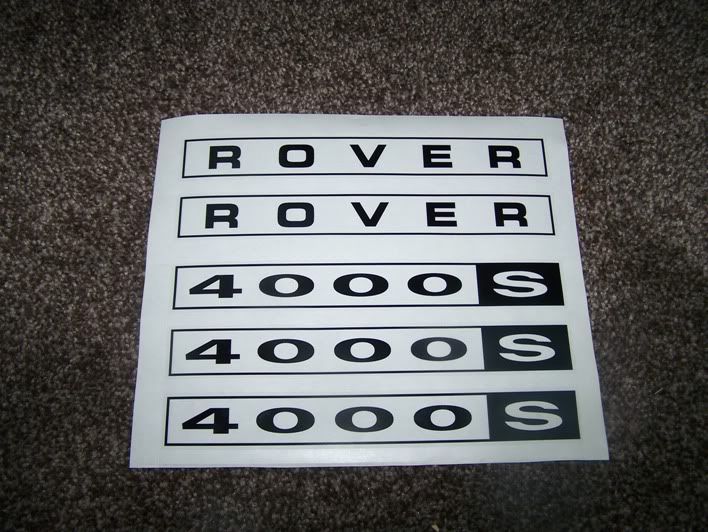
Here is one painted and ready for the lettering, one with the new Rover design and one 4000S
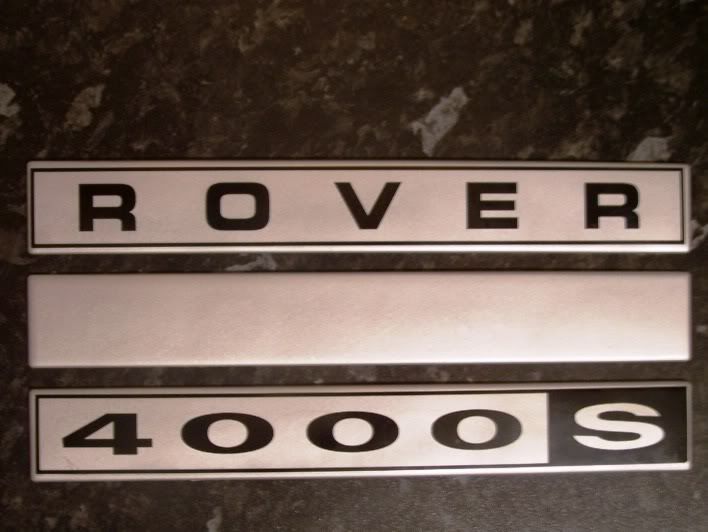
One the vehicle, they don't look too shabby at all
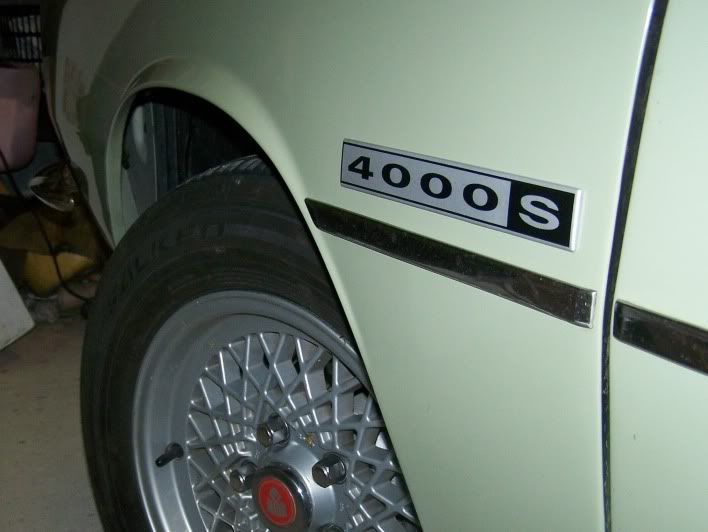
Will stick the rest on tomorrow
Richard
3500 ones as per original? But it's got a manual box so has Synchromesh
3500S badges, but it's not really a 3500S as it was originally a 3500, has an LT77 5 speed and an auto transmission tunnel :shock:
I like the look of the badges so decided to go for something a little different, 4000S ones
Started off with some old badges, 3500S size and removed the pins on the back as there are no fixing holes now.
Rubbed them down and painted them with some silver engine enamel
Then it was off down to the local vehicle signwriter who very kindly made up some vinyl lettering in the right design
Here is one painted and ready for the lettering, one with the new Rover design and one 4000S
One the vehicle, they don't look too shabby at all
Will stick the rest on tomorrow
Richard
Thanks all, I am pleased with the way they finished up
Richard, I had a choice of single lettering as in the vinyl lettering on a vehicle, or a clear film with black letters printed on it. I chose the clear film as it would be more difficult for little fingers to peel off.
Colin, No I don't think so LOL - they are very easy to do so anyone could make them up for themselves. The stickers, all 6 of them including 2 spares were £15.00.
Tor - the font is as original. He couldn't tell me what font it was but said the numerical one was a standard one but was stretched. The 'ROVER' one is an exact copy of the original, which was only done because the old one had faded so much.
Richard
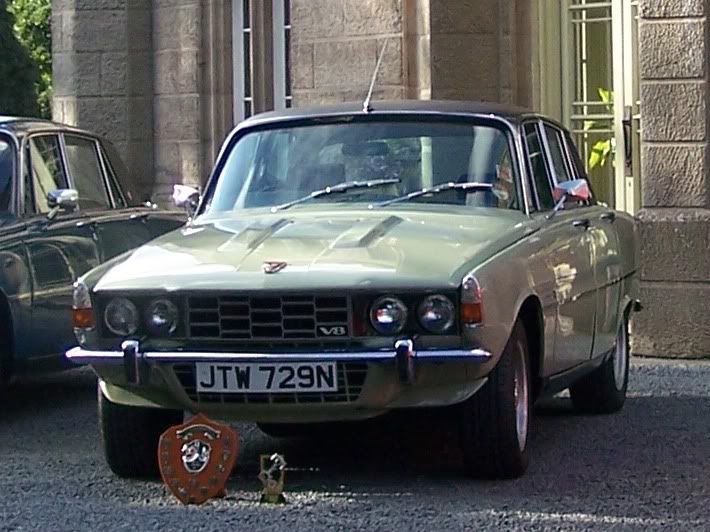
Well that's about it for this thread as Sparky is on the road and taking me to work and back.
But I just had to finish with this photo of him today proud as punch with his trophy and shield at Rugeley. Many thanks to all who voted for him
There is still more to do, which will include
Remove roof, sort any rust and revinyl
Remove quarter panels and revinvyl
Replace windscreen
Remove gearbox and rebuild
Get bumpers chromed
Cut carpets to fit
A good panel fettling just to get them spot on
That will do - back when they start salting the roads 8)
Richard
adamhotrod
New Member
Absolutely you do...
And the visuals are only part of it in my opinion. It's all too easy to forget what's under the hood, Jinx and Sparky played a little on the way out the motorway (within legal limits of course) and I can testify that Sparky is one seriously rapid car. :shock:
And the visuals are only part of it in my opinion. It's all too easy to forget what's under the hood, Jinx and Sparky played a little on the way out the motorway (within legal limits of course) and I can testify that Sparky is one seriously rapid car. :shock: