The Bruiser.

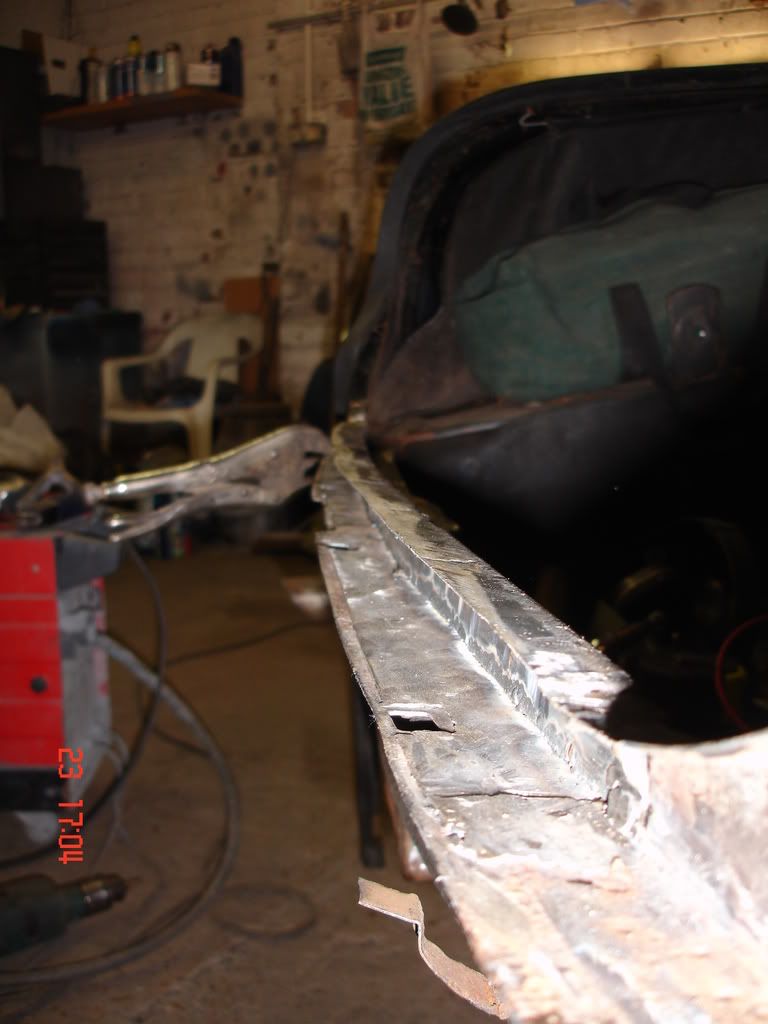
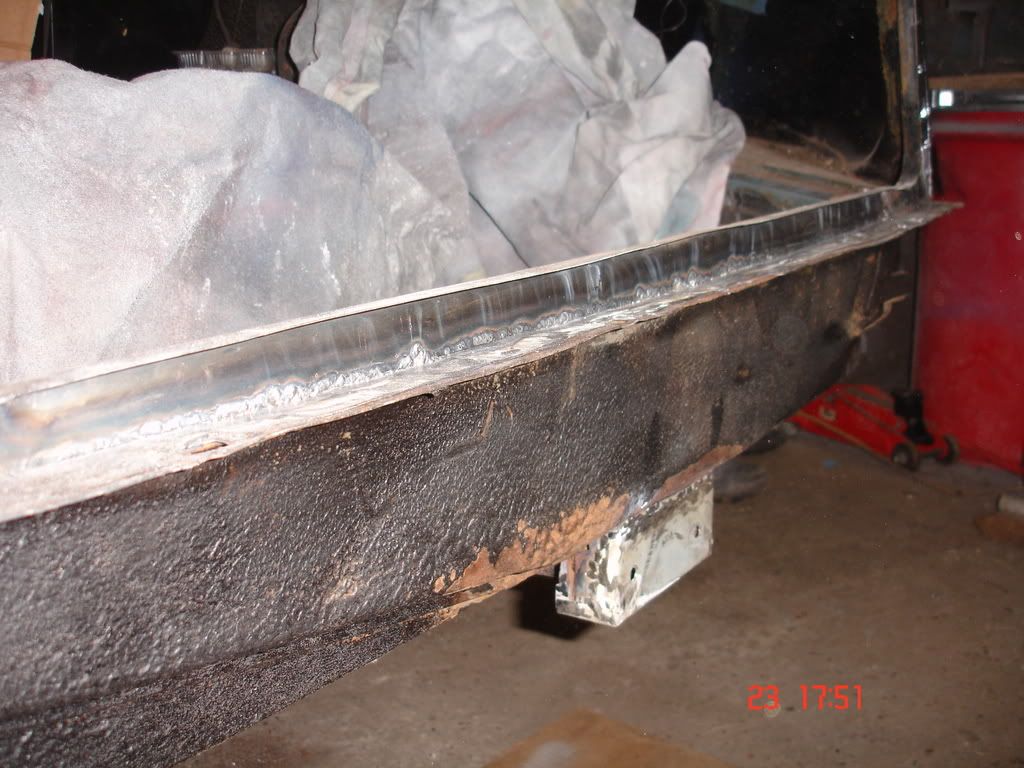
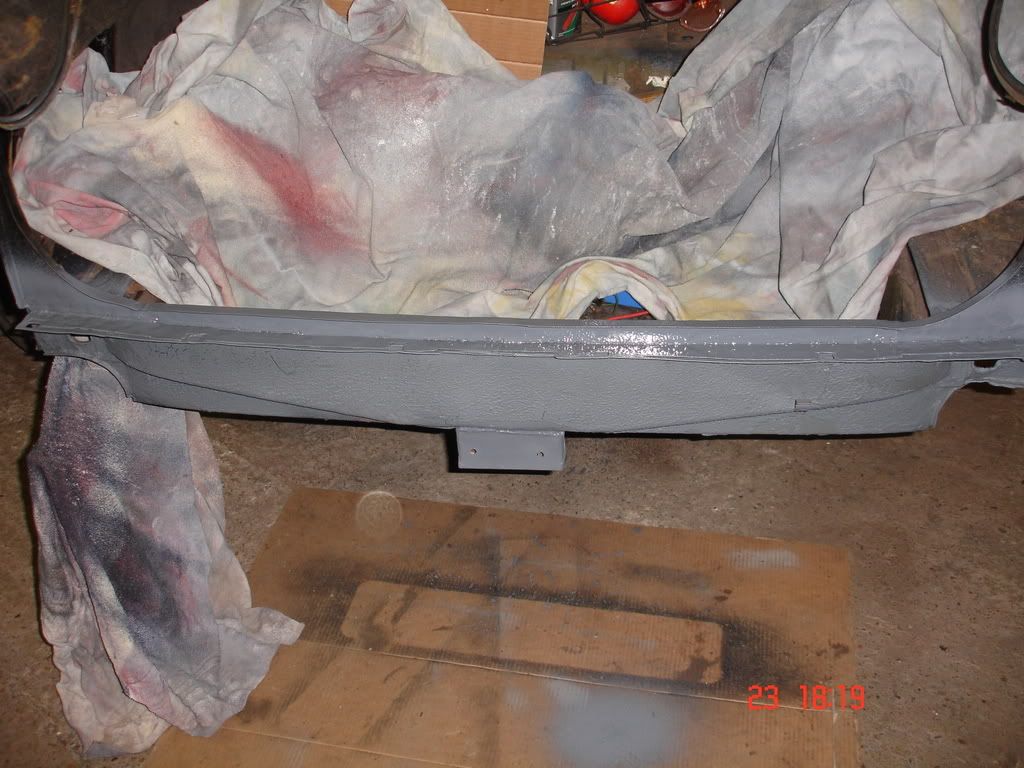
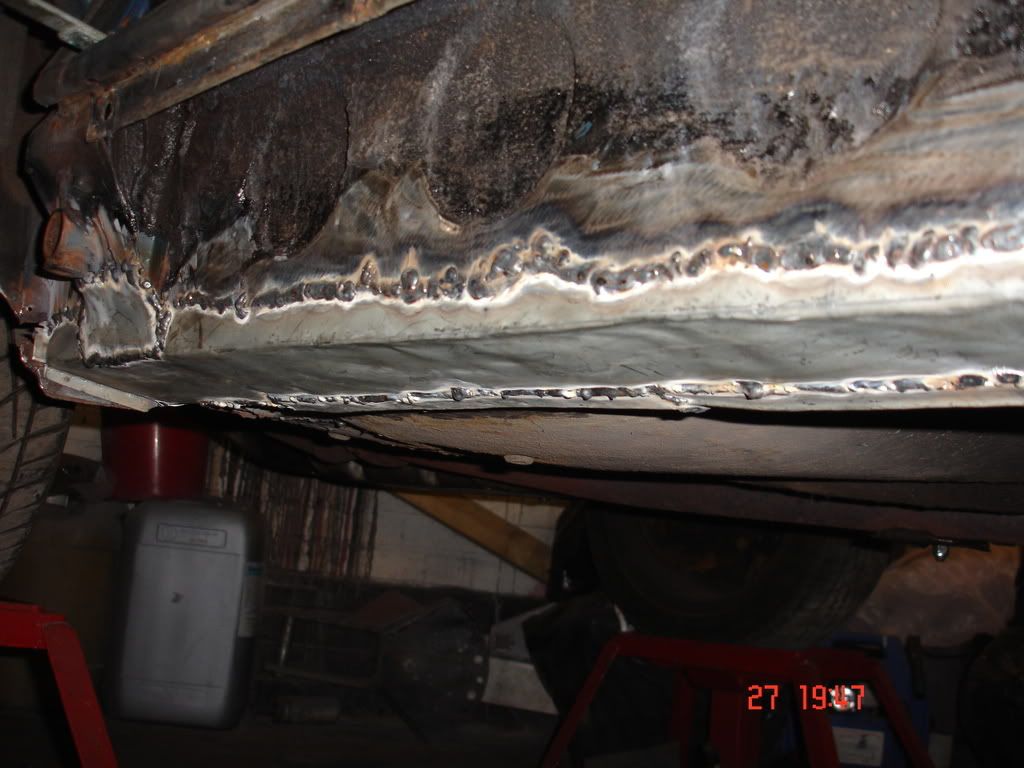
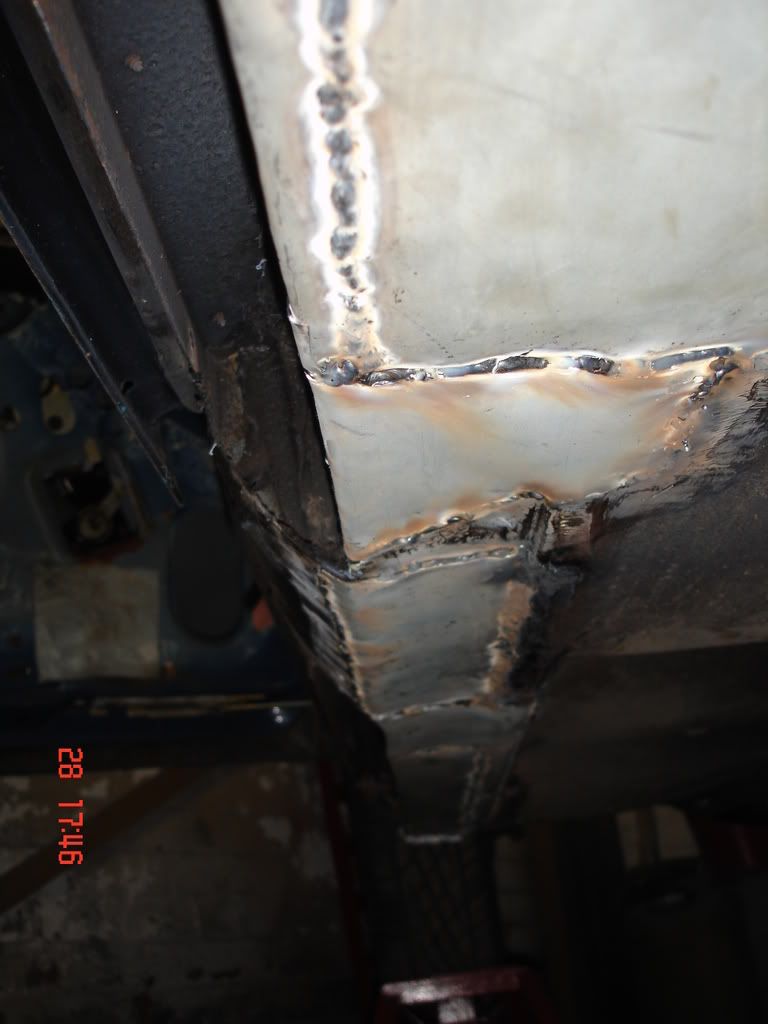
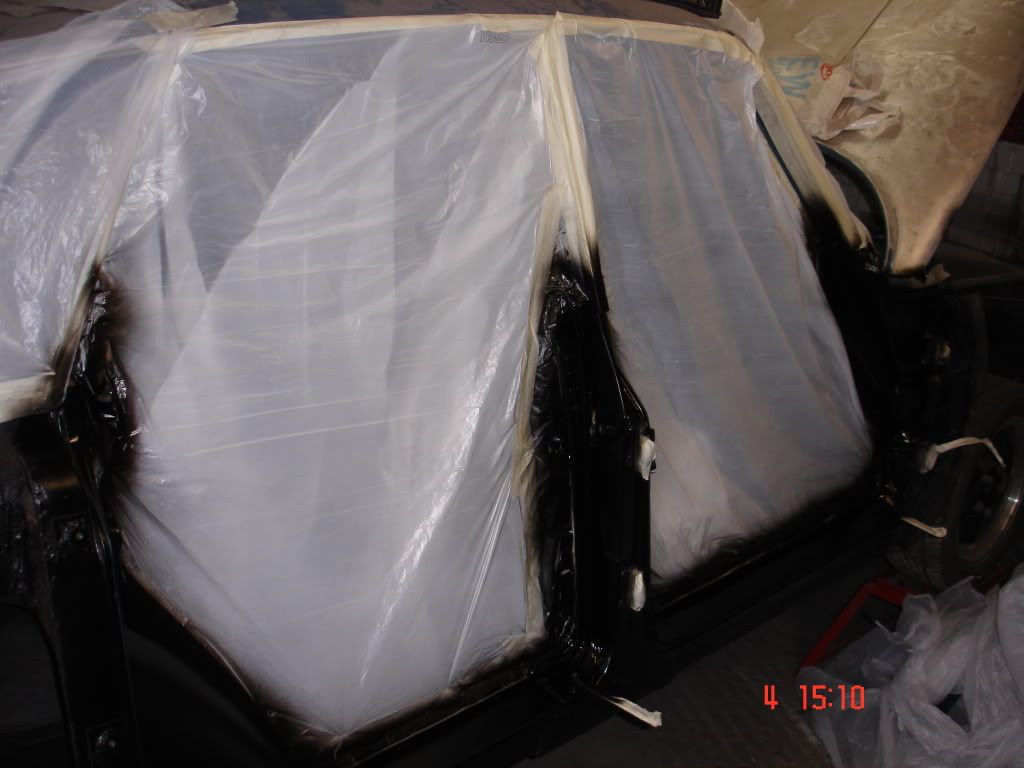
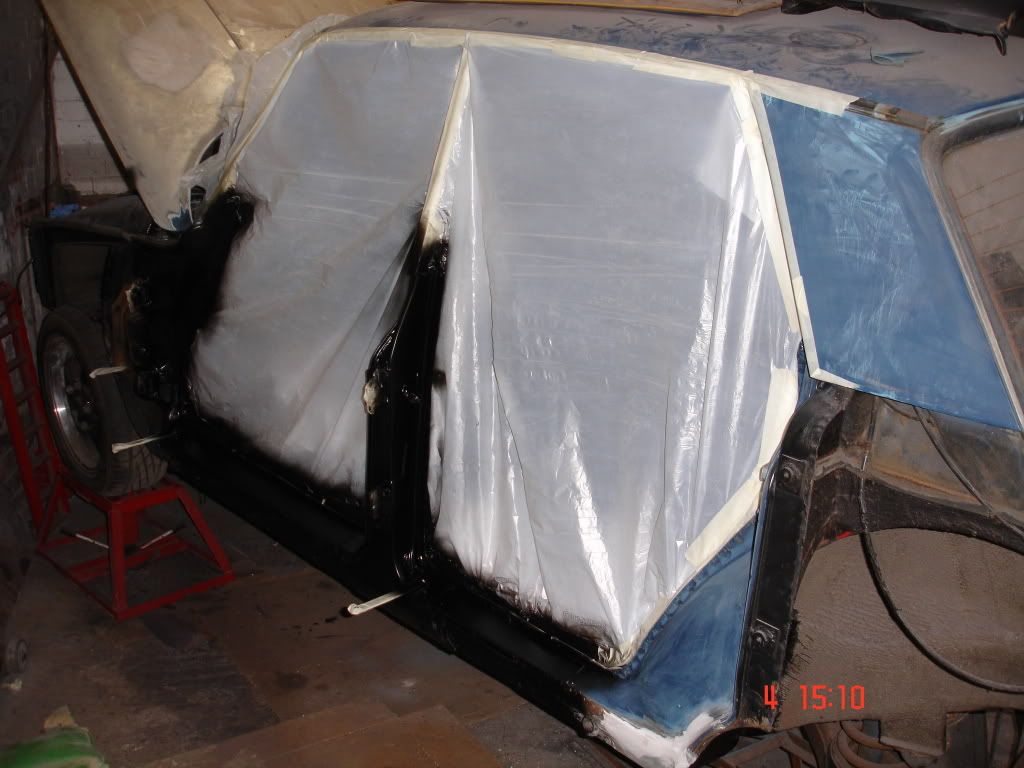
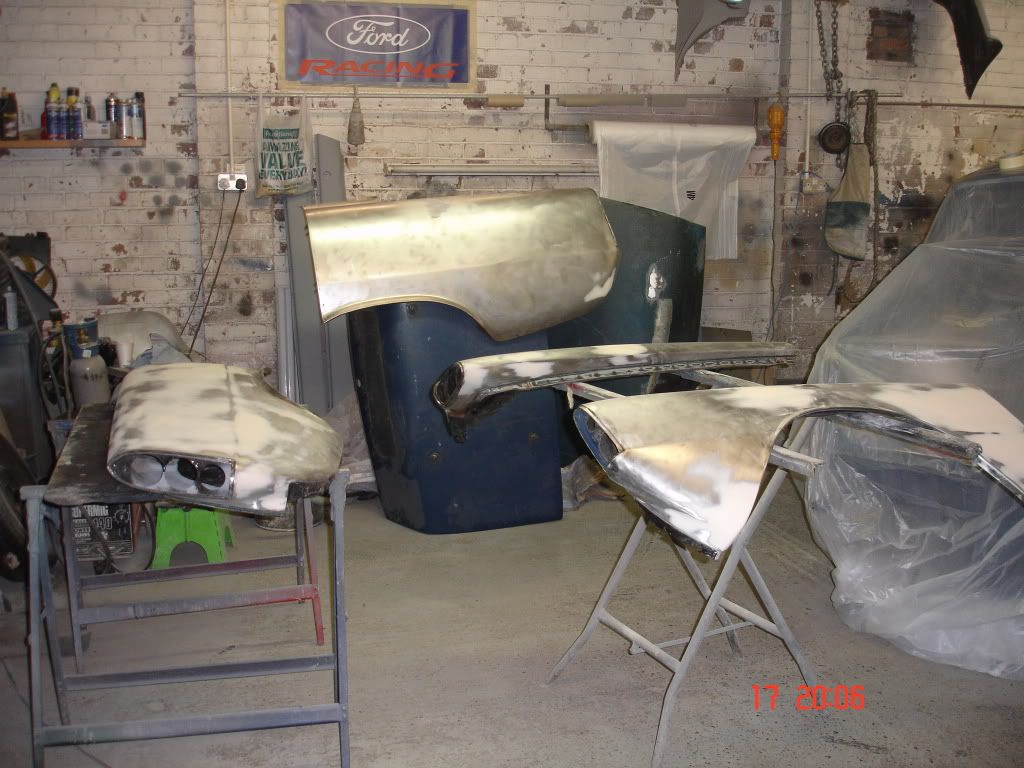
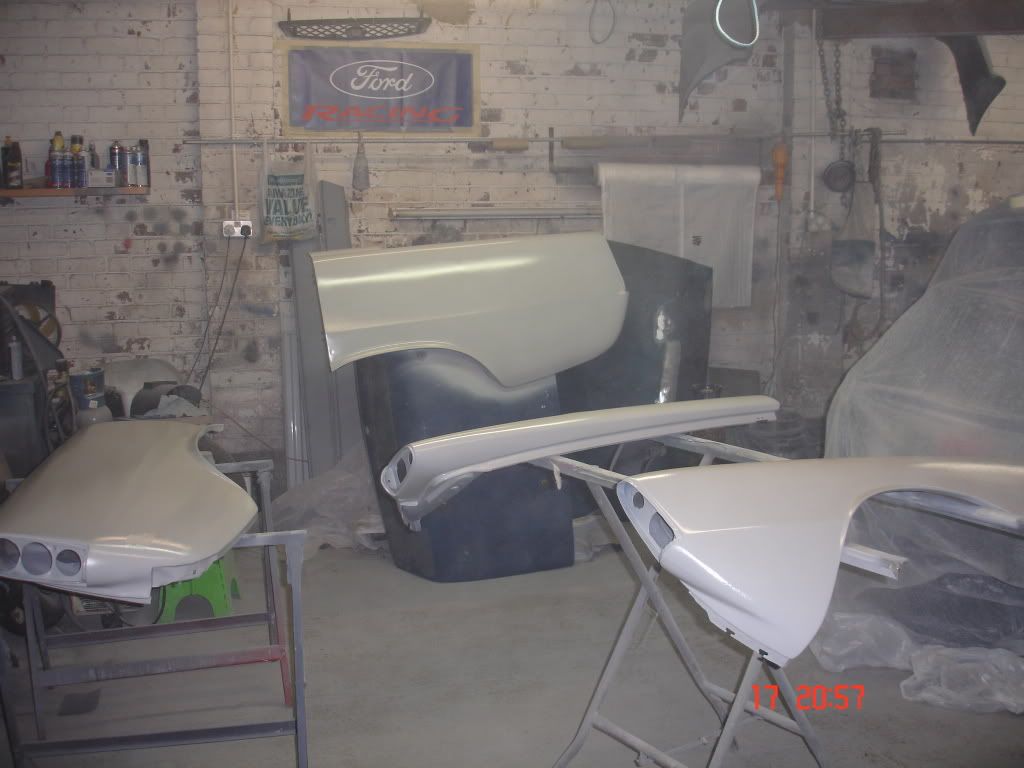
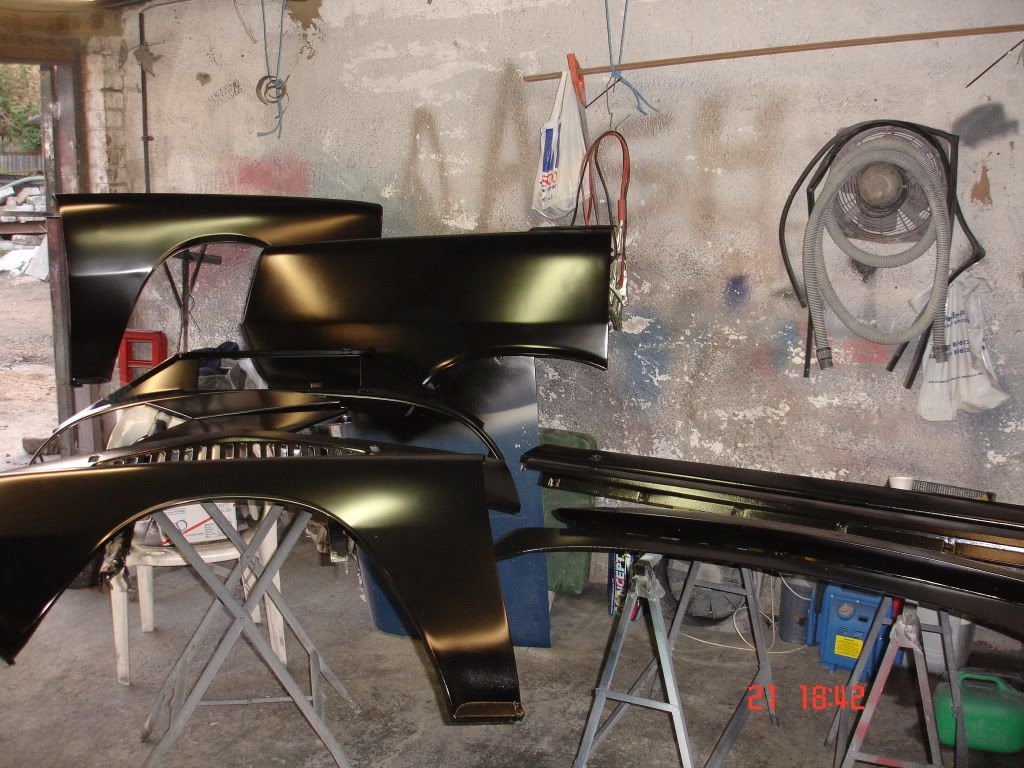
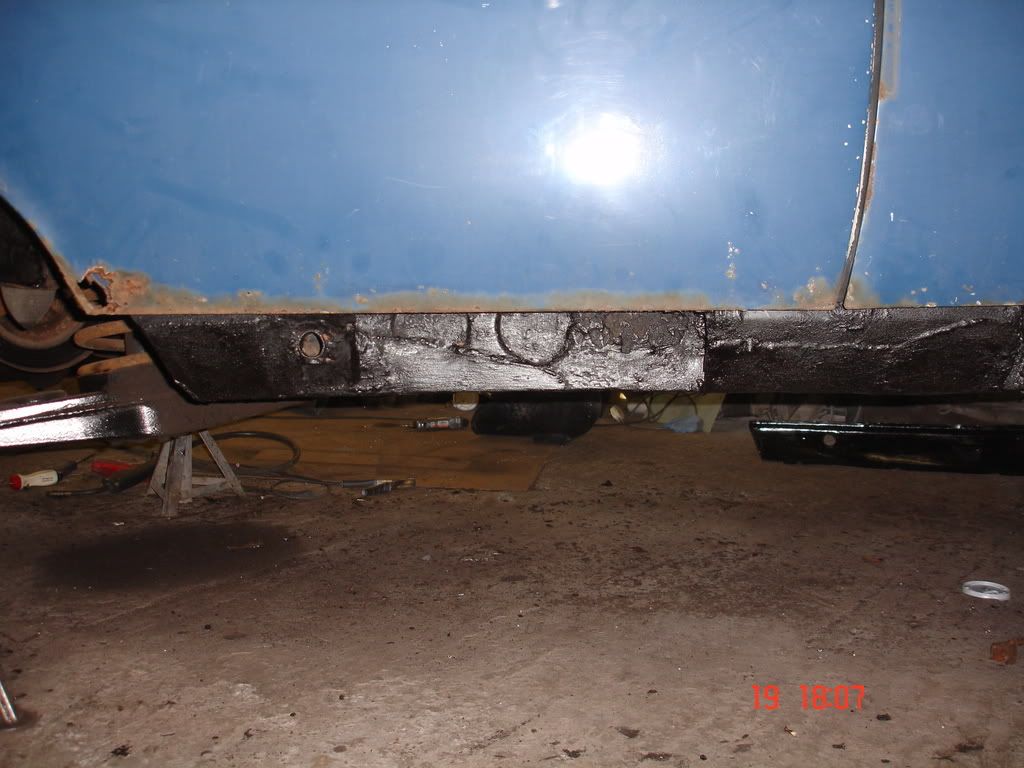
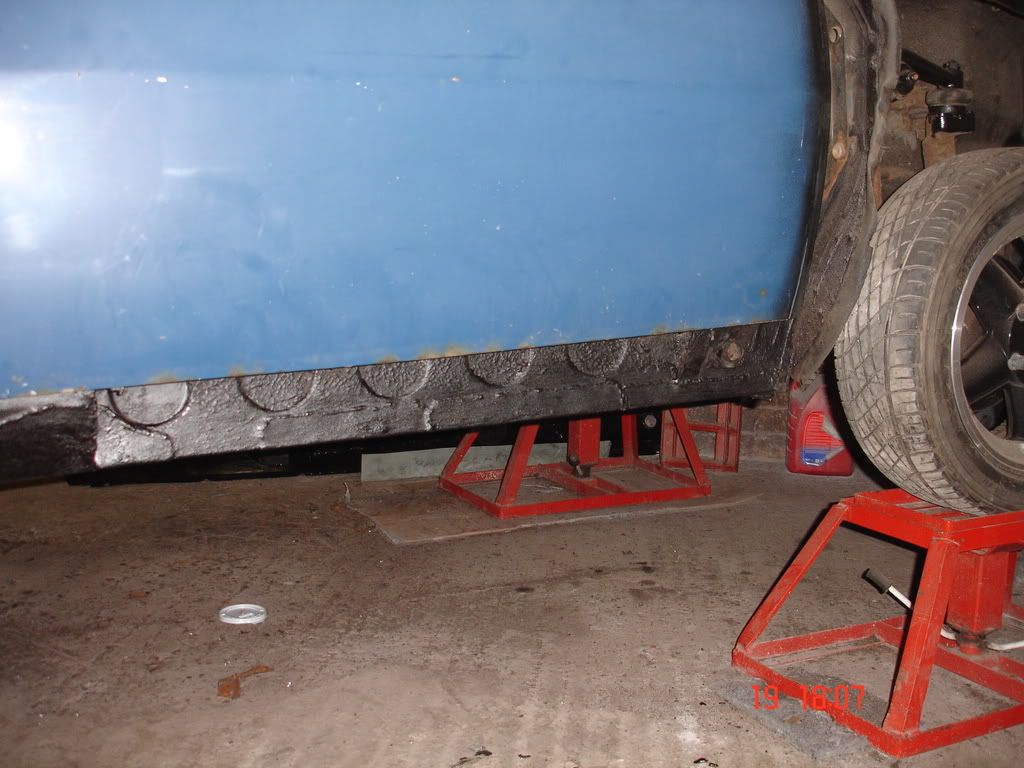
Some more progress. Offside sill ready to face the road again.

Bruiserrestoration012.jpg


Bruiserrestoration015.jpg


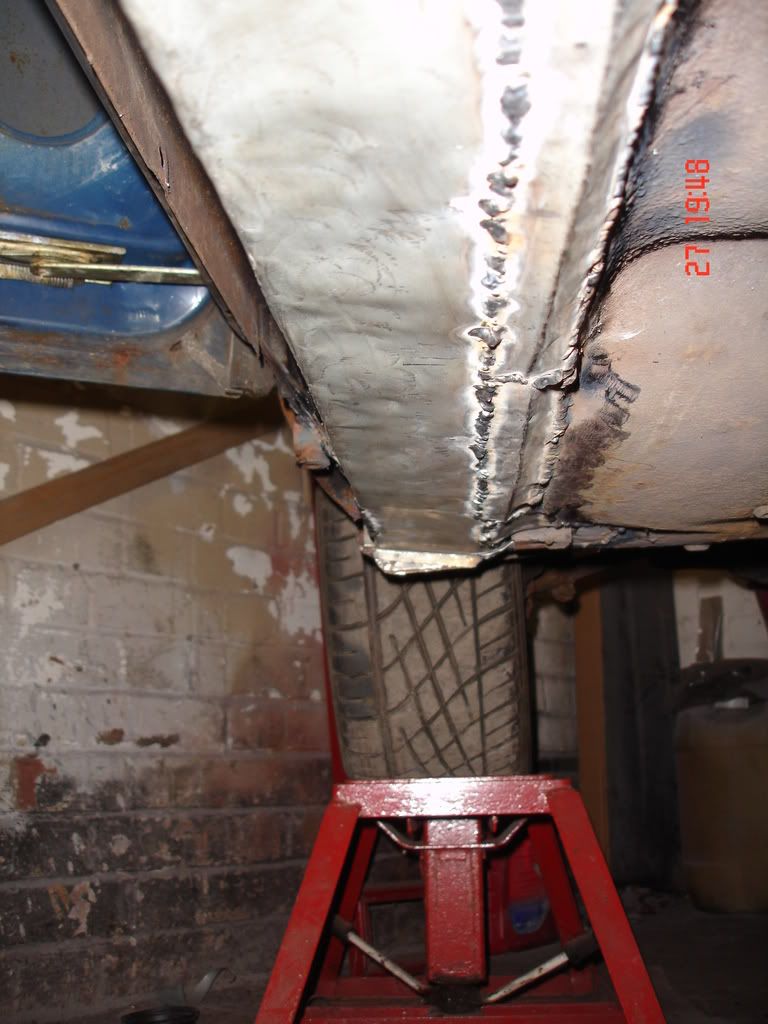
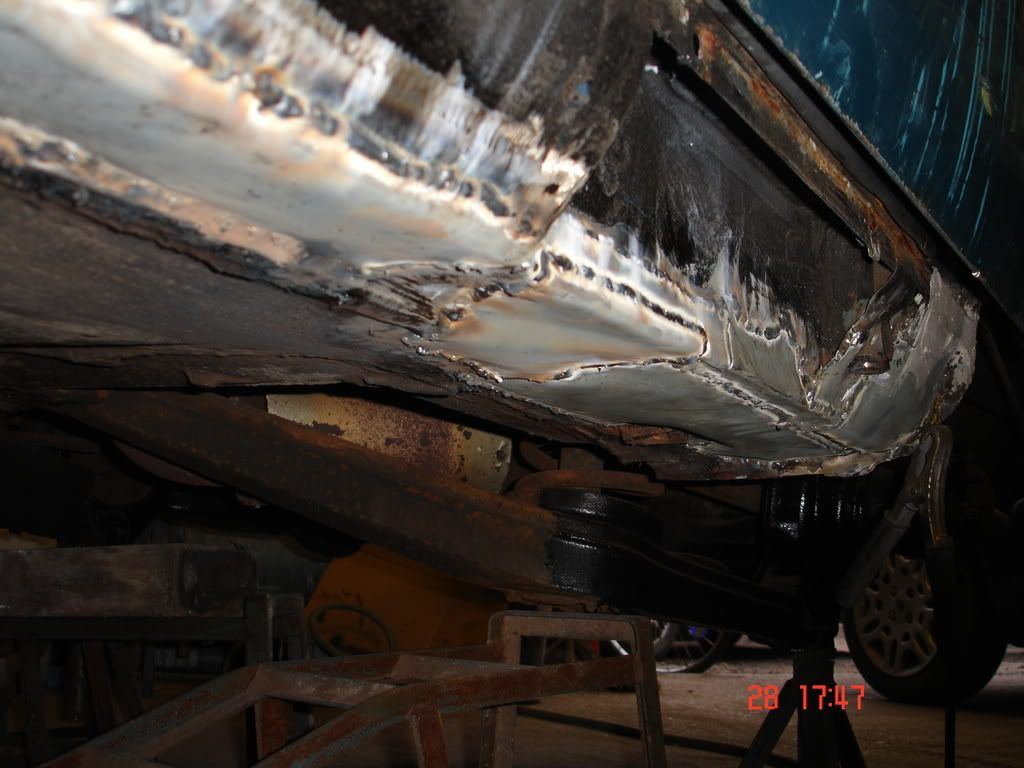
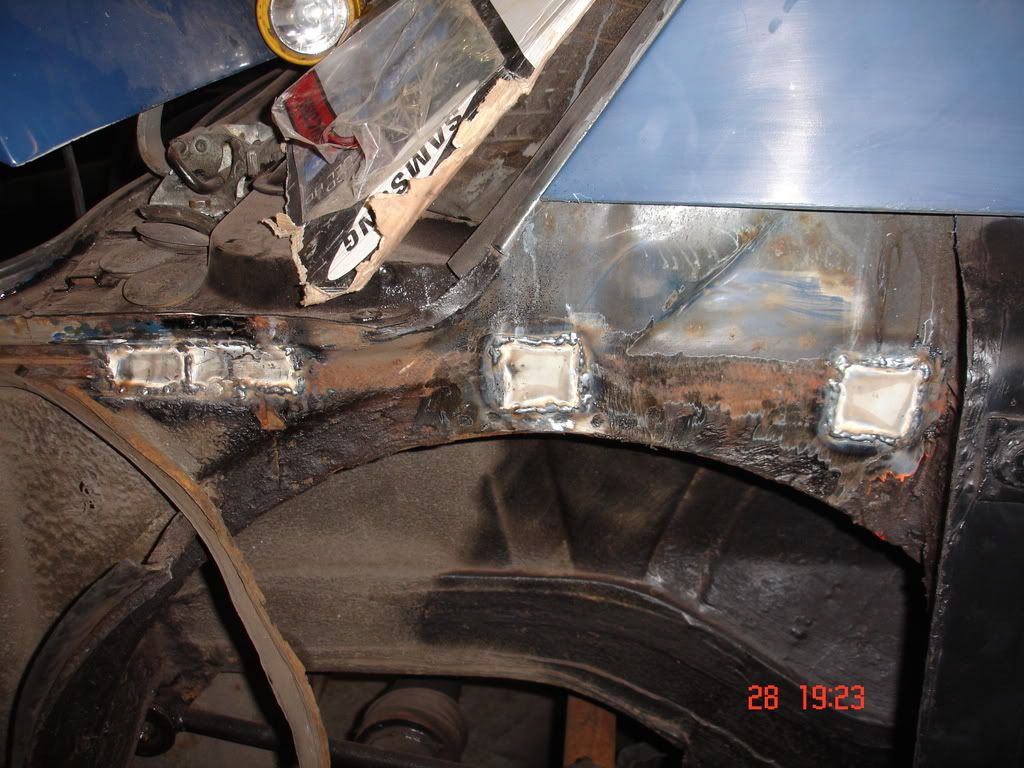
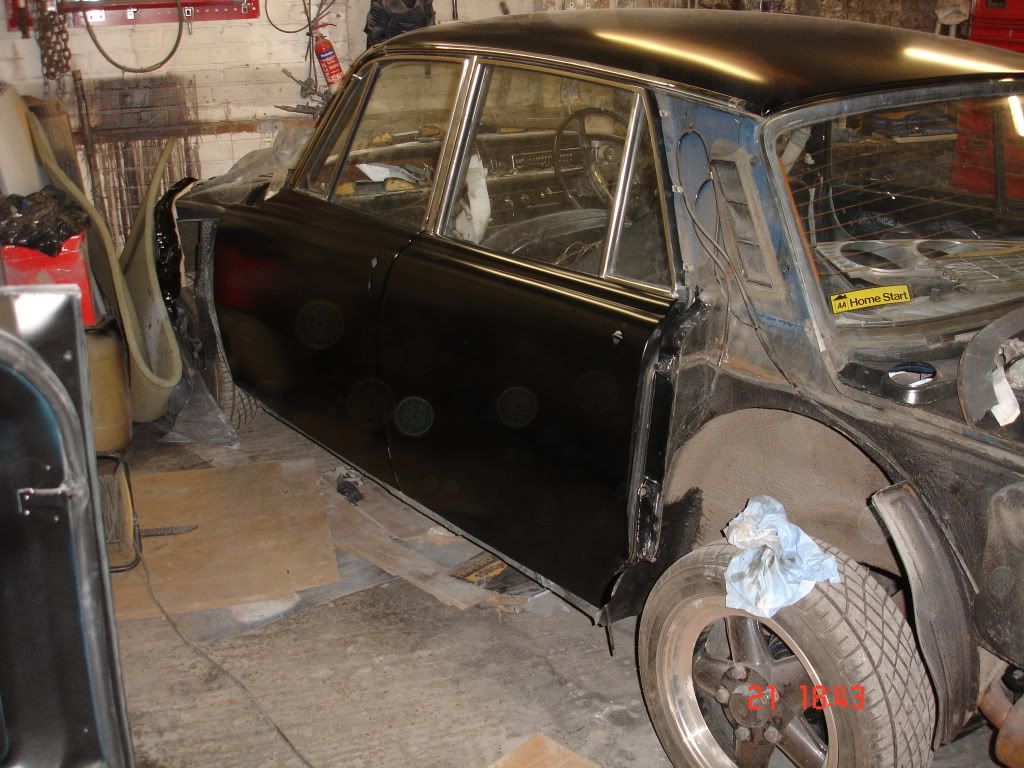
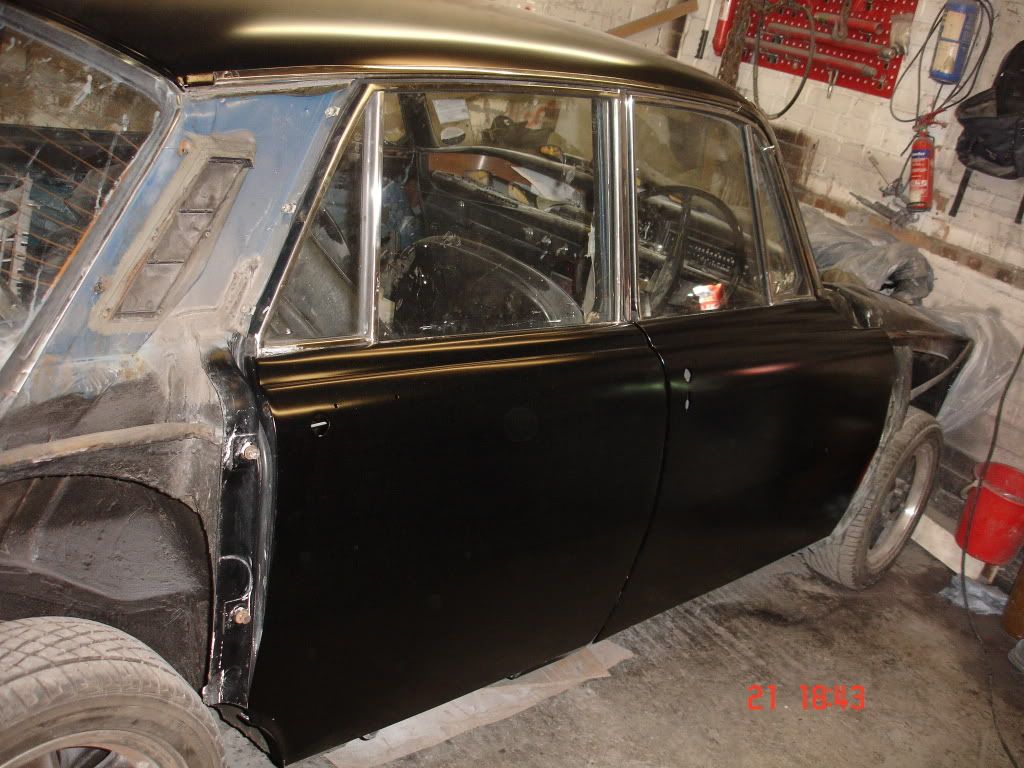
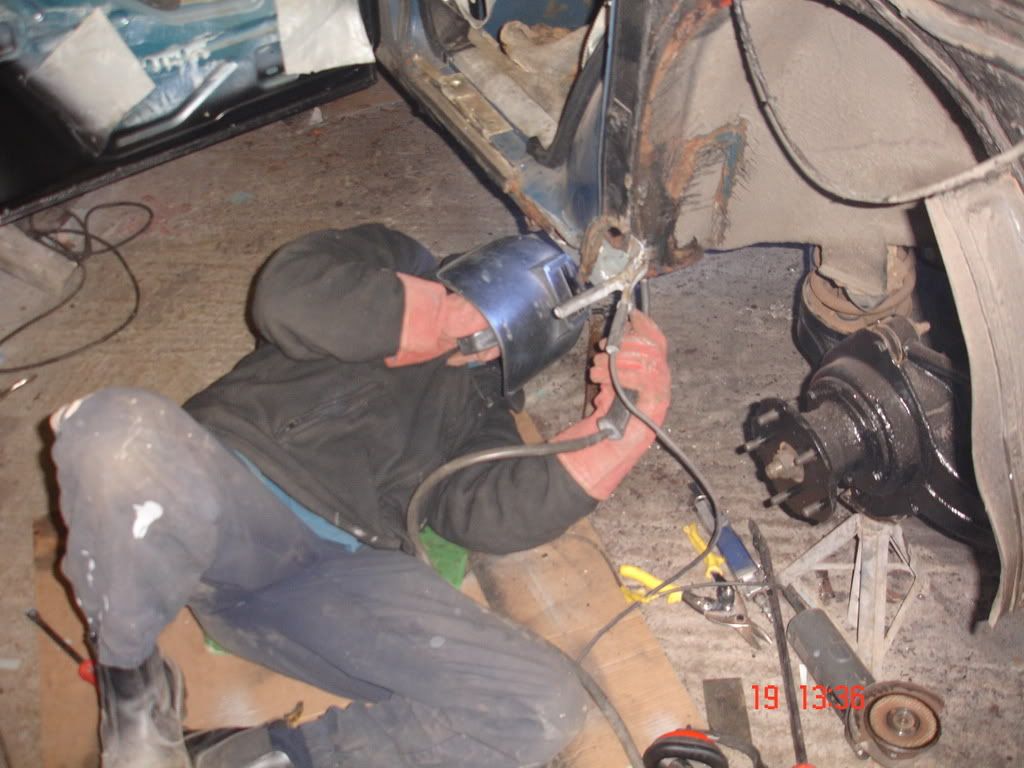
Work started on the nearside rear wheelarch/sill section.

Bruiserrestoration007.jpg


Bruiserrestoration008.jpg


Bruiserrestoration017.jpg


Bruiserrestoration009.jpg


Bruiserrestoration014.jpg


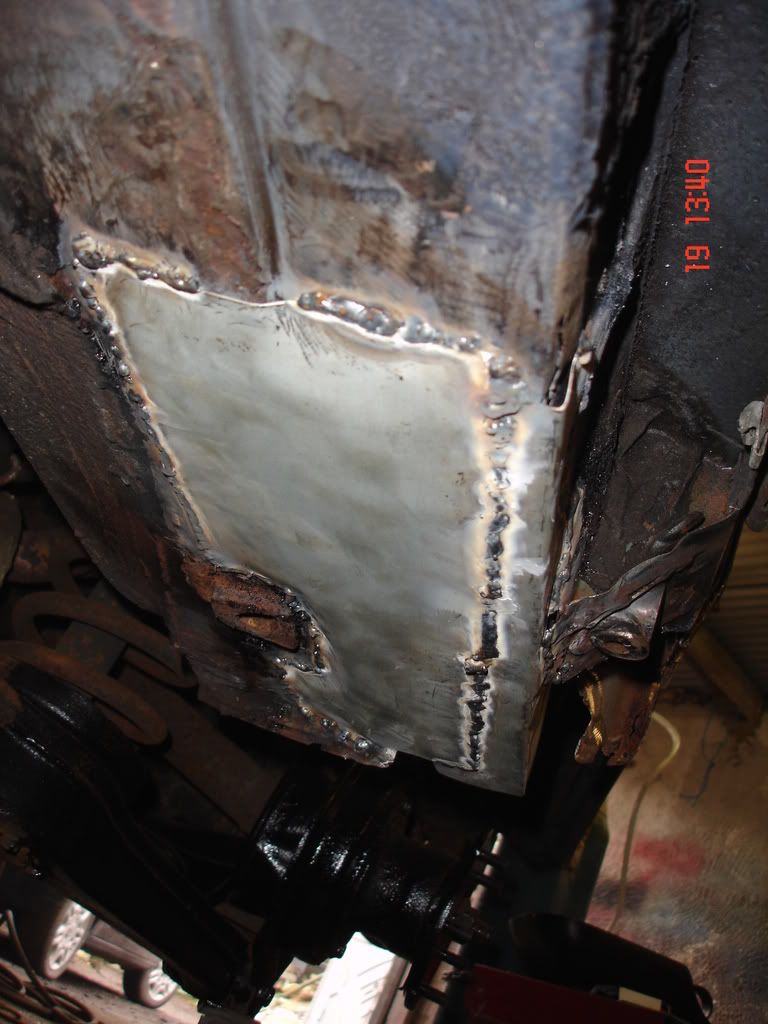
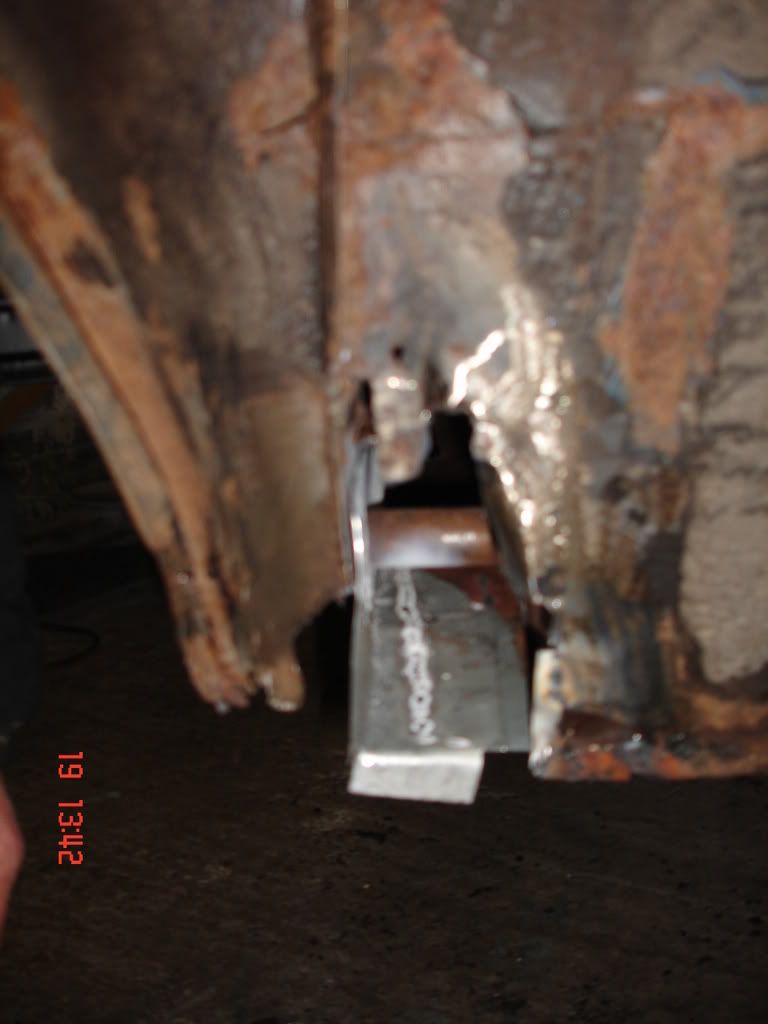
The welding version of The Stig.

Bruiserrestoration005.jpg


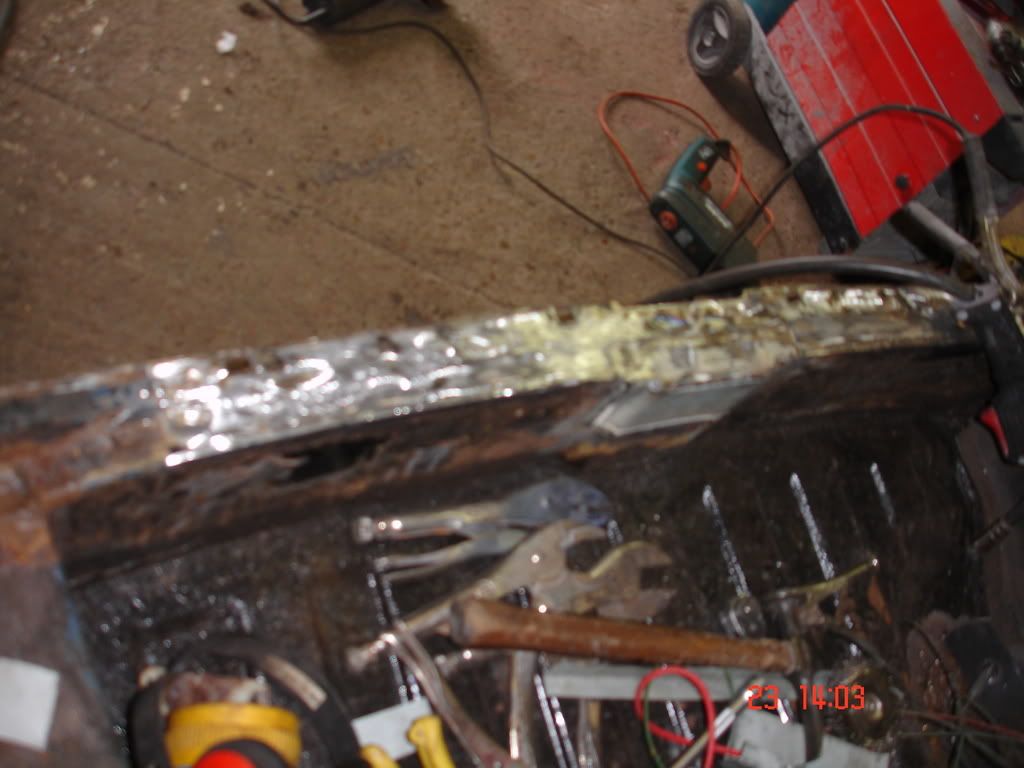
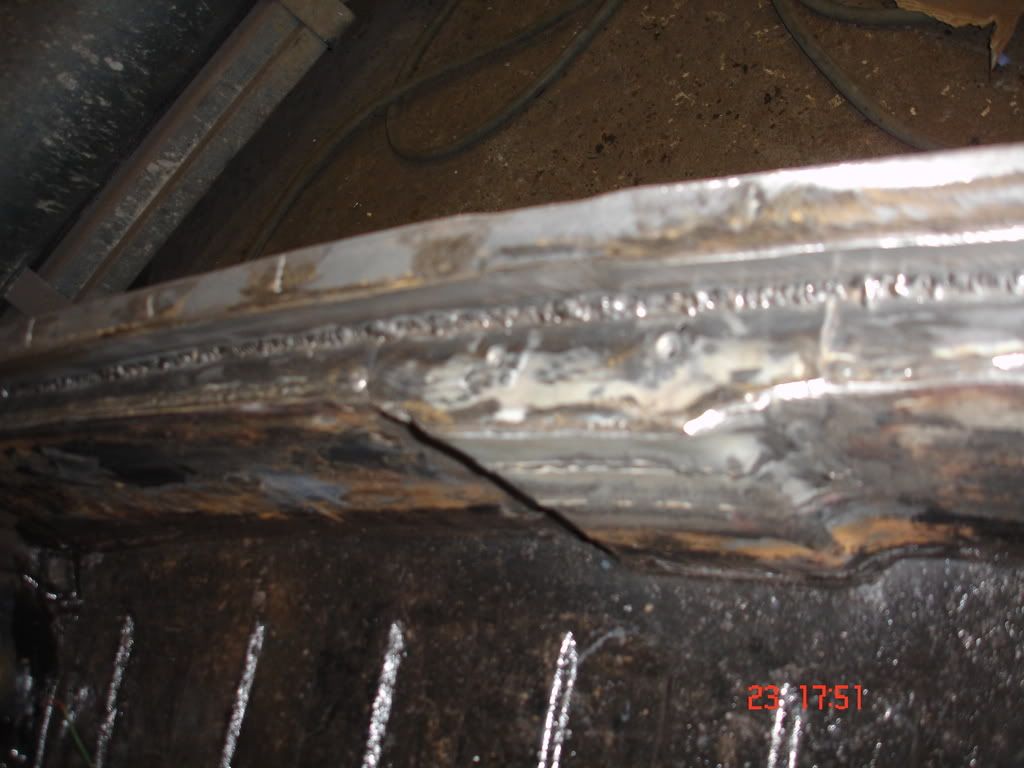
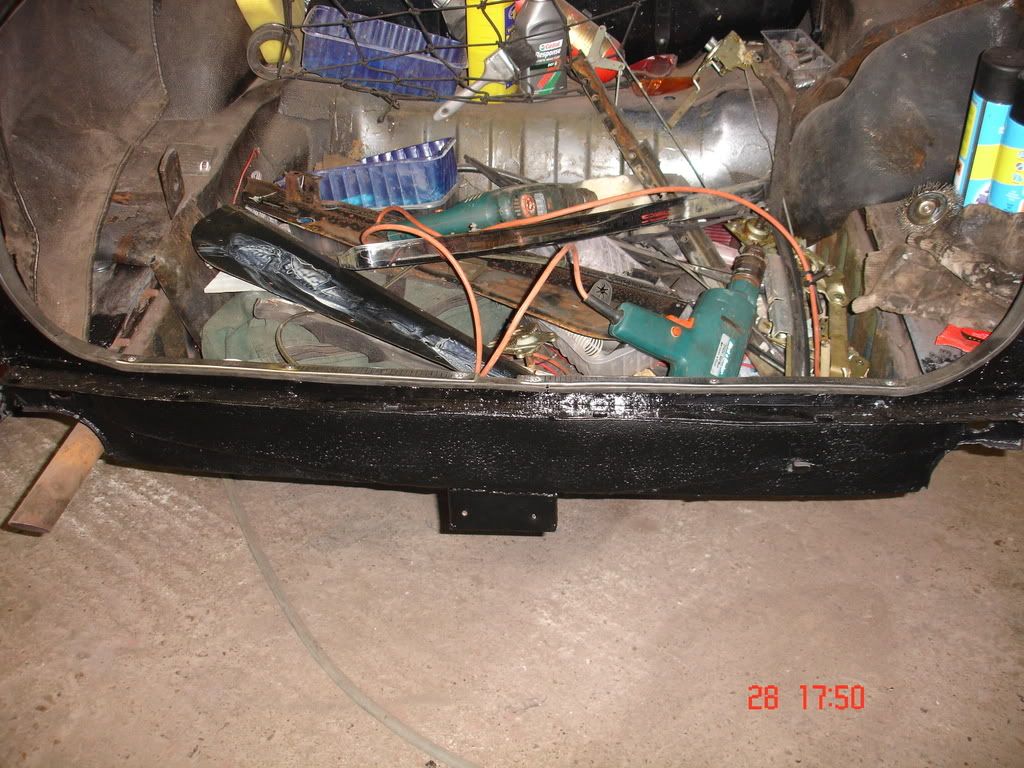
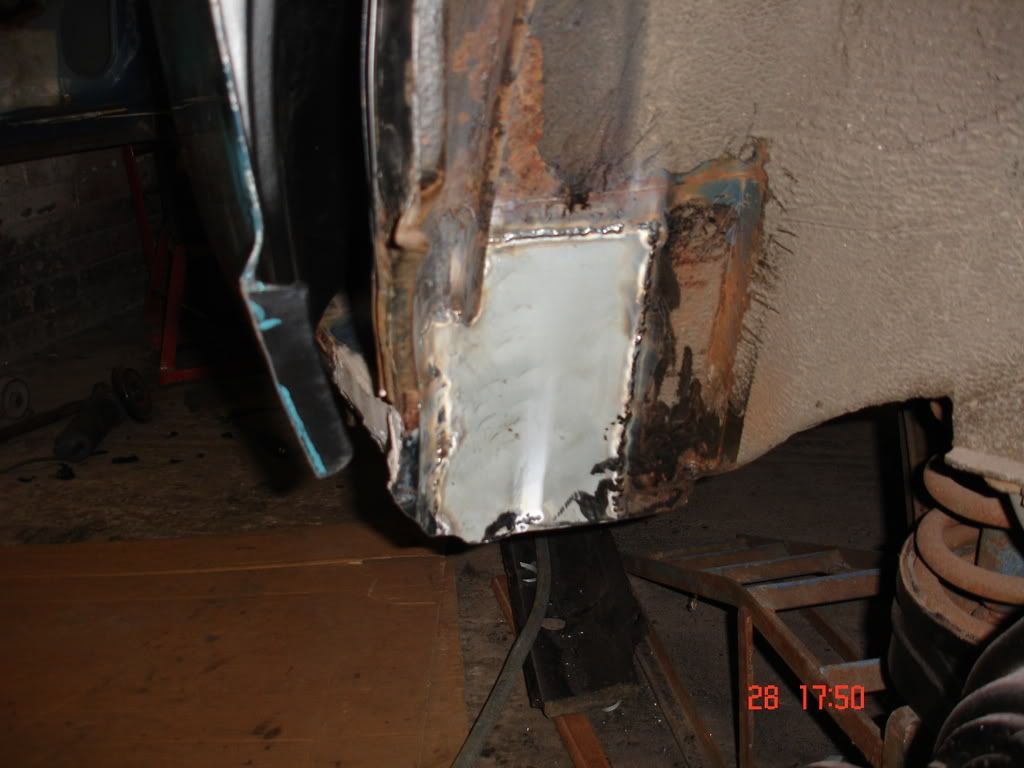
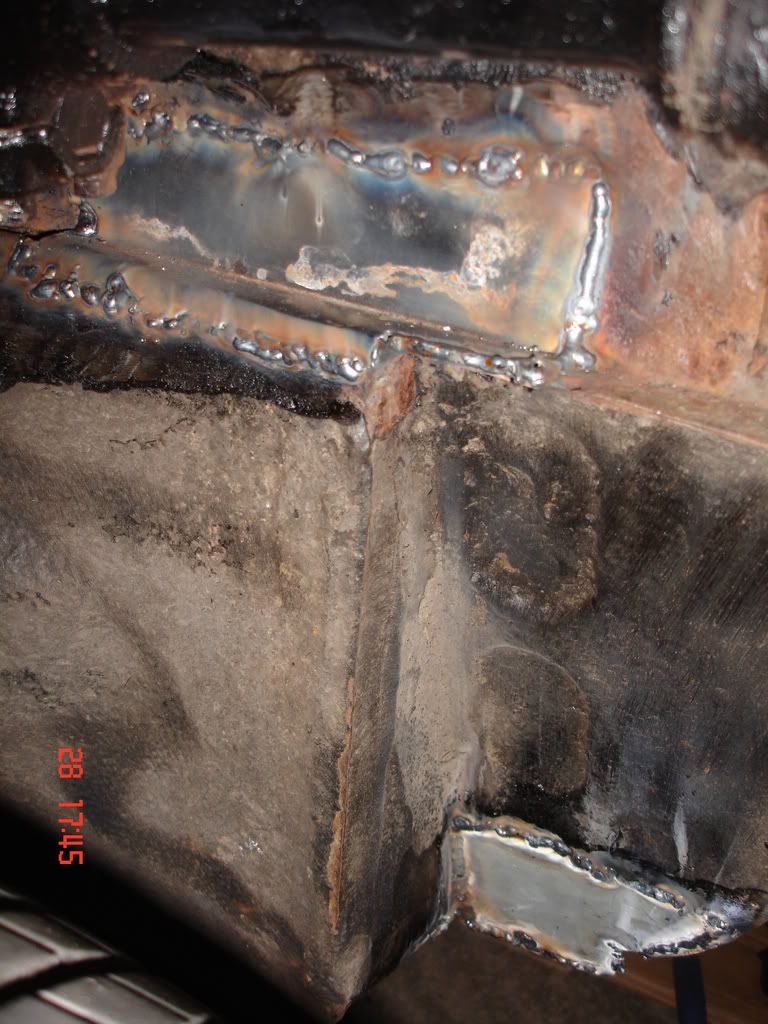
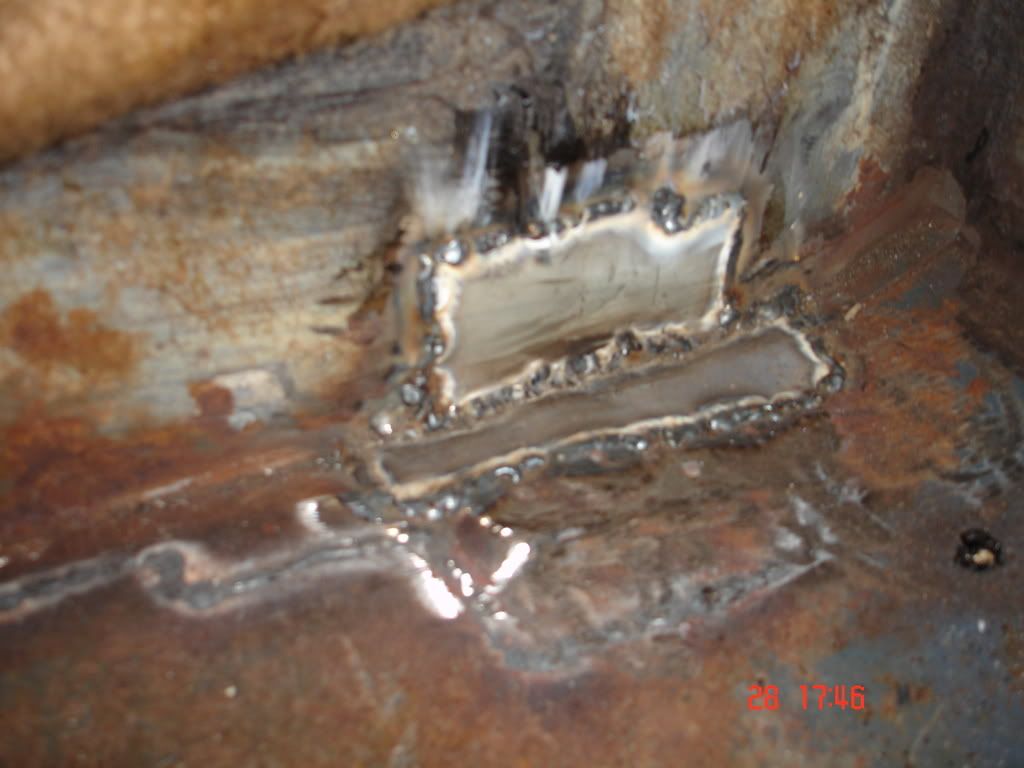
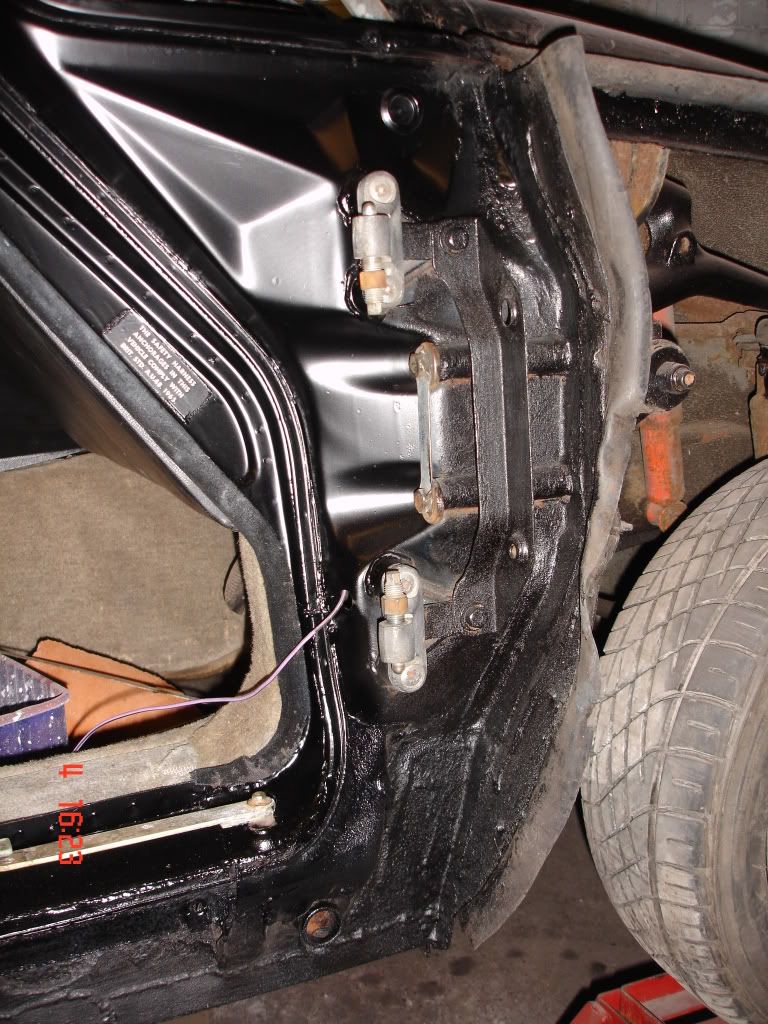
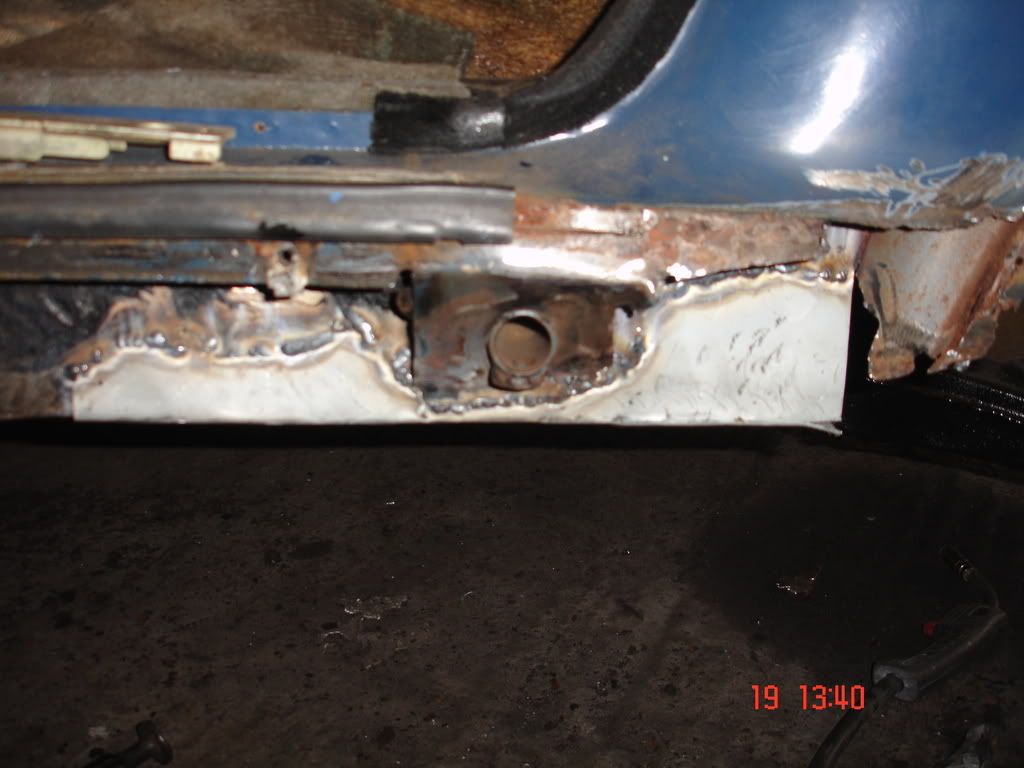
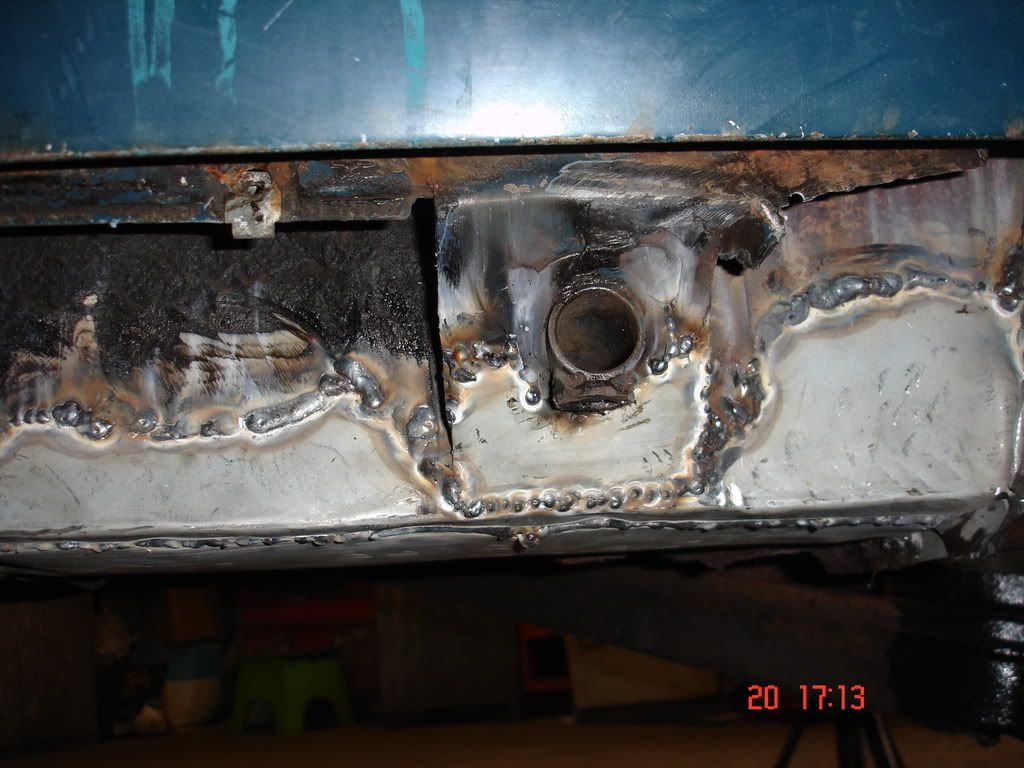
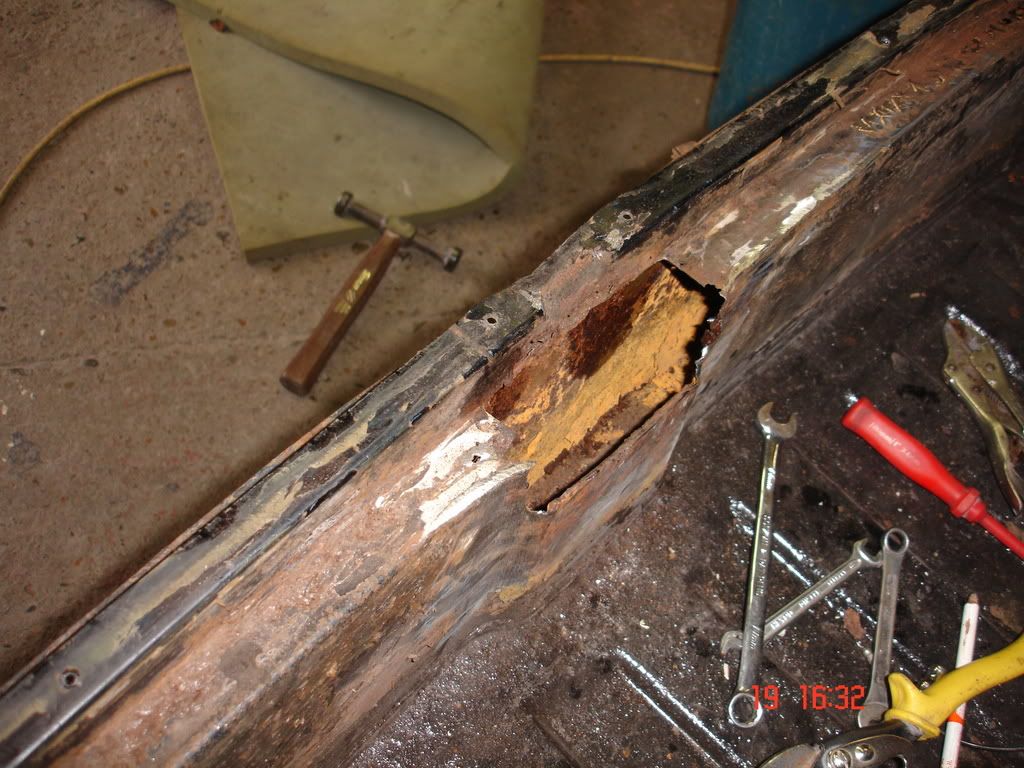
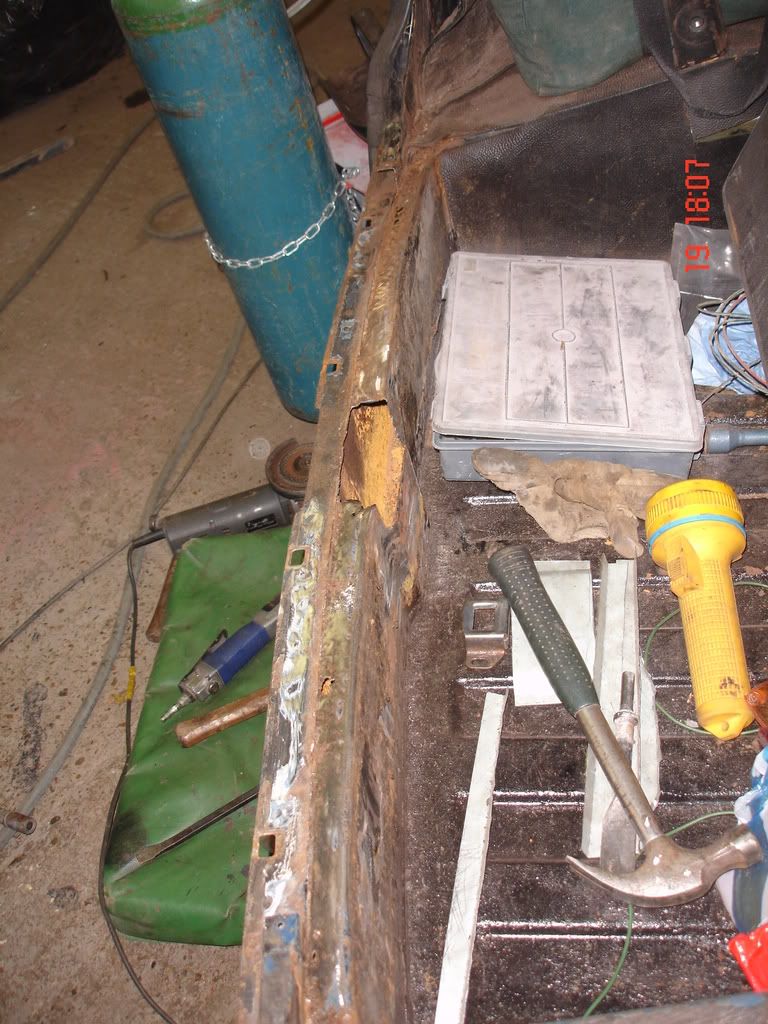
Just to give a nice sense of balance to the sill rot, The Bruiser also allowed the boot lock/bottom lip area to corrode away too which I haven't seen before. :shock:

Bruiserrestoration011.jpg


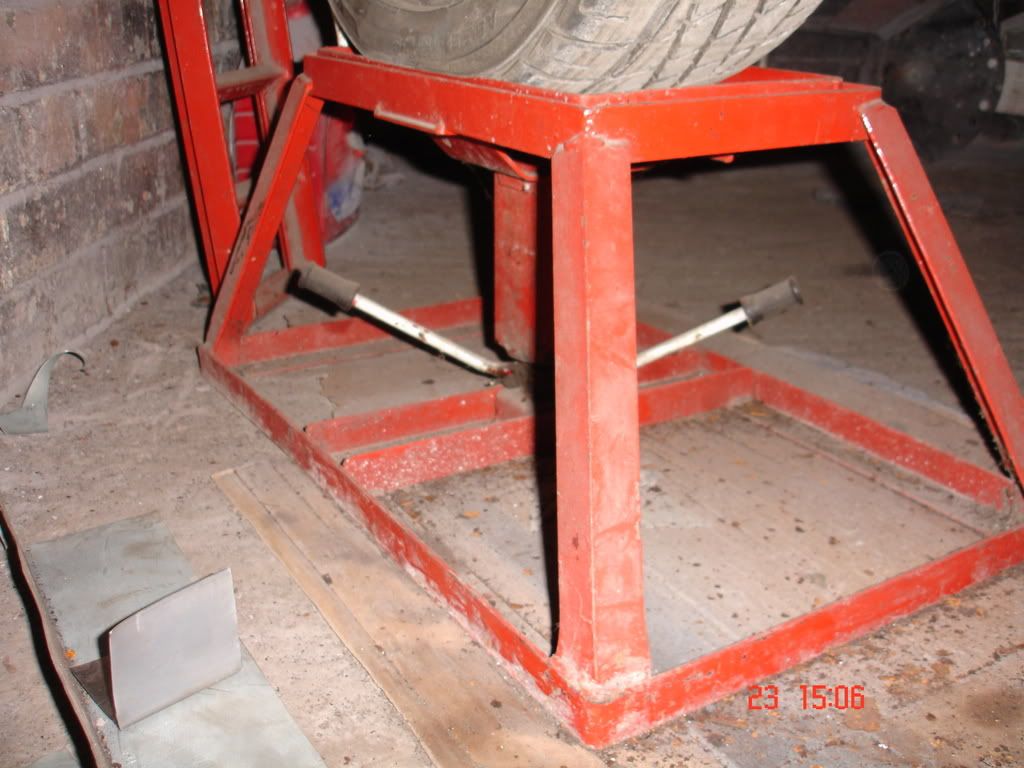
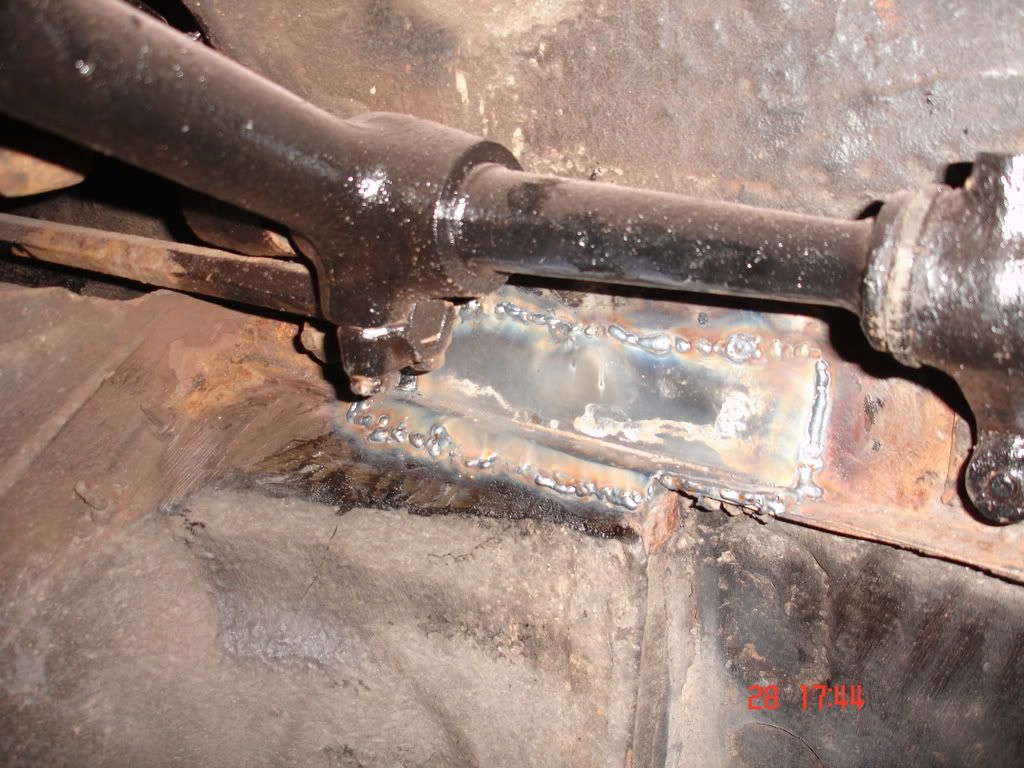
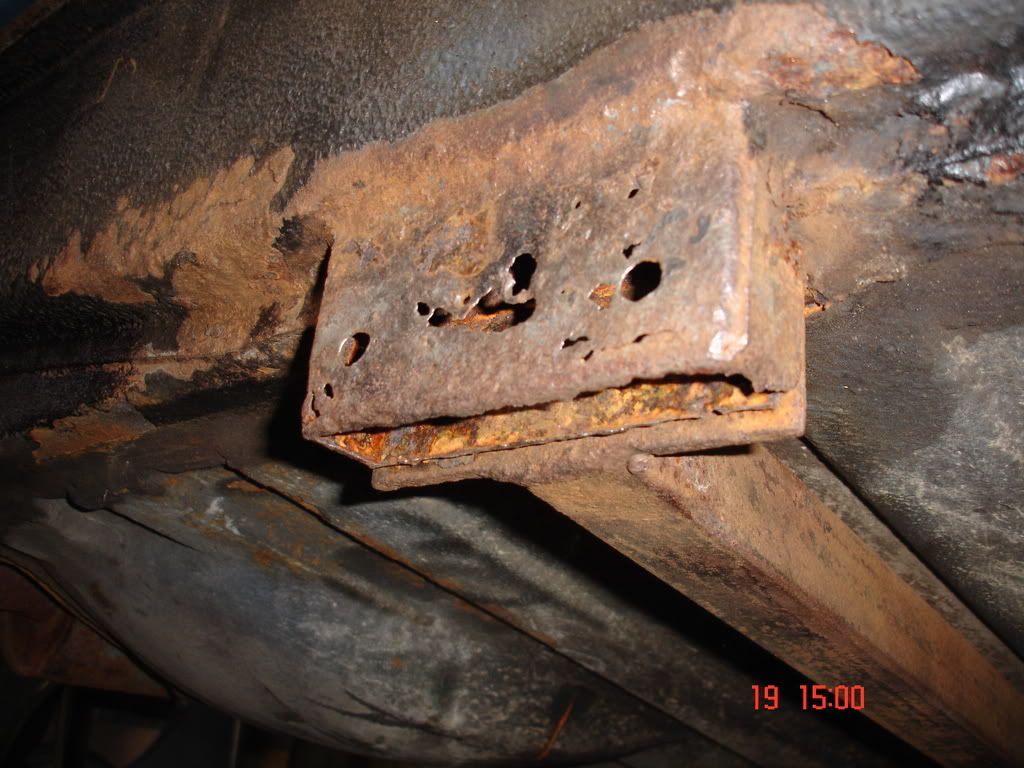
Not to mention that handy jacking block. This will be plated over & welded to the towbar section as I'll never take it off. Although I'm not having the bumper on I'll fit the irons & other towbar sections as rear protection & parking sensor. :wink:

Bruiserrestoration010.jpg


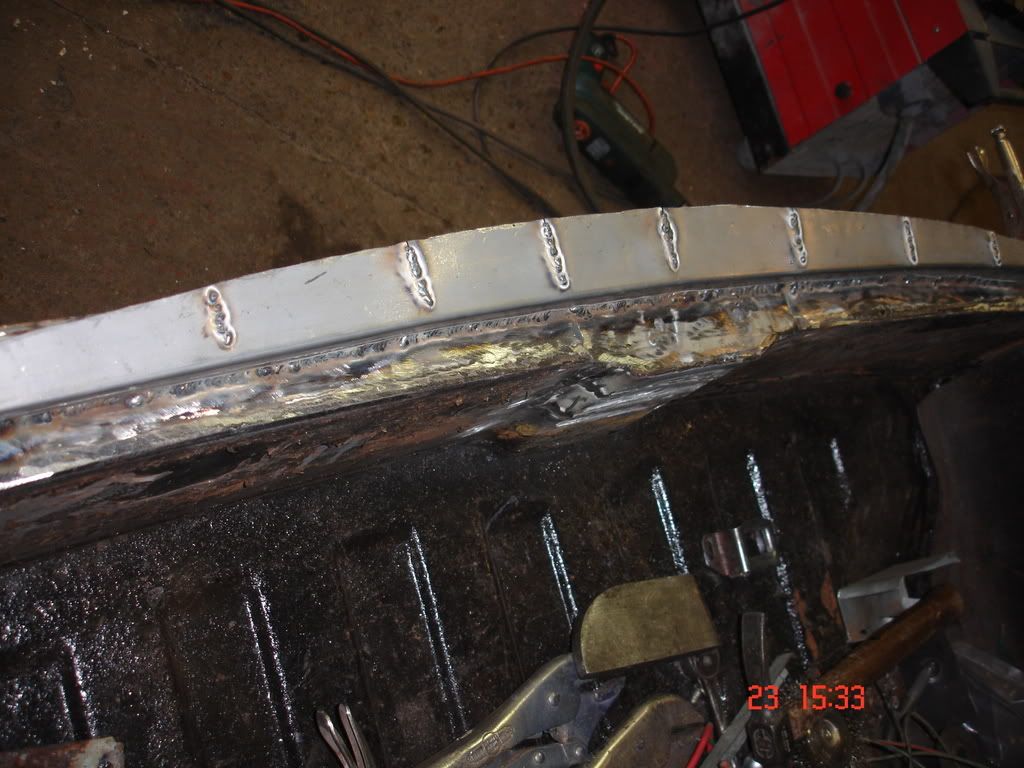
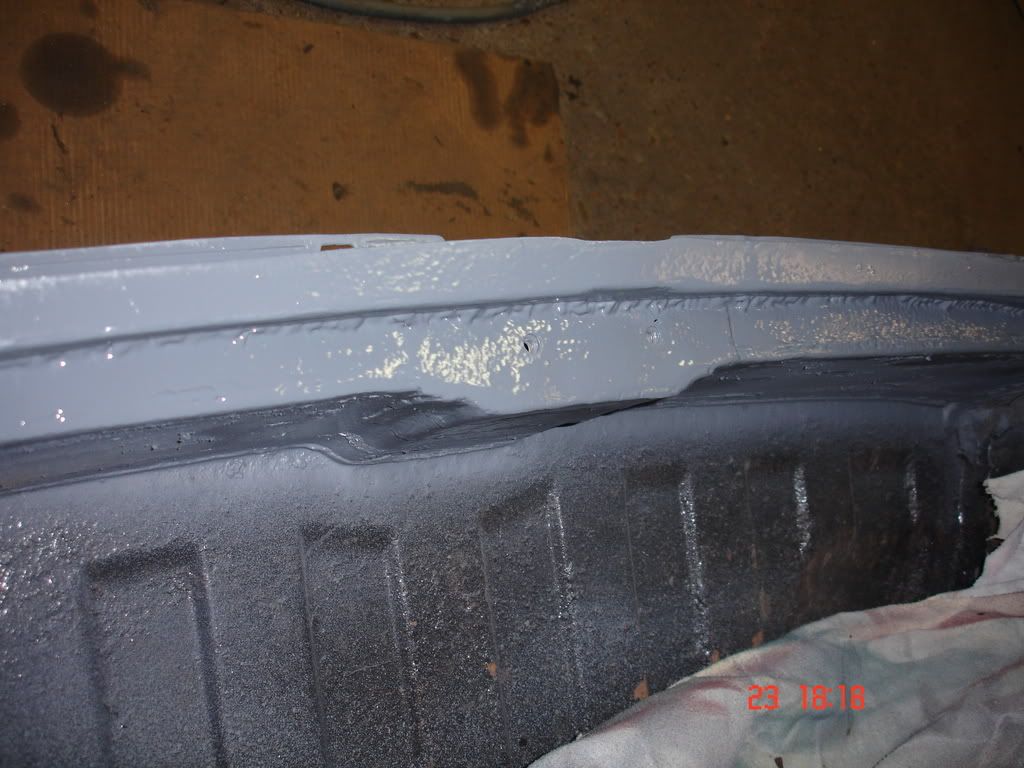
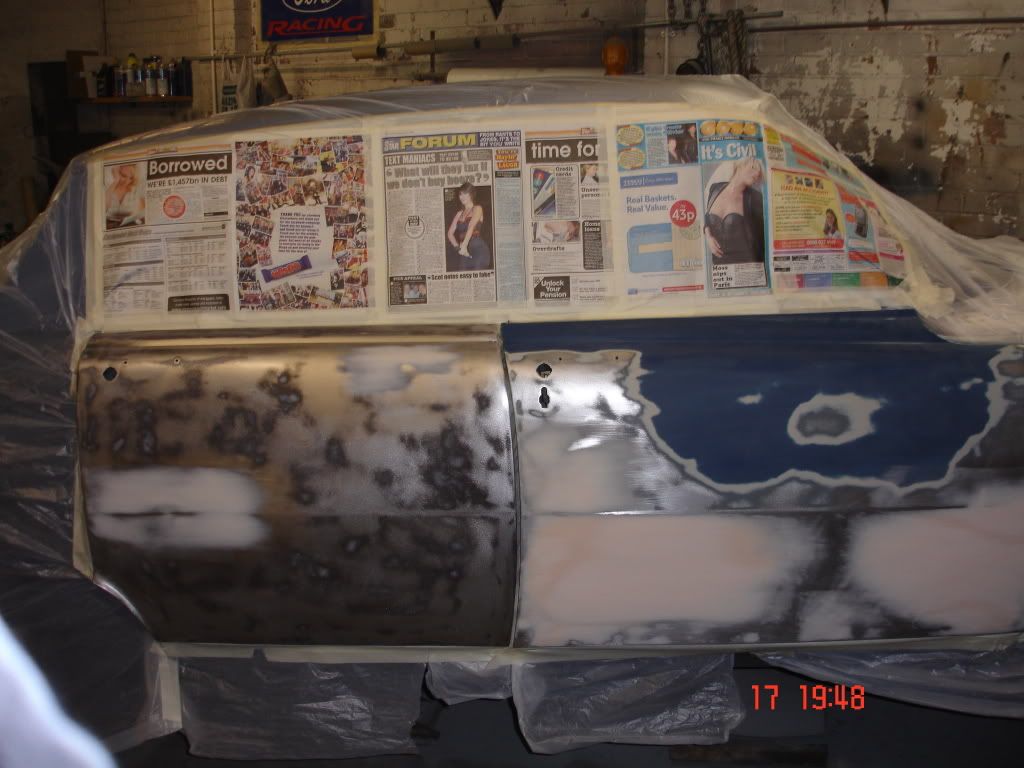
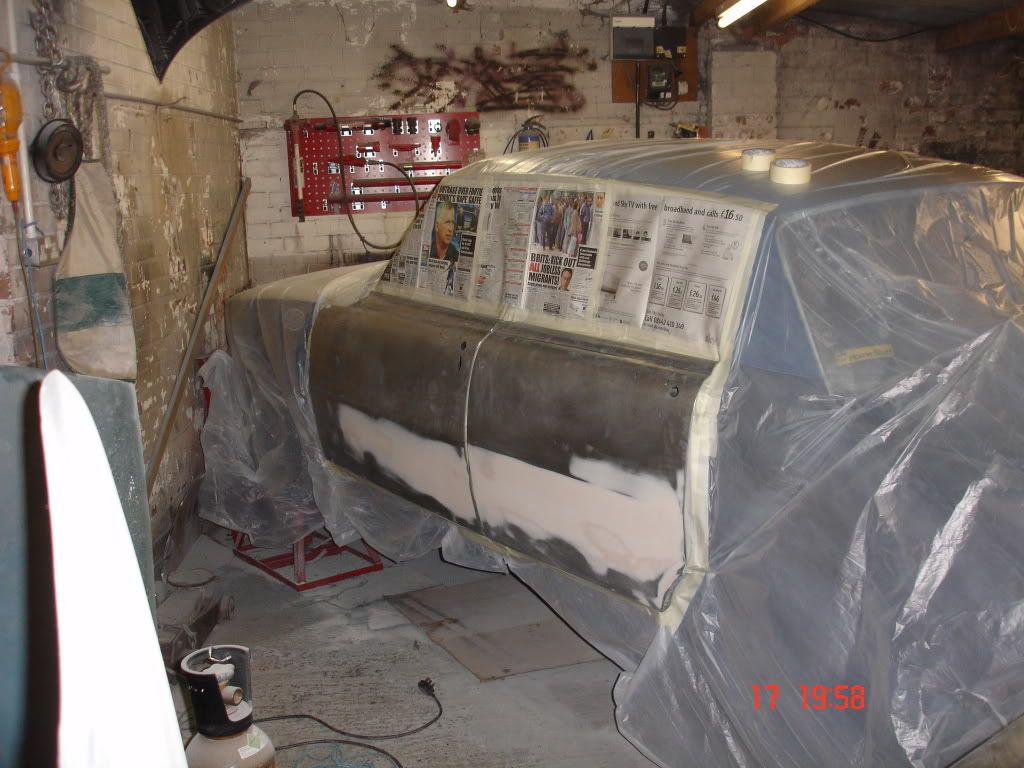
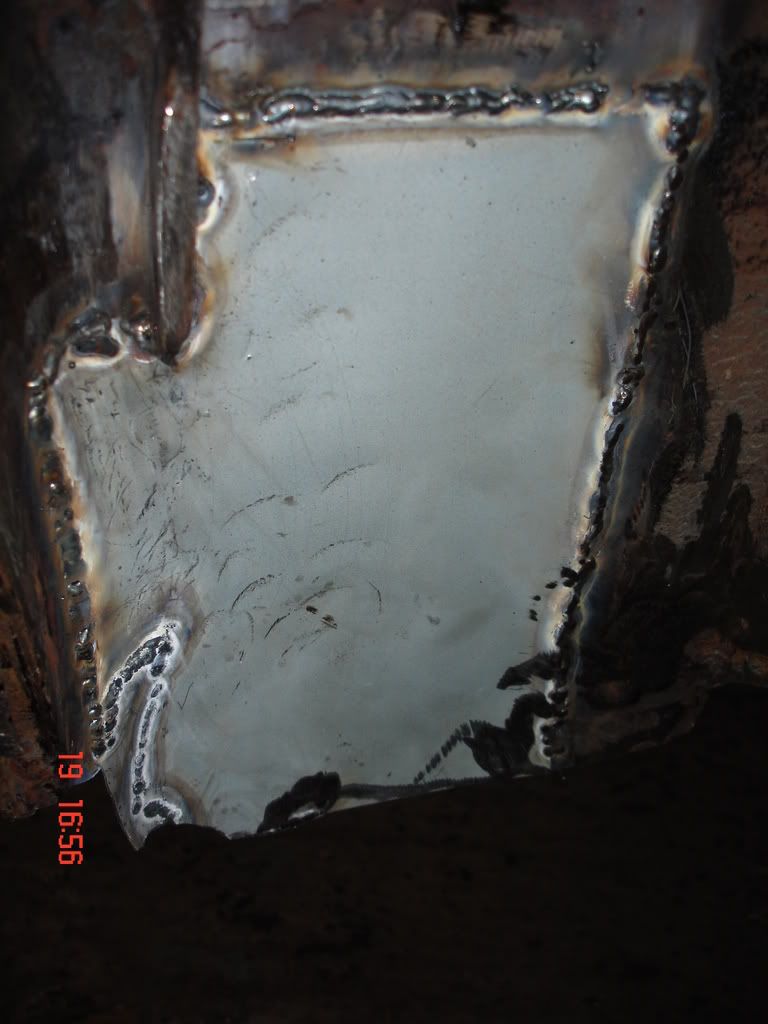
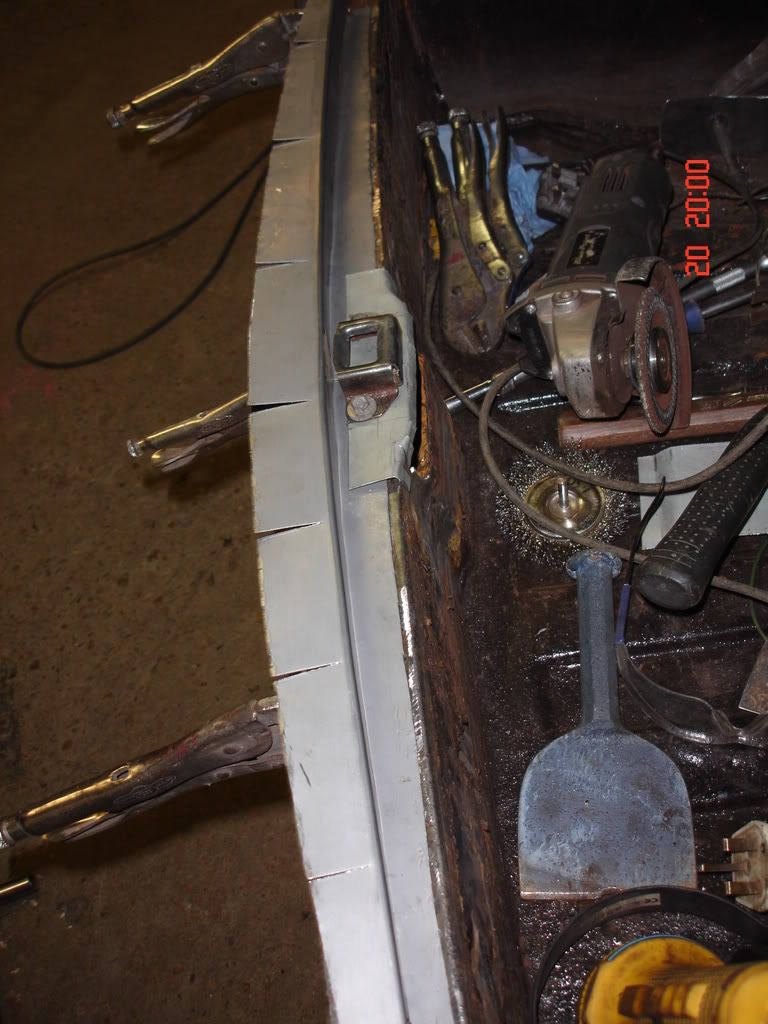
With the boot my Brother decided the easiest thing to do was cut the whole lot away & fabricate a new one.

Bruiserrestoration016.jpg


Bruiserrestoration018.jpg


It may be welded in tomorrow, possibly Monday as the need to earn a bit of money over the weekend is getting in the way for both of us.
 
No, I do enjoy it. And despite what my brother says, he likes working on the occasional, challenging classic car. And they're normally mine. :LOL: The last one was my Morris Oxford estate which turned into almost six months work & at times did seem an uphill struggle. This one's a breeze compared to that.
 
I've always approved of using a towbar as a parking sensor!! :LOL: Even better nowadays when everybody has plastic all over the ends of their euroboxes :mrgreen:

Chris
 
A bit off track, but what are the little white levers on the bottom of the stands the car is on?
Some piccies of them, please!
 
The stands are height-ajustable & the levers are for screwing the platforms up should you need some extra working space under there though they're high enough for most jobs anyway. Detachable ramps are a bonus too. They are the dogs dangly-bits as it happens, very strong & very versatile. I bought them at an autojumble from a guy who'd also had his P6 up on them.
 
unstable load said:
A bit off track, but what are the little white levers on the bottom of the stands the car is on?
Some piccies of them, please!

Bruiserrestoration020.jpg


The boot area.

New metal for lip base.
Bruiserrestoration019.jpg


New lip.
Bruiserrestoration021.jpg


Lip trimmed.
Bruiserrestoration023-1.jpg


Bruiserrestoration024.jpg


Lock base.
Bruiserrestoration025.jpg


And stonechipped.
Bruiserrestoration026.jpg


Bruiserrestoration027.jpg
 
These pictures give me renewed hope. All progress has stopped here , as the financial meltdown has left no money to have someone else weld and paint. So I guess I will learn and get equipment. I have convinced my wife that we might be able to get back some of the money invested some day. Pretty smooth talking , wouldn't you say?
 
Waxoyl inside the sections & good old fashioned underseal outside. Some people don't like it but a couple of coats of the sticky stuff will protect the metal pretty well. It's done so for 30/40 years on most cars except for their particular, common rot spots. When it goes hard & chips off eventually you just remove the loose stuff & re-coat. Apart from that it was cheap as our local pound shop had tins of the stuff a few years back & I bought a load. Used most of it now though on various projects.
I think buying a welder & learning to use it yourself is a sound investment too apart from not having to rely on other people to do it when they have time.
No welding done today, my brother has a quick job in (Micra belonging to friends of mine). Seam-sealed the the new boot lip, fitted a pair of exhaust mounts that were missing & got the reverse lights working (unplugged bullet connector).
 
I really like theads like these, gives me pointers where to check my old girl over. Now that my running gear is sorted this year I will be turning my attention to the body work. When I got her she looked very nice but now almost two years later the rust is starting to show in the usual places. I also want to check the base unit over.

Nice work, keep the pictures coming. :)
 
Talking of the exhaust mounts, this is the one I used for the central position.

BruiserRestoration030-1.jpg


It's a bit of a monster which came to me (along with a standard mount) in a cochel of P6 bits though it obviously isn't from a P6, as far as I can tell anyway. It fitted though & does the job so it's more useful now than it was in a box. I assume the wiggly bits are just left over from the manufacturing process. Anyone recognise it?
 
The finished boot.

BruiserRestoration046.jpg


The nearside sill welded up. Took more metal than the offside & my brother ventured the thought that if the inner sills had rotted then Bruiser might have done a Titanic on us & broke her back.

BruiserRestoration031.jpg


BruiserRestoration033-1.jpg


BruiserRestoration038.jpg


BruiserRestoration045.jpg


BruiserRestoration041.jpg


The bulkhead.

BruiserRestoration036.jpg


BruiserRestoration034.jpg


Found some in the n/s footwell.

BruiserRestoration037.jpg


And on the o/s/r inner wing.

BruiserRestoration047.jpg


There endeth the welding (my brother threatened me with violence if I didn't stop searching for rot-spots :LOL: ).
 
It's taken longer than I thought but at last theres action on the painting front:

Door shuts in cellulose satin black:

BruiserRestoration059.jpg


BruiserRestoration060.jpg


BruiserRestoration062.jpg


Masked for Primer. Panels off the car to minimise masking up & ensure all nooks & crannies are covered. We didn't plan on bare-metalling most of the car, it just turned out that way.

BruiserRestoration066.jpg


BruiserRestoration067.jpg


BruiserRestoration068.jpg


BruiserRestoration069.jpg


BruiserRestoration071.jpg


BruiserRestoration070.jpg


A few days later 2 pack satin black applied to most of the outer panels.

BruiserRestoration048.jpg


BruiserRestoration051.jpg


BruiserRestoration052.jpg


BruiserRestoration053.jpg


The paint is very thick & gloopy because of the matting agent but sprayed well & is taking a while to completely harden, probably around 3 days. 2 litres were used up on what you see so another 2 will have to be bought as one of the rear wings needs a bit more work so will be sprayed along with the bonnet & bootlid next week. A good gun finish was required as there is no flatting or polishing to be done due to the desired satin effect & it came out very well as my brother is also a very good sprayer plus we gave the workshop a good dust blow-out before the spraying & wet the floor down too & as a result detritus in the paint is at a minimum. A wax with a very fine compound in it will be applied as it doesn't seem to affect the finish on test & will give the paint some weather protection & remove the small amounts of rubbish on the surface that are there. Neither my father or my brother have ever sprayed a whole car in low-gloss before so it's all a bit of a learning curve. They considered laquer with matting agent for flatting any dust out, but this would turn the laquer milky so my father suggested adding black to the mix to compensate but then ventured that flatting/polishing would put a shine on any paint/laquer whether matt or not which is not what I want so we've gone for as good a finish as possible straight from the gun. And it's not turned out half bad.
On another matter once again, I ask why this particular website/server crops pictures on the right-hand side? I've noticed it in other members posts too. It's very annoying & a shame that I have to direct anyone who is remotely interested in the full pictures to the P4 drivers guild website, good site though it is.
 
Excellent work! Always admire this sort of dedication to resurecting a car, so many would have thrown the towel in but now after some graft and commitment you have a P6 that you know is completely solid :)
I think satin black is a great choice of colour, should live up to its name along with those Revolutions. Great work!
 
Thanks very much. Even though it's only a little over 6 weeks since we started it seems a long time since I first removed the wings which was the first thing to happen. Even so, it's pretty quick compared to a couple of my cars we've given the treatment to. The P5B took something over 18 months of afternoons & weekends (conincidentally during the last economic downturn) & the Oxford estate 5 months of 6 day weeks. Luckily, Bruiser was basically sound, just the bases of the sills had suffered & apart from that it was little bits here & there. A straight wing change & paint job would have taken 2-3 weeks but as we all know, that's rarely the case. It's actually turned out better than I planned which is also what happened with the Oxford but if you're not happy just to lash something up then that's always going to be the case I think. The next project to be started very soon will be the aircon V8 & I'm hoping the little bit of welding under the drivers door which the MoT station pointed out isn't going to end up the same or worse. You have to be optimistic now, don't you? :wink:
BTW, you may have noticed that's she's one of the cars with fixed rear quarterlights & vent-flaps in the rear pillar which they only experimented with for a year (69/70) before returning to opening windows. I'd read something of this but had forgotten about it. I picked up a rear door from Rich Moon of P6 spares & we were speculating over the fact of my fixed lights then I picked a bootlid up from Hermione149 who happened to bring them up in conversation & filled me in on the facts. He's looking for a replacement glass but can't find one as they seem to be fairly rare. Just a small difference in model specification for you. We changed both rear doors but also changed the frames to retain the fixed lights which was a fairly straightforward job actually.
 
Excellent project, love the satin black, I know several people that would love this car !

In terms of photo cropping, I can't see anything here myself, I have seen it box pictures off before, but you usually get a scroll bar at the bottom to pan across. All yours look fine to me though.
 
All the photo's have the right quarter missing which you'll see if you look at the pictures on the P4 site. Both sites are picking them up from the same source (photobucket) so it must be a quirk of the server that you're using, or some such.
Thanks for the encouragement, I'm fitting up at the moment & hopefully she'll be on the road by next weekend after which Harvey will be putting my spare rear calipers back together whilst I peer over his shoulder & see how it's done. Then replace Bruiser's leaky ones. The wax however does give a bit of a shine to the paint after all which wasn't the plan, but it will hopefully dull down somewhat after a bit. It's probably best to give the paint some weather protection despite 2 pack being tougher than cellulose.
 
Interesting, I bet you're using firefox ? Just tried it on mine in firefox and it trims the right hand side, but in IE it's fine. Strange.
 
Back
Top