sawdustcaeser
New Member
this is my first restoration project. i have posted a few threads about it here and there but i thought it would be nice if i could keep it altogether.
it has been a very steep learning curve. i have no experience, bought a MIG welder and grinder..... and set too!!
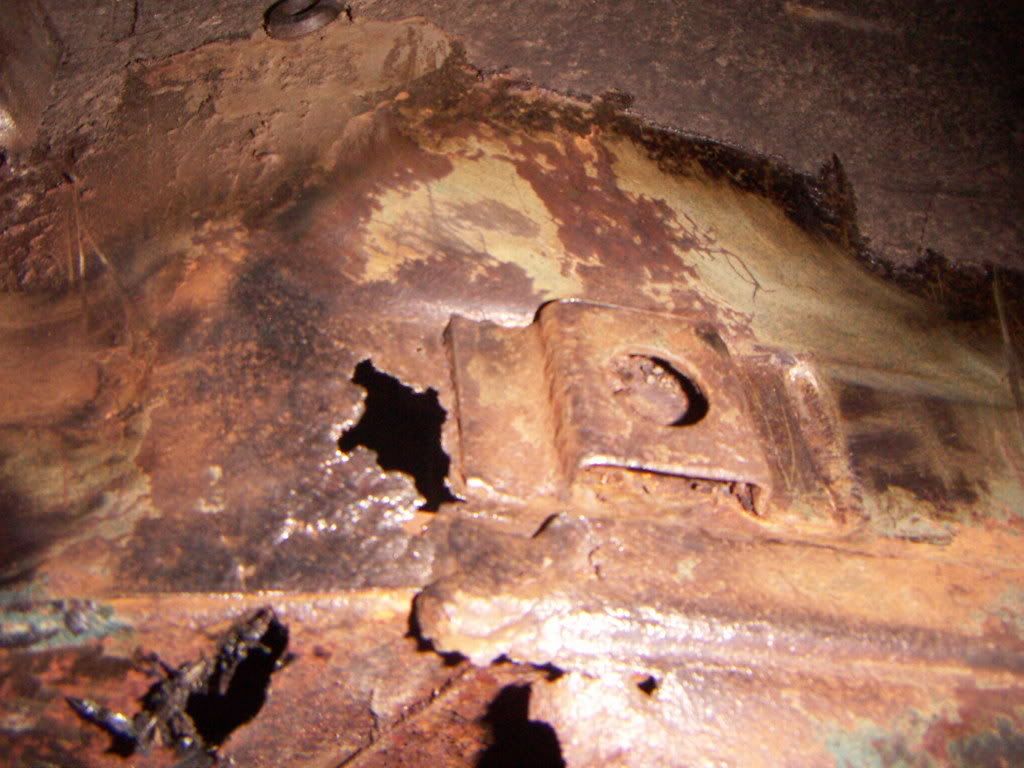
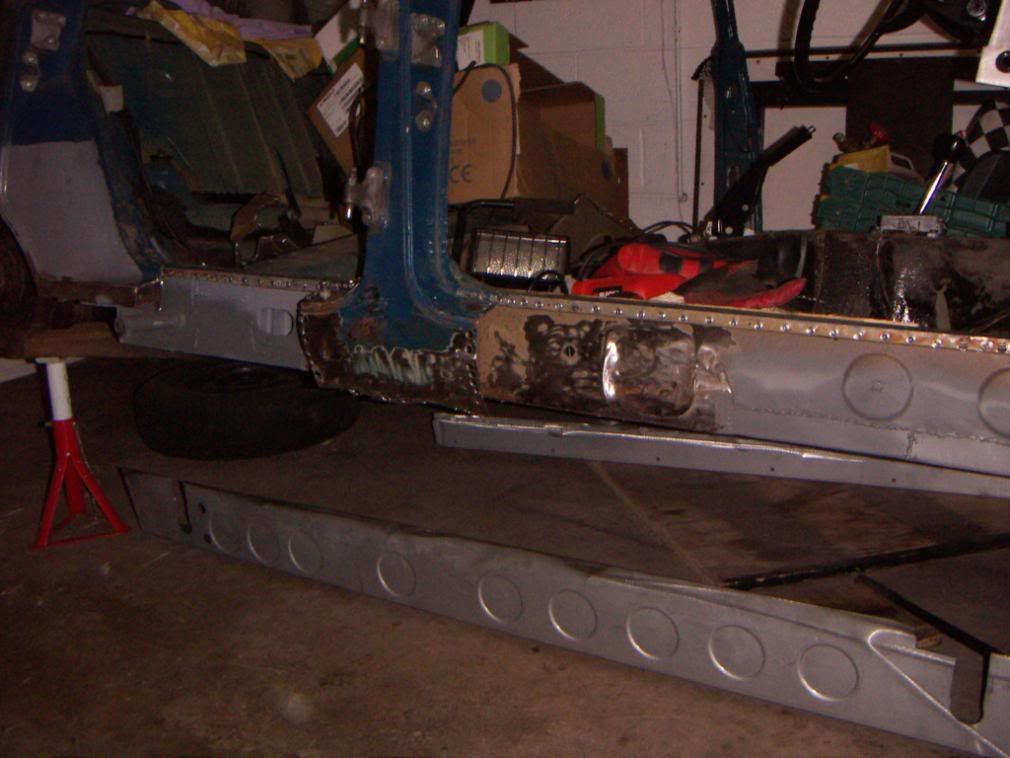
I starterd the project at the OS rear sill area which was very badly corroded.
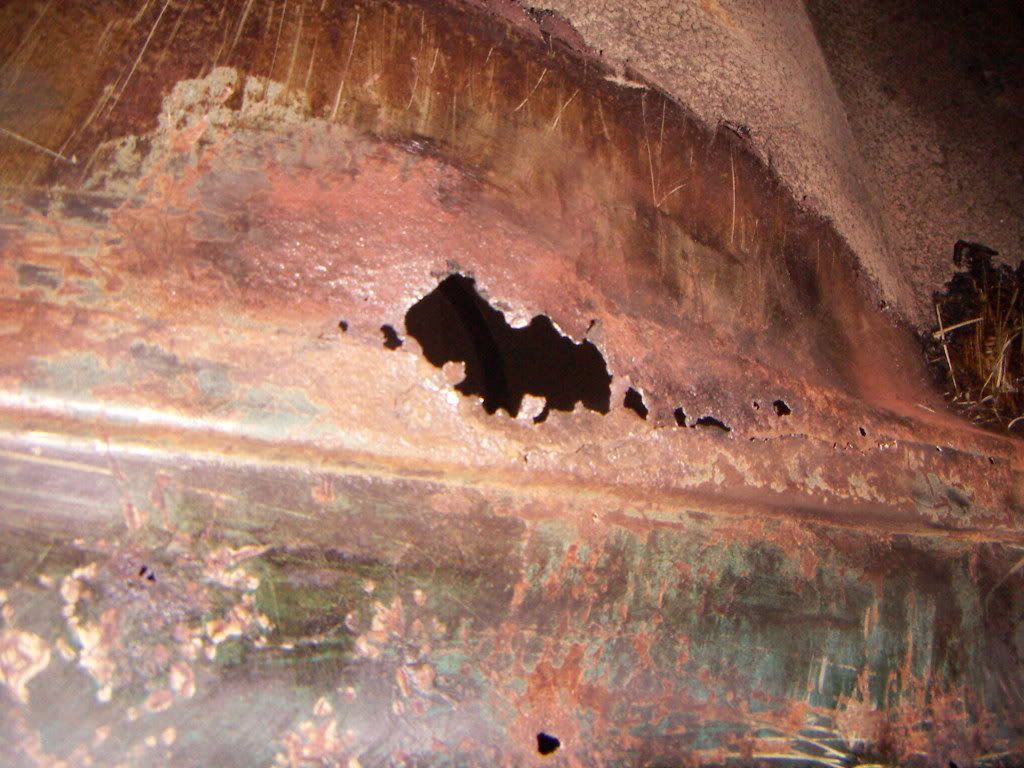
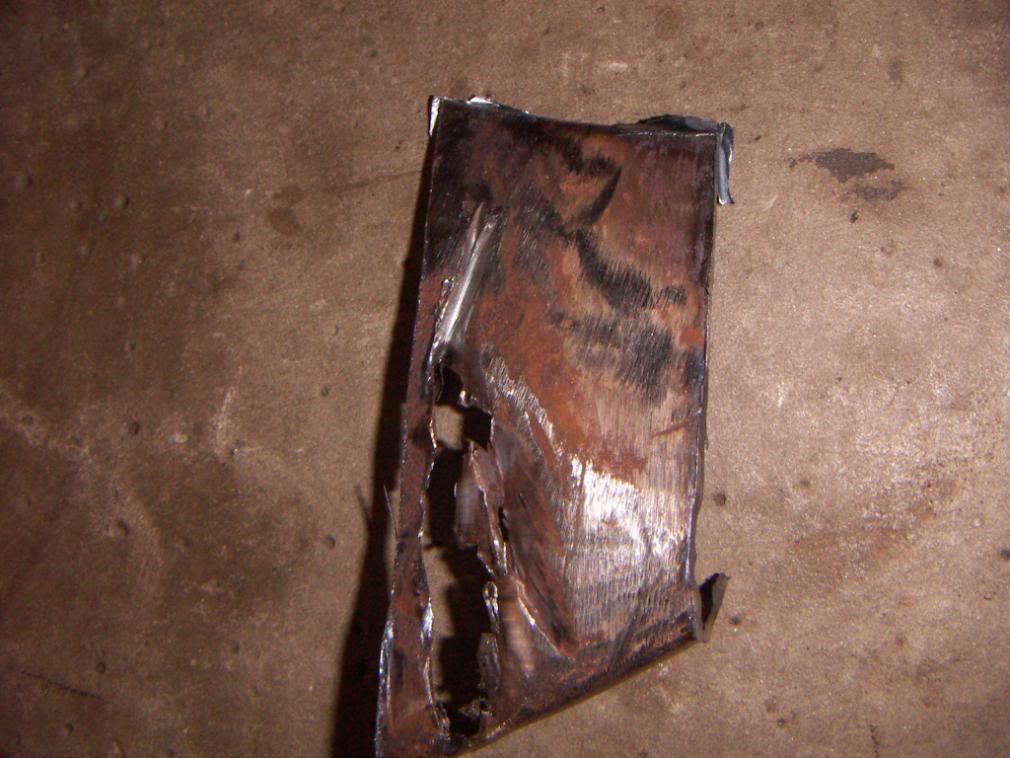
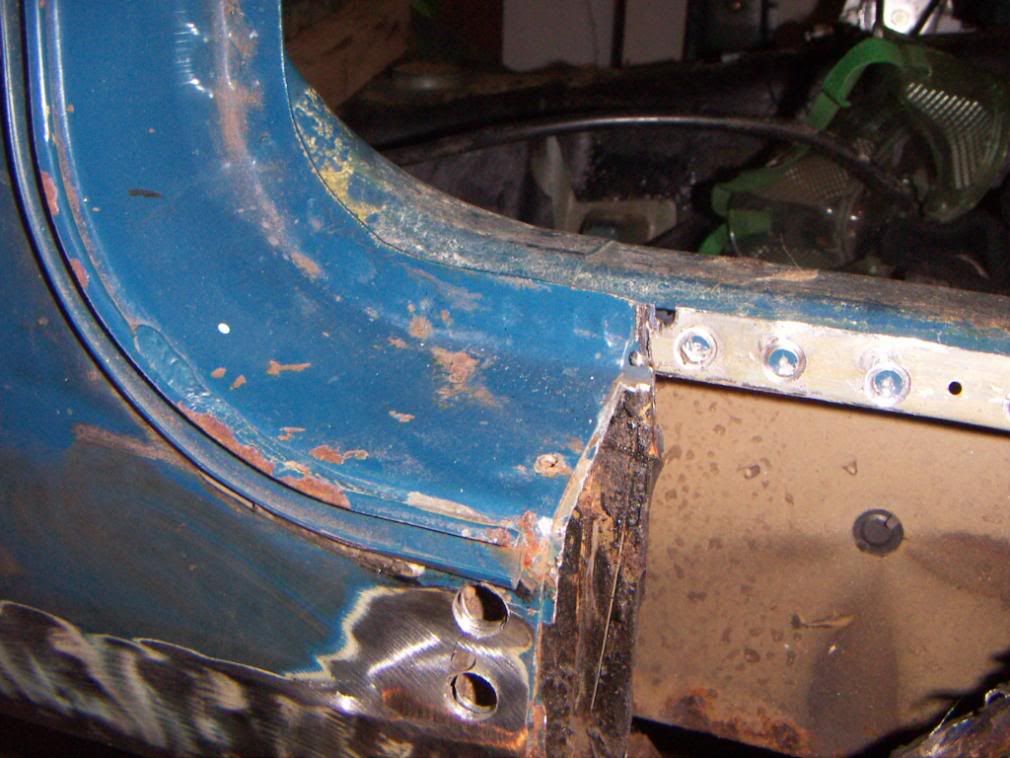
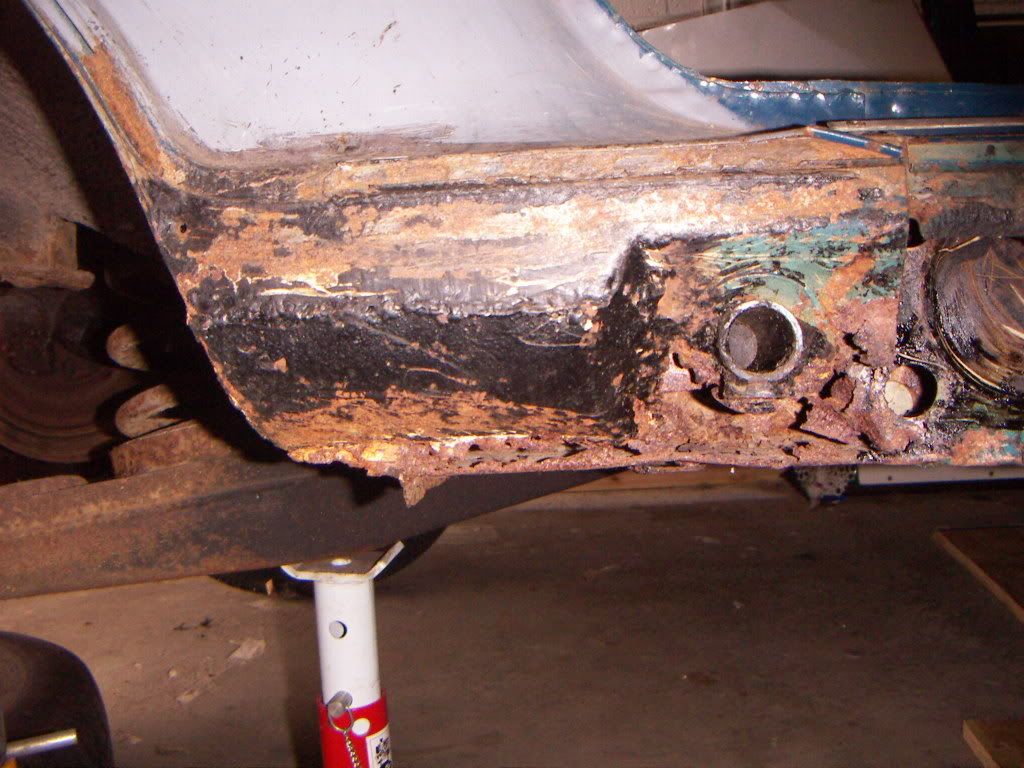
this is the condition of the cover plate:
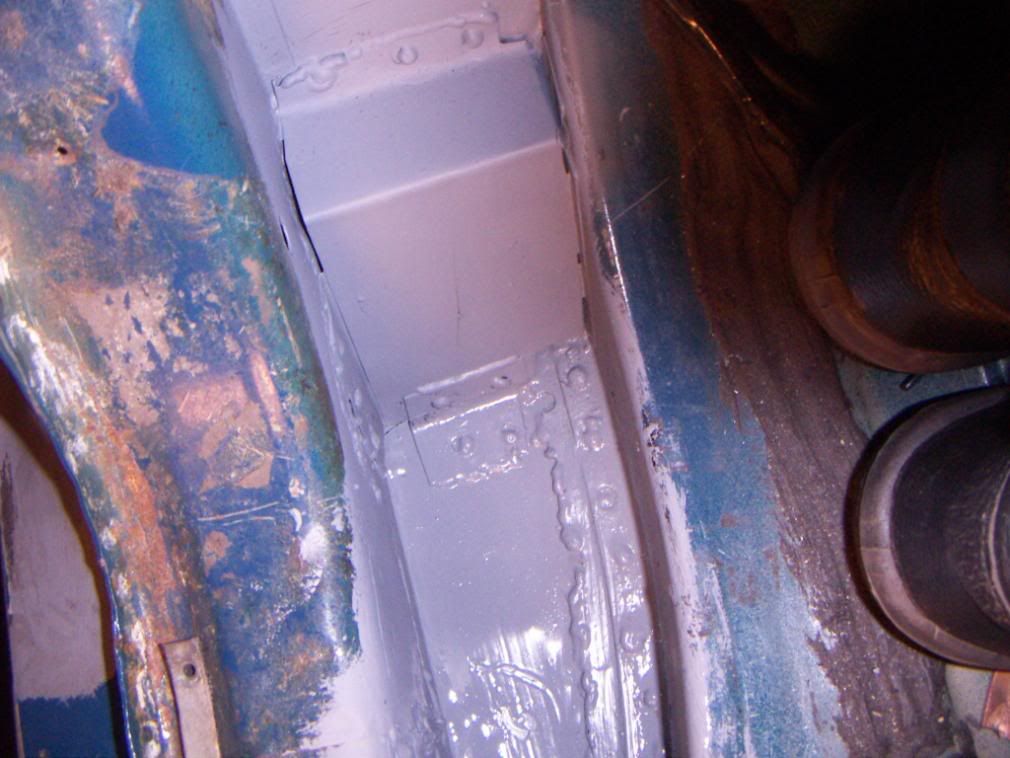
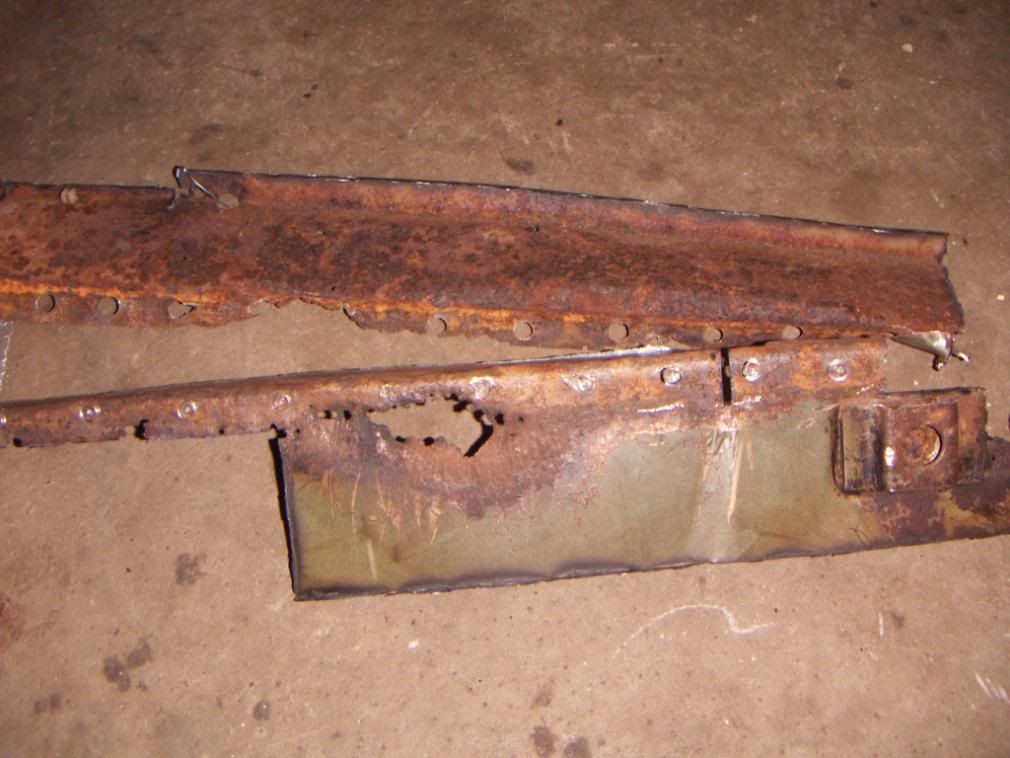
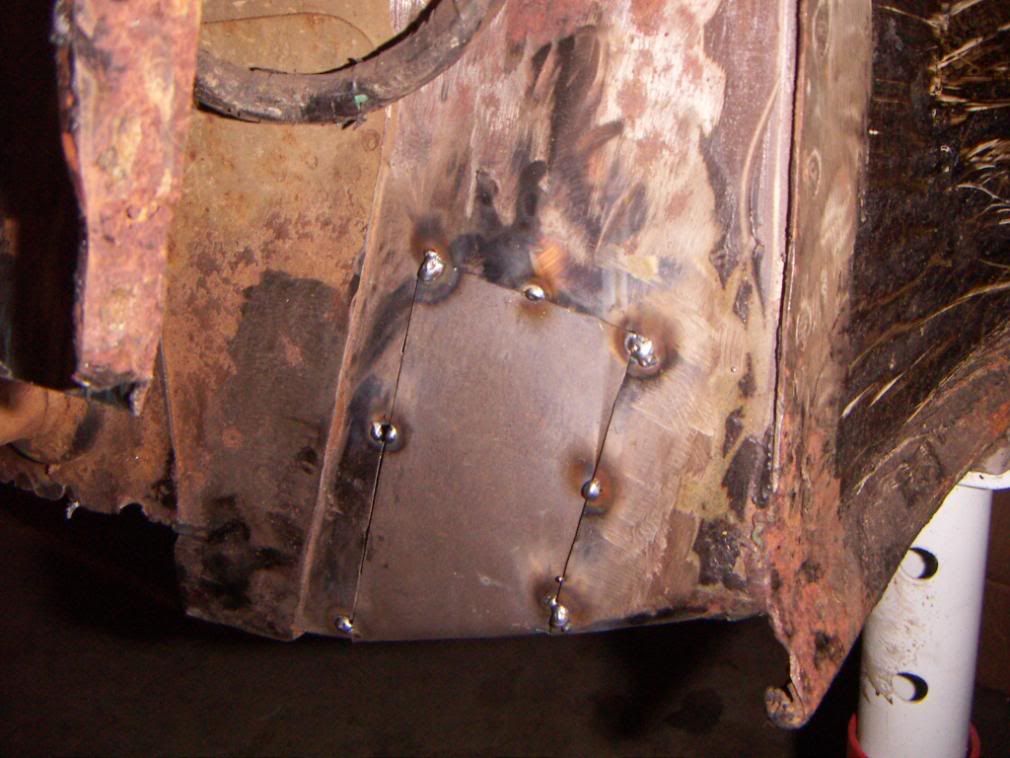
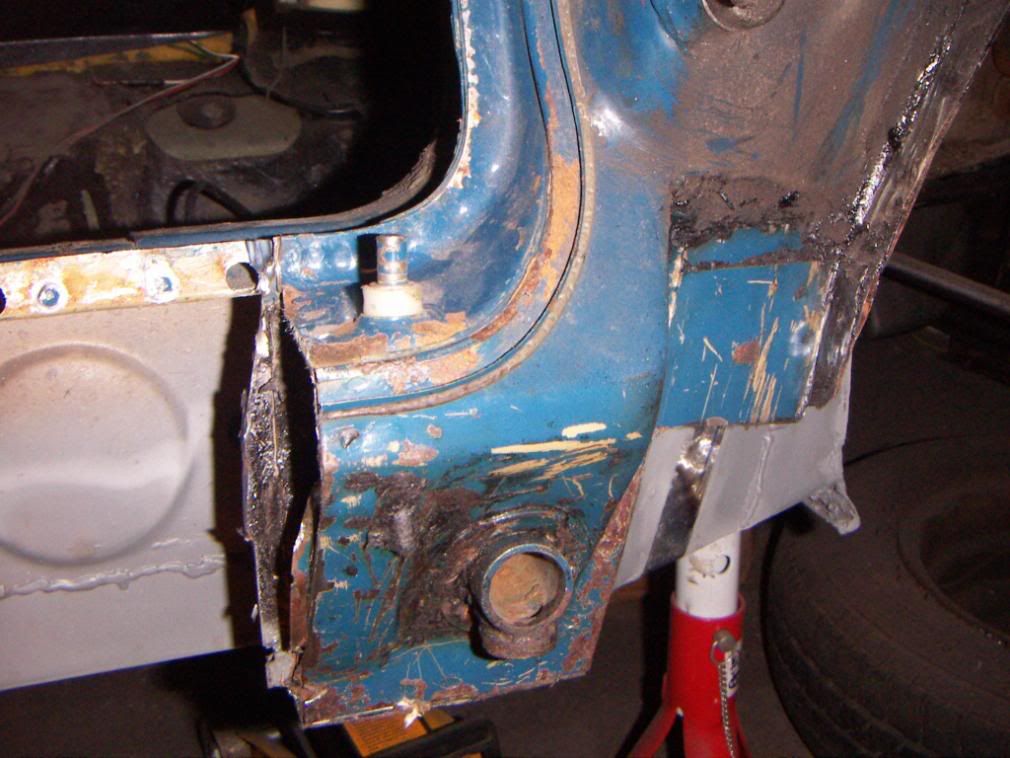
which was removed to show a reasonably complete inner wing:
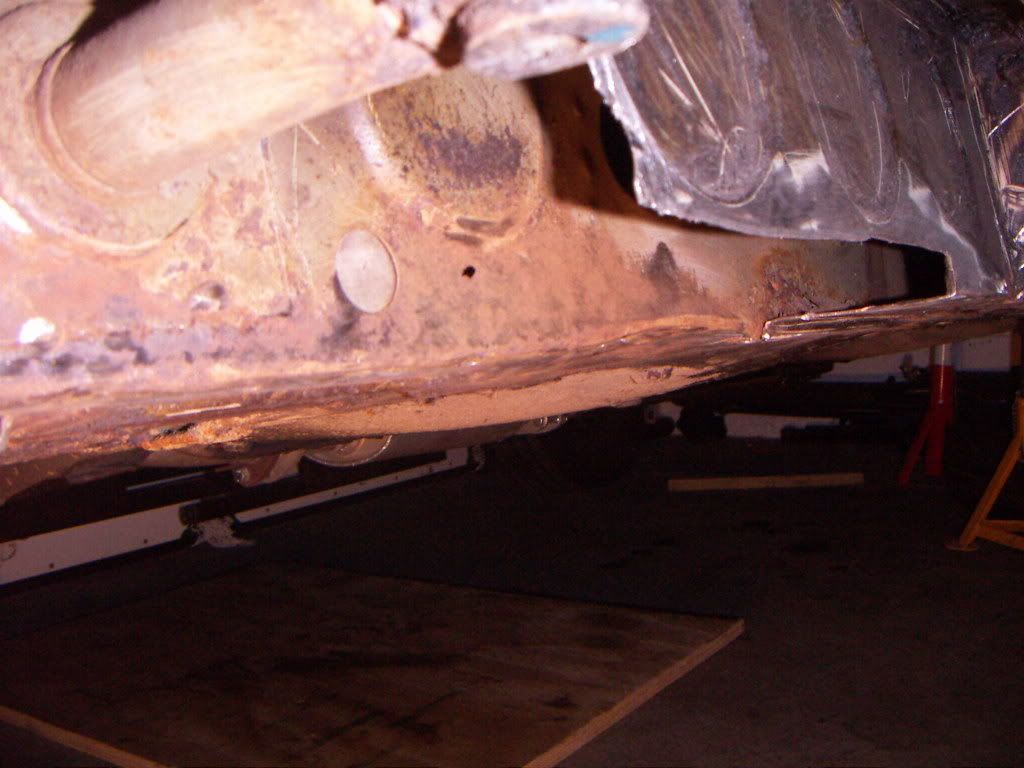
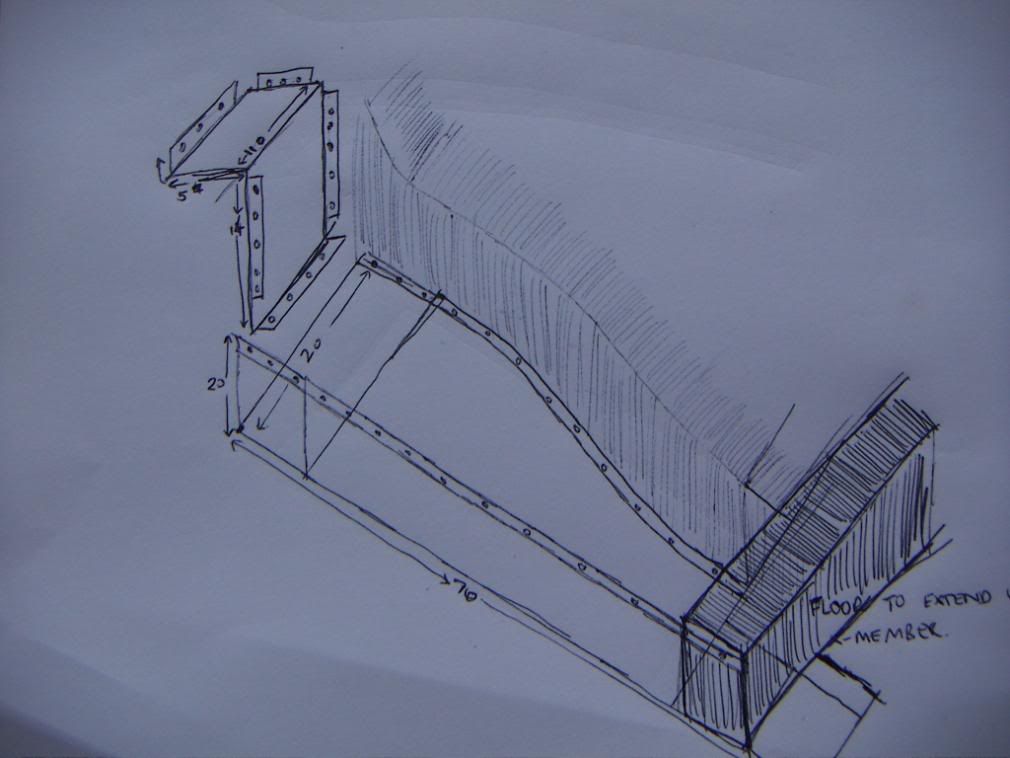
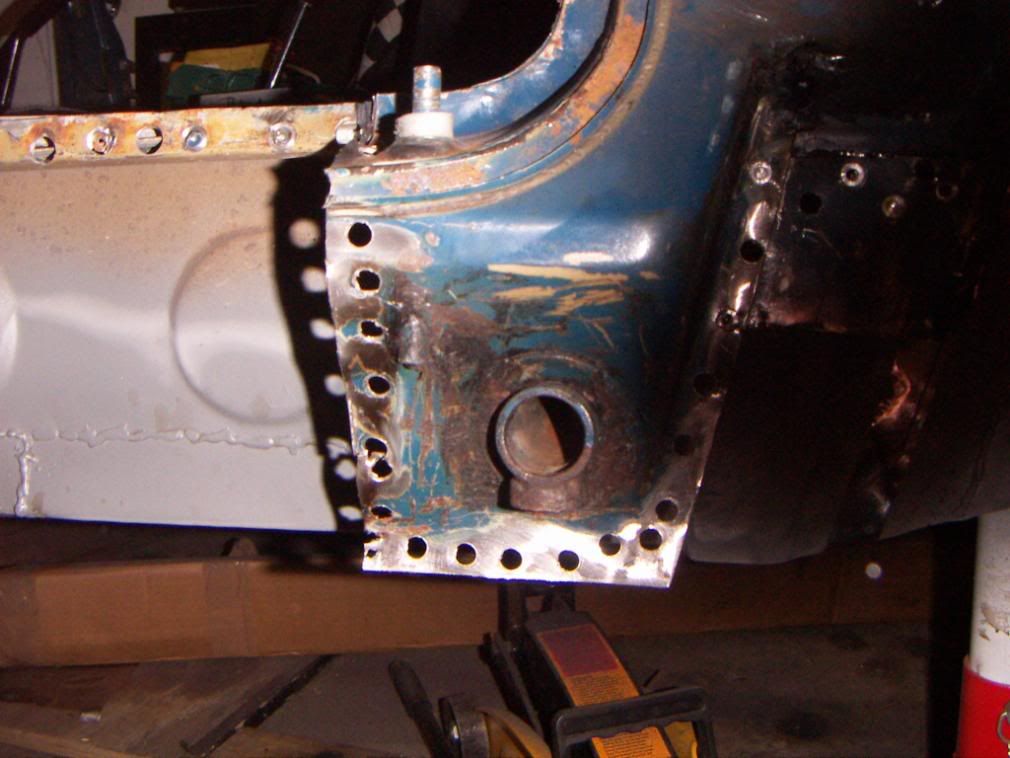
and floor section
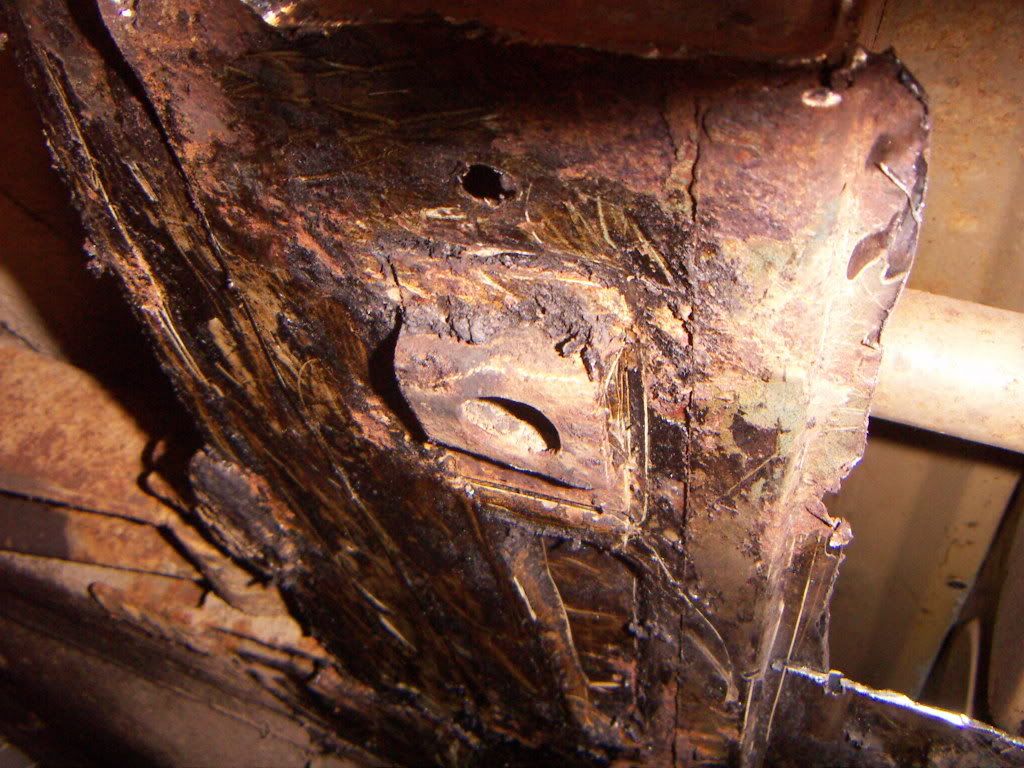
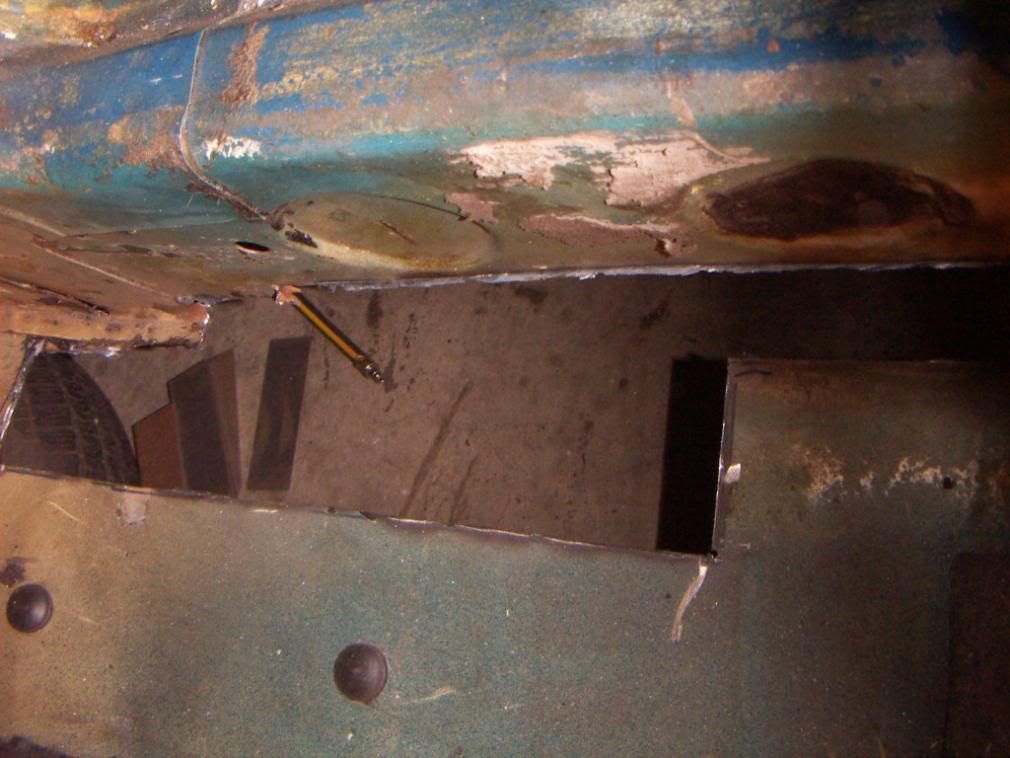
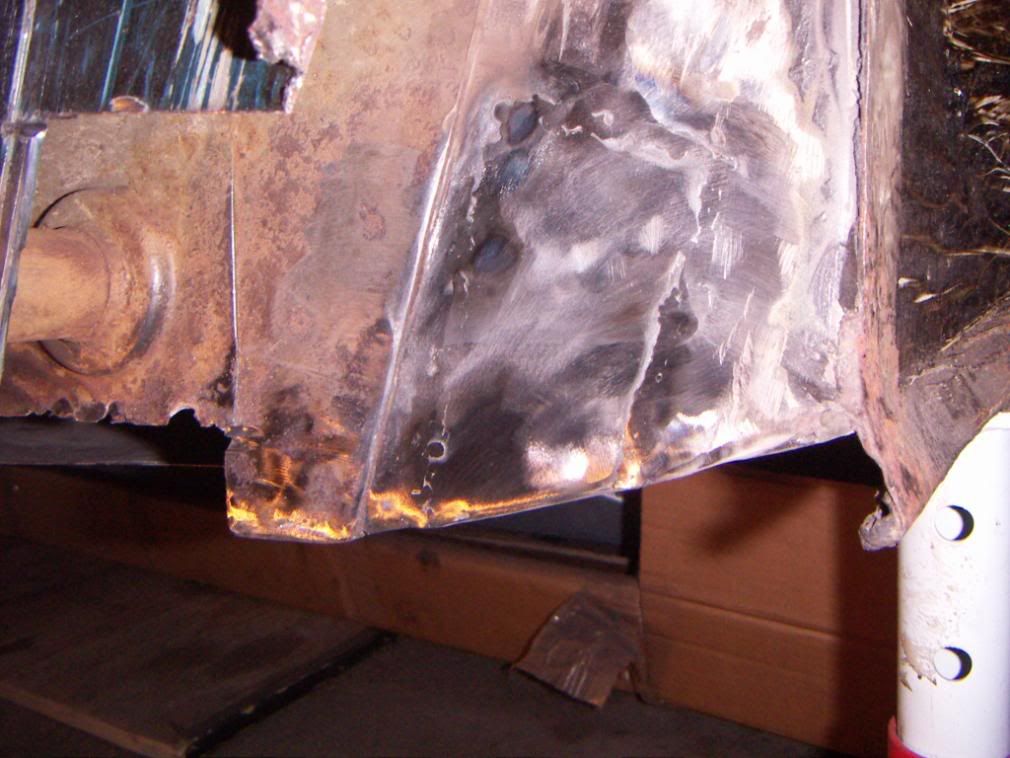
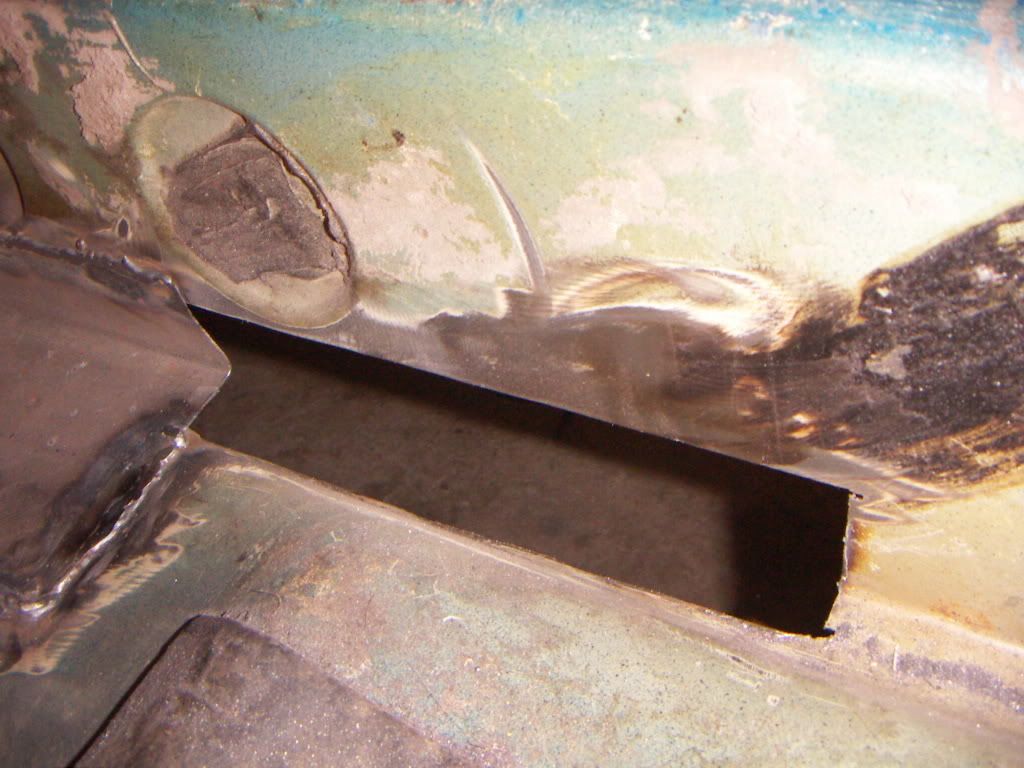
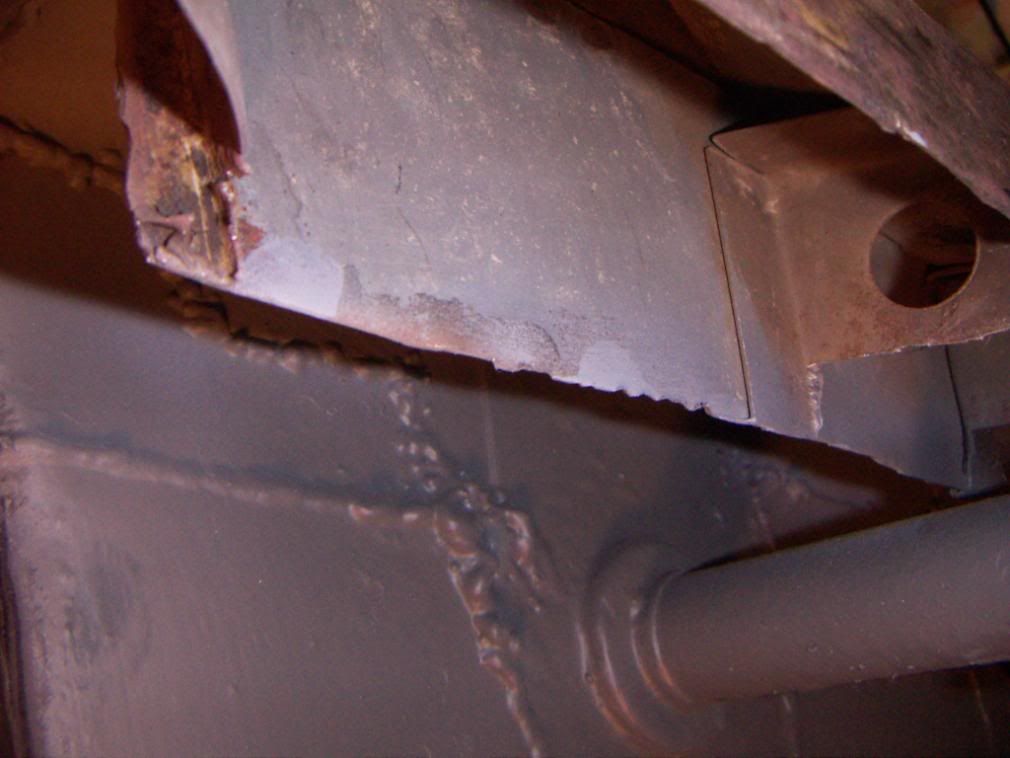
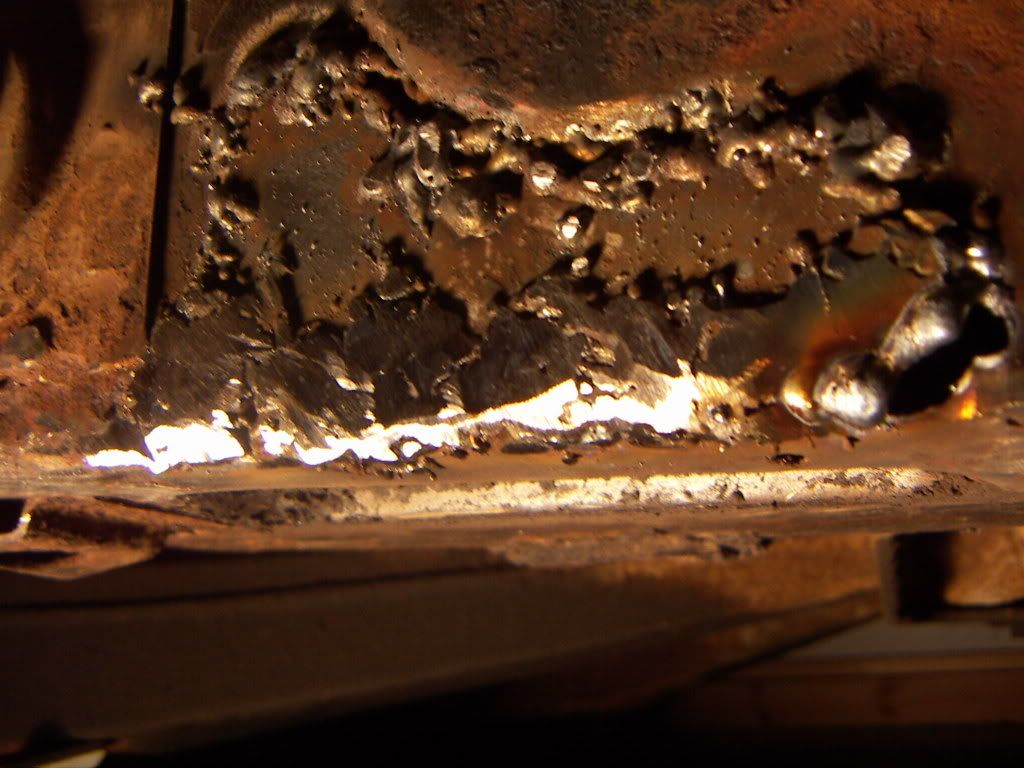
i (foolishly) decided to repair the small hole in the inner wing, which blew the hole bigger.... resulting in me trying to weld a patch to it:
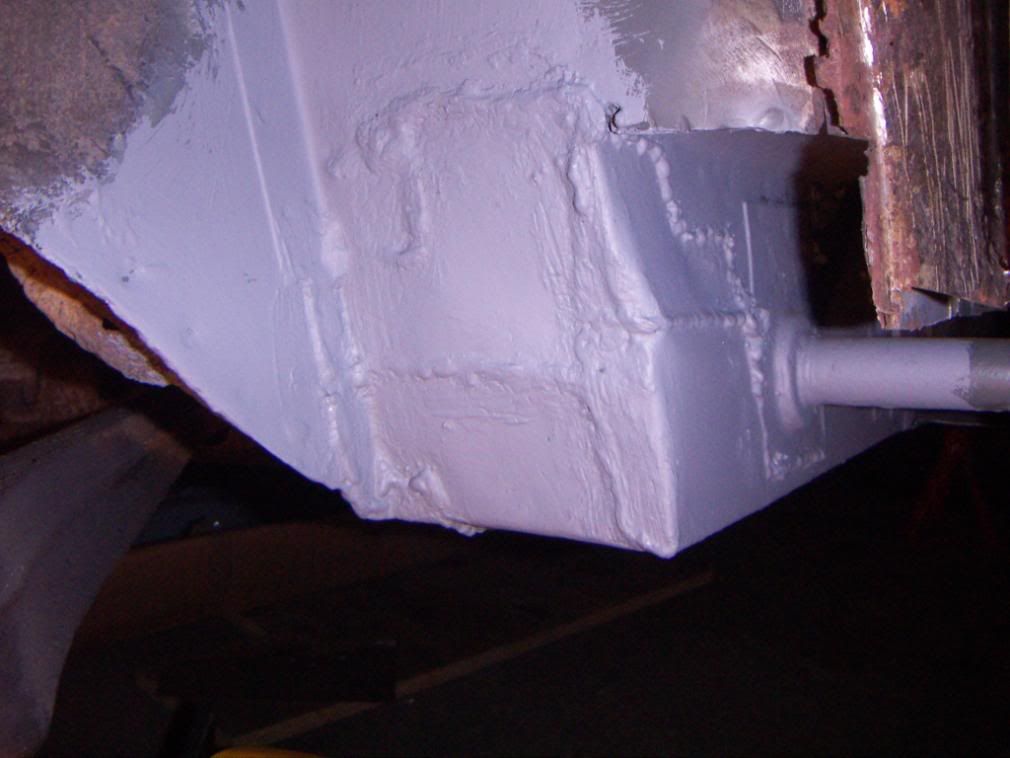
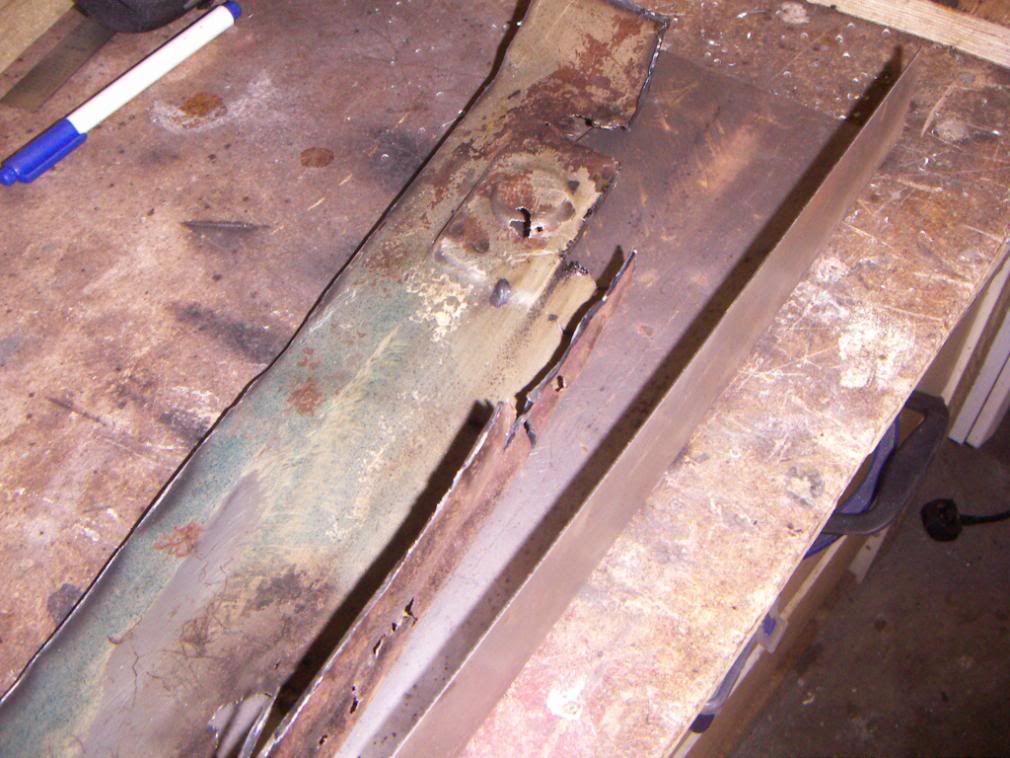
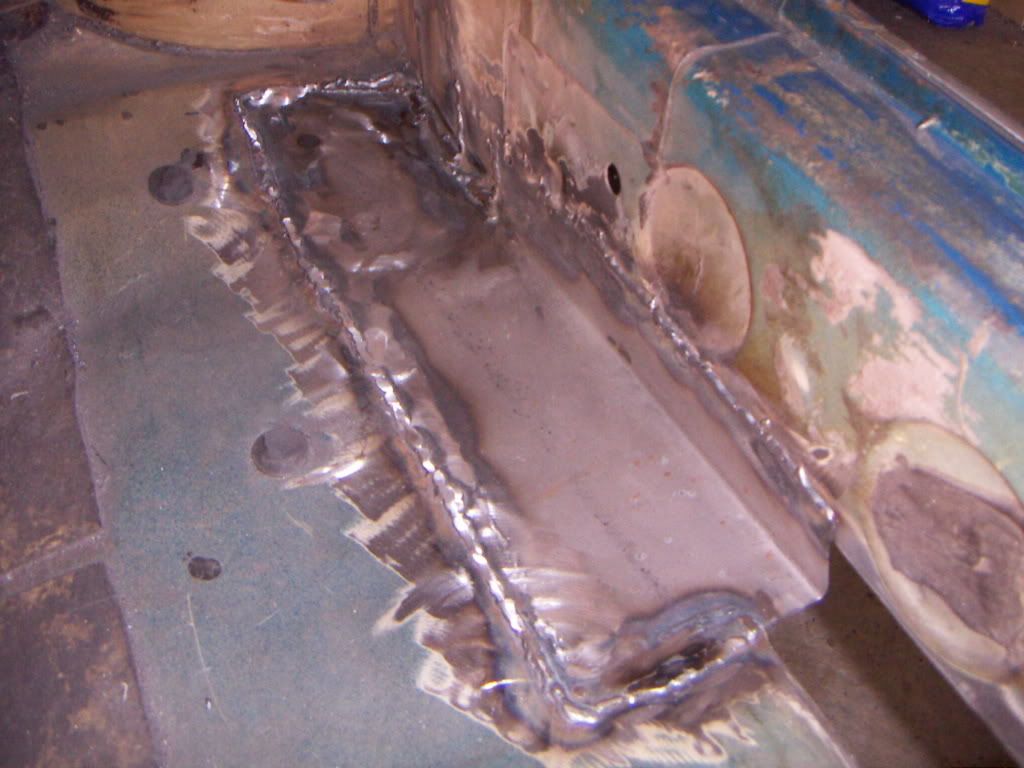
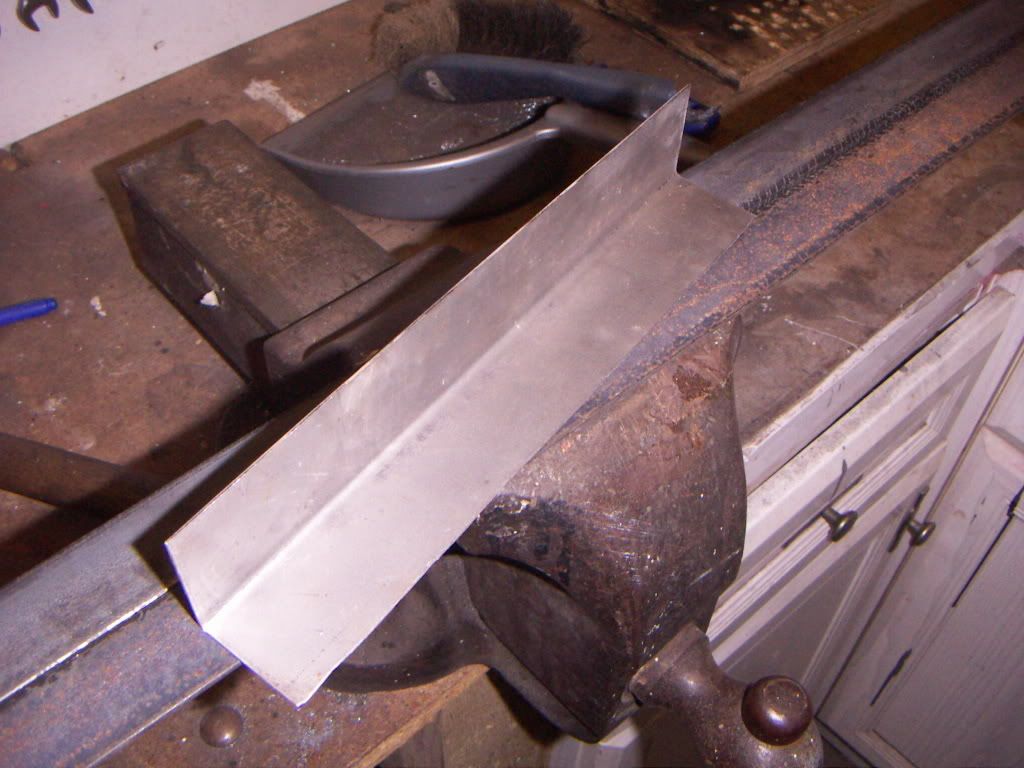
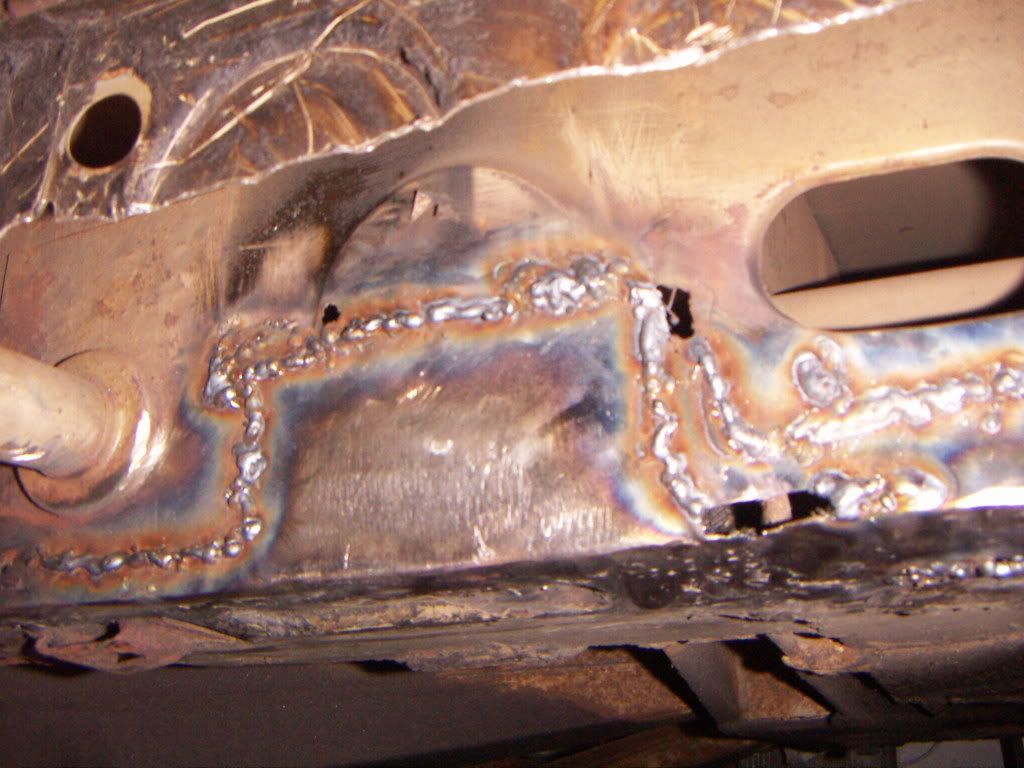
i then realised that in cleaning the sill back to bright metal i had given it the consistency of tin foil. so i decided to hack it back to good metal and weld in some patches. which i did:
]

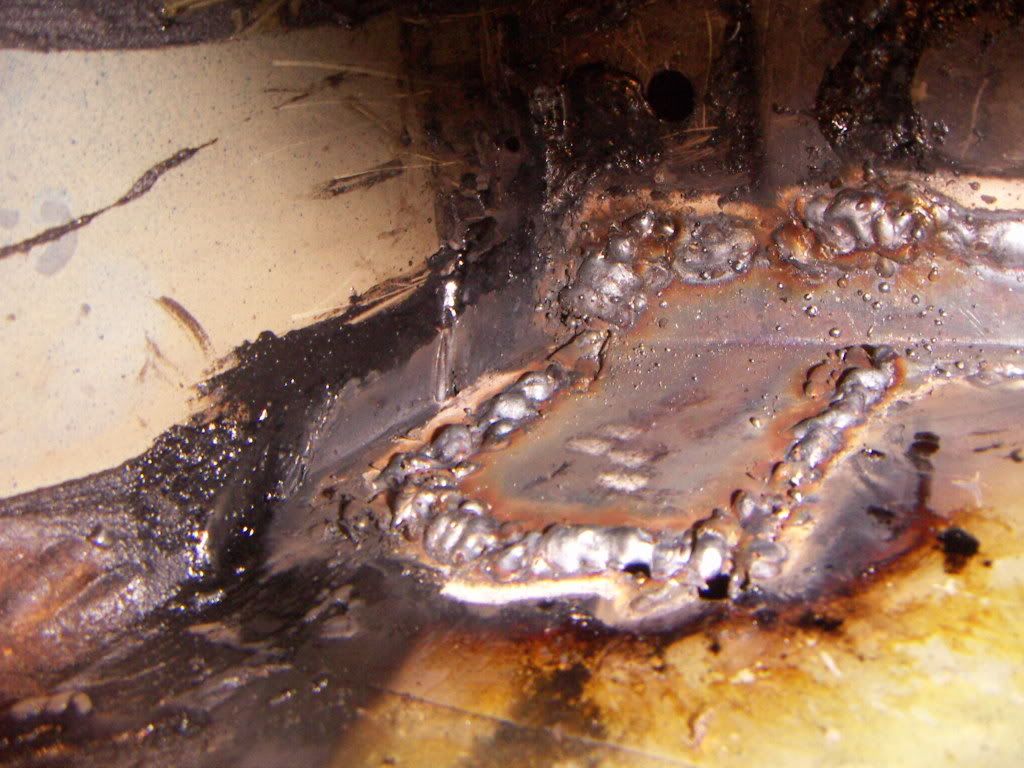
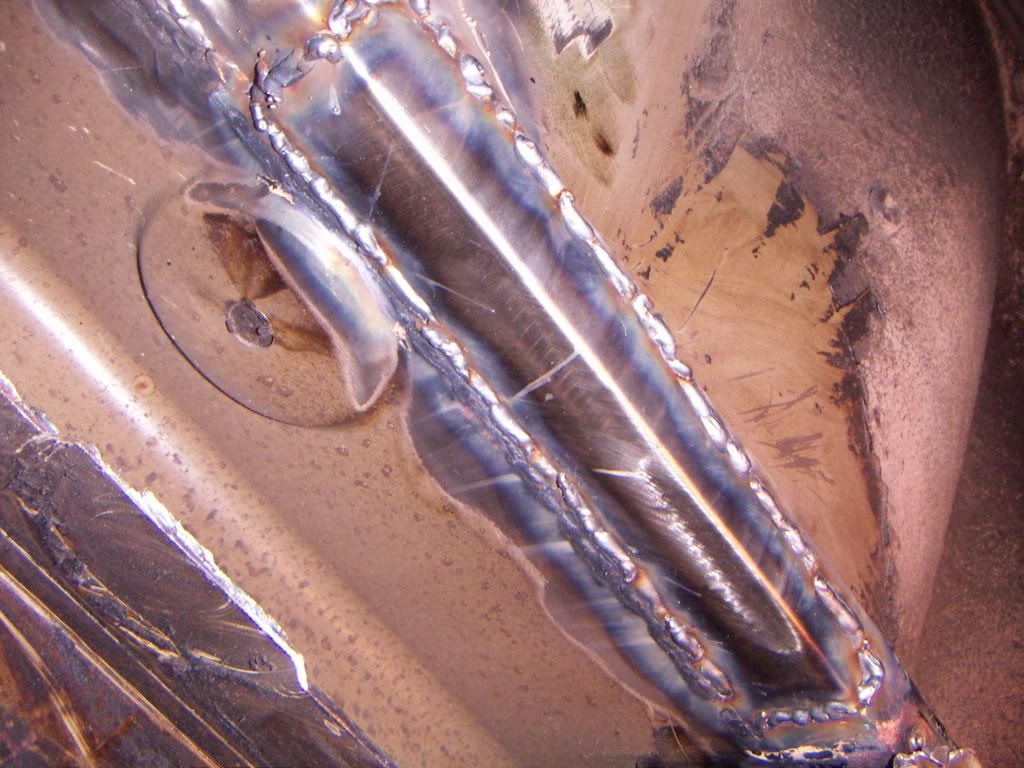
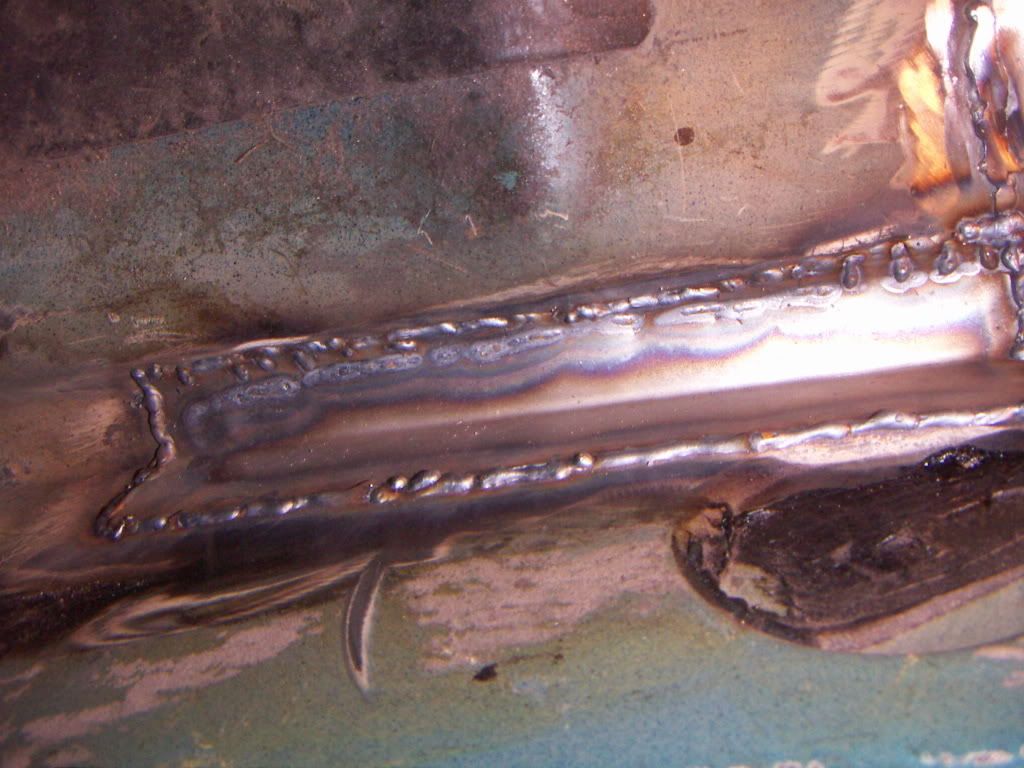
pretty eh? i was still blowing hole in the car, and not penetrating the new metal. i was advised that this was due to trying to weld 1.8mm plate to 1mm steel. what a dork
so i non too cheerfully cut the whole lot out, and a bit more and tried again.
it has been a very steep learning curve. i have no experience, bought a MIG welder and grinder..... and set too!!
I starterd the project at the OS rear sill area which was very badly corroded.
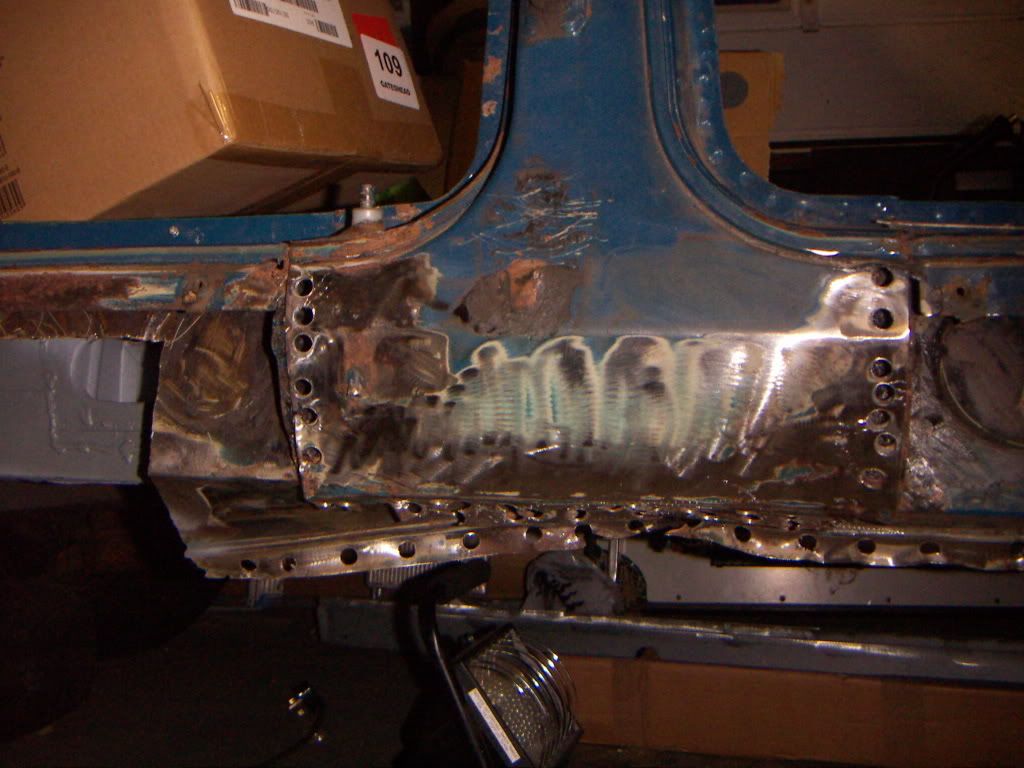
this is the condition of the cover plate:
which was removed to show a reasonably complete inner wing:
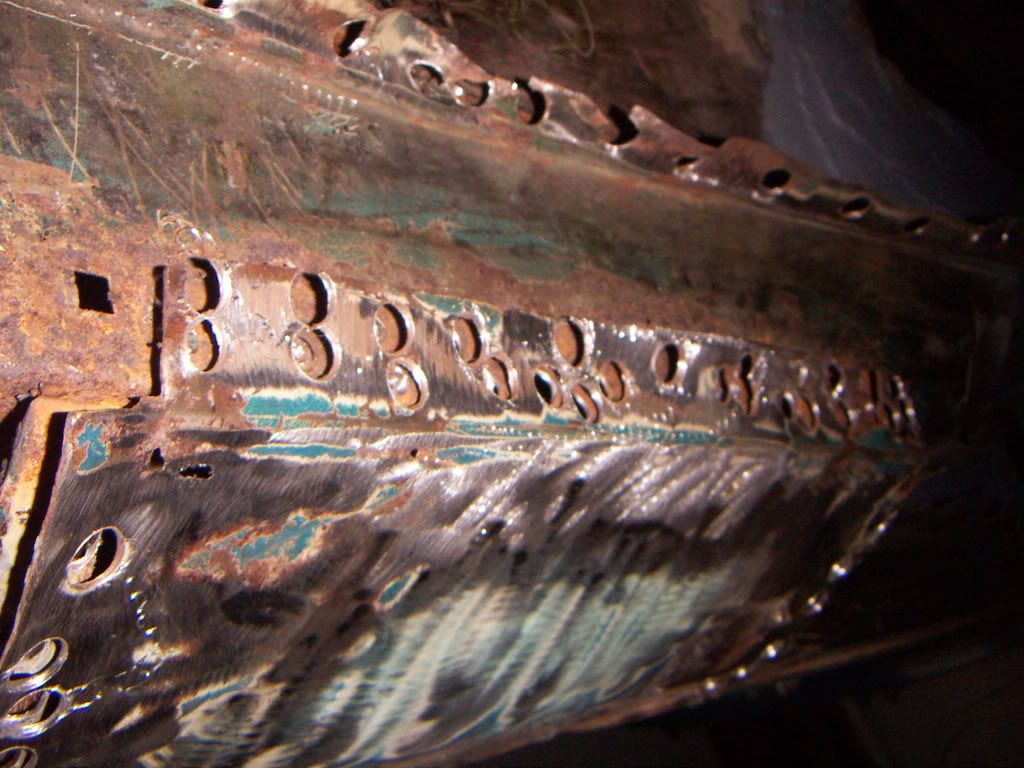
and floor section
i (foolishly) decided to repair the small hole in the inner wing, which blew the hole bigger.... resulting in me trying to weld a patch to it:
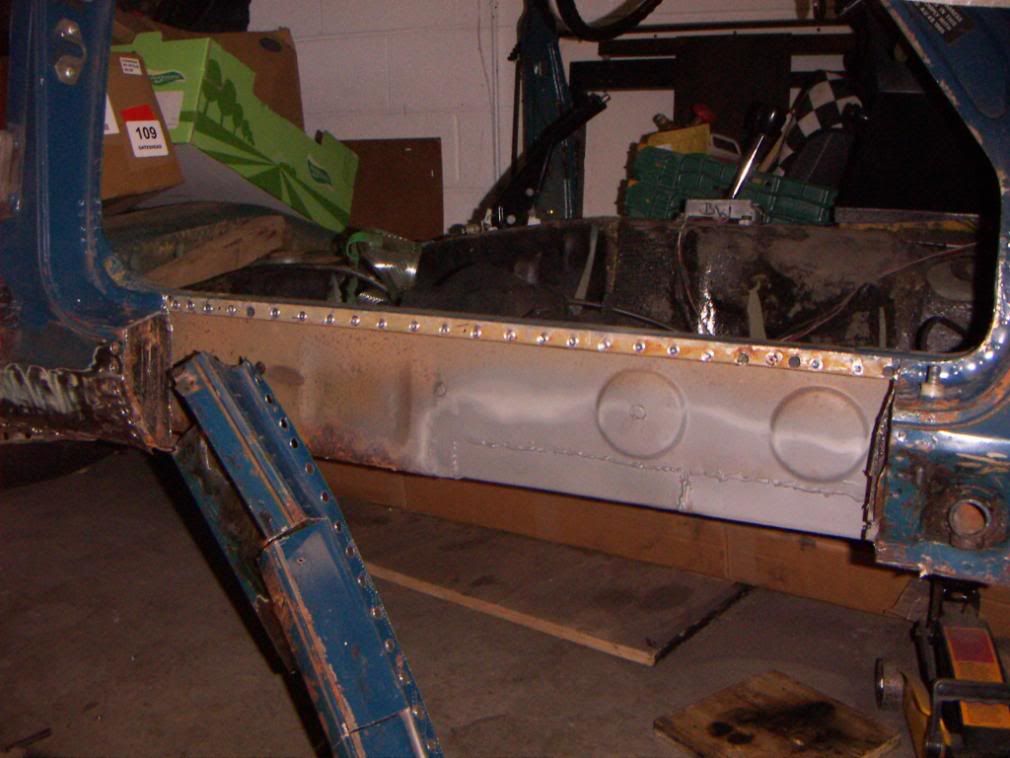
i then realised that in cleaning the sill back to bright metal i had given it the consistency of tin foil. so i decided to hack it back to good metal and weld in some patches. which i did:
]
pretty eh? i was still blowing hole in the car, and not penetrating the new metal. i was advised that this was due to trying to weld 1.8mm plate to 1mm steel. what a dork
so i non too cheerfully cut the whole lot out, and a bit more and tried again.