1975 2200 SC auto project.

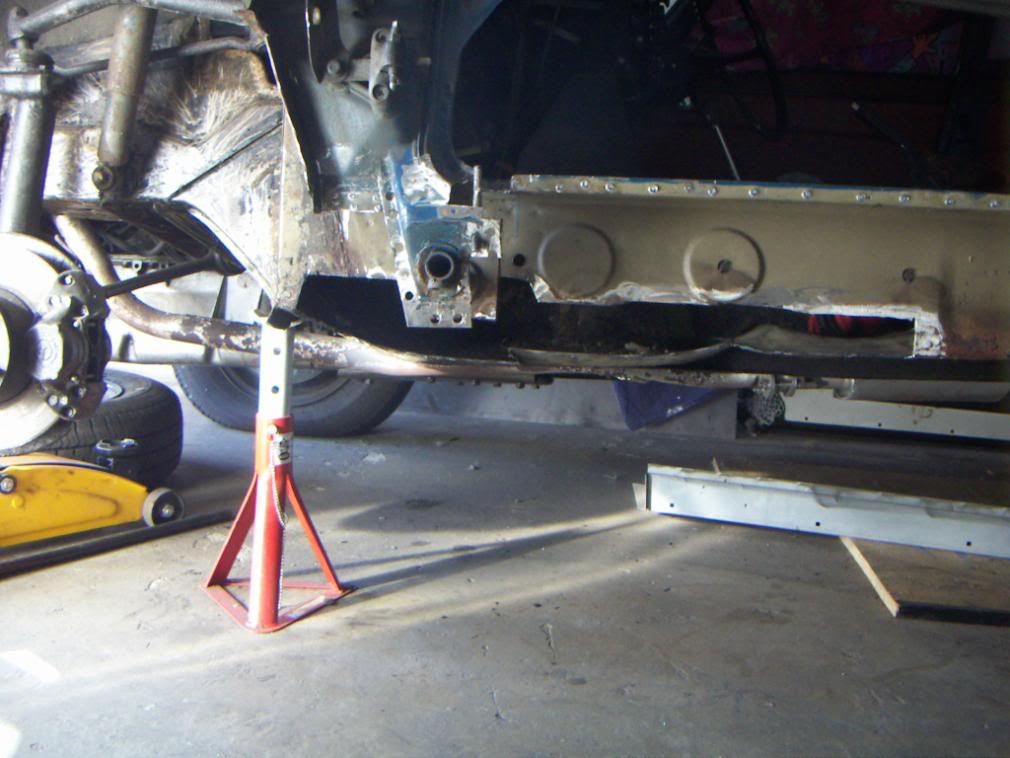
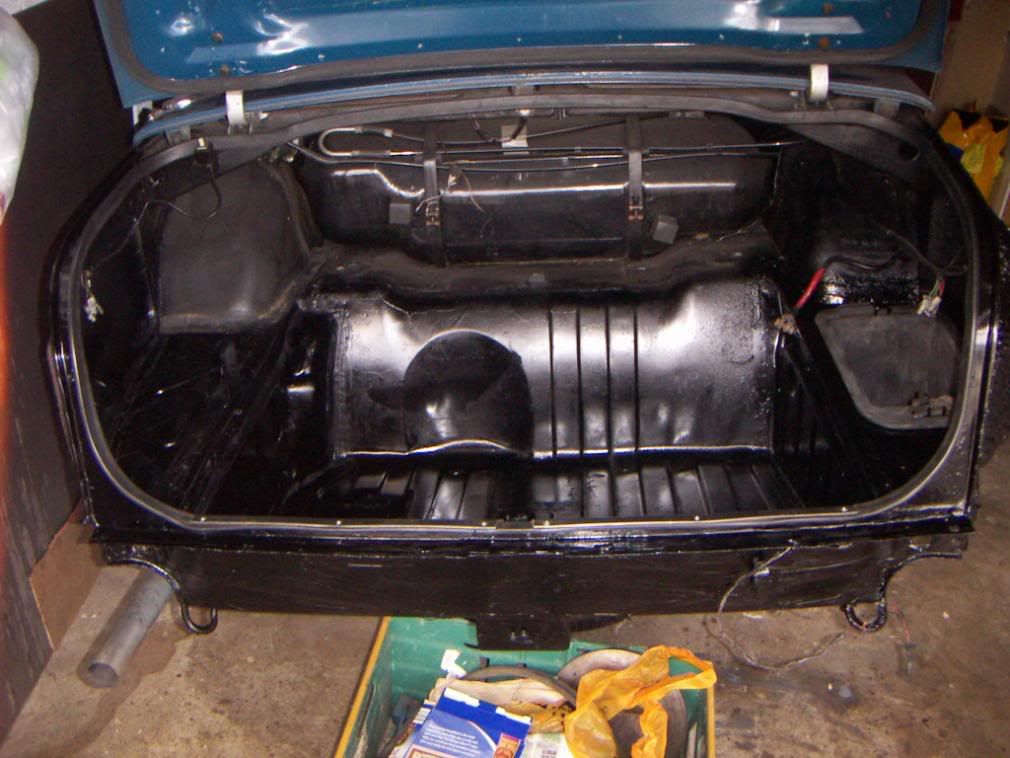
A momentous occasion! The rover base unit repairs are completed on one side. The car has been wheeled out of the garage and is now back in for work to commence on the passenger side.

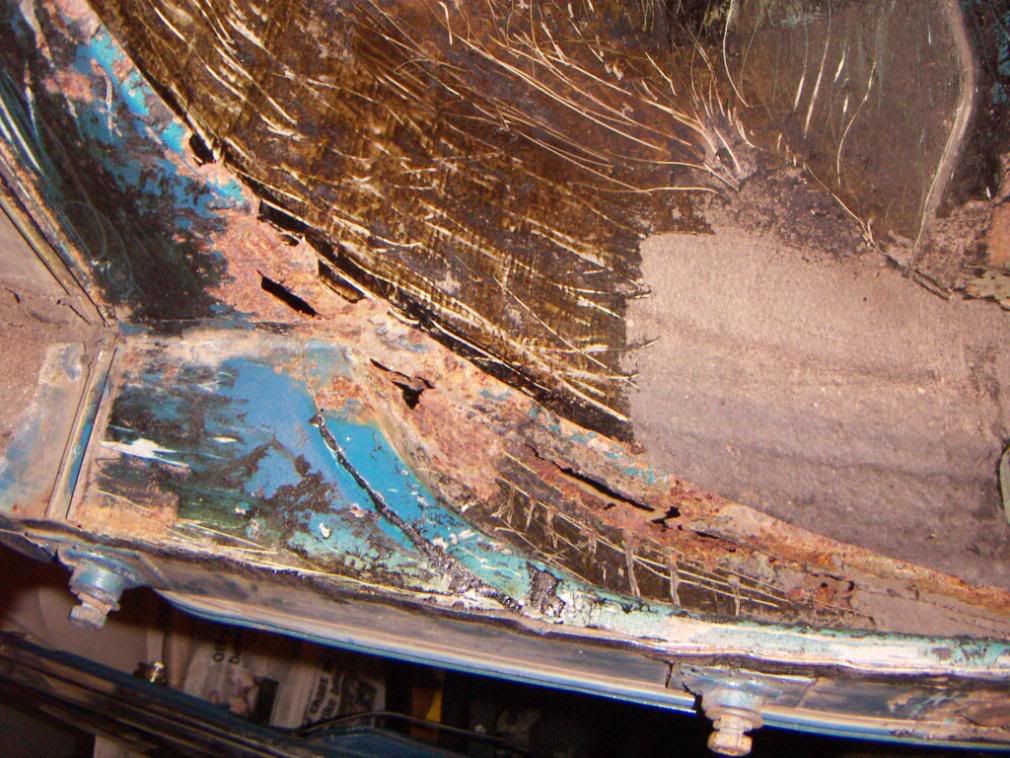
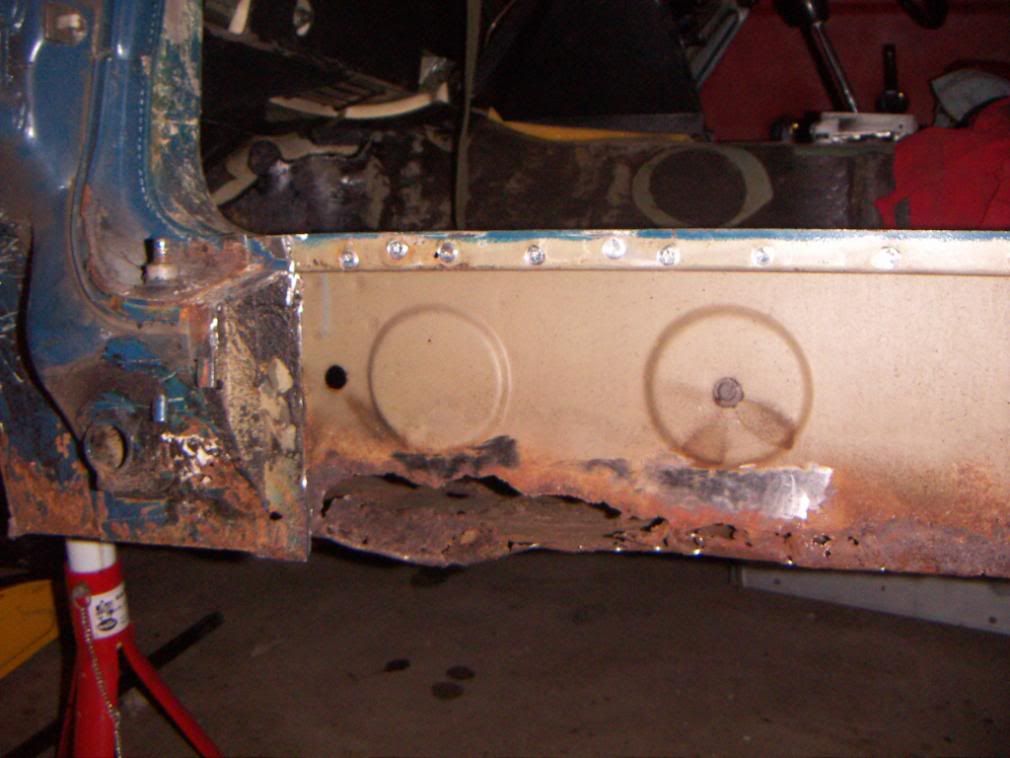
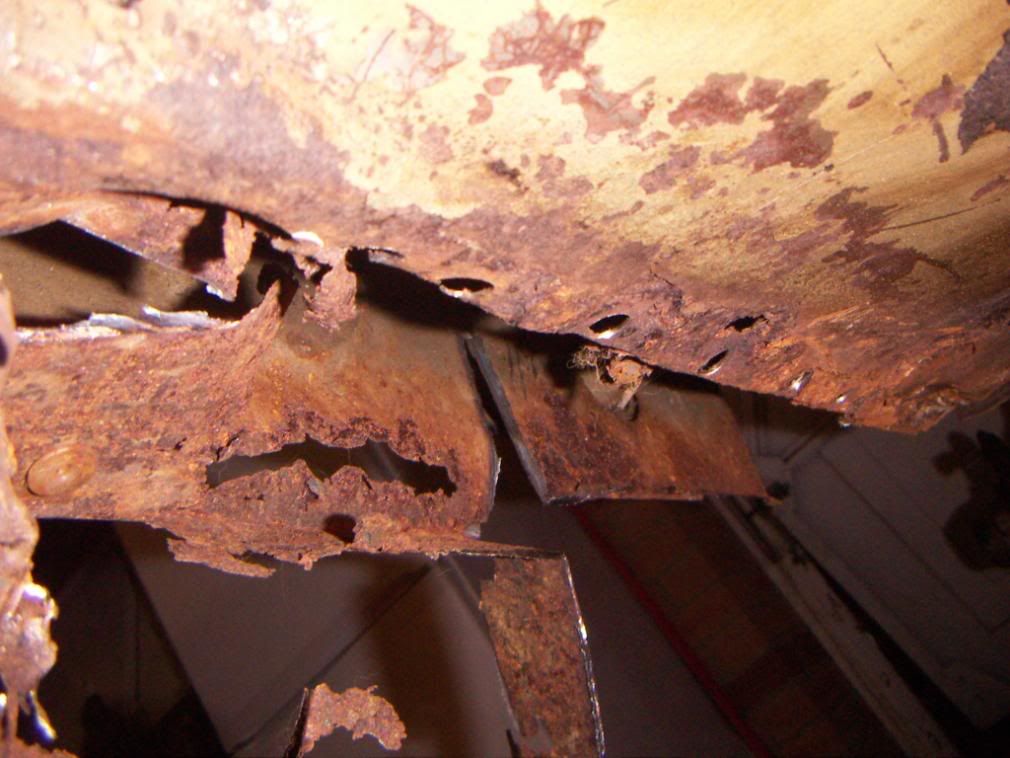
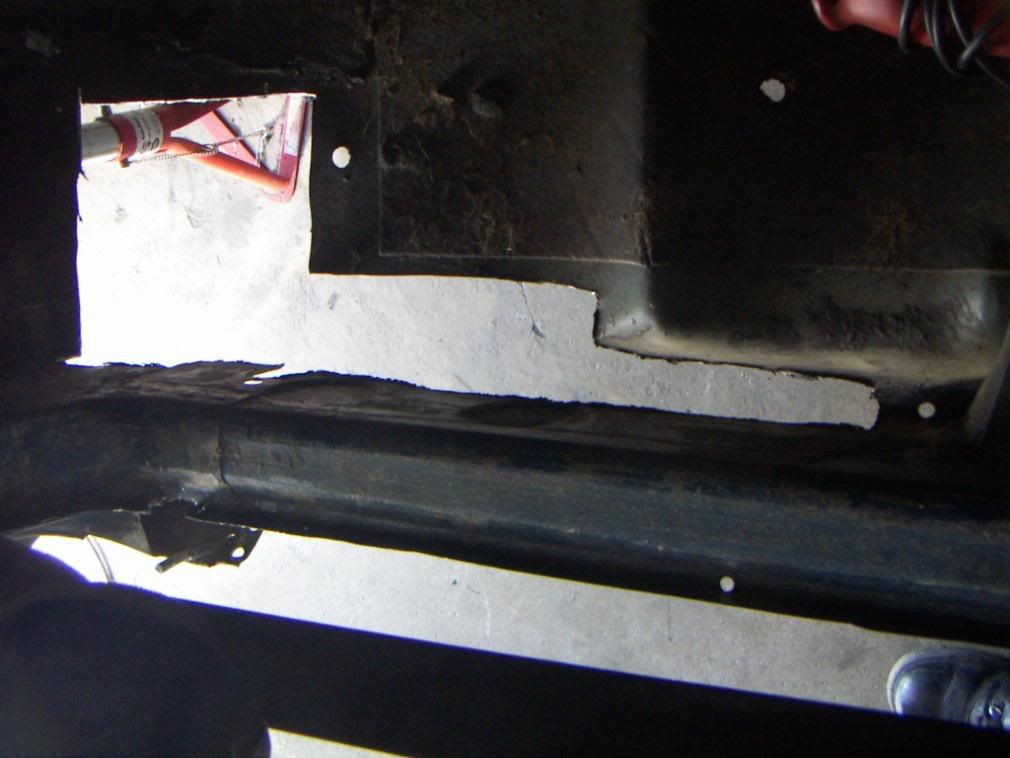
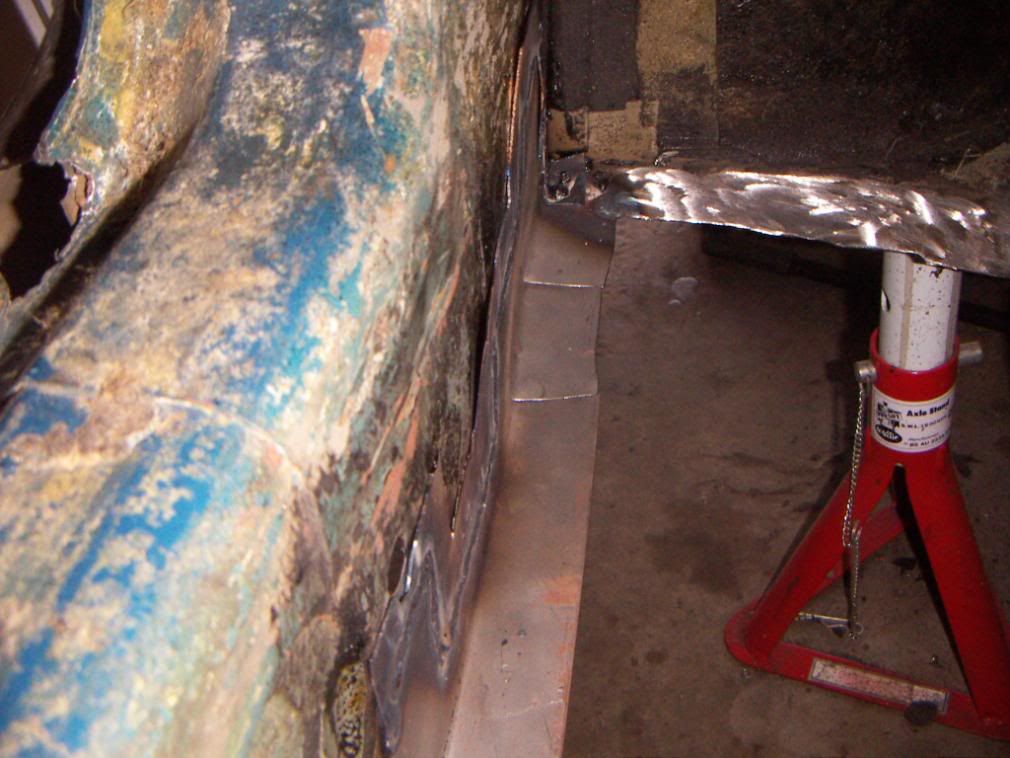
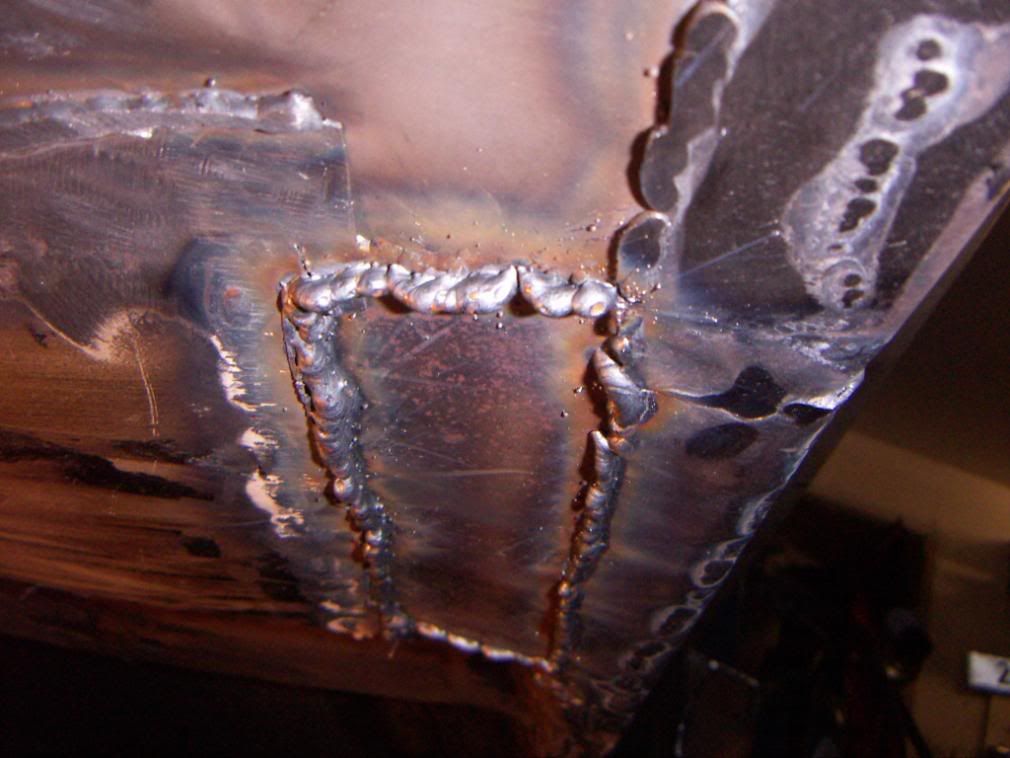
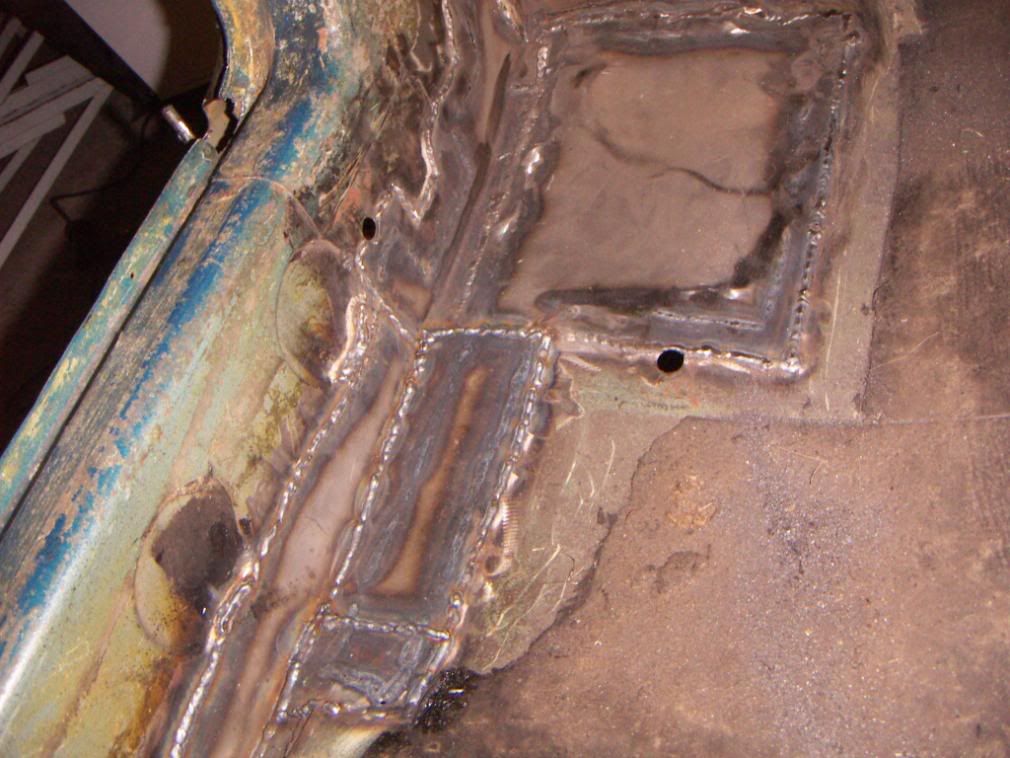
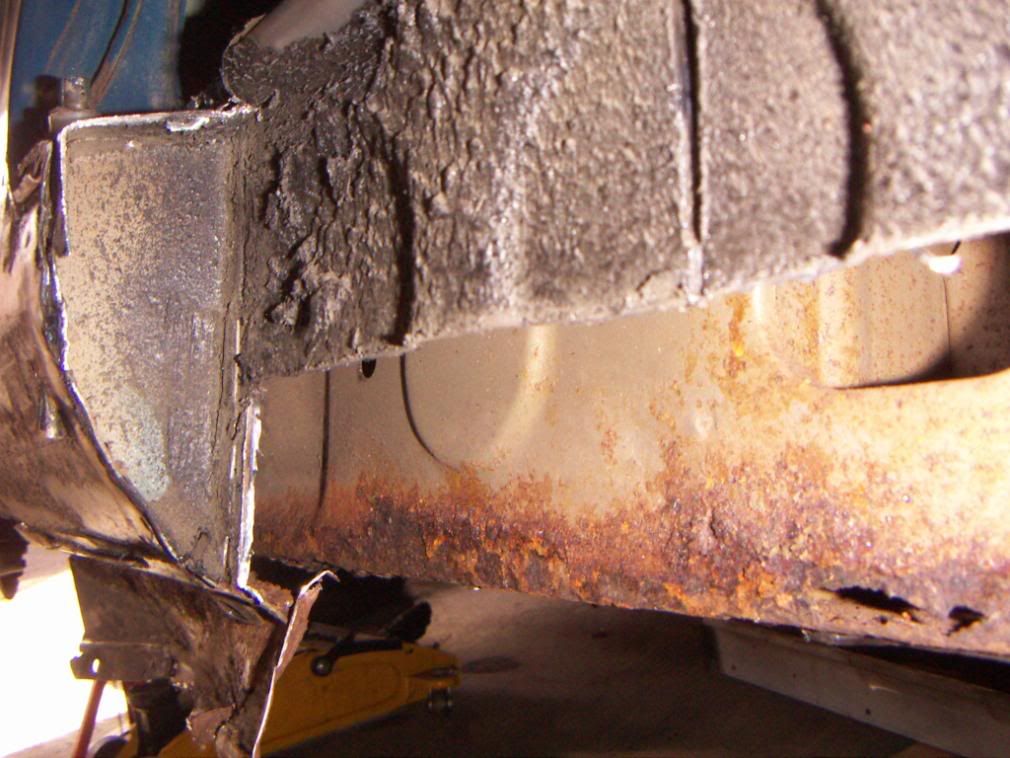
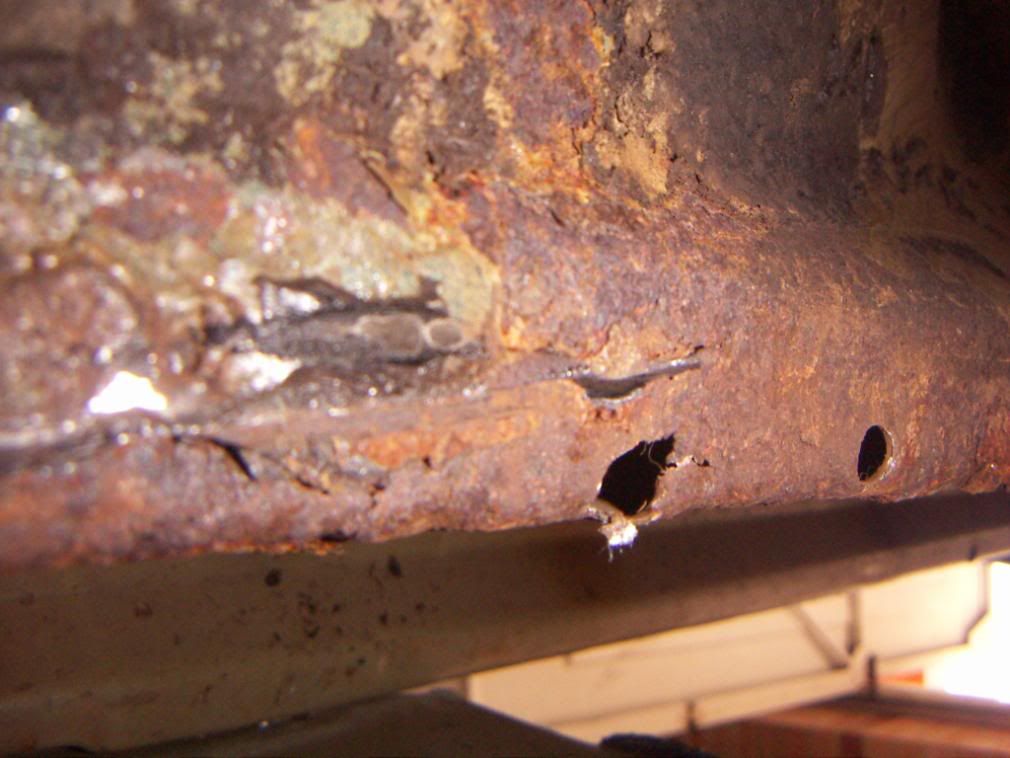
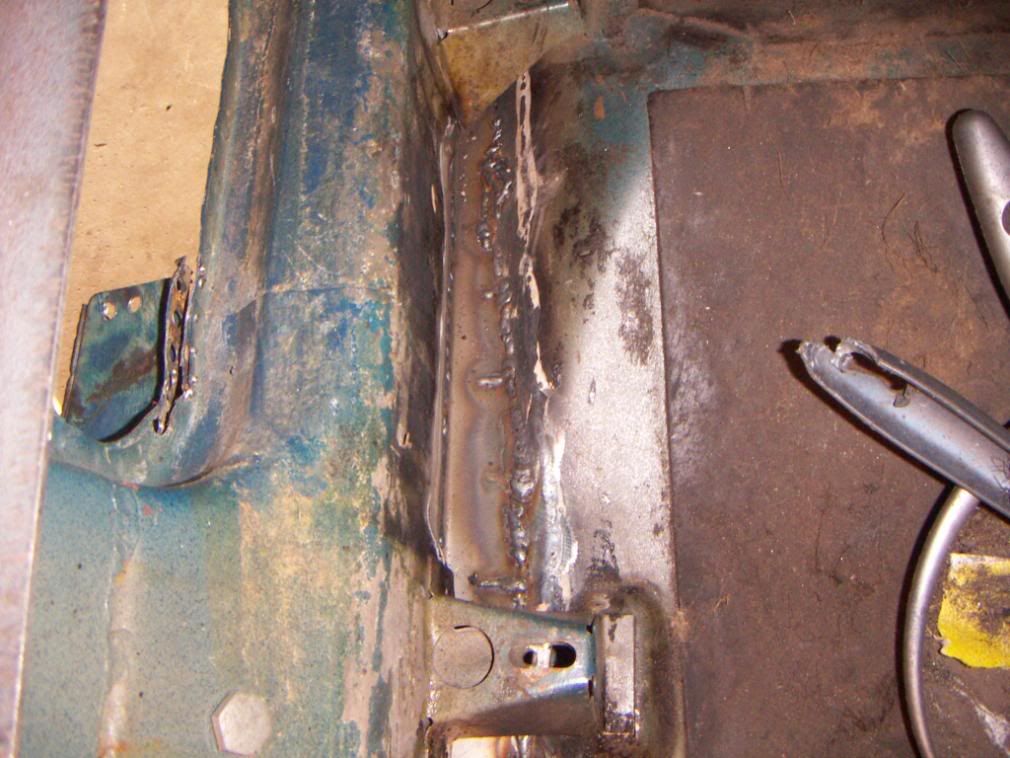
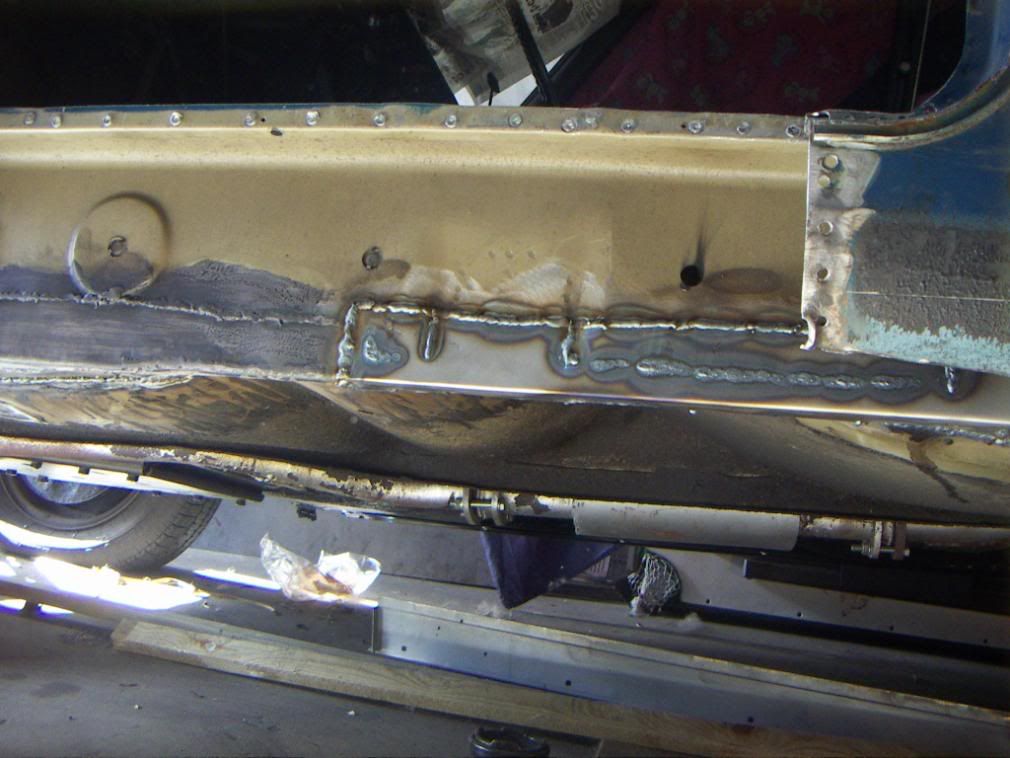
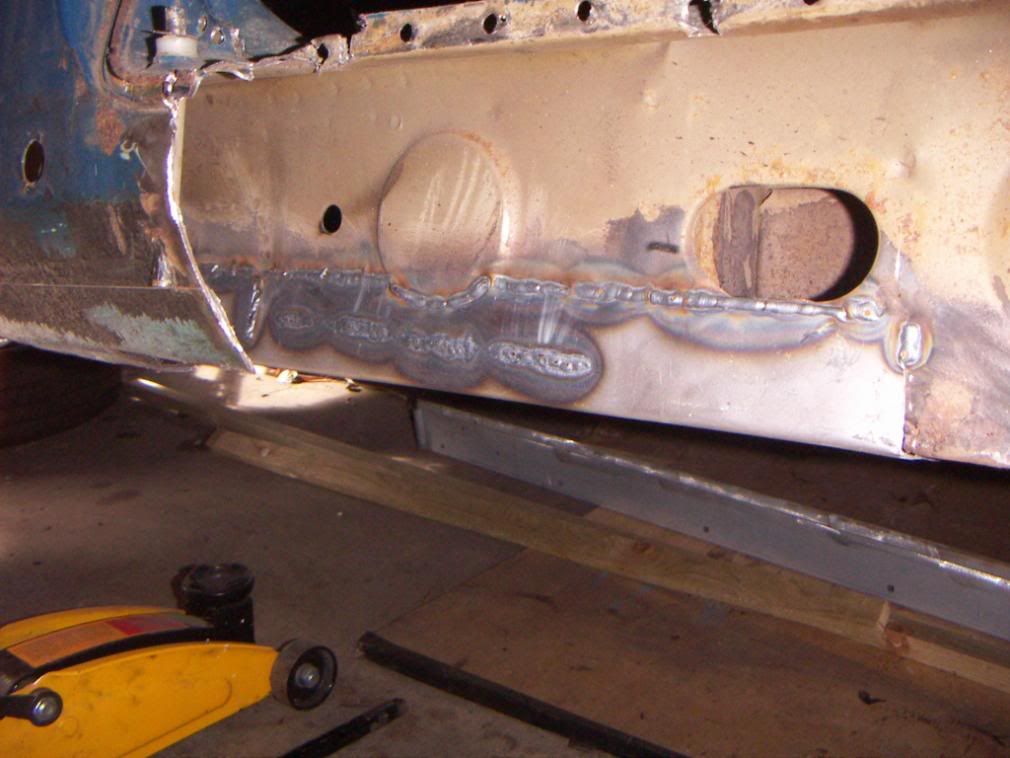
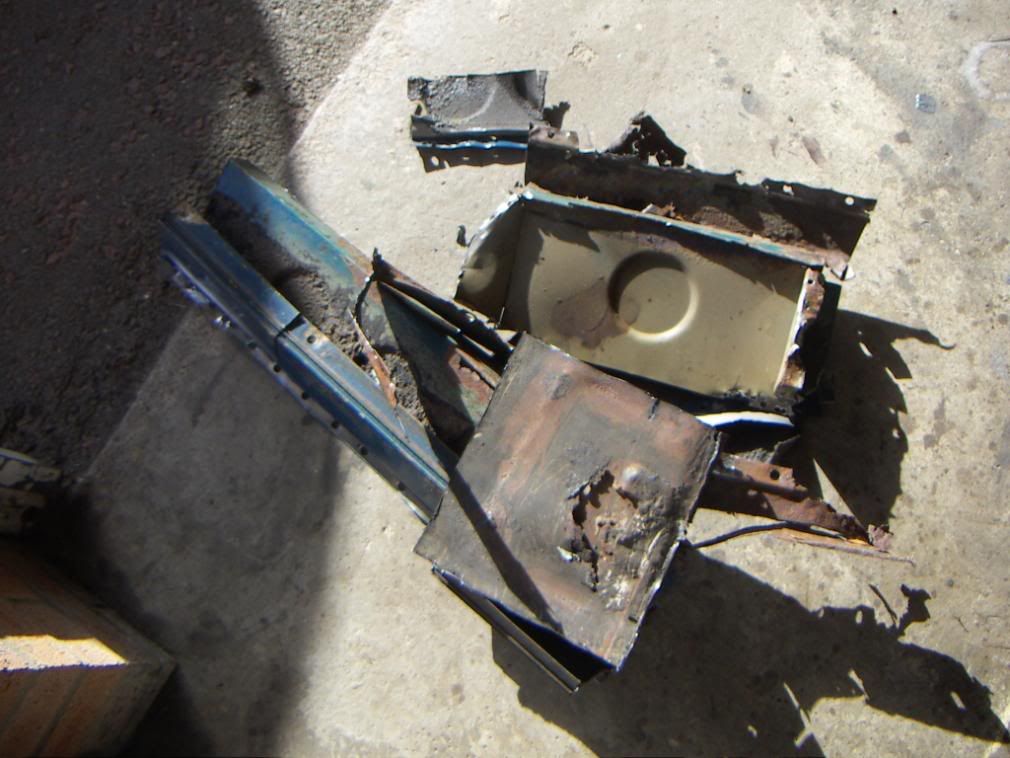
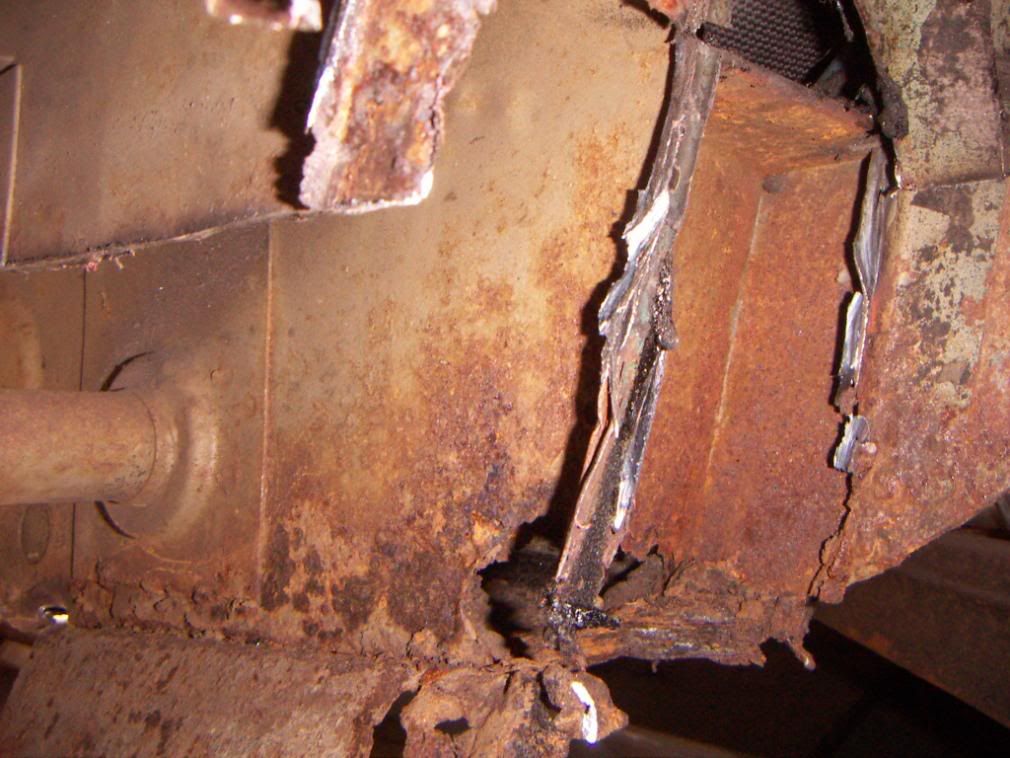
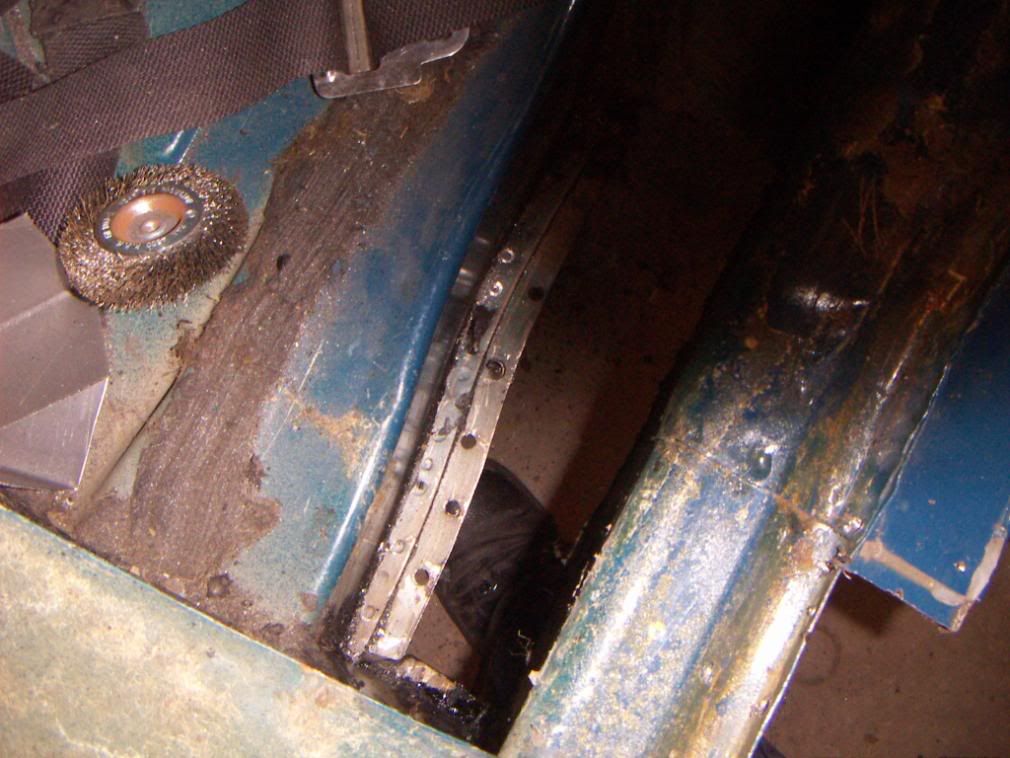
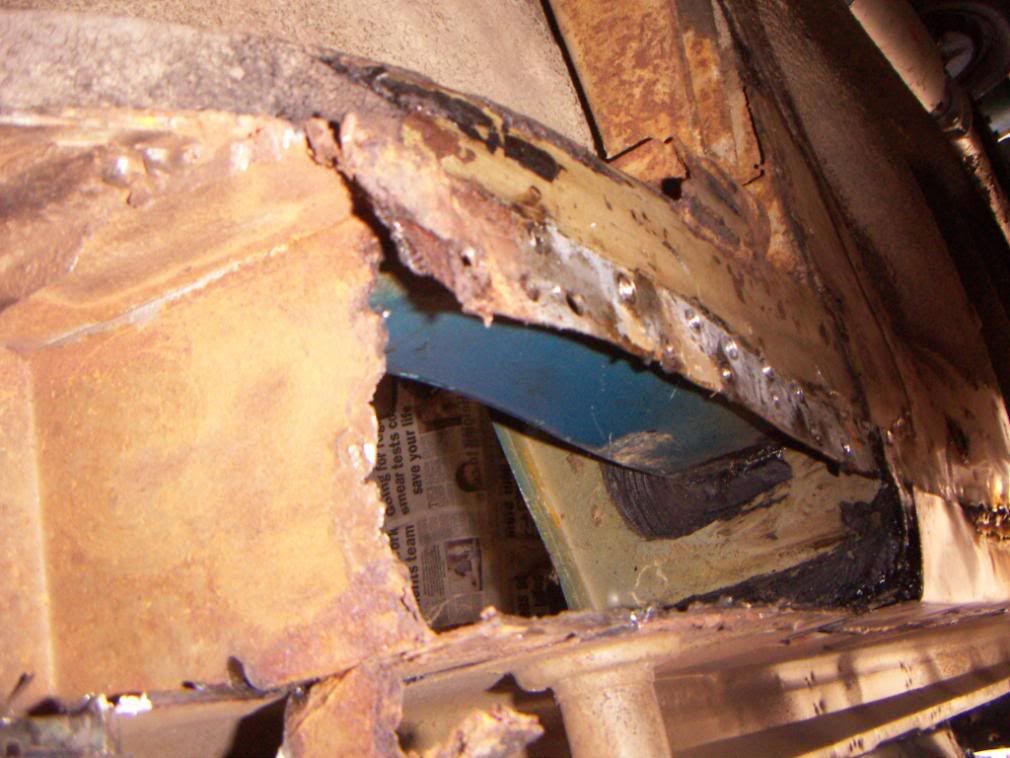
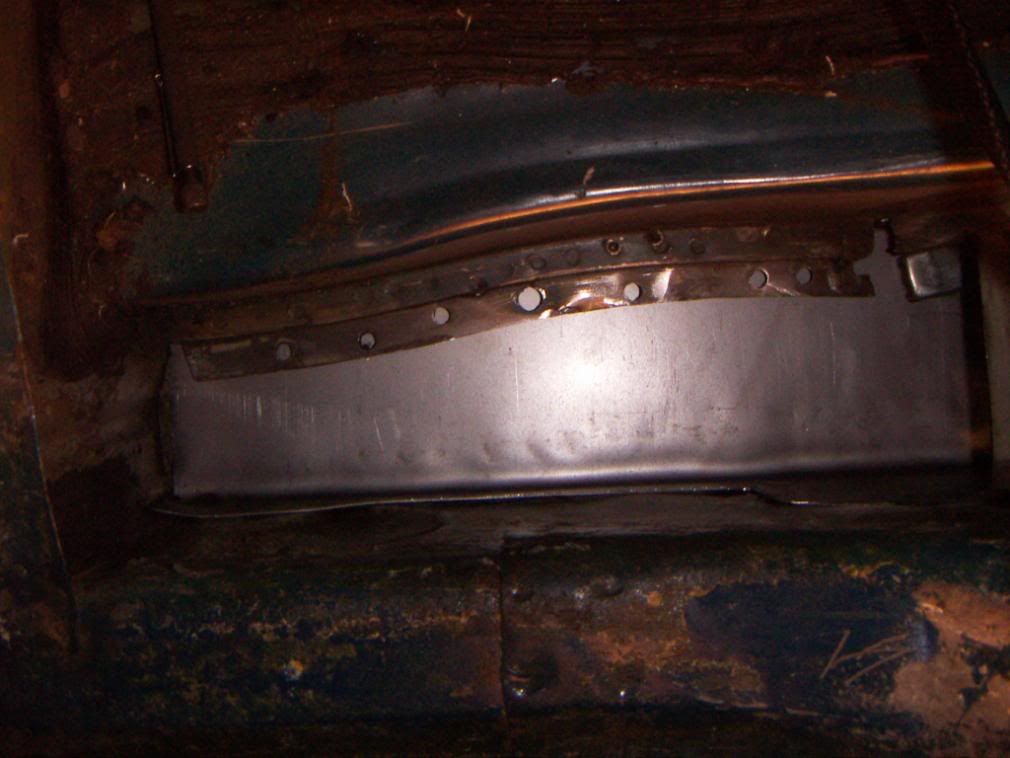
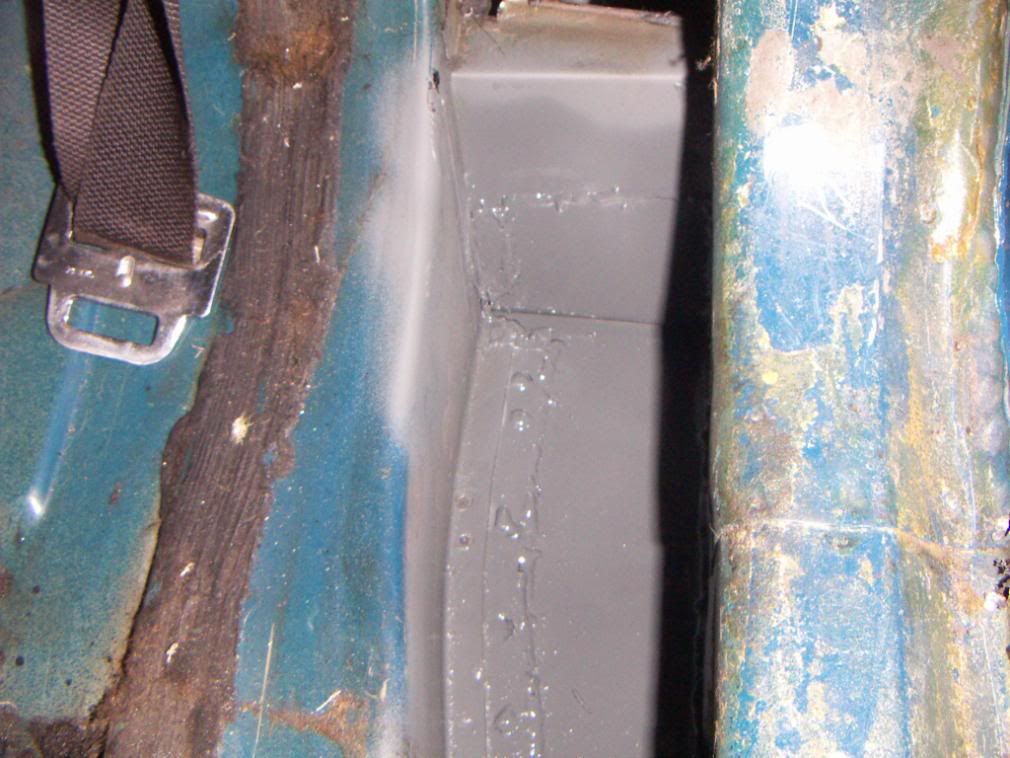
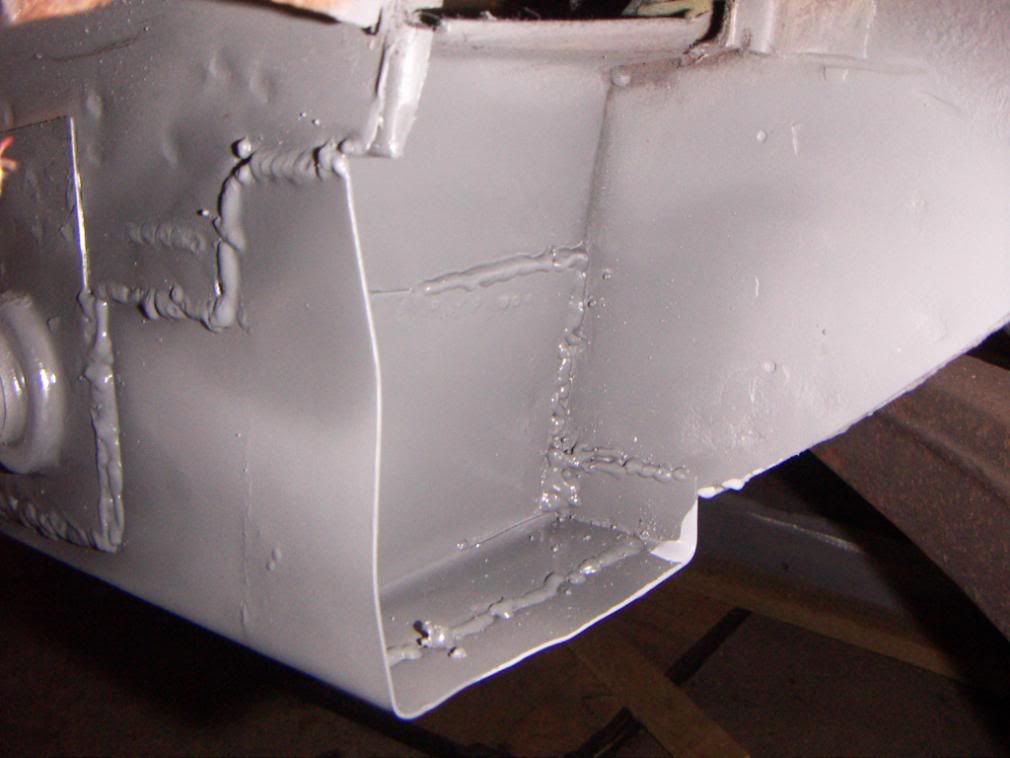
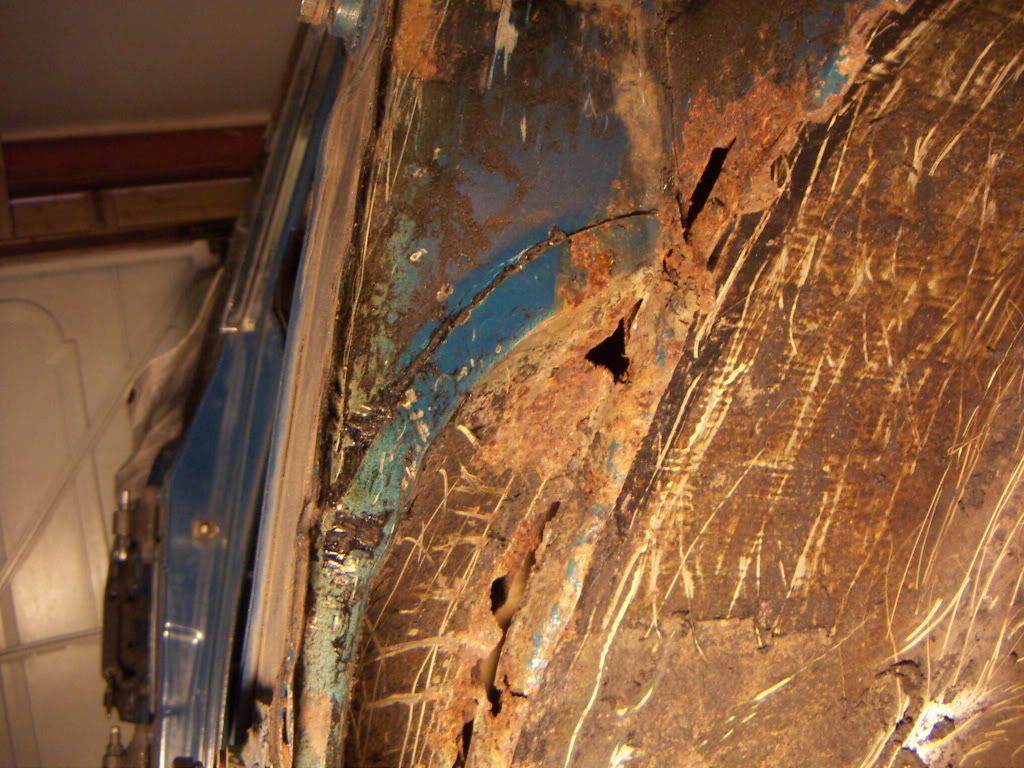
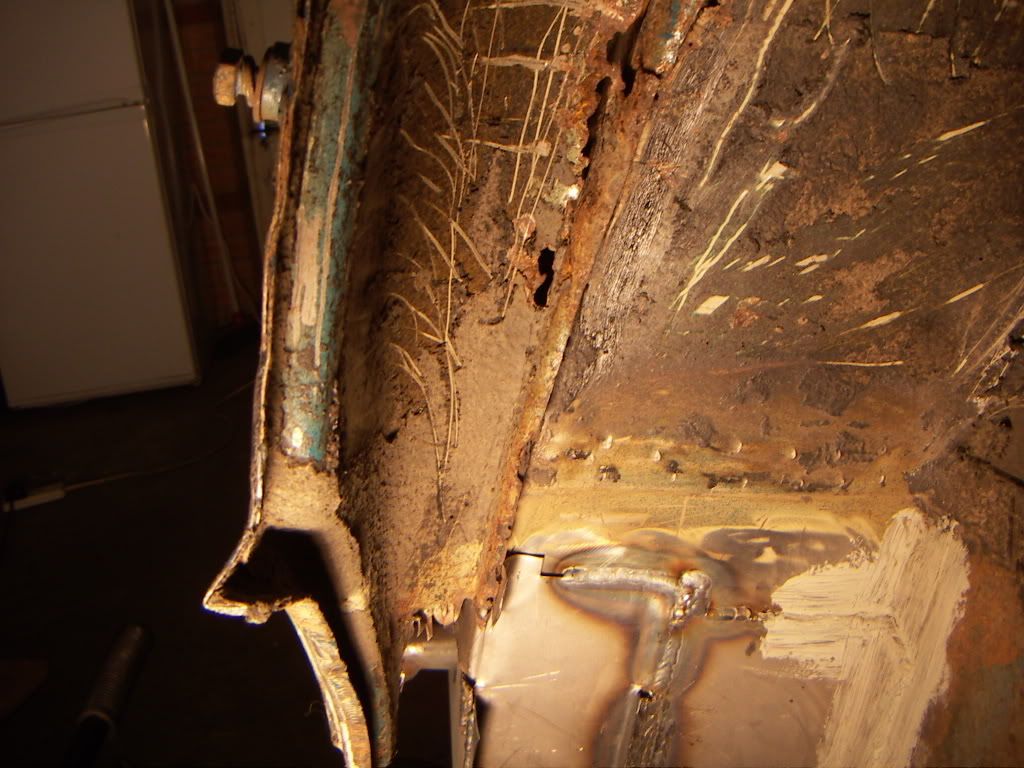
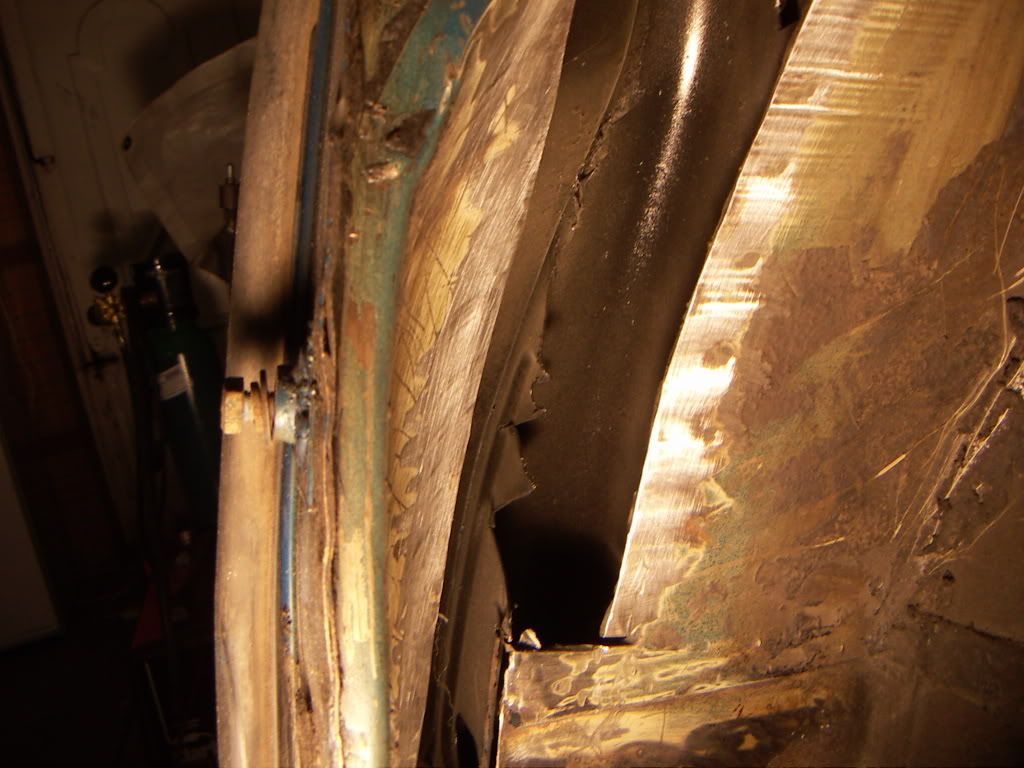
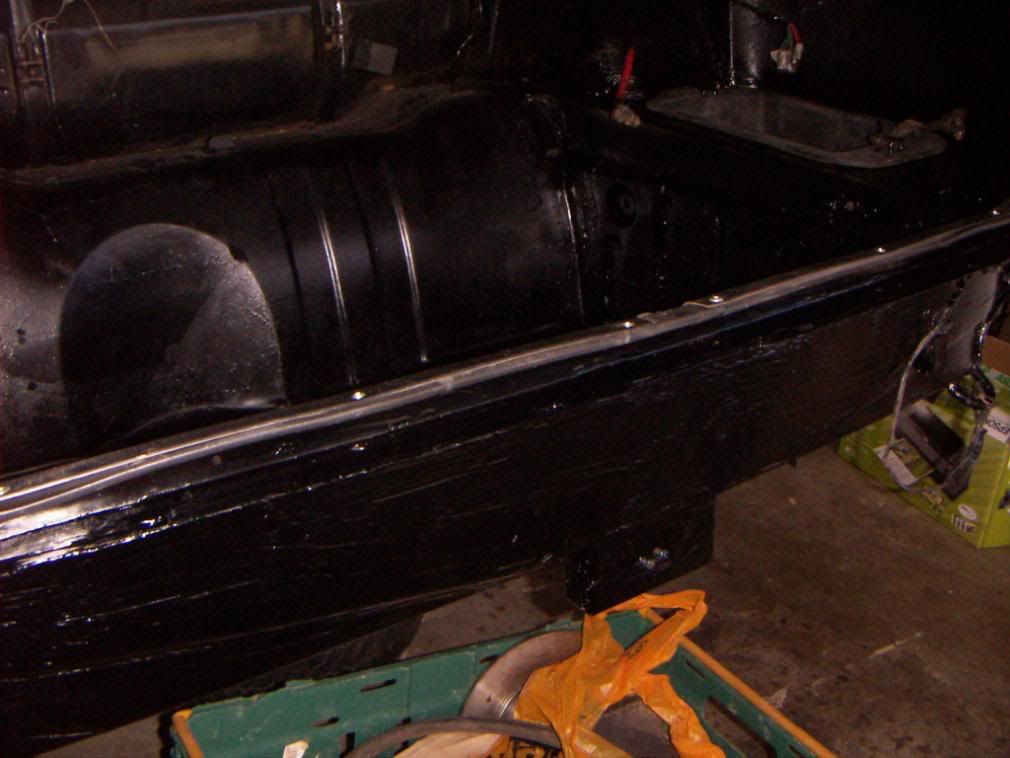
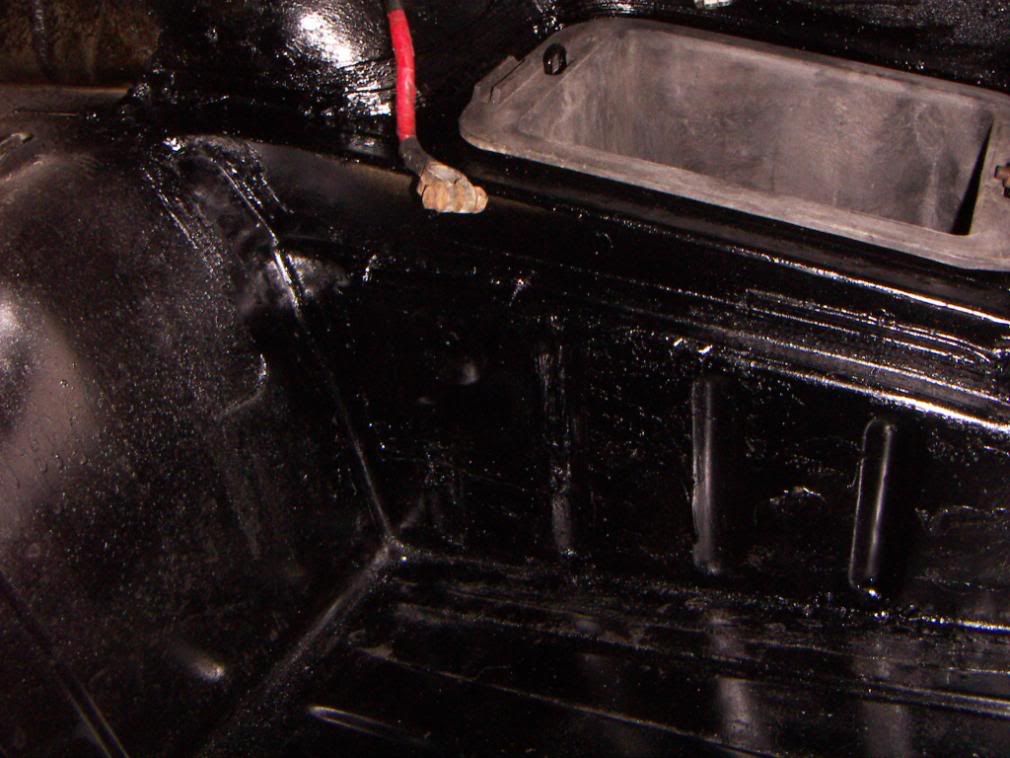
Some pictures of the repaired boot. The rusted areas were chopped out and replaced.

boot1.jpg


boot2.jpg


boot5.jpg


boot6.jpg


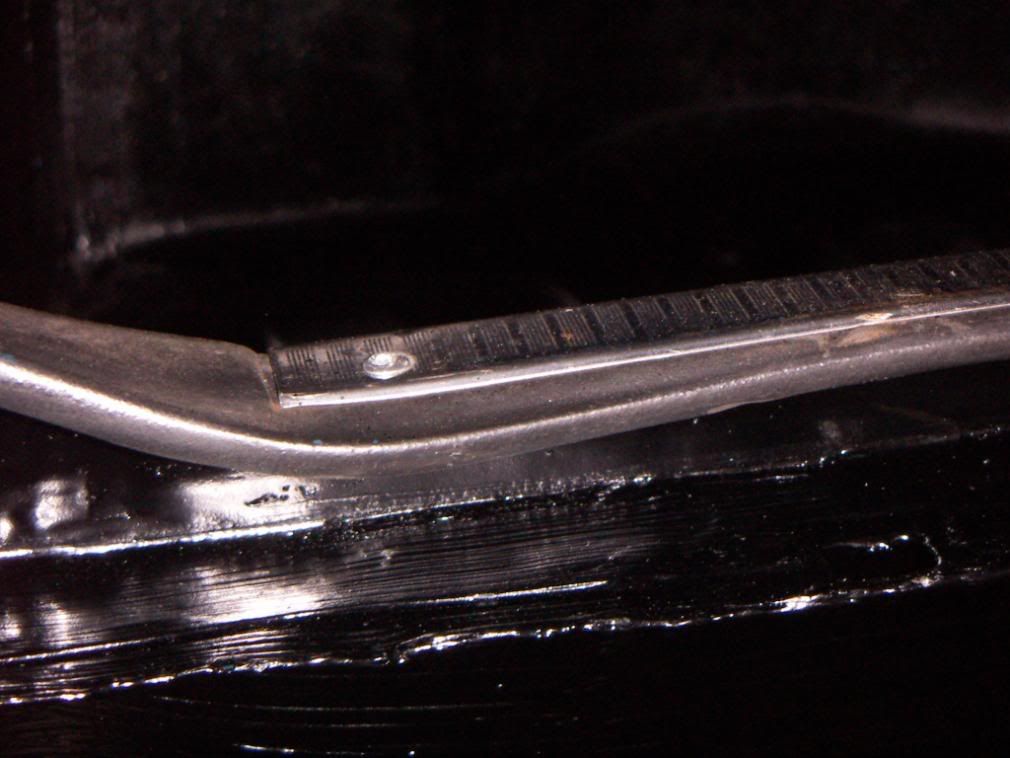
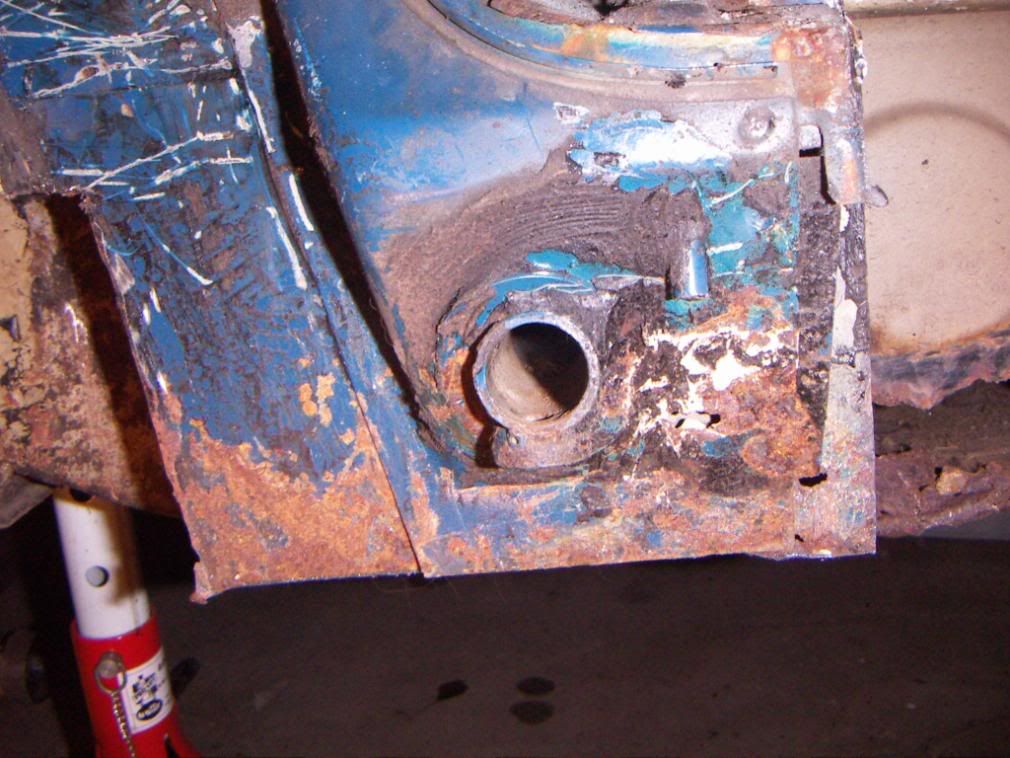
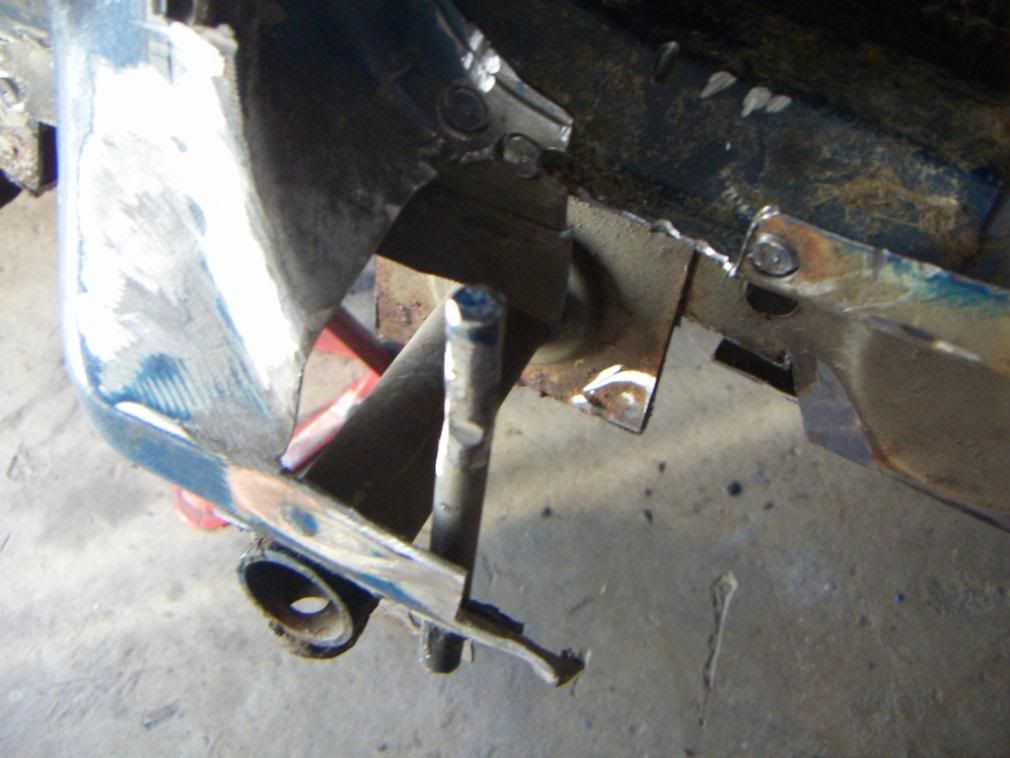
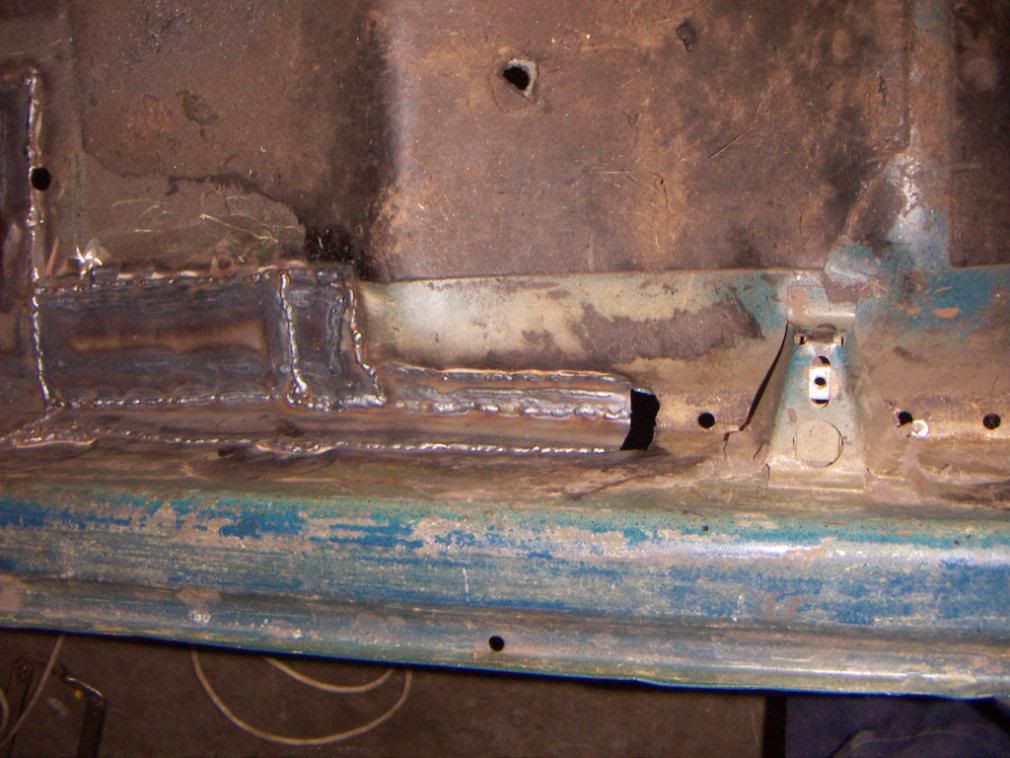
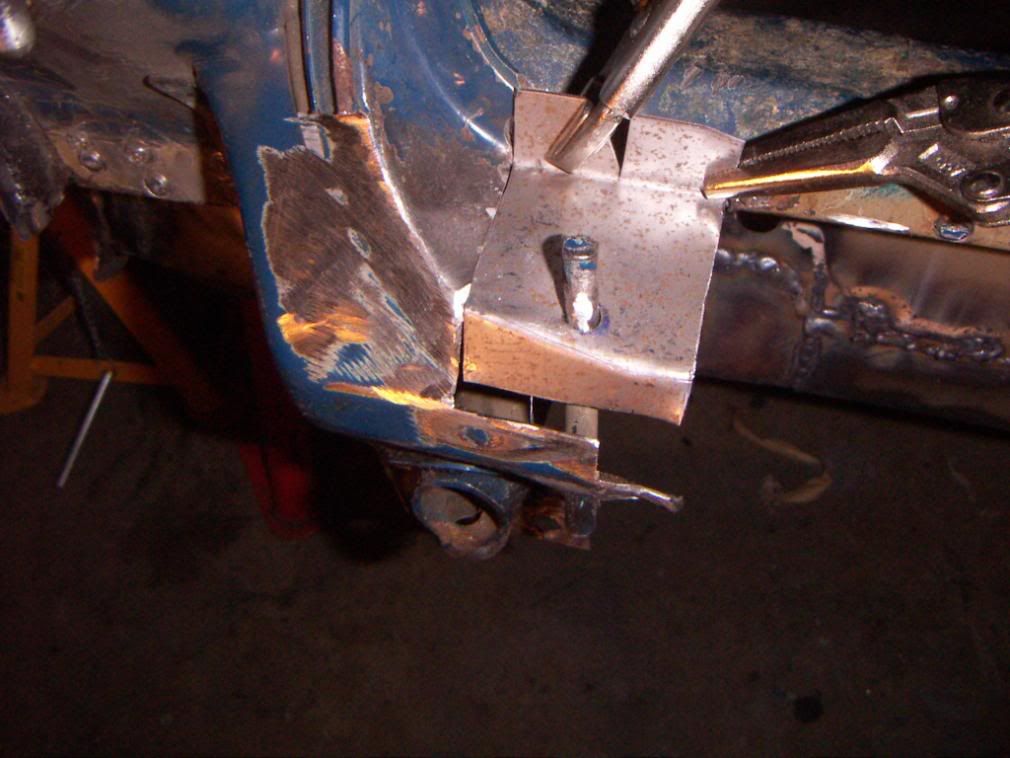
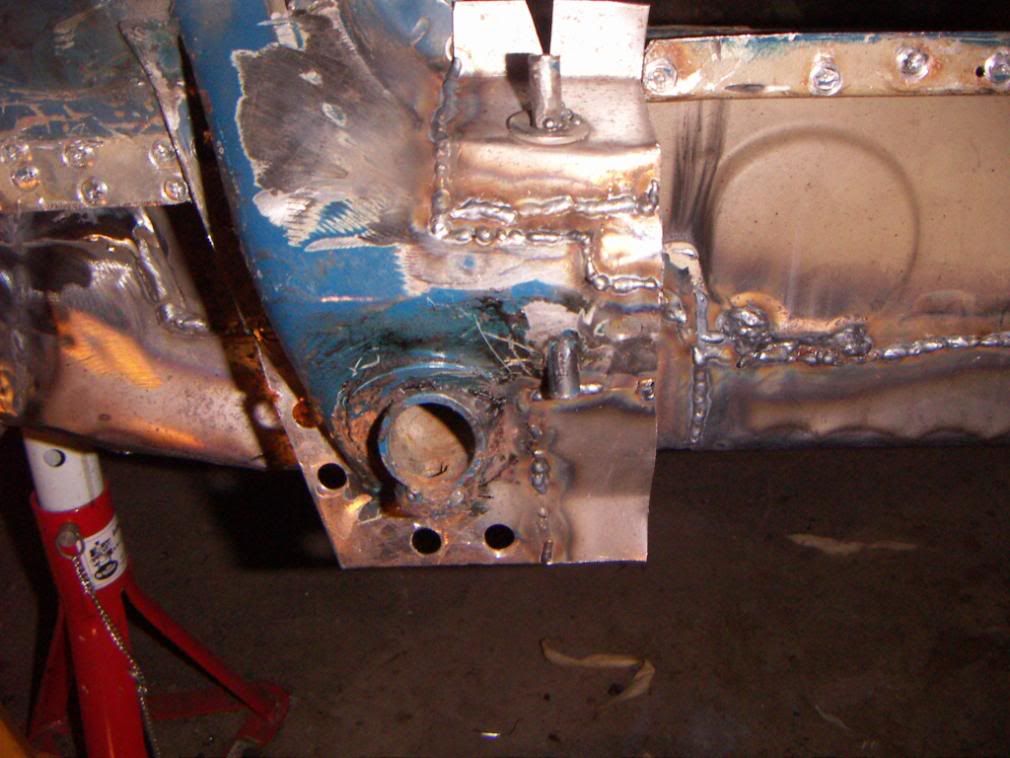
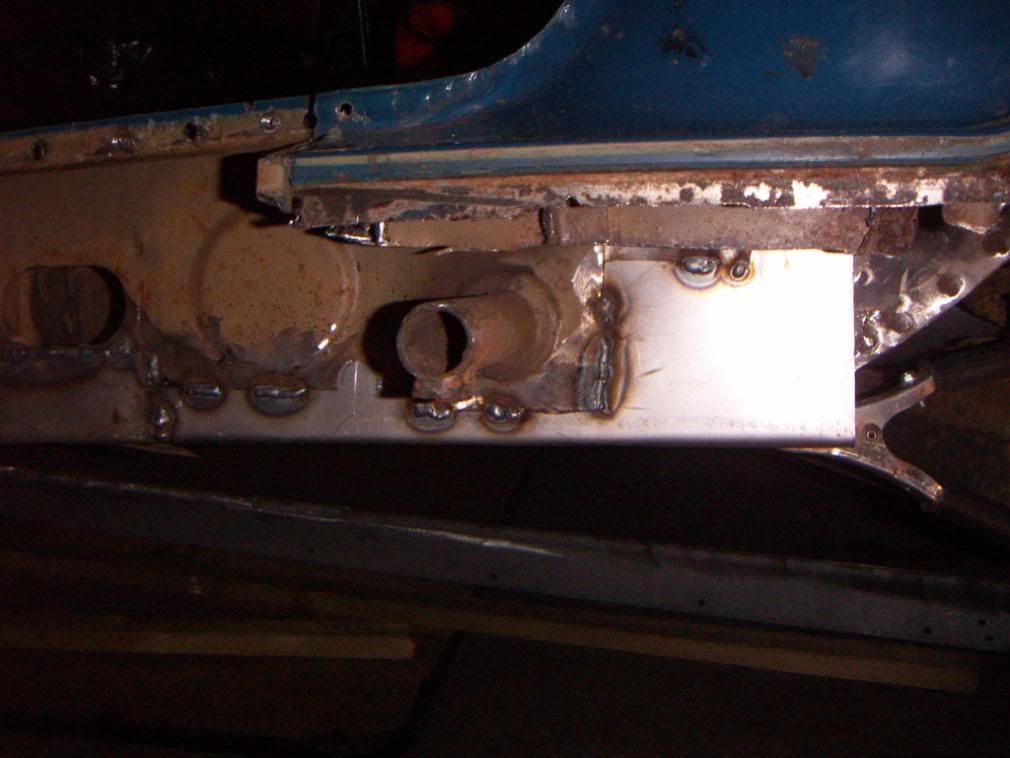
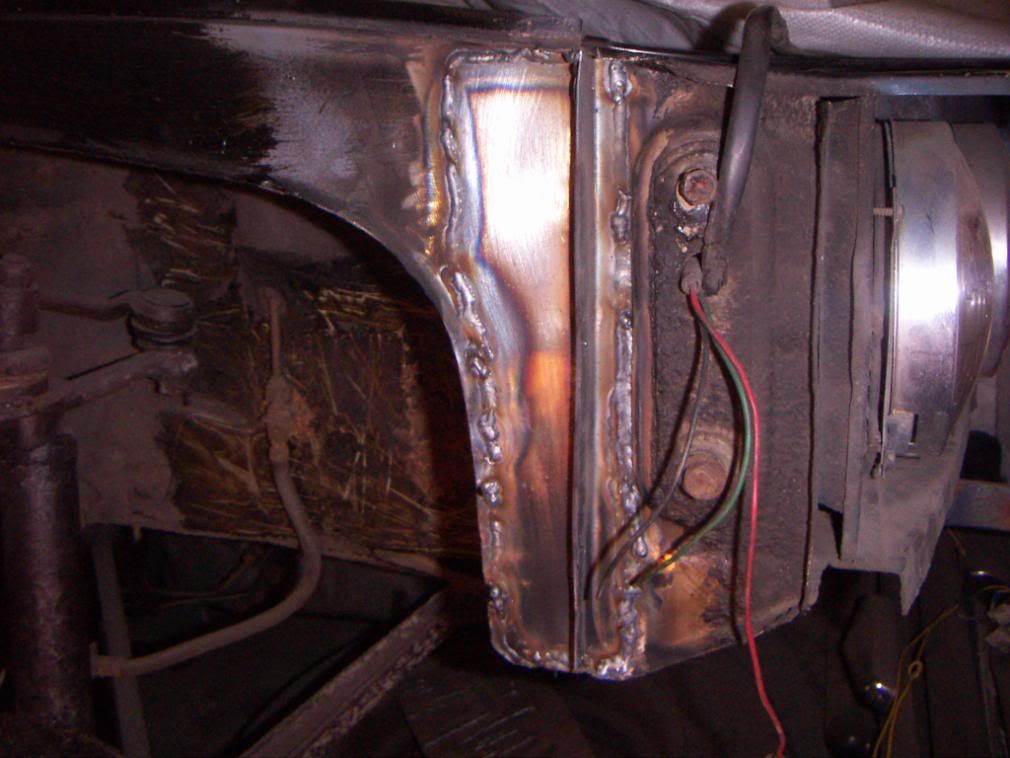
The repair to the hockey stick is also completed. I ended up chopping back even more. I repaired the area with 1 flat section on the hockey stick, and a right angled peice on the lamp cluster to try and keep the original shape.

hockey1.jpg


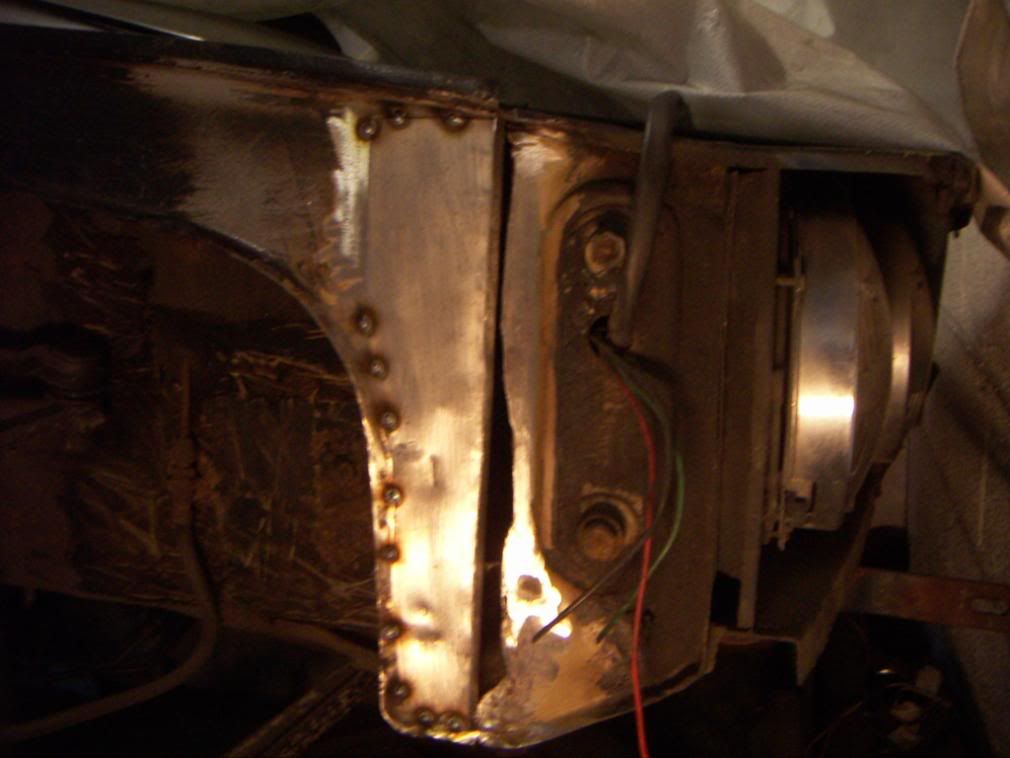
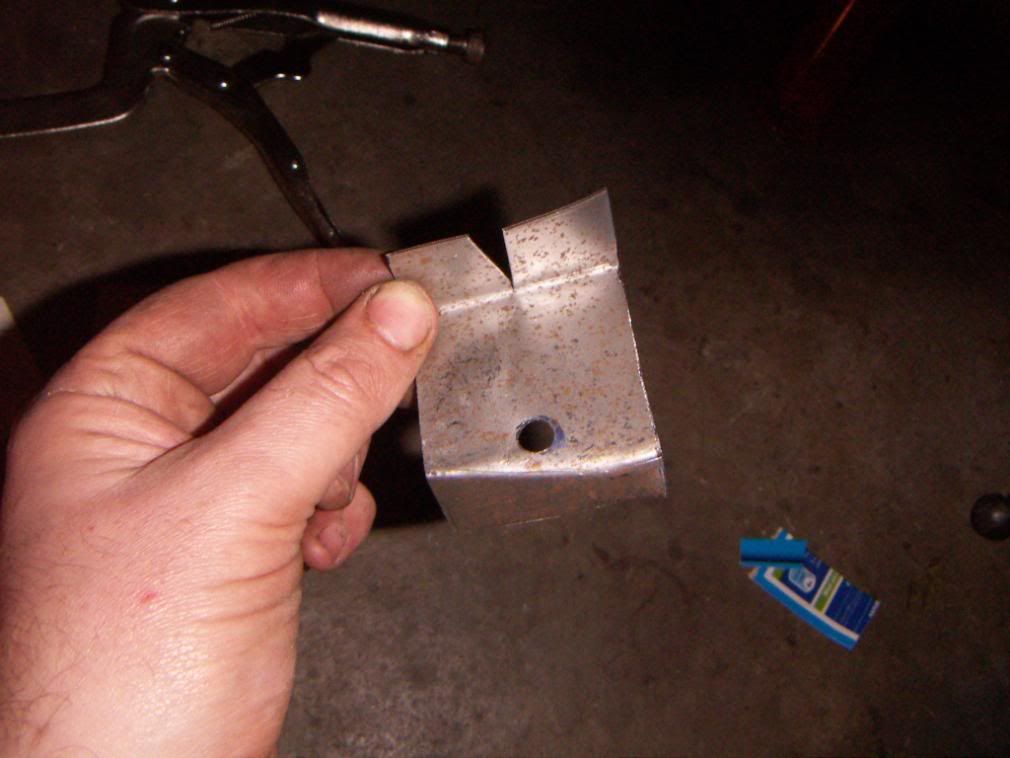
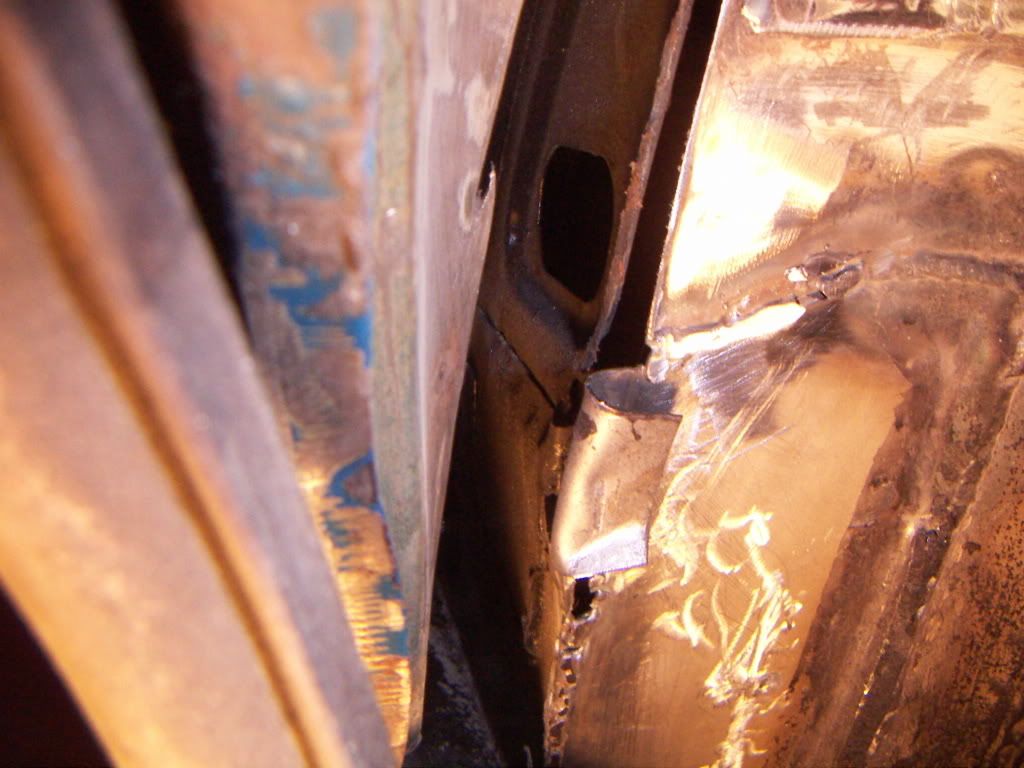
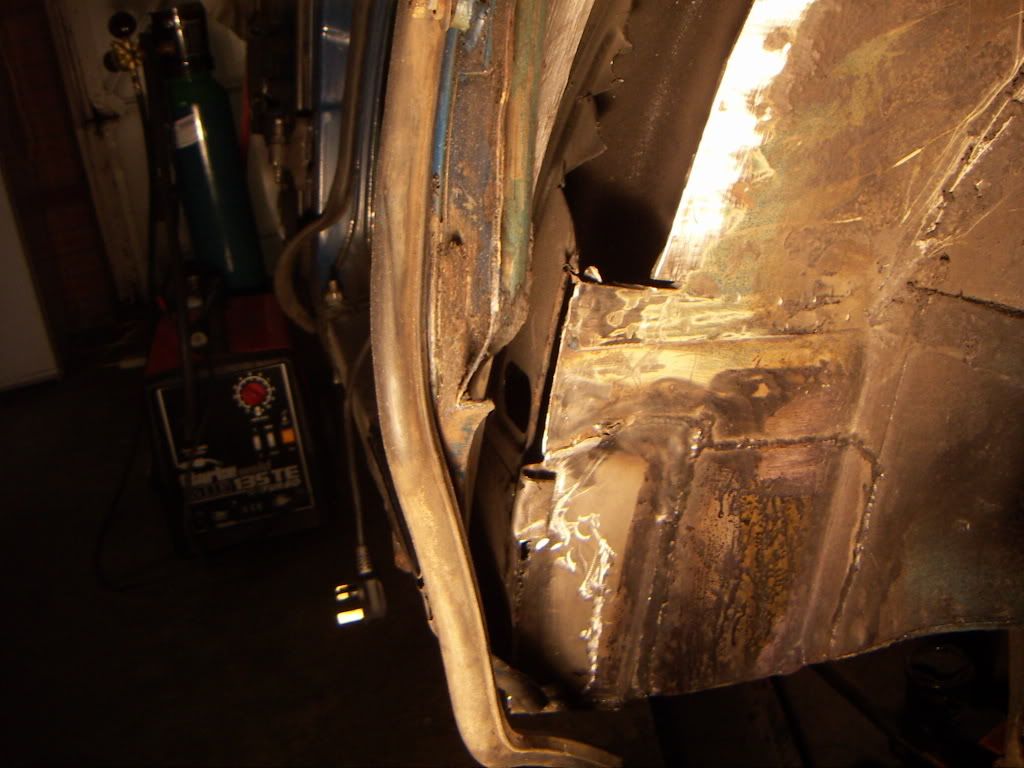
this is the first part tacked.

hockey2.jpg


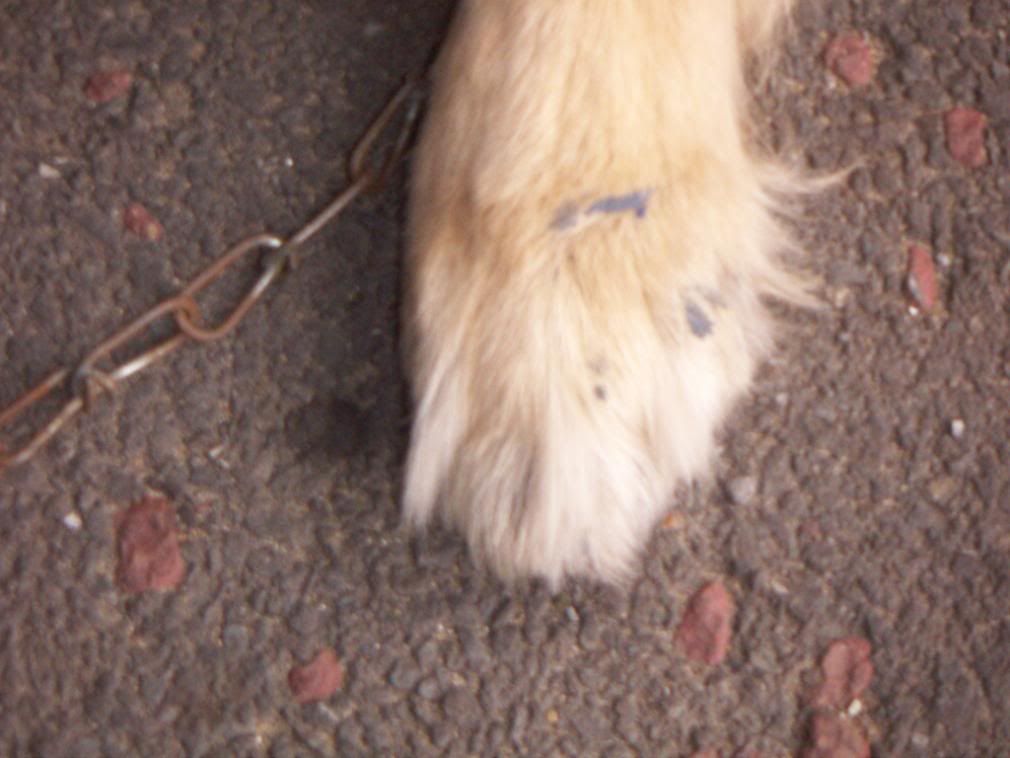
My assistant has sustained a PAW15 injury!!! ( I liked that) :D

paintpaw.jpg
 
I hope your assistant received a bonio bonus for his work ! :D

Boot looks excellent, and I'm glad you cut back further on that hockey stick, it looked pretty thin in the previous photos, repair looks great though.

Same again on the other side.. :(

Mind you, with the boot done, in theory your past 1/2 way. :)
 
OOOOPS! well.................. I'll sort that one out later ???

cheers for pointing it out. Those photo's you emailed me have been a godsend.

I pay direct debit to have a medium size bottle of sureshield 5 at home from Dixons (same people who do callor gas. Its £6 a month to rent the cylinder and £24 to fill it.

Why would it be, that the near side sills, floors and jacking points are in much worse condition than the off side?

It may be because there has been a patch on the floot pan that left the old rot in place (plated over) but this doesnt explain the excessice rotting in the rear wheelarch, under the b post bottom and all along the inner sill.?

a few pictures to show what I am up against on the near side.

PICT0389-1.jpg


PICT0398-1.jpg


that's inside the whhel arch.

I'll post some more pics soon
 
sawdust
You are a true inspiration! I am so impressed with your work I am going to have ago my self! I am sure O will not be doing as well as your but I have nothing to lose I have read and re-read all your posts. How did you move the seat supports-did you drill out the spots to get at the inner sill? I realise that you have not done it this way but it is my intention to to start with inner sill work on the drivers side to make complete metal before I remove outer and attack the middle.My Webpage
 
Now you can all say I'm talking rot (parden the pun) but I find that most cars rot on the near side more, and I put this down to it being the kerb side, and most likely to hit puddles / be parked in mud etc...
 
Rick's theory is reinforced if it is the opposite side which rusts more here in the states where we drive on the right hand side of the road.
In fact, it is the right hand side of my TC which is rusted more. If this is what you mean by "near side" . Than that is a good explanation.

Dick west
 
Sandyjohnty, i did not have to remove the seat support durin gthe o/s inner sill repair. but it is going to have to come off for the n/s repair. I have to admit I am struggling a little on this side. The problems are the curvature of the floor and the extent of the inner sill rot. It has rotted into the pressed dishes which makes weldind a plate more difficult. I have also found it difficult to repair the channel that runs from the inner sill to meet the floor. Its not a problem at the moment, but it will be when I try to allign the new mid sill to the floor pan.

I'll have to cross that bridge when I come to it.
 
I thought it was about time I showed some pictures of my work on this side of the rover. It has been very hard going, and I have to say I'm looking forward to Thursday when I take delivery of a beetle car that needs some rear bumper mountings welding. It'll make a nice change. I'm a bit sick of the sight of number 69 at the moment.

Here are some pictures showing area cut out. It's been difficult to leave anything attatched!!!

PICT0409.jpg


the A post foot was comrised of filler, rust and underseal!

PICT0408.jpg


PICT0407.jpg


PICT0391-2.jpg


PICT0393-2.jpg


PICT0390-2.jpg


On the O/S repair |I fabricated a single right angle fold to repair the floor and bottom inch of the sill. It was not possible to do this on the N/S because a previous patch had to be cut out.

Consequently the repair is a difficult shape. The bottom of the inner sill curves upward porward of the A post which is difficult to replicare with a single folded peice. Added to that is the curvature of the floor panel. On this side therefore I decided to make a repair panel to the inner sill first, with a folded narrow lip that I could then attatch the floor repair to:

PICT0394-2.jpg


PICT0396-2.jpg
 
Ouch ! That's a bit worse than the offside.
As you say with the floor not being flat fabricating the repair section will be "fun", just depends how close you original you want it, I remember doing big floor repairs like that on my old convertible and they ended up a lot flatter than the original ! :)

Keep up the good work, I bet the Beetle repair was a breeze in comparison.
 
The next task was to weld in the large repair panel which i did with an overlap so that it could be welded inside and underneath for added strength.

You know when I say "It was important that the weld was strong"? It's geordie for "my welds are still bloody messy!!"


PICT0408-1.jpg


And the repai patches viewed from inside. I will admit that they look a little........ agricultural, but they ARE strong :laugh: :laugh:

PICT0411.jpg


PICT0410-1.jpg


That last narrow repair section is running into the groove and was an absolute pain to weld. As you can see, my next trick will be removing the aforementioned seat bracket because it has rusted out along the groove. Then I will need to drill out the spot welds on the lower B post before grinding off the lower inch. As with the other side I will make good repair to the B post after I have fitted the new mid sill. Chance would be a fine thing !! I have to try and find the enthusiasm tomorrow to remove the rest of the inner sill. Its like a scene from Bob Ballards exploration of the titanic rust, rot and remnants :laugh:

Here are the repairs to the A post which I have since ground flat. I will add a skim of filler once the new rubber channel is in place.

PICT0413.jpg


PICT0414-1.jpg

PICT0415-1.jpg
 
You are doing a grand job .Those welds are certainly penetrating
Out of interest is the Beetle made of better metal than the P6 ?
 
That depends which wheelarch rot you mean? The O/S rear wheel arch was not too bad. It just needed some small repairs around the top, a small repair to the bottom of the C post, and a new top link mounting.

If you mean how am I getting along with the hopelessly rotted out rear arch on the N/S ??? I hav'nt started yet !!!! I may end up having to buy a strengthening section from wadhams. My panel making skills are not that great :laugh: I thought I would make a thin repair section to the "inner" curved section with a folded over lip, and then plug weld the new "outer" strengthening section to it. (if that makes any sense at all? Then I will effect some repairs around the top af the arch.
 
I thought I'd just update you all on the progress. The repair to the front inner sill and floor sections completed I moved to the B and C post bottoms (ooh-errr :D ) and that nasty little box section between the chassis rail and the inner sill which, surprisingly was rotted away.

The central section underneath the B post bottom was a mess. The bottom ich of the sill was the consistency of toast. The rot extended under the sill and had spread up into the arched section of the floor. I was really lucky though and managed to cut out all of the rot without having to move the seat mounts Whey -hey!!!

PICT0425.jpg


PICT0426.jpg


PICT0438.jpg


HEY PRESTO :D

PICT0437.jpg


PICT0436.jpg


PICT0440.jpg


Rag and bone!
 
The end section was naff

PICT0435.jpg


PICT0441.jpg


PICT0442.jpg


CHOP CHOP CHOP CHOP......

PICT0443.jpg


PICT0445.jpg


PICT0450.jpg


PICT0447.jpg


BBBBBZZZZZZZZZZZZZZZZZZZZZZZZZZZZZZZZZZZZZZZZZZ

I can't get the hand of welding upside down though. any tips on wire speed etc??
 
Tips for welding upside down ?, Don't !! It's horrible, I've got plenty of nasty burns to prove it !
I replaced the rear spring cups on my old convertible a few years back, on the drive, in the rain, horrible, horrible job, but had to be done to get the MOT and make it to our local show !

You need to play with the wire speed, probably reduce it a bit, so that you don't get weld puddles dropping down into the torch.
 
Its been a while since my last post so I thought I'd update the saga!

Firstly a response and some photo's for a query I placed in the bodywork section regarding how critical is the strength of the internal stiffening panel c post. I shouls perhaps of refered to it as a d post? (although there are only 3 posts ???

never the less....... the wheel arch area on the N/S was very corroded:

PICT0435-1.jpg


PICT0436-1.jpg


as you can see it has been extensively holed where the inner stiffening panel, wheelarch and d post closing panel meet to form a ridge.

I'll use the JR Wadhams part numbers for reference. As I understand it the d post assemble is an inner siffening panel (21a) an inner d post (21) and an outer d post (20) the stiffening panel, inner and outer post are spot welded along the top edge of the d post in this picture.

PICT0373.jpg


A bit long winded. the stiffening panel in my car has rusted 3/4 away. I have already welded in the closing panel around the rear jacking point, and welded the rear edge of the mid sill to the bottom of d post stiffening panel. I now have very restricted access to the stiffening panel.

this is the current view

PICT0443-1.jpg


PICT0444-1.jpg


PICT0445-1.jpg


EITHER:

(a) i weld up the arch without the stiffening panel with nice big fat welds.
(b) i try to attatch a new cut down stiffener to the remains of the original
©i grind off the d post bottom, cut the new mid sill from the stiffener drill out 35 spotwelds, part the seam and try to slide the new stiffening panel in.

I am aware that from a legal point of view you will all advise that I follow plan C, but I have to tell you I'm probably not going to. I'm fairly sure there is unough strenth there without the stiffener given that I have replaced all of the corroded metal around it with new steel.

I await your thoughts, especially anyone who has affected this repair before.

dave
 
Back
Top