DOHC Daily Driver.

Hi, I still have not done anything with the speedo accuracy so I have not done a proper measurement of the fuel economy, that said a recent journey more than confirmed the performance and economy gains of the conversion.
Twice a year there is a bring and buy sale for stationary engines at Oakley airfield, 90 odd miles from me. As it is the leading sale for my main hobby it is something that I will not miss! Que my Volvo's EGR valve deciding that it no longer wanted to work and because emissions are so darn important the car went into LOS mode and only had about 60hp!
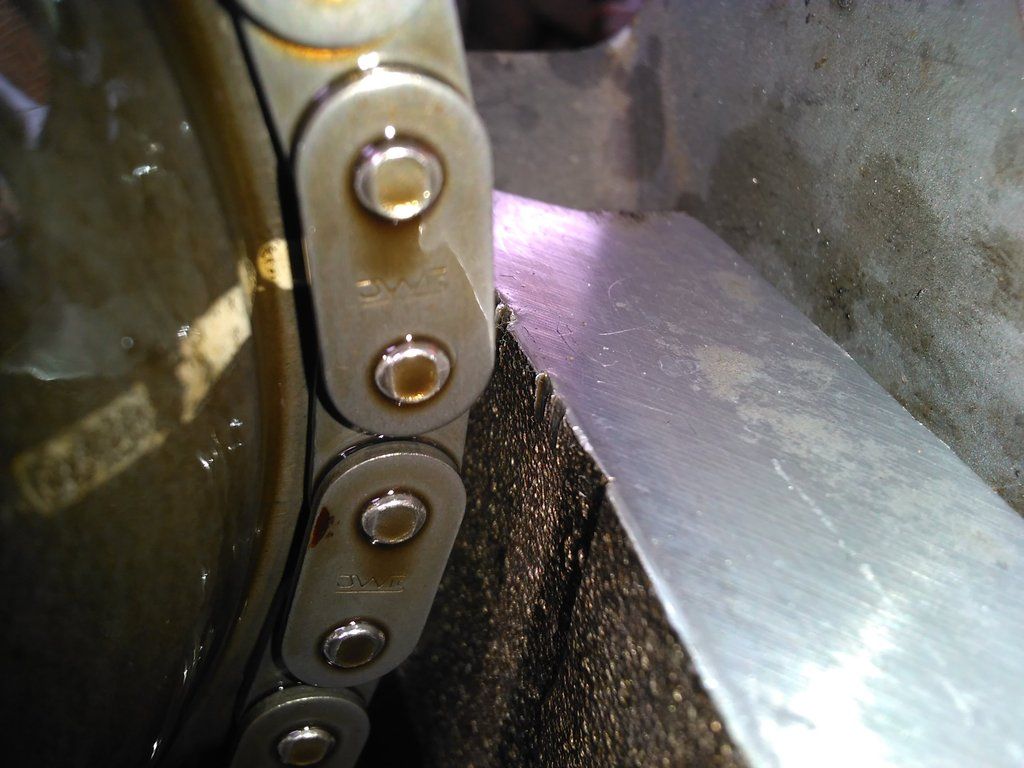
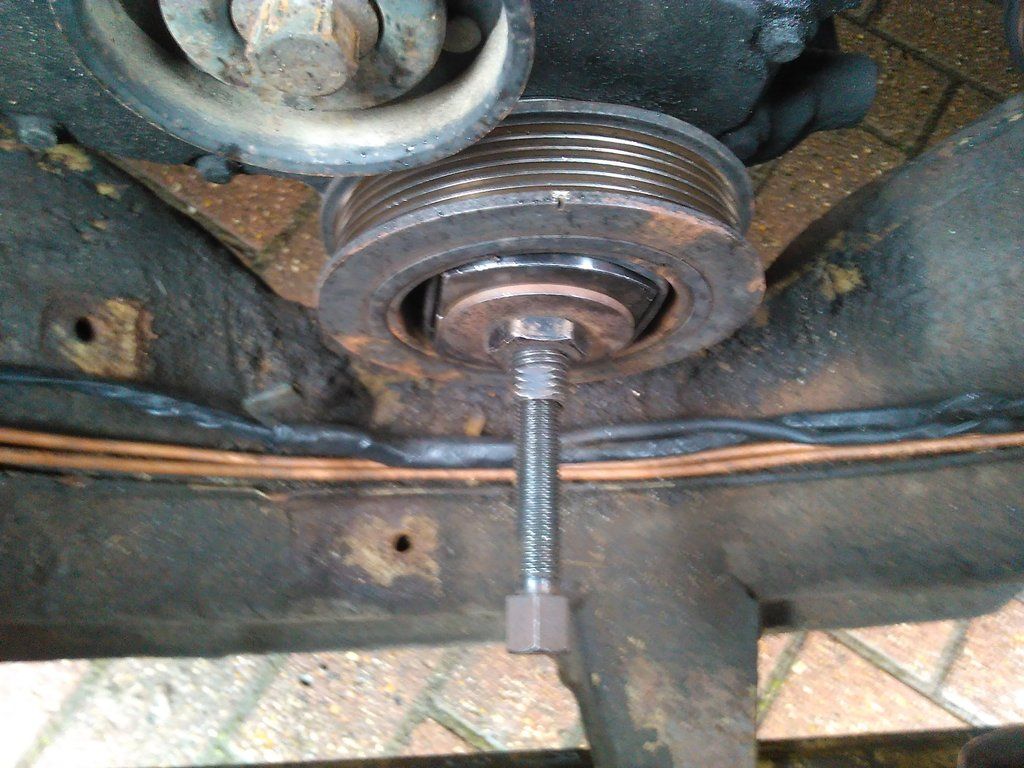
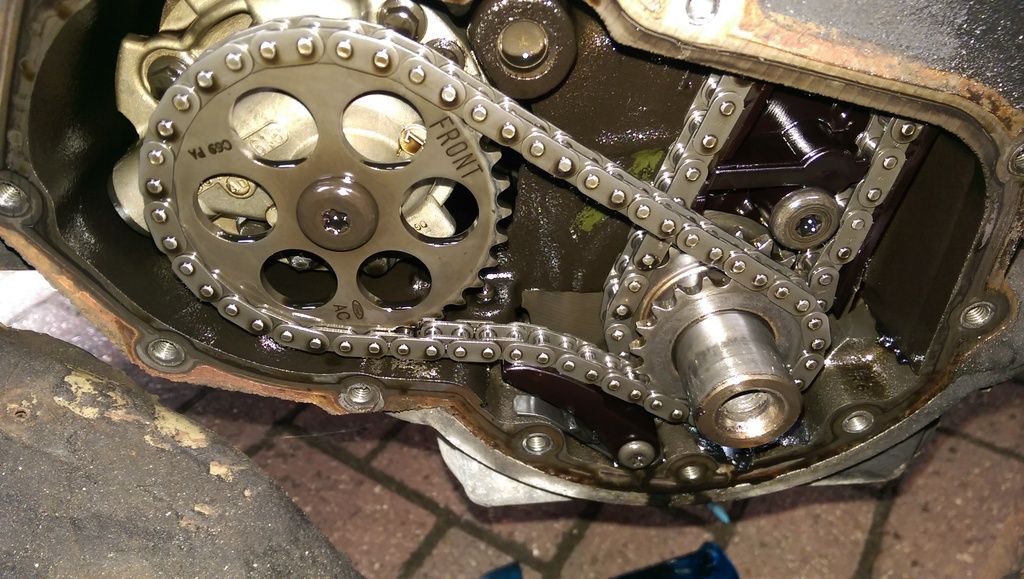
As I has agreed to deliver one engine and collect another one at the sale, not going just was not an option so the Rover had to step in to the breech as it is fitted with a tow bar and electrics. It had to pull a small but very heavy trailer with a 400lb engine in it and then bring back significantly more weight from the show, this was going to test my work to the limit as there are some big hills to deal with on the way. I did replace the rear tyres with bigger 185/75/14's on the Friday but to be honest I was somewhat nervous about the journey!.................................................................................................I needn't have worried as the old girl performed brilliantly, it happily cruised at 60 there and back and felt absolutely planted with the load on the back, it is every bit as stable as my Volvo and the engine pulled well, even up some serious hills on the M4. I am so pleased with it as this really was a baptism of fire for it......or should that be water as the weather was absolutely foul with near enough torrential rain all the way there and back! It took £38 from the bottom line to fill it up before leaving and I still had a quarter of a tank when I got back so I think it did ok on the juice.
Here is a little taster of what it had to put up with, my son took this on the way home.
IMAG1030_zpsm7pqozwg.jpg


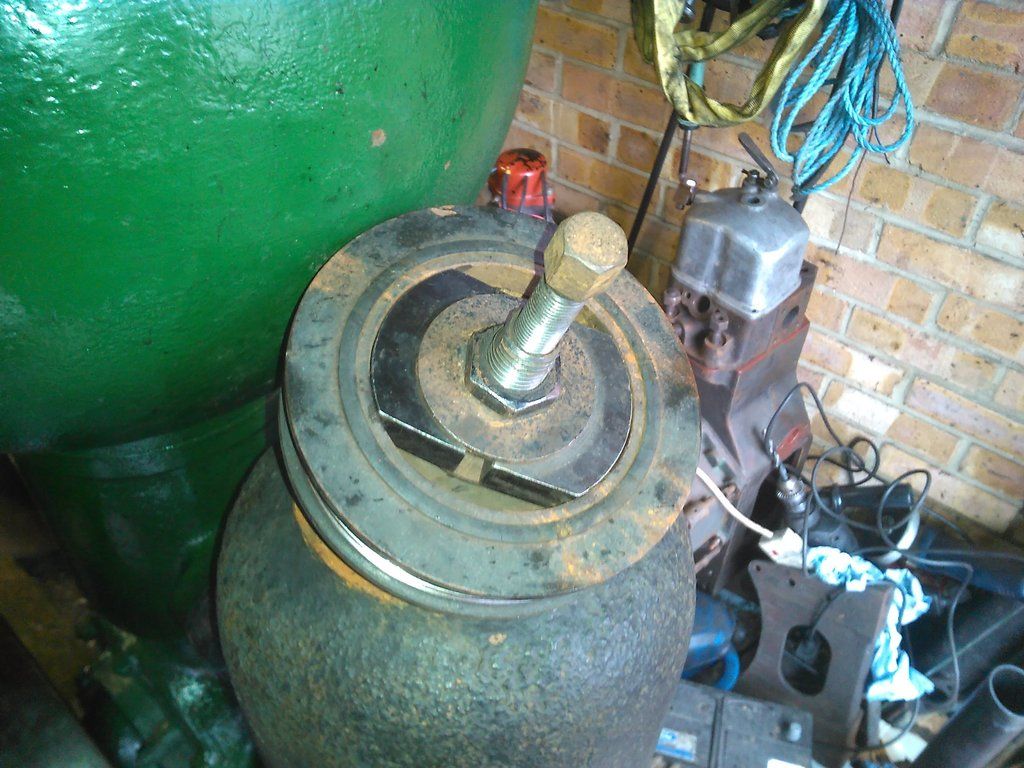
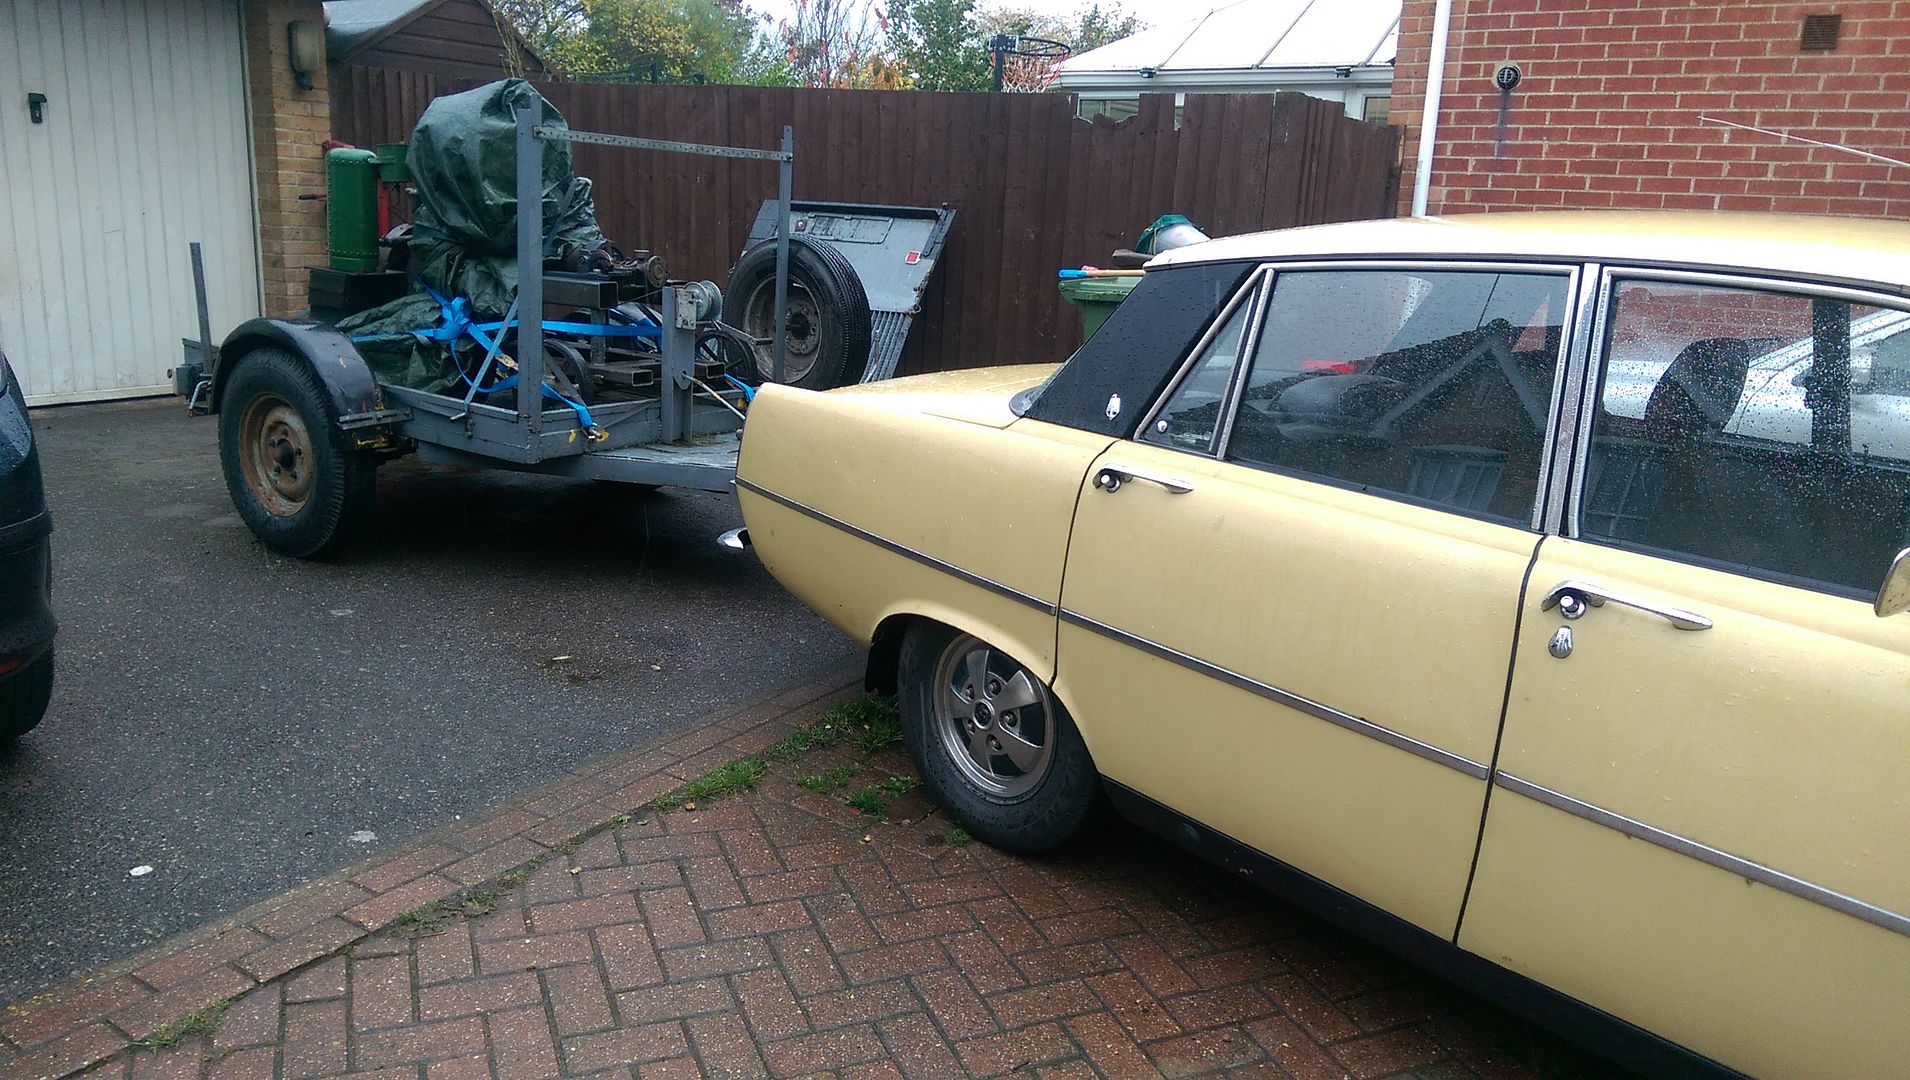
And here is what it pulled home!

IMAG1032_zps7jsqslxr.jpg


I would say that this unplanned test was a resounding success. :D :D :D :D :D

Dan.
 
Hi Coop, sorry for the delay in answering. I do not make engines, I like to restore old stationary engines off farms etc. I would love a lathe but I simply do not have the room!

It is really strange how things turn out, or how you can end up in a situation. Basically I had a rough running Peugeot 206 that I wanted to check the the intake manifold vacuum on. I needed another manifold vacuum from a "healthy" engine to compare it to so the gauge was hooked up to the Rovers manifold.... The gauges needle fluctuated wildly indicating that there is an issue with the Ford engine. Ironically the vacuum on the ill Pug was spot on and even. Today I decided to have a look to see if I could spot anything amiss, First job was a compression test. The results of this were surprisingly good; No1 235 No2 230 No3 225 No4 235, This was a warm test and I am more than happy with these. The cam cover was then removed so that I could check the timing and to see if I had a broken spring. A serious issue was found straight away in that the valve timing has slipped, therefore retarding the cams, this is surprising as the engine still ran well and the power hasn't dropped off, it must have been like this since before I fitted it.

With the cams set here..........
IMG_20160305_131619_zpsyimiv5qf.jpg


The crank timing mark is near enough at the 1 O'clock position!

IMG_20160305_131629_zpslbe8ob6v.jpg


The guide is broken too. This is of no great surprise as the chain on these engine is one of its Achilles heels, they normally rattle badly before they fail, giving an early warning, this one is still silent.

IMG_20160305_131639_zpsr9etjg6h.jpg


It has been about 15 years since I last fitted one of these chains and I then remembered that the timing marks for the cam sprockets should be set to just under the top face of the head. When installing a new chain these marks and a third mark on the crank sprocket are all lined up with gold links making setting of the timing really easy.
With the crank mark at TDC the intake cam is spot on but the exhaust cam is retarded by what looks like one tooth.

IMG_20160305_131934_zpsat0fjxyw.jpg


There is damage on the head where the chain has fouled as it was riding up out of mesh with the sprocket.

IMG_20160305_132010_zps3xt2neva.jpg


I will be speaking with my local engine reconditioner on Monday to hopfully buy a new chain, tensioner and guides. I am soooooo glad that I have found this, these engines wnd up in a very bad way when the chain breaks!!!!

Dan.
 
Hi, the chain kit turned up this week so today I pulled the engine down to replace the worn and damaged parts. The bottom pulley on these is an interference fit on the crank and needs a special tool to remove it. Fortunately for me a colleague was able to lay his hands on one for me.
The tool is assembled into the pulley and expands as the centre nut is tightend forcing the wedges into a groove machined into the pulley. The central bolt is then tightened, therefore pulling the pulley off the crank.

IMG_20160309_113657_zpsmhute7bx.jpg


IMG_20160309_114139_zpso2mgacv0.jpg


With the pulley and the covers off the chains could then be removed, starting with the oil pump drive.

IMAG1233_zpsnj5shyhp.jpg


I was surprised to see that the tensioner for that had a fair bit of wear present.

IMAG1239_zpsnn0b4zrb.jpg


Worryingly, the bolts holding the cam sprockets were not that tight....

IMAG1234_zpsfhwfnc5r.jpg


Tension is applied to the chain by this sprocket and arm, underneath is a hydraulic element that is a one use only item and is rather expensive. The pivot bolt has a thread in its centre to facilitate its removal.

IMAG1235_zpspma784rh.jpg


With the chain out I could remove the guide, this is in a terrible state and far worse than I have seen before. It is split at the top and very heavily worn at the bottom.

IMAG1241_zpspoo8k5uy.jpg


Some other unrelated pieces of plastic fell out as the guide was withdrawn, they look like they are from a front cover too me.

IMAG1240_zpsff7liz4f.jpg


I would say that this engine has had a chain failure in the past and a crap mechanic put a new chain in with the old guides without bothering to clean out the broken parts from where the chain broke through the original front cover. The chain I removed was of poor quality and unlike any other DOHC chain I have ever seen has no coloured links. The imbecile that fitted it got the valve timing out to boot!

The new chains look ever so slightly better.......

IMAG1237_zpswuwpvjjj.jpg


IMAG1238_zpscdb3n7uu.jpg


The timing is now set spot on and when reassembled the engine runs so much better. The road test was an absolute revelation as the snap throttle response is massively improved, as is the power and torque. I need to reset the base settings again as I unknowingly set them with the valve timing out. This will be dealt with this week.

Dan.
 
Hi, One area of my car that always let it down was the interior. The leather seats had dried out and the stitching rotted allowing them to fall apart. Despite their looks they were still surprisingly comfortable! A fellow forum member (Cheers Adrian) alerted me to a very tidy box pleat fabric set that were on eBay and ending shortly. I ended up winning them for a reasonable sum so the interior refresh could begin.

I think you will agree, these are totally knackered!
IMAG1254_zpse2szq6cm.jpg


IMAG1255_zpsg1xiyxvu.jpg


The carpets are in pretty good order and responded well to the vacuum.

IMAG1256_zpsjpv4t2uw.jpg


You have got to love these cars, just three tools needed to change all four seats and the centre arm rest! The replacements looks sooo much better.

IMAG1257_zpsevzzoplo.jpg


IMAG1258_zpsyx1gmp6s.jpg


IMAG1259_zpswaijpjng.jpg


I have hopfully found the source of the road noise that was entering the car, there were missing grommets in the the top of the transmission tunnel just in front of the speaker grille, one grommet was still tucked under the carpet and the other hole was from the original speedo cable, I found a new replacement and popped them both back in. I have also fitted a period radio that my mate gave me to fill the hole in the dash. Now that the interior is sorted I feel that the paintwork is now letting the side down big time......That is something that is beyond me so will have to wait until I can afford to get it resprayed.
 
Bad news about the engine, but now all good being that you know what's in there!

I'm waiting for my seats to end up like yours, the centres of the bases are pulling apart, luckily the back hasn't started to go yet.
 
Bad news about the engine, but now all good being that you know what's in there!

I'm waiting for my seats to end up like yours, the centres of the bases are pulling apart, luckily the back hasn't started to go yet.

Thanks mate. Mine were not too bad when I first started using it but all of a sudden just seemed to fall apart!.

I have attended to one job this weekend that I have been putting off for a while. The rear pads were advised on the MoT and straight after the test I ordered a new set, the car was jacked up and once I had a good look at how good the access is I decided that a Bacardi and coke was easier to sort than the brakes so the car was dropped back down to earth. In fairness the pads still had 2-3 mm left so I was not too worried.
Now that the weather has improved, yesterday I decided it was time to replace them. What is all the fuss about, 20 minutes a side at most!..................................................................................................................................................................................................................................................................................................................NOT!!!!!!!!!!
Yes for a person of my size they are not that easy. I did wimp out and drop the discs as I couldn't get in there to wind the piston back. The locating plates were awkward to remove as they were corroded in place but succumbed to persistent wiggling. The old pads had hardly worn since the test but were emitting an almost constant squeal because the wear sensor wire was rubbing on the disc. While the shafts were uncoupled I could at least properly survey the condition of their joints and I discovered that the inner joint on the N/S shaft has brinelled and has some slight play. This will be replaced soon.
To be honest the brakes feel exactly the same as before but the horrible high pitched squeal is now gone which is fantastic as it made the car sound like a wreck!

Dan.
 
"brinelled"
Had to look that up; excellent word! Whether I'll get to drop it in conversation this week remains to be seen. Strong contender for word of the week though, and right at the get-go!
 
Back
Top