On the other hand, it'd probably be better to fix the issues it has before shoehorning away. Also, the piggy bank is somewhat lighter after the latest wallet bashing session.
Here's some pics:
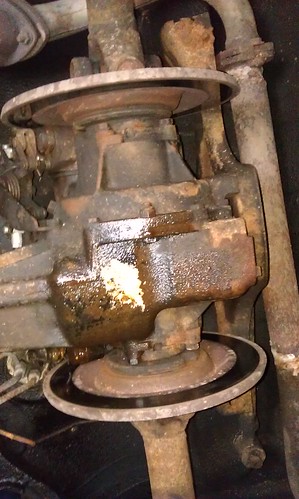
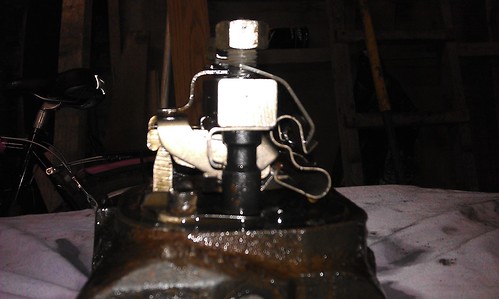
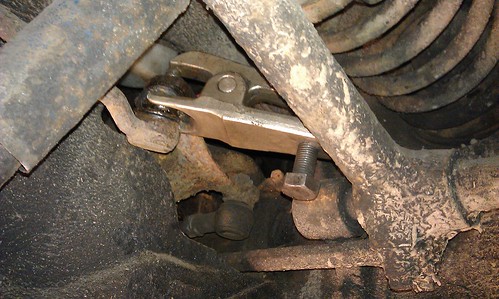
See anything wrong here?
 IMAG0449
 by
1275midget, on Flickr
That is indeed brake fluid. So it's off with one of the rear calipers.
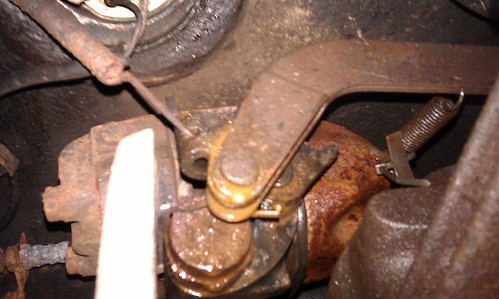
here's the offending item
 IMAG0453
 by
1275midget, on Flickr
The rear calipers..... I had to take both of them off, as I couldn't get the link pipe undone because I don;t have enough joints in my arms to reach the brake union, and it was starting to do that turning round about to snap off thing, so both of them came off. Cleverly, with them both draped over the diff, there's just enough space to manoeuvre one out so the diff can stay bolted on. What's going on with those mad cap bolt things with the spring in them? That took some serious getting off. Both rear discs came off as well, to get that bolt off. Sigh.
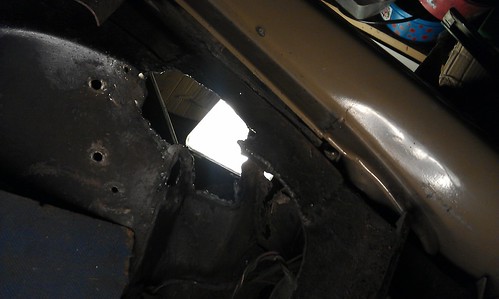
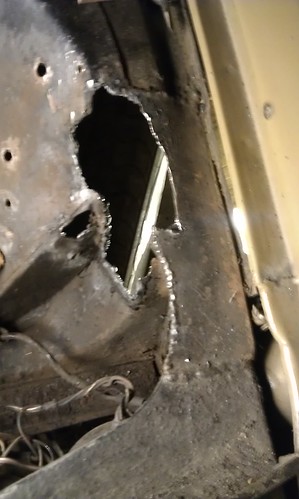
Meanwhile, at the front, dad has been poking at a pound coin sized rusty hole. It's gone in under a PO repair, (is it supposed to be double skinned here?). Anyway, this is now quite a big hole:
 IMAG0454
 by
1275midget, on Flickr
 IMAG0455
 by
1275midget, on Flickr
Back to the back!!
calipers off, and the leaky one is being disembowelled
 IMAG0456
 by
1275midget, on Flickr
Nicely full of rusty greasy brake fluidy water.
This is what the springs are supposed to look like. I remembered doing the other one, and how much of a fight it was to get this right. so I took a picture
 IMAG0459
 by
1275midget, on Flickr
It's in bits!
 IMAG0462
 by
1275midget, on Flickr
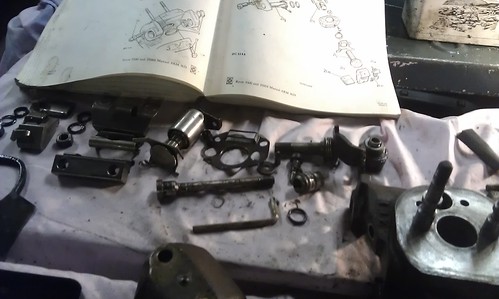
all came apart really easily, albeit slowly.
Bore doesn't look too bad
 IMAG0464
 by
1275midget, on Flickr
the seal was almost non existent. The caliper only leaked when there was no pressure on it. Strange. Anyway, it went back together in about half an hour, surprisingly enough
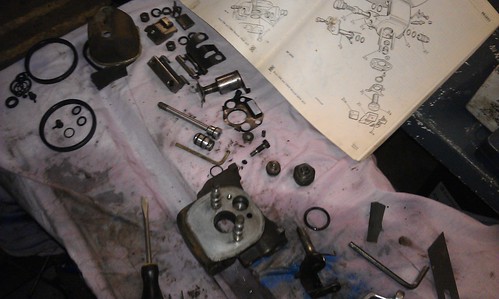
A comment from my sister on seeing this :
 IMAG0469
 by
1275midget, on Flickr
"Why's it not in order like in the picture?"
:shock:

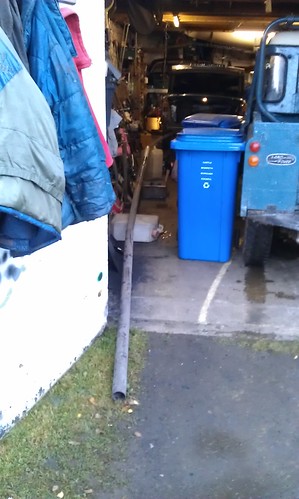
Next up, we built this:
 IMAG0472
 by
1275midget, on Flickr
which takes all of the V8 smell outside for the next job, refacing the rear discs. The outer pads had polished a section about half an inch wide in the middle of the disc, the rest was slightly corroded, but with no ridge wear on either side of the disc.
So the discs were individually bolted to the diff and I sat underneath (car on stands with the halfshafts disconnected) and polished the discs with a flap wheel and then 240 then 400 grit wetordry. They now look like the inside, lovely and polished.
Stick everything back on, disc runout is almost zero (certainly less than 7 thou) new pads and adjust everything up using the pad in and out system. Dropped a pad on my head, which hurt. Also nearly dropped a disc on my head but caught it. Went for the pad method over the disc method after that.
I can now stop dad turning the wheels using my hand on the handbrake actuator. So they should be much better, although 85lbft is a big torque for doing underneath.
Right, off to the front for some clonk hunting, disc (big wobble when passenger disc is heated up) caliper (split rubbers and de-chroming pistons) pads (for the new discs), and wheel bearing replacement, which were rumbly, and a top joint with a split gaiter that was nevertheless full of cold, horrible water...
Stage 1 complete
 IMAG0476
 by
1275midget, on Flickr
looked like the bearings might have been turning a little bit on the stub axle, I'll be putting them back on with a little bit of locktite.
Taking the disc off is easy. Then the bearing races were drifted out, first like this
 IMAG0479
 by
1275midget, on Flickr
(with the disc off)
using a socket (15/16ths if you're interested) taking the small outer race outwards (towards where the wheel is)
 IMAG0480
 by
1275midget, on Flickr
then the larger inner race with a suitable drift, using the cast in gaps in the hub.
Drift the new bearings in with the old bearing and a socket, (1 1/8 for the small end, and something bigger for the outer one (I used a mini hub nut socket)) this helps get the race in straight as they can crack if they go in wonky. Tap it home with a drift going all the way round to even it up, as the 'bearing drift' won't go all the way in without becoming part of the hub..
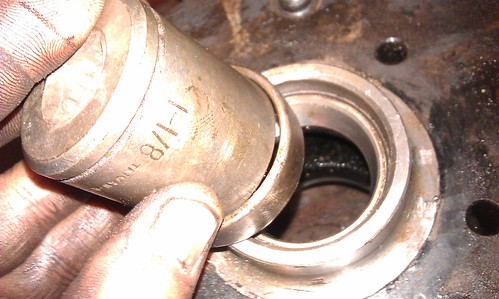 IMAG0482
 by
1275midget, on Flickr
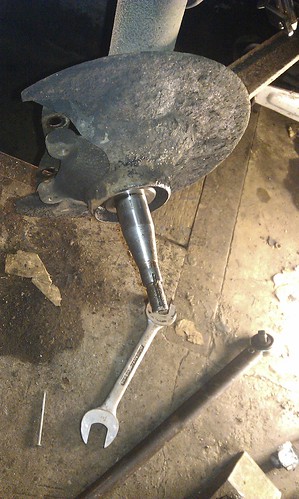
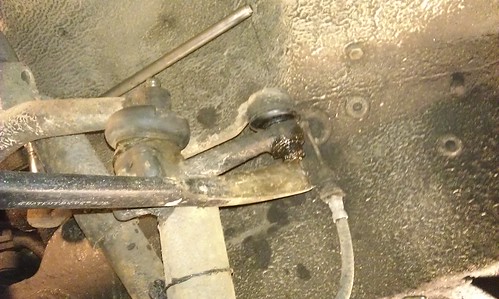
Next up, releasing the steering side rod, taper breakers abound!
 IMAG0483
 by
1275midget, on Flickr
I worked out by the end of this shenanigans I'll have broken 6 tapers.
Top tip for doing the steering side rods: Undo both of the nuts before breaking one of the tapers. Trust me, it makes it a LOT easier. Also, with no steering lock, some ingenuity is required to stop the steering lock stop taking the brunt of my grunt:
 IMAG0487
 by
1275midget, on Flickr
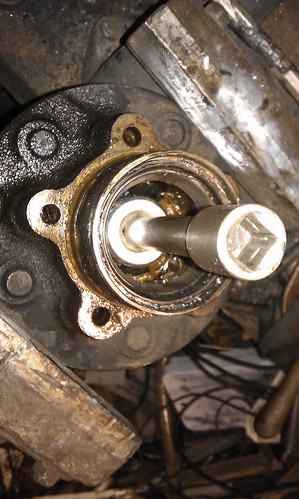
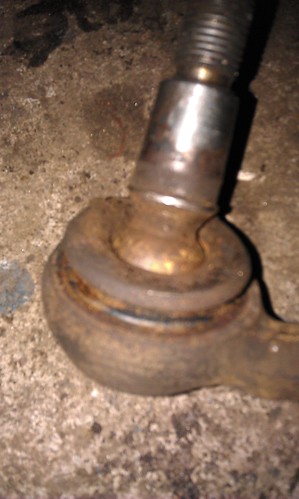
Unfortunately the PO had put all the split pins in from the outside, so no drifting them out. After I spent 2 hours fighting the one on the top joint, I gave up with the others. Bash them into the space in the nut with a suitable drift then hammer the socket on. Pull hard on the breaker bar and the split pin is sheared off and off comes the nut. The remains can be drifted out later on. I tried this first on a steering side rod that was obviously dead:
 IMAG0485
 by
1275midget, on Flickr
and despite my misgivings it has not injured the threads in the nut or on the taper. I'll be putting the split pins in the other way around when it goes back together.
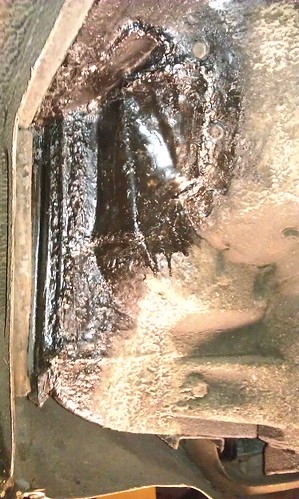
Meanwhile, Dad's finished the welding now.
 IMAG0484
 by
1275midget, on Flickr
(that's from the inside)
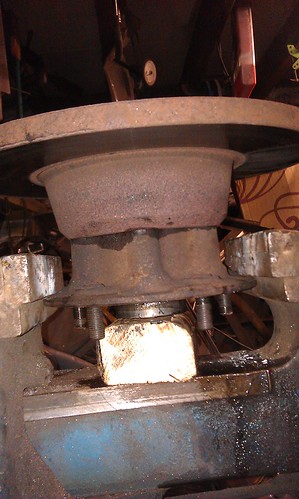
He's also (while I was fighting the rear calipers) made this monster:
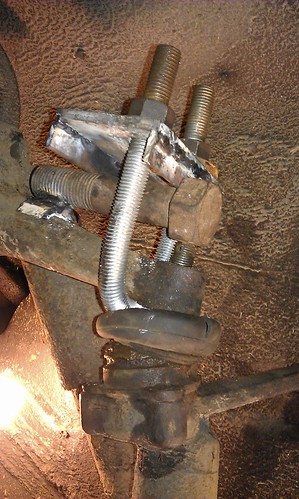 IMAG0490
 by
1275midget, on Flickr
fwoar. With that tightened up as tight as we could physically get it (pretty dam tight, I'm not that small) it was not budging. Heated it up with the gas torch, applied a BFH then an even bigger BFH and still nothing.
I left it overnight under tension (with a pin in the split pin hole in case it went pop overnight so it wouldn't drop totally off) went to see it in the morning, and it was still on. So it got a battering with a cold chisel and BFH on the side of the joint below the rubber, and with an almighty bang it came apart. Phew.
Then the epic tool of strength was inverted and used to pop off the bottom taper, which was about a billion times easier.
This revealed possibly the most amusingly borked ball joint I've ever seen.
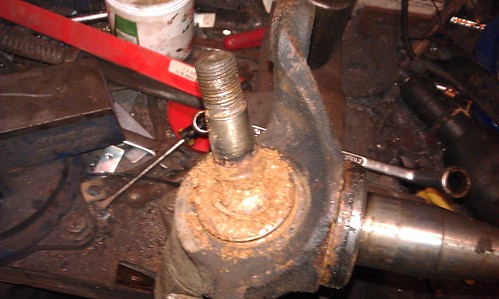 IMAG0492
 by
1275midget, on Flickr
full of weird stuff, looked like flour and grease mix.
 IMAG0495
 by
1275midget, on Flickr
very odd. and with about a mm of vertical play, clearly it's had it. In the above pic you can see a little bit of white-ish plastic that looks suspiciously like someone's injected it onto the ball joint to take the play away.
I didn't have one (it's on its way now!) so that stopped play, also ran out of time. It took me 3 days to do the rear calipers. Yikes. 5 days almost solid work for 2 chaps, think of the labour cost! unless it's magic classic car rescue labour of course...
Dad's currently building the tool of strength mark 2 to take to bottom joint out of the strut.
List of bits is now up to:
Rear caliper seal kit - fitted
rear pads - fitted
steering side rod (on its way)
2 side rod gaiters (on their way)
bottom joint (on its way)
Top joint x2 (1 about to be fitted, 1 spare)
wheel bearing x2 (one fitted, one left)
front discs x2 (one fitted, one left)
front calipers x2 (need fitting)
front brake pipe x2 (need fitting)
cost of about 750 quid after I get the surcharge back from the calipers.

