Sparky's winter/spring/summer/autumn work

Yes, it's the same car.

The left hand pic was when I got it, and the right hand one after I had removed the fog lamps, replaced the overriders, and painted the front of the wings and the grill.

Richard

I only have one P6 at the moment, the list of four is of P6s I have owned in the past.
 
DaveHerns said:
But are there different shades of lunar grey ?

There are at least three shades of Lunar Grey on Sparky.

There is only supposed to be one, but then there were more than one shade of Monza Red on cars last Sunday.

I think its down to who mixed it, who applied it and what colour primer was used. I have been told that if you give your car a dust coat of yellow before painting it red, the colour will be more vibrant.

So yes and no Dave.

Richard 8)
 
Is the colour still called Lunar Gray when used on more modern rovers? It's an almost identical colour but just more shiny, maybe down to different paint type??? Thinking of using the modern version of the colour for mine when the time comes.
 
I've never seen a modern Rover in anything like Lunar Grey - I thought it was unique to P6's
Although I have seen trousers in the Cotton Traders catalogue in lunar grey - nothing like the P6 colour
 
Some 75s were available in 'heritage' colours. Mine was a P5 shade of maroon - same as WPG at the rugeley bash...

That 75 may actually be another heritage shade if it looks familiar!

Rich
 
I have been busy with various things, more of which later, but I did find the other day that both of Sparky's elbows were starting to do colander impersonations.

101_0119.jpg


I have stripped the tube down ready to clean and paint - two questions for those in the know 8)

1/. Are the bolts holding the hub assembly to the elbow (255429) high tensile ones or will standard stainless ones do the job?

2/. Can the elbows be repaired? by welding and grinding or whatever.

I have managed to find a good pair in a local scrapyard (How lucky was that??) but would like to repair the originals to keep as spares.

Richard

PS When you paint the elbows with that thick red oxide stuff then coat it again with a thick black shiny paint, don't paint the threads of the bolts holding them to the hubs as they are a real pig to undo afterwards! <sweat> :shock:
 
This is why I want to strip my rear suspension too when I've done my welding. I just can't leave it to fail at some unknown time. Want to get mine all painted up and maybe reinforced..... I'll be very interested to see what you do with yours, I could well be copying you. :)
 
You really have to be carefull with those elbows, it's very hard to see the condition without giving them a good poke.

On my old convertible I had a look at the drivers side elbow, looked crusty to start with, but with a gentle poke I uncovered a small hole.

sus1.jpg


With a bit more poking it opened up to this...

sus2.jpg


And finally it ended up basically breaking off, remember this is with no more than wire brush & screwdriver

sus3.jpg
 
quattro said:
1/. Are the bolts holding the hub assembly to the elbow (255429) high tensile ones or will standard stainless ones do the job?

Right, for anyone interested, these bolts are indeed grade S High Tensile bolts and stainless ones will NOT do. They are 5/16 UNF x 1 1/8" long. Better get some :)

Richard
 
I have managed to clean up, paint and replace the power steering box, damper, track rod assembly, rest of the brake pipes, and that pesky little clutch master cylinder - what a job that was. The outlet pipe would not go on with the cylinder bolted into place, and the cylinder would not fit with the outlet pipe on! Not only that, but the clutch cylinder brackets were partly held on with a bolt which came out of the chassis leg behind the brake master cylinder, and is NOT a captive bolt. So I had to remove the brake master cylinder, remove the bolt to clean it up, try to replace it, drop it into the chassis rail, find another one, fit that, then try to hold it in a highly inaccesible place when doing up the nut.

Skin was lost, but it is now all in place 8)

I was going to replace the brake fluid resevoir bracket with a stainless one but found the original was in very good condition, apart from the rust. A few minutes with some solvent and a bench grinder cleaned it up, and some silver engine enamel brought it back to life. Looks great now.

101_0213a.jpg

101_0212a.jpg


A bit different to what it looked like back in February

I do find that looking back at pics really does help with the enthusiasm. The first time I did this back in the late 70s, there were no digital cameras, and if you wanted to take pictures you would have to buy films, then send them off to have them developed. Pricey and time consuming, a bit easier now :)

100_8364a.jpg
 
A few years back one of my de dion elbow broke, luckily I was pully away from lights although had been doing 80+ on the motorway not and hour before hand.

I got a replacement and had a friend gas weld a couple of strengthening plates before getting them galvanised.

The failure put the wind up me and I very nearly gave up driving P6 and old cars.

I considered paint but was worried about getting the inside protected.

when I get the car back I am going to send the trailing arms off to get done. I was quite cheap to have done.

Loving the resto, will look nice when back together.

Colin

385905530e5e57ee2acf8676552a98104f2d2b499ed1ad2817addd24.jpg


43182324fd386119ca673f35a7e4f008adafa1ac3b01c1d34af58f17.jpg


14747481b734bd40418a3f19c8855905789987f8888ddfdac00b0db0.jpg
 
arthuy said:
A few years back one of my de dion elbow broke, luckily I was pully away from lights although had been doing 80+ on the motorway not and hour before hand.

I got a replacement and had a friend gas weld a couple of strengthening plates before getting them galvanised.

The failure put the wind up me and I very nearly gave up driving P6 and old cars.

I considered paint but was worried about getting the inside protected.

when I get the car back I am going to send the trailing arms off to get done. I was quite cheap to have done.

Loving the resto, will look nice when back together.

Colin

A few (lot) of years ago when traffic was a lot lighter, speed cameras were a thing of dreams (bad ones), and I was a lot younger and somehow indestructable, I took ol' Thunderdog down a long dual carriageway late one night and booted it. Because that's what youngsters did.

I had an indicated 140mph but it was a little vague on the steering and sparks were coming from the back. :shock:

The next day I left home and as I accelerated away from home the back end collapsed. The O/S trailing arm had broken in half under the spring dropping the whole car onto the road. :shock: :shock:

Scary
 
I am sorry that they photos don't show. there is some problem with photobox which they have never been able to explain or recitfy. They were a couple of elbows, one crusty and one gleaning in Galv.

I think we should have a thread for photos of the grottiest P6 parts.


Colin
 
Thought I would have a bit of an update.

I have injected the Dinitrol – what a messy job that was.

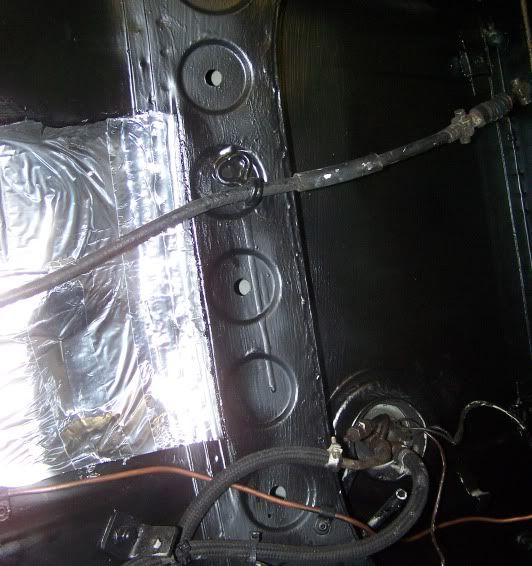
I have never done this before so I don’t know if all P6s have these ready stamped out holes in them.

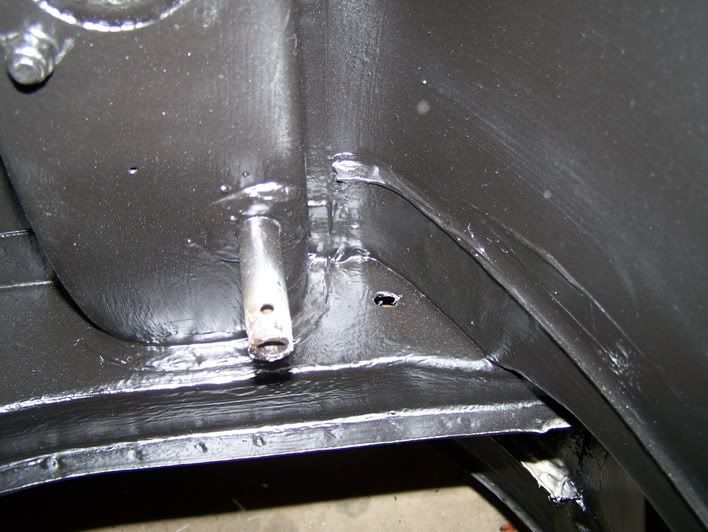
I started with this one, as it’s the furthest back on the chassis rail. You can feed the probe right back to the back of the car beside the boot.

101_0171b.jpg

These others go along the length of the chassis rail. While here, I sprayed in and around the spring seat and found a deep void just in front of the seat which I gave a good dousing of wax. I also fed the probe up inside the bump stops and soaked the inside of them.
101_0172b.jpg

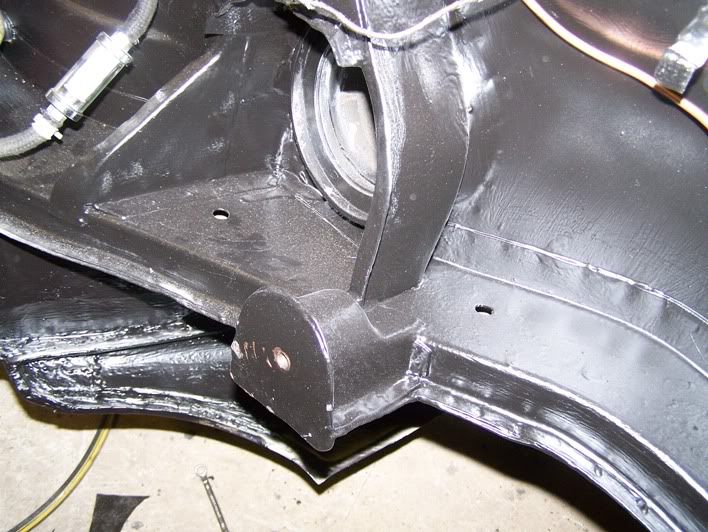
There is another hole in a box section forward of the suspension cross member. I sprayed in and around the suspension cross member mounts
101_0174b.jpg

I soon discovered that it is best to feed the probe as far as you can then pull the trigger on the gun and slowly pull it out, wiggling it as much as you can to get more coverage. If you open the trigger on the way in, you cover the probe with wax and then get it all over you when pulling it back out.
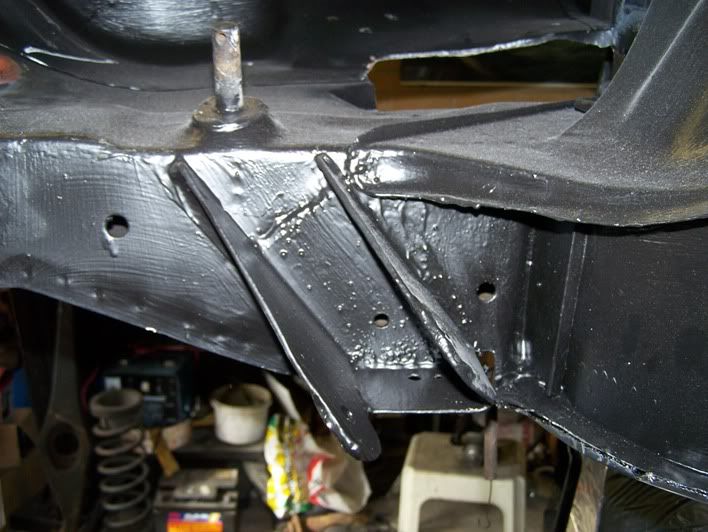
The two cross members have good access and were duly treated.
101_0176b.jpg
101_0175b.jpg

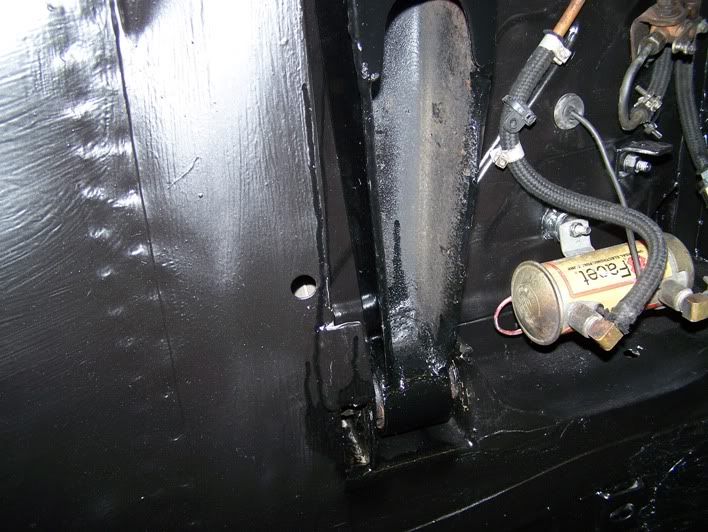
The front chassis rails are also covered in these holes, so they were all injected in every direction.
101_0182b.jpg

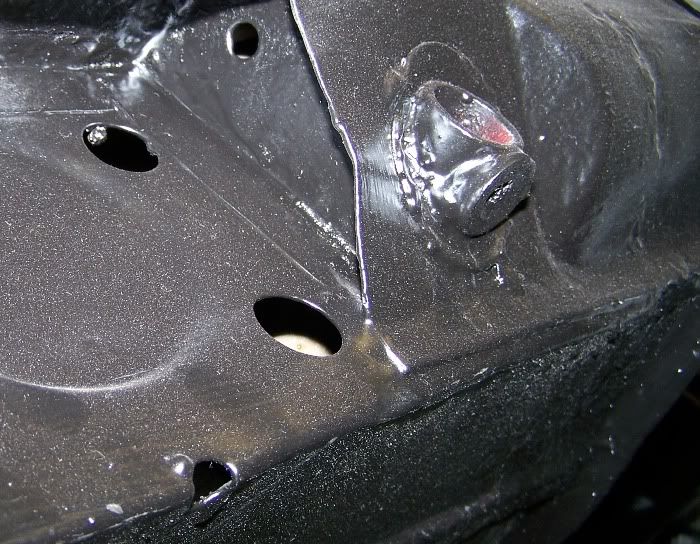
The ones on the back of the engine cross member still have their caps on as they are not needed for injection.
101_0180b.jpg

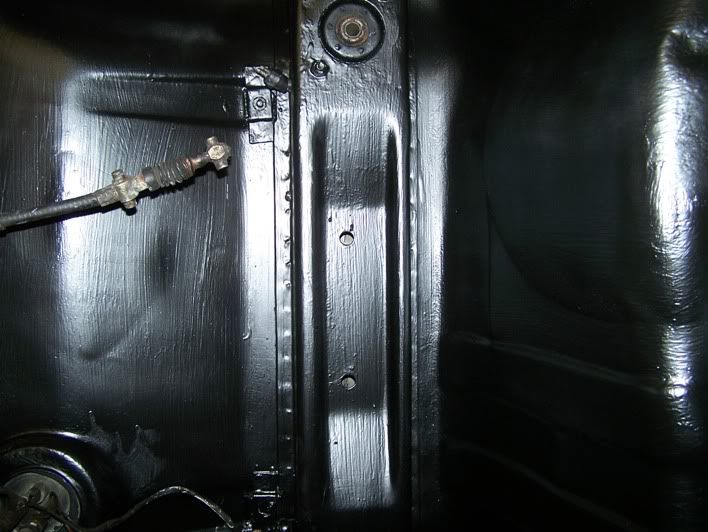
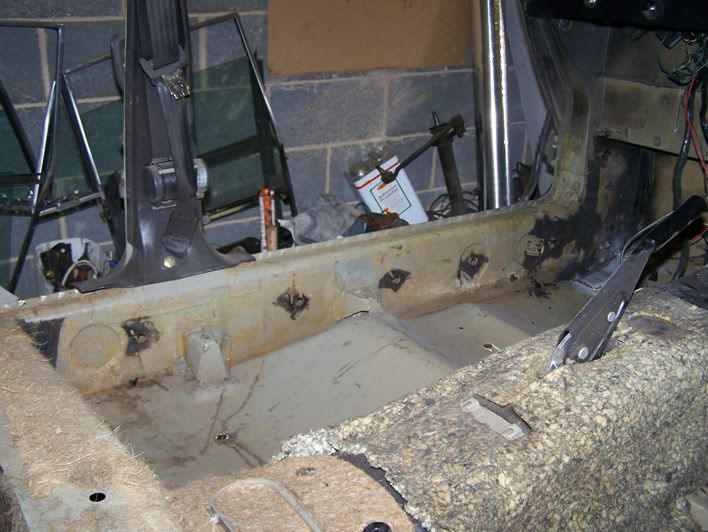
The sills are next. The rear of the sill had ample access
101_0177b.jpg

The two large holes are useful here, and the drain hole is also big enough for the probe. The hole above the jacking point has another one directly in line with it the other side of the jacking point. The probe can be fed straight through here into the rounded void on the outside of the rear of the sill. Then to the inside where there are 5 holes on the inside of each sill.
101_0189b.jpg

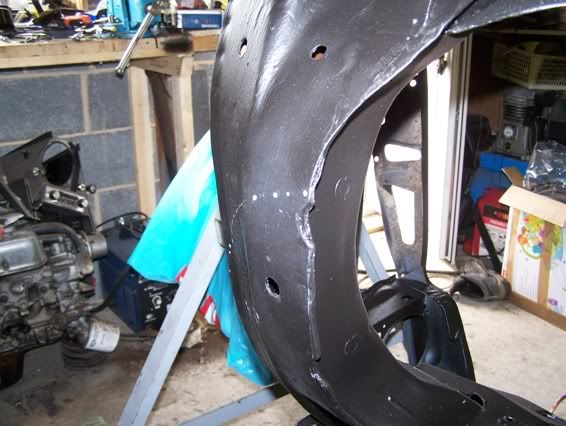
There are also access holes at the bottom of the D post and B/C Post.
101_0186b.jpg
101_0178b.jpg

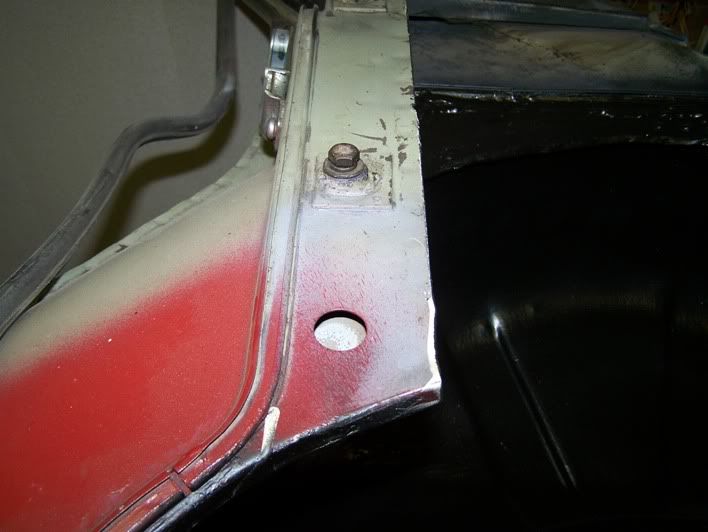
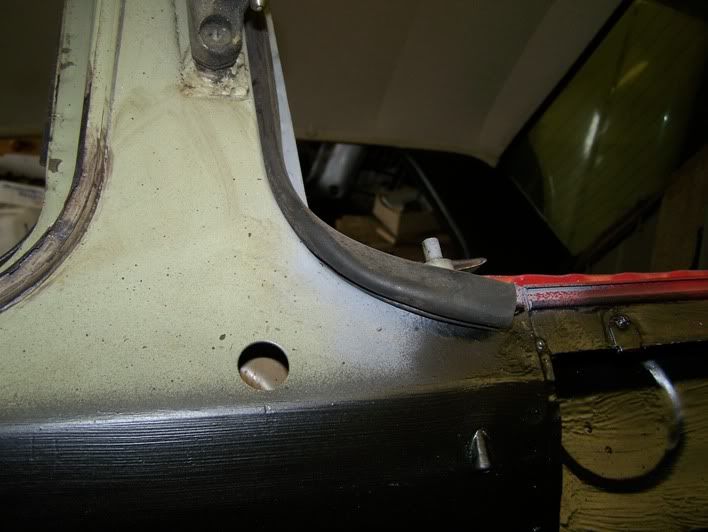
As well as one each side of the rear under panel – is that supposed to be braised on?
101_0185b.jpg


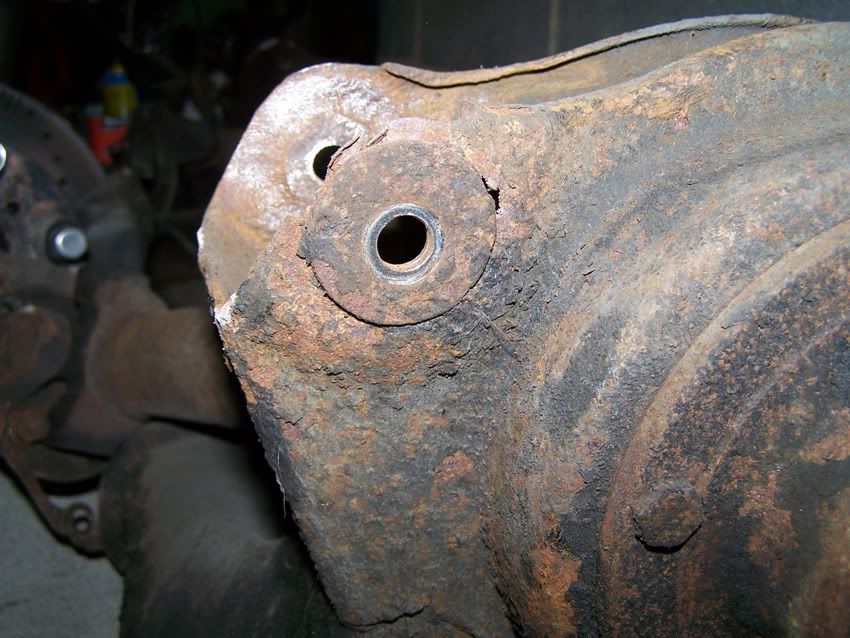
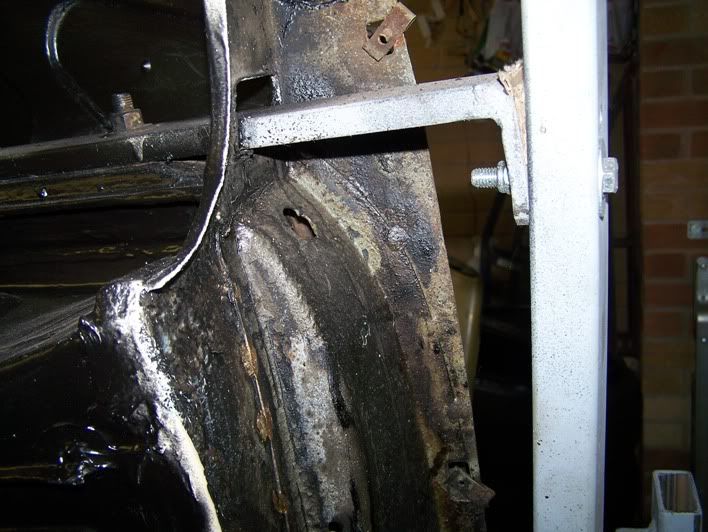
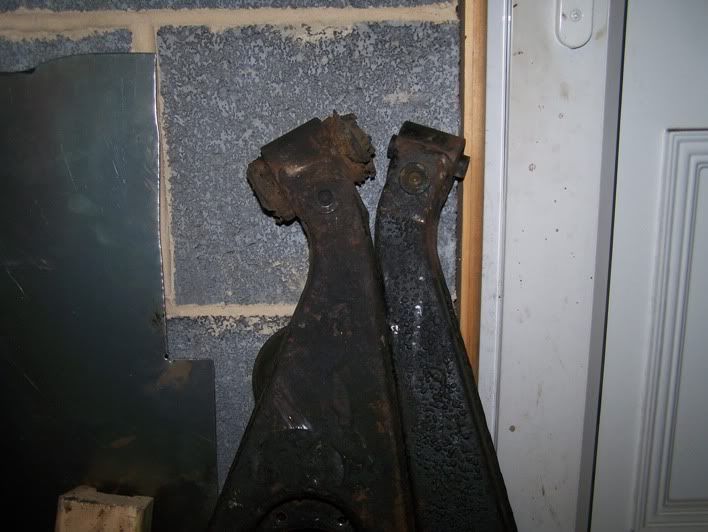
Don't forget to treat the inside of the trailing arms, these bungs are removable - looks like some bush renewal practice is on the way :roll:

101_0193b.jpg


The gun played up a bit when it was nearly empty. It decided to empty the remainder of its contents in one go, all over the floor of the car and the wiring loom :shock: I was ready the next time it did it and just popped off the air line, but this had no effect and it still unloaded its contents, this time all over the top of my newly painted inner wing :twisted:

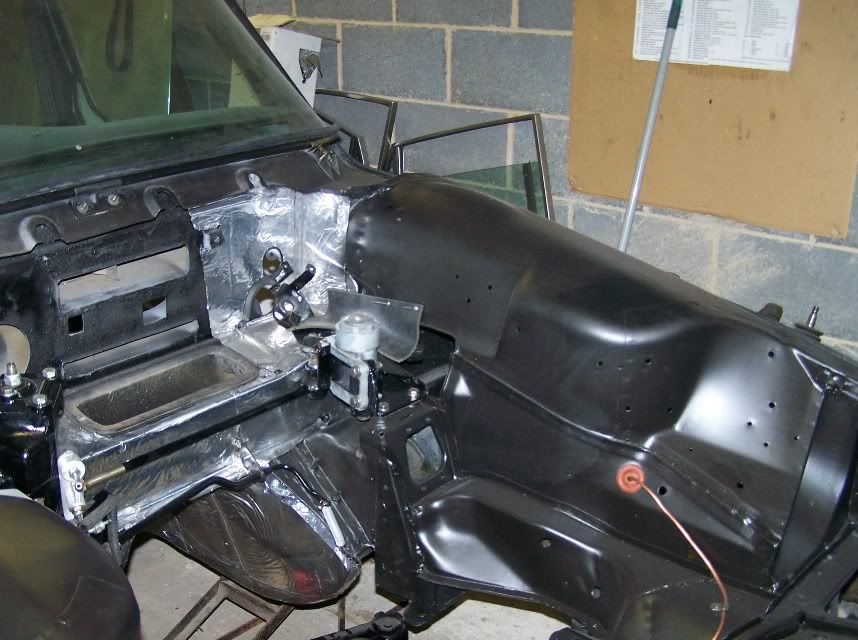
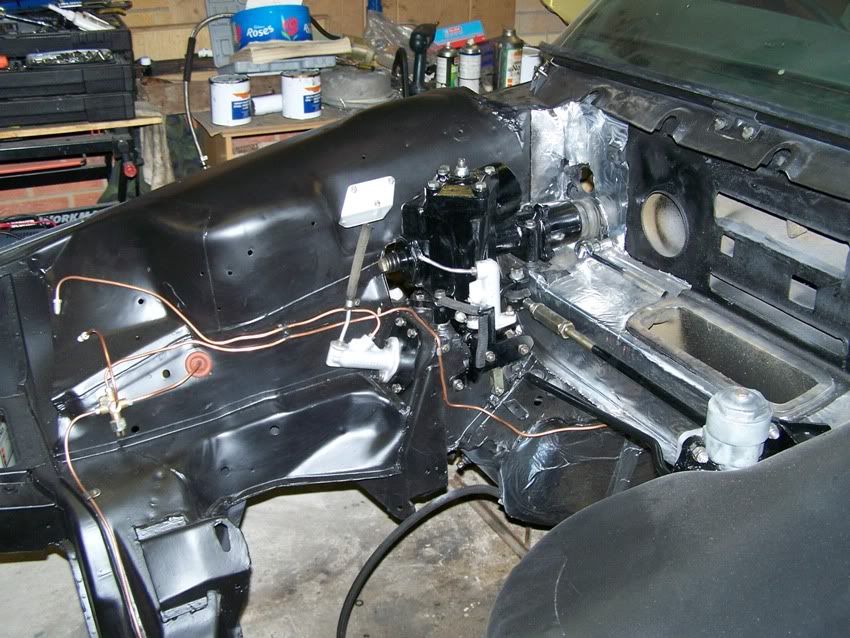
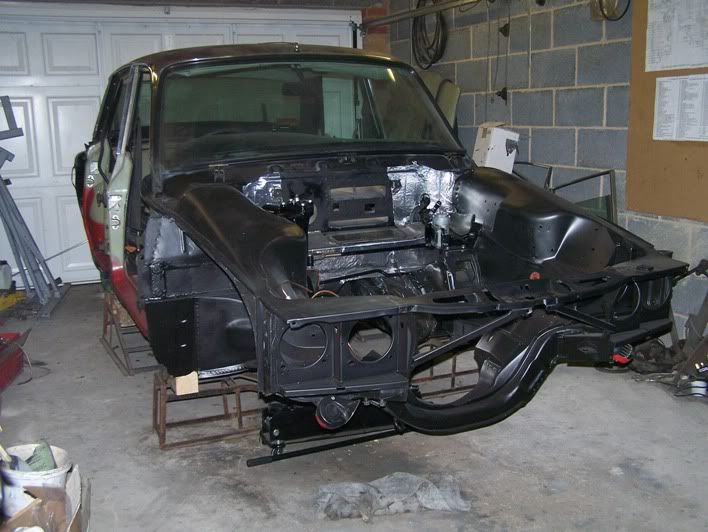
Now off the spinner and ready for reassembly :D

101_0211b.jpg
 
Mick Aston's great-great Grandson should be digging Sparky up in a couple of hundred years or so & I doubt if there'll be much corrosion for Tony Robinson's great-great grand nephew to comment upon. :LOL:
 
Great work, also looks like you've got a really good coat of that black epoxy on too, this thing should really last ! :LOL:
 
Back
Top