

You are using an out of date browser. It may not display this or other websites correctly.
You should upgrade or use an alternative browser.
You should upgrade or use an alternative browser.
1967 2000TC - HOT
- Thread starter testrider
- Start date
Dave3066
Well-Known Member
Great work as always Paul. Good to see you making progress with HOT.
Have you done a trial fit of any panels yet? I'd hate to see you finish the front end only to find the panels don't align.
I'd imagine the P6 base unit is perhaps more forgiving in that respect when compared to a standard chassis, but it's always worth hanging the panels to check fit before moving on to completion and surface finish.
Dave
testrider
Active Member
I haven't actually tried to fit any panels yet, but the front wing mounts are within a millimetre of the measurements given in the workshop manual and I also took other measurements from the bulkhead to grill on other cars so I'm confident it'll work.
I'll probably try the wings before I paint it though.
I'll probably try the wings before I paint it though.
testrider
Active Member
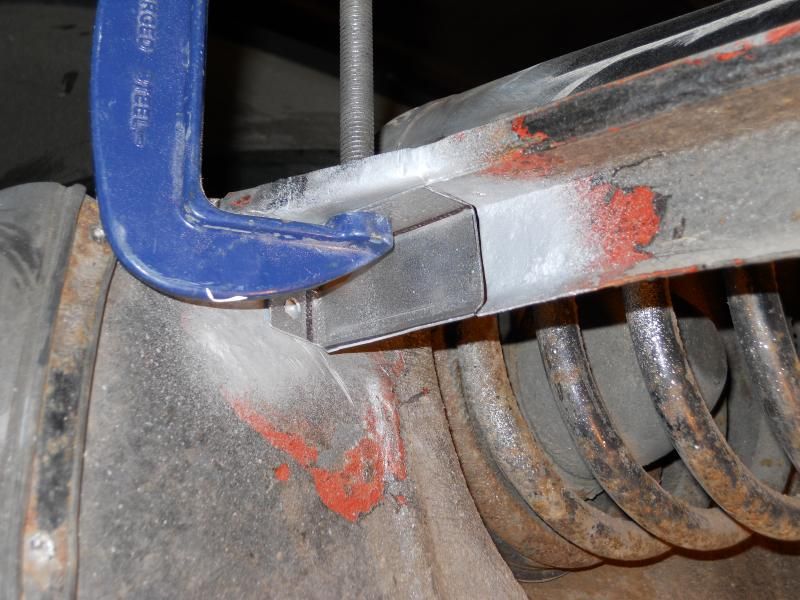
Here's one of those pesky last little bits I need to sort out before painting - just in front of the bonnet hinges at the top of the bulkhead.
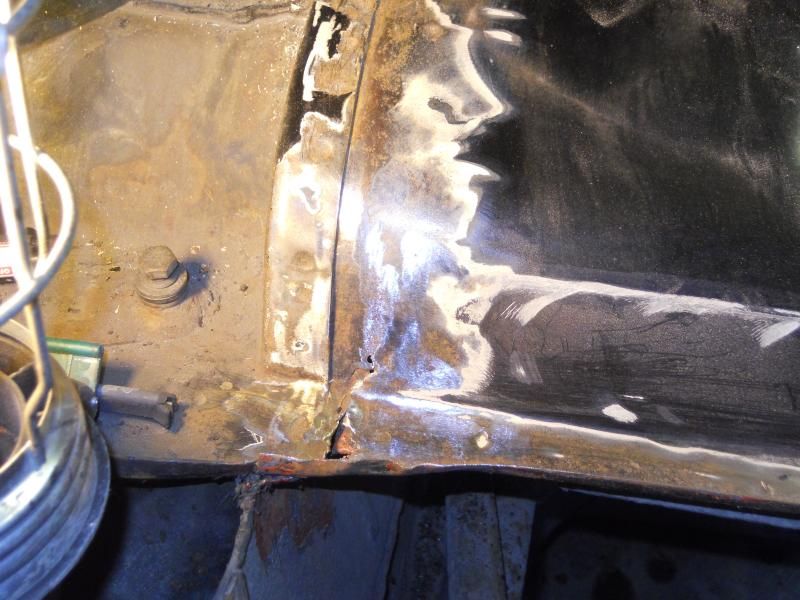
There was a slight ripple in it from the impact which won't flatten, but it hasn't affected the alignment of the front end and the new piece will be flat.
It was fiddly to get in here with the cutting disc on the angle grinder. The spot welded seem on the wing top over the springs is actually triple thickness so I had to make sure I left enough to weld to without disturbing it.
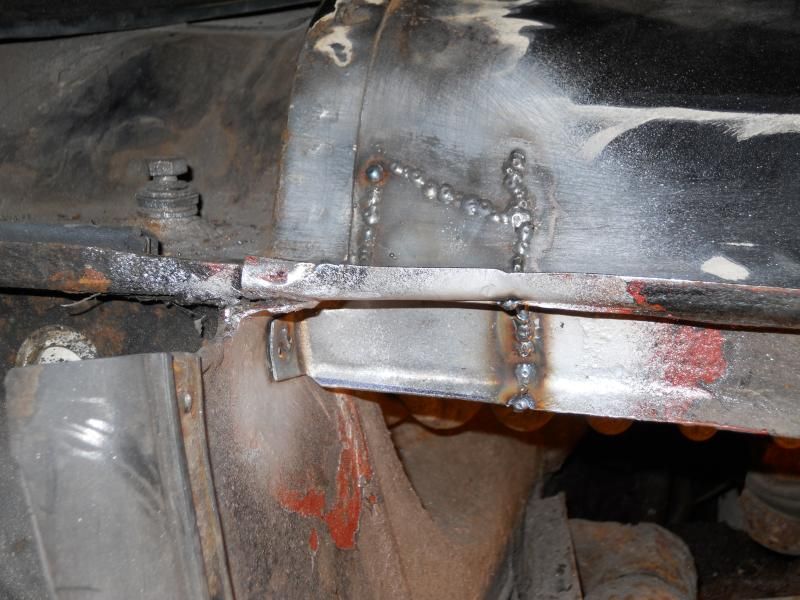
This is the top section welded in - that took about a hour to shape and fit properly.
Bottom piece ready to go in on the end of the hockey stick.
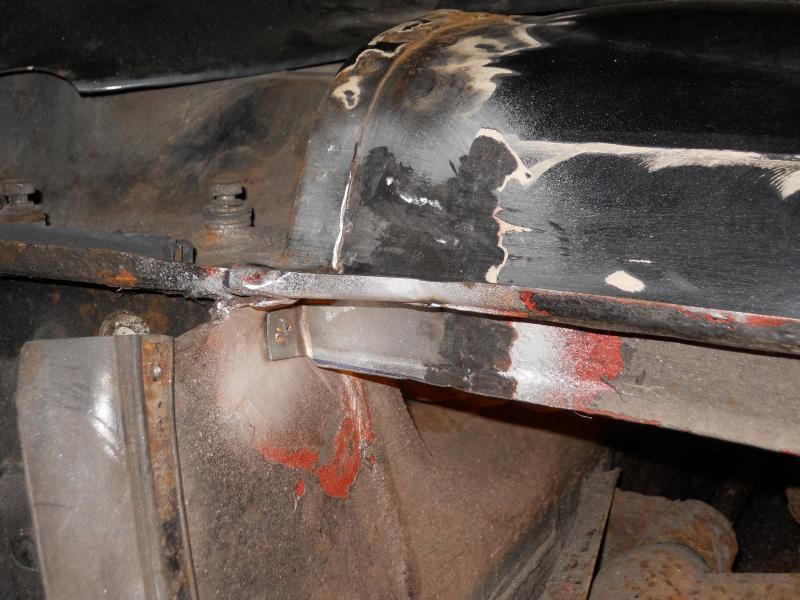
Grind back and admire.
Repeat on the other side.


There was a slight ripple in it from the impact which won't flatten, but it hasn't affected the alignment of the front end and the new piece will be flat.
It was fiddly to get in here with the cutting disc on the angle grinder. The spot welded seem on the wing top over the springs is actually triple thickness so I had to make sure I left enough to weld to without disturbing it.

This is the top section welded in - that took about a hour to shape and fit properly.

Bottom piece ready to go in on the end of the hockey stick.


Grind back and admire.

Repeat on the other side.
marcus/rosie
New Member
Now your just showing off lol.  That is one pampered car , its going to be in great condition with all this work and all that you have already done, Great stuff this car will last for many years to come. I m loving that a little old 2000 is getting so much work. I was going to break up my rosie as a doner but seeing your work as changed my mind. Great work.
all the best marcus
That is one pampered car , its going to be in great condition with all this work and all that you have already done, Great stuff this car will last for many years to come. I m loving that a little old 2000 is getting so much work. I was going to break up my rosie as a doner but seeing your work as changed my mind. Great work.all the best marcus
testrider
Active Member
marcus/rosie said:Now your just showing off lol.
I'm just as surprised that I can do it as you are though!!
Glad to hear you're keeping your car rather than breaking it.
testrider
Active Member
catboy said:Looks a good welder, more control than my draper " that's my excuse anyway "
I specifically chose the 100e because it has 6 settings rather than the more usual 4. I'm pleased with how it works, although the tip shroud is longer than on my Dad's welder so it took me a while to get used to holding the torch closer to the metal.
rockdemon said:The clarke ones do seem the best budget buy ( watch for the vat free offers at machinemart.... )
That's the one :wink:
testrider
Active Member
I thought Wadhams sold them, but they only list it complete with the upper section. If you don't need to replace the front wing mounts the Hockey stick isn't a complicated panel to make yourself.
Edit - Looking at the Wadhams catalogue there's doesn't include the wing mount section anyway.
Edit - Looking at the Wadhams catalogue there's doesn't include the wing mount section anyway.
testrider
Active Member
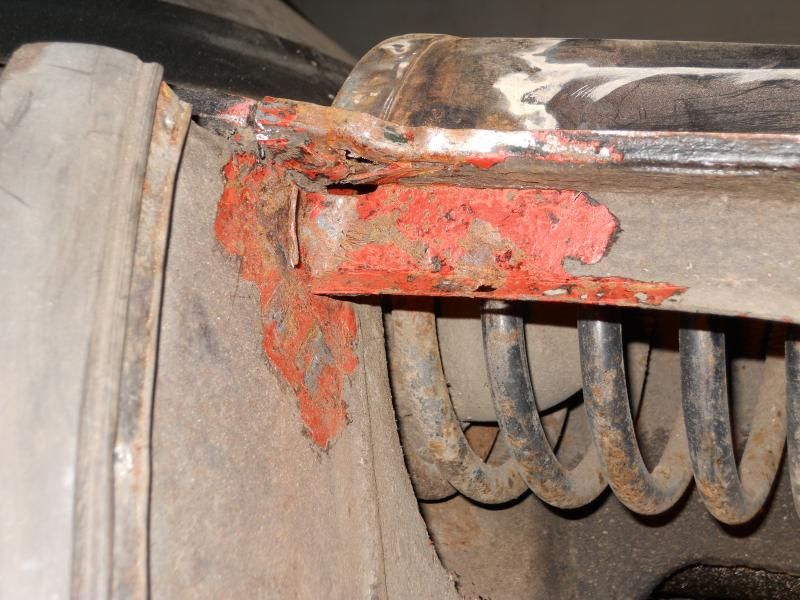
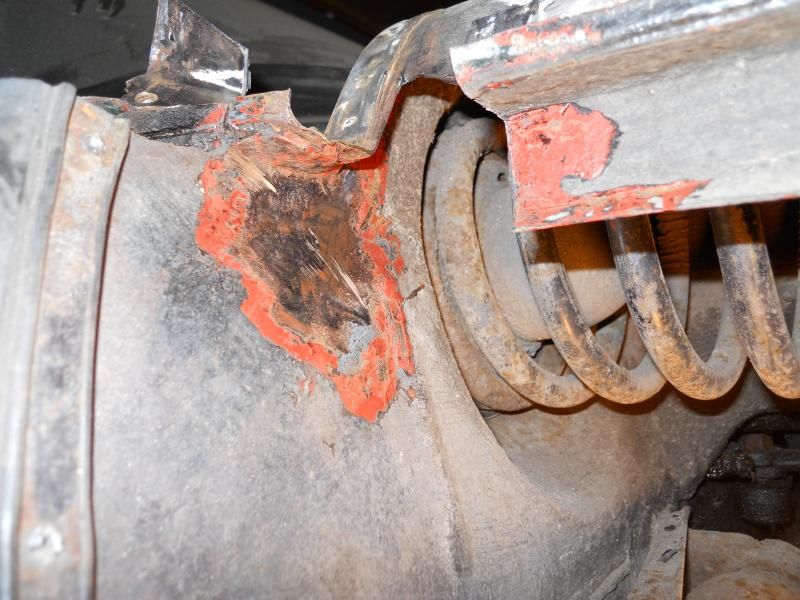
testrider said:Repeat on the other side.
Here we go again!!

That quickly turned into this.


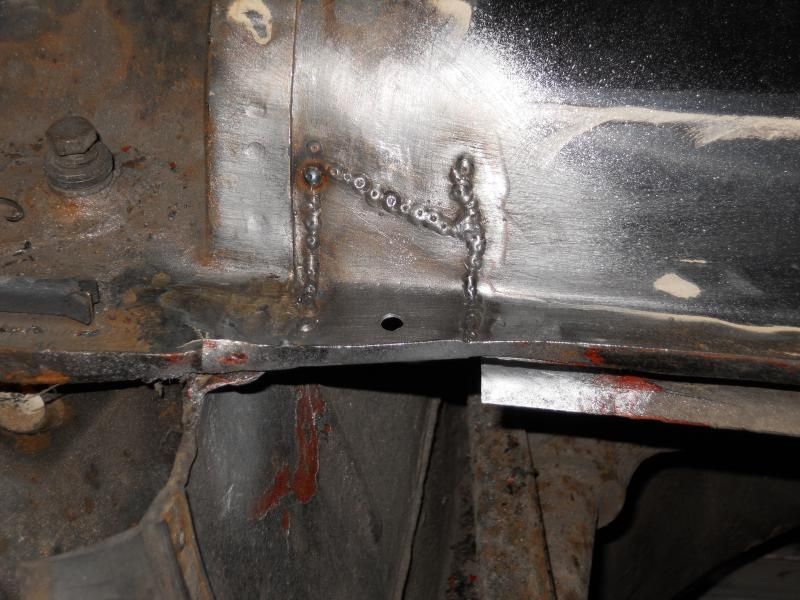
Doesn't look too bad once it's cleaned up and covered in weld through primer.

This is the last repair piece on the car!!! One rust free base unit thank you very much.


Can't pack the welder away just yet though, these four screw holes must have held a dealer plaque or something, but they're no longer needed so I blobbed them up.


The last little bit of welding will be adding a couple of clips to retain the wiring loom on the cross member, but they shouldn't take too long then it'll be prepping for paint.
testrider
Active Member
One year on! It's a year today since the accident so it's time for another progress report. In that year I've gone from thinking I'd have to write it off and strip it for spares, to straighten it as best I can to get it on the road quick through to cut all the bent and rusty patches out and do it properly.
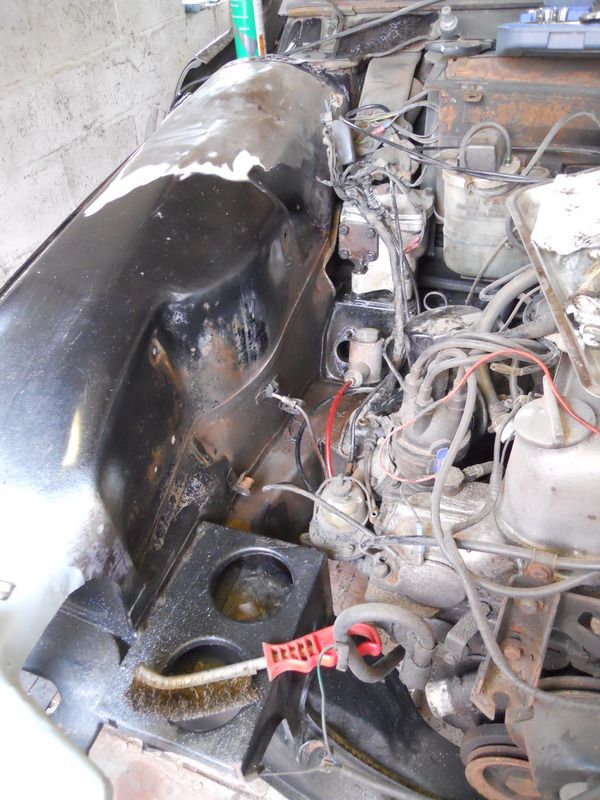
With that in mind and given that the MOT ran our a two weeks ago I couldn't just blow a bit of satin black spray over the affected areas and stick the panels back on, so I stripped back the wiring and braking circuit so that I could prepare and paint the inner wings and chassis rails properly.
On either side of the engine bay are earth points for the wiring, one near the fuse box and one next to the dynamo control box, and they're just self tappers through eyelets into the body and usually rusty so I decided to fit little earth studs by welding short No.10 UNF bolts on instead.
This is the one next to the control box.

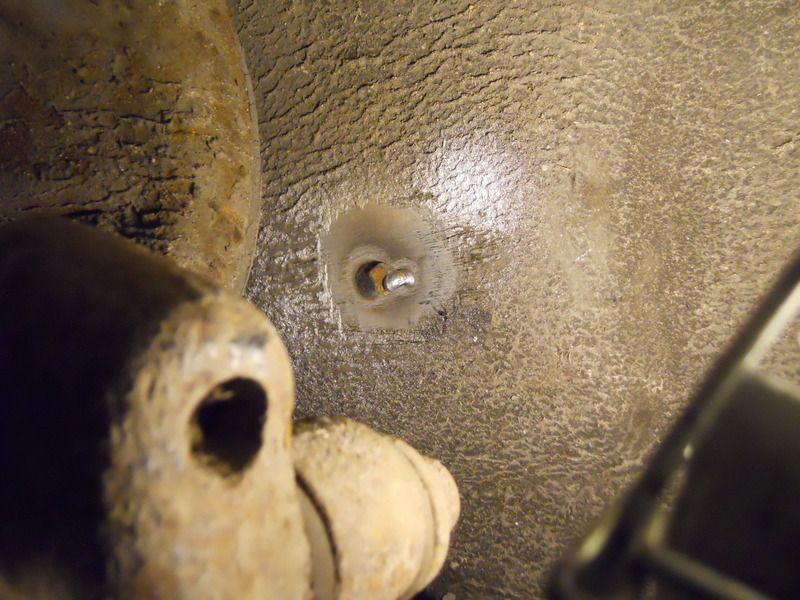
And how they'll work when the wiring's back in. Hopefully a more reliable connection than before.

The next job was to strip back the wing tops to bare metal and apply a small amount of filler to the joining welds and some of the pitted areas that were hidden under the old paint.
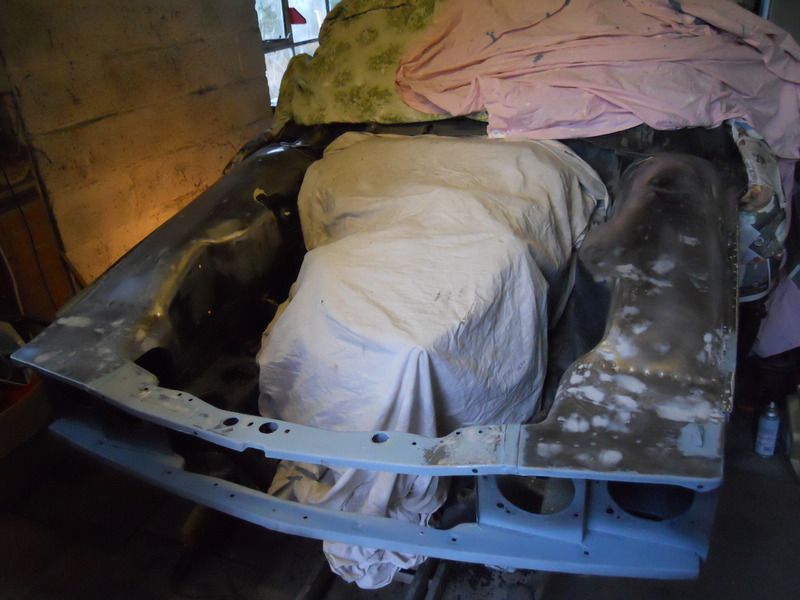
Once that was flatted back it was time for primer.
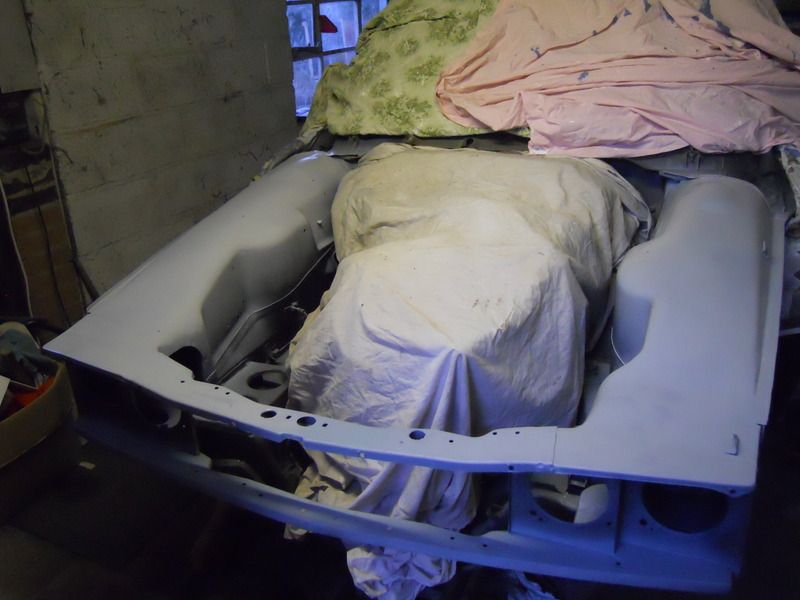
Now that's dry there's more flatting back to be done and I'll probably add a couple of coats of high build primer to get it all level before the satin black top coat. The eagle eyed amongst you will have spotted that the lower part of the engine bay hasn't been primed yet, well there's a plan for that, it will be painted in Epoxy Mastic 121 first to protect it from brake fluid and battery acid etc.
With that in mind and given that the MOT ran our a two weeks ago I couldn't just blow a bit of satin black spray over the affected areas and stick the panels back on, so I stripped back the wiring and braking circuit so that I could prepare and paint the inner wings and chassis rails properly.

On either side of the engine bay are earth points for the wiring, one near the fuse box and one next to the dynamo control box, and they're just self tappers through eyelets into the body and usually rusty so I decided to fit little earth studs by welding short No.10 UNF bolts on instead.
This is the one next to the control box.


And how they'll work when the wiring's back in. Hopefully a more reliable connection than before.

The next job was to strip back the wing tops to bare metal and apply a small amount of filler to the joining welds and some of the pitted areas that were hidden under the old paint.

Once that was flatted back it was time for primer.

Now that's dry there's more flatting back to be done and I'll probably add a couple of coats of high build primer to get it all level before the satin black top coat. The eagle eyed amongst you will have spotted that the lower part of the engine bay hasn't been primed yet, well there's a plan for that, it will be painted in Epoxy Mastic 121 first to protect it from brake fluid and battery acid etc.
Dave3066
Well-Known Member
testrider said:One year on! It's a year today since the accident
How time flies! Looking good Paul.
Dave
