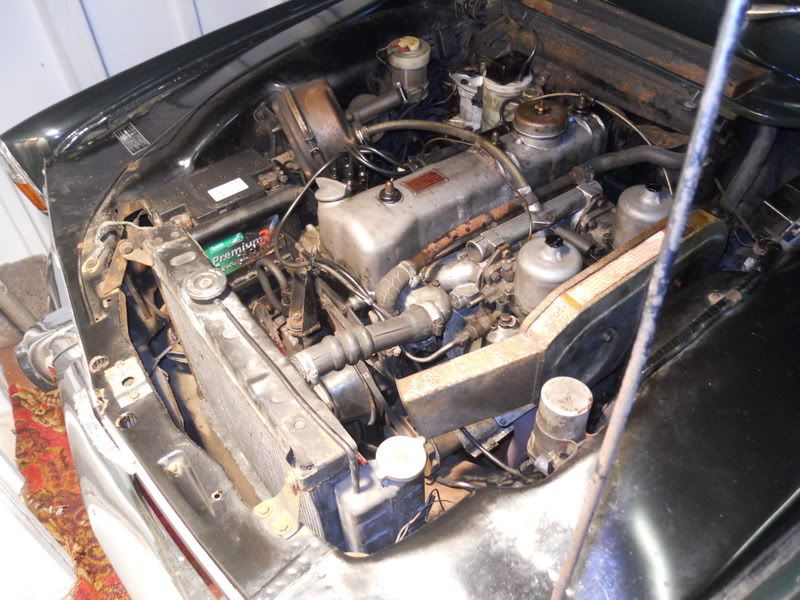
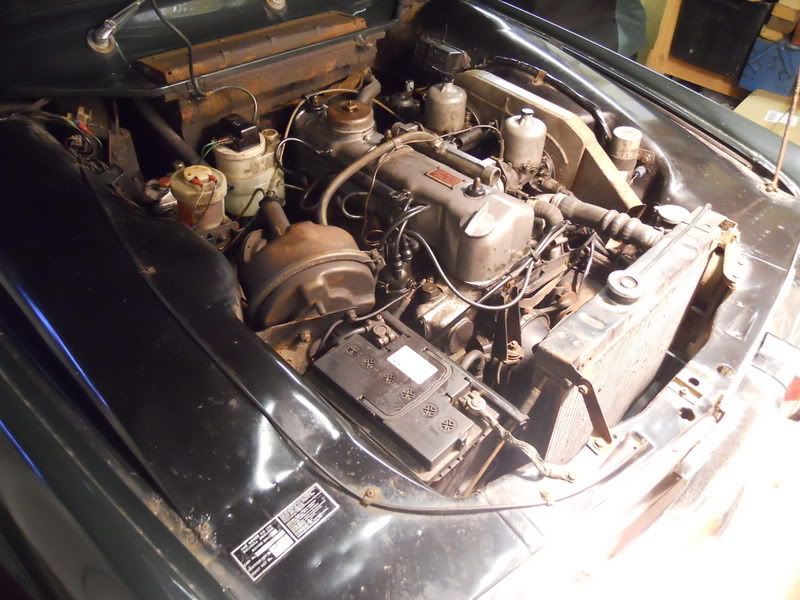
1967 2000TC - HOT

testrider said:
I checked the valve clearances over the weekend and I think they're a bit tight:-

4 ex = 13thou
4 in = 9
3 ex = 11
3 in = 9
2 ex = 6
2 in = 9
1 ex = 11
1 in = 8

Could no.2 exhaust be the cause of the popping at idle given that it should be closer to 15thou?

I'm not quite sure what you mean by "popping". If you mean it spits back through the carb then no, that would need an almost zero clearance on the exhaust valve to make it exhaust through the inlet, or though the higher you rev it, the sooner it will happen. If you just mean it sounds a bit odd with an uneven idle then it's quite possible those clearances probably combined with other things could be causing it. If you have no reason to remove the head, then I'd leave it where it is and just reset the clearances. That #2 exh is a minimum of 7 thou tight. You've really only got 3 clearances to worry about there, and a couple of them wouldn't really be worth worrying about if you didn't have that really tight one. I hope you left the car stand overnight before checking them.
 
Thanks Harvey, I should have explained more - the popping sound I can hear is from the exhaust and the idle is uneven too, between 650 and 1000rpm.

I'll get the clearances set, then make sure the ignition timing is right before moving on to the carbs. The WM mentions spacer tubes to replace the cam bearing caps so as not to disturb the head gasket, are these just any old bit of pipe?

Do all the usual suspects stock tappet shims?
 
testrider said:
I'll get the clearances set, then make sure the ignition timing is right before moving on to the carbs. The WM mentions spacer tubes to replace the cam bearing caps so as not to disturb the head gasket, are these just any old bit of pipe?

No, they have to be pretty substantial to resist being crushed by the head bolt torque. You could use a pile of washers I suppose.
I cut up cam bearing caps and used those, but I am going to get a nice shiny set of stainless spacers made up.

testrider said:
Do all the usual suspects stock tappet shims?

I don't know, but I have a firly comprehensive shim library available to plunder at reasonable prices. (Well, I think they're reasonable... :LOL: )

Personally I'd do a compression check before I started just to make sure that tight clearance isn't giving a very low compression because the valve is on the way out.
 
testrider said:
I don't think the timing is as retarded as that, but I can only make out the TDC marking on the flywheel. Are there degree markings on the crankshaft pulley too?

Yes, there is another mark on the pulley wheel, but I'm not sure if it was present on some (earlier??) models. What I do know is that they weren't necessarily put on correctly in the factory, so set it to TDC at the flywheel and then check at the pulley. The spiked marker is just below the water pump on the left (as you're looking at it), and TDC is marked up with a scale of 10 degrees in either direction.

If you're doing the spacing, why not get the head off (you're halfway there anyway), as you can have a proper poke around, check the condition of the valves, piston ring gaps, bore condition, etc, and have a bloody good decoke! Grinding the valves will do a lot to restore an even compression too, and you'll never have to do it again....

Michael
 
Grinding the valves will do a lot to restore an even compression too, and you'll never have to do it again....

Plus all the gaps will have changed once you've done that, so there's no point re-shimming beforehand.

A good decoke and regrind usually makes a world of difference.
 
webmaster said:
Grinding the valves will do a lot to restore an even compression too, and you'll never have to do it again....

Plus all the gaps will have changed once you've done that, so there's no point re-shimming beforehand.

A good decoke and regrind usually makes a world of difference.

I'm not sure I actually need to do that having had a good read of the maintenance records. It shows an engine swap in 2000 followed by another in 2003, then a cylinder head overhaul with new chains and tensioners in 2005. It's done less than 12000 miles since then I reckon the gaps just need resetting.

I took some engine bay pictures for Brian-Northampton today.

DSCN7572.jpg


DSCN7576.jpg


It's pretty solid, just covered in dirty oil and grit so it shouldn't take too long to clean up. If I get time before Spring I might paint the inner wings and engine bay too.

During all the engine swapping it looks like someone decided the oil cooler wasn't needed and disconnected it. Where should it connect to - under the oil pump somehow?

DSCN7577.jpg


You can see the oil inlet and outlet at the bottom of the radiator plugged up with some rags.

The paint on the bootlid was in a shocking state but a quick smudge with some wax had it a little more presentable. It will nee painting soon though as there are patches that are bare metal.

DSCN7578.jpg


The over riders will be coming off shortly and the bump may get transfered on to EMF as the chrome is in slightly better condition.

I think the decker panel is past saving though. There are quite a few holes and the threaded supports underneath are missing. Any one got a spare for sale?

DSCN7581.jpg


DSCN7580.jpg


Finally a couple of shots inside. It looks ok in the pictures, but all the vinyl/plastic parts are faded so I'll spray them with vinyl paint to freshen them up.

DSCN7585.jpg


DSCN7582.jpg


I'm also missing some teardrop headrests and I think I'll have to change the static seatbelts to inertia reels for my own sanity!

Plenty to do then, good job I've got a few days off over Christmas.
 
testrider said:
During all the engine swapping it looks like someone decided the oil cooler wasn't needed and disconnected it. Where should it connect to - under the oil pump somehow?

If you look down under the oil pump on the driver's side of the engine there are two large external metal reinforced flexible oil hoses, and the cooler is plumbed into one of these using longer hoses that go from engine to cooler and back again.
 
I'm not sure I actually need to do that having had a good read of the maintenance records. It shows an engine swap in 2000 followed by another in 2003, then a cylinder head overhaul with new chains and tensioners in 2005. It's done less than 12000 miles since then I reckon the gaps just need resetting.

Sounds like you're right, just reset the gaps and see how it goes.
 
testrider said:
Thanks Harvey. Is it worth reinstating?

Later cars didn't have one and didn't seem to suffer any adverse effects, plus yours has obviously been like it for a while so I don't think I'd be too worried about it.
 
testrider said:

Is that a factory coolant expansion tank! I've only ever seen pictures in the workshop manual

I have a couple of teardrop headrests in sandalwood if you want them Paul. They're just taking up space on a shelf at the moment.

Dave
 
That looks like a terrific buy, Paul! If you want some headrests, I've got spare of teardrops that you can have free. That's a very neat expansion tank there, I wish I had something similar fitted to my car! As regards fitting inertia reels to a series 1, my car has them, but in order to accommodate the standard series 2 intertia reels, you need series 2 spec seats, with the indent in the side, and a small stainless steel plate. Otherwise, there's not enough clearance for the intertia unit to work properly.
 
FrazzleTC said:
As regards fitting inertia reels to a series 1, my car has them, but in order to accommodate the standard series 2 intertia reels, you need series 2 spec seats, with the indent in the side, and a small stainless steel plate. Otherwise, there's not enough clearance for the intertia unit to work properly.

You are right, but my car had series 1 sandalwood seats in it when I got it (despite being a S2 with buckskin trim!) and I did find that you can get inertias in there (just) but it's really compromised. You need the slimline Securon 500/30 units (reasonable on ebay). Fitting them is a right palava, as you have to take the seat out, fit the belt retractor to the B-spot, and then put the seat back. Using the minimal lateral travel on the seat mountings and shoving the whole seat as far in towards the centre console as poss really helps. I found that the retractor mech works without obstruction if installed like this, but the seat can't be slid forward, or the backrest moved, without hitting the edges of the seat back colliding with the reel.
6513220411_55c77acd00.jpg

Needless to say, I found myself a set of S2 seats (in the right colour) pretty sharpish!

Michael
 
As far as I can tell the expansion tank is a factory item - it looks just like the one in the owners manual - I didn't know they were rare though.

EMF has Securon seat belt fitted and has similar looking seats without the cut out so I was just planning on using the same type. There's no rush with those though as I don't think I'll have all the snag list jobs finished and have it back on the road until about March.

Dave, your headrests sound like just the job if they're the same colour.
 
testrider said:
Dave, your headrests sound like just the job if they're the same colour.

Send me your address Paul and I'll get them sent to you once the Christmas rush has passed. Alternatively we might be heading down to Bedfordshire some time over the holiday and could drop them off when we pass you on the way down.

Dave
 
Does look good Paul!

Did you say wiper delay? That must be a retro-fit as it didn't come in until the series 2. Has it been dome with the standard vacuum tube set up and the white knob on the column shroud? A very usefull extra - I've got an electronic one to make up and fit to Lucky over the winter - driving in winter drizzle is a real pain without!

Chris
 
DSCN7572.jpg


That brings back some memories from my first ever car 8)

I can't remember the coil being upside down though :?:

Richard
 
chrisyork said:
Does look good Paul!

Did you say wiper delay? That must be a retro-fit as it didn't come in until the series 2. Has it been dome with the standard vacuum tube set up and the white knob on the column shroud? A very usefull extra - I've got an electronic one to make up and fit to Lucky over the winter - driving in winter drizzle is a real pain without!

Chris

Wiper delay all present and correct, yes. There's the (s)white adjuster on the steereing column and a normal (I think) series 1 switch with a delay position.

If it has been added in later it would explain the shonky wiring in that area. You can see the vacuum unit in the top left hand corner in this pic.

DSCN7576.jpg


Quattro, I think the coil must go that way round or else the wiring would rub on the underside of the bonnet.
 
Interesting that the air filter box doesn't have the summer/winter flap on it. Would've thought they'd had them from the start. It wasn't exactly new technology!

Paul, when you're next buried in the engine bay with a camera to hand, would you mind snapping the crankcase emission pipe for me please? I've gone back to the S1 setup on mine, but am not sure where the pipe is routed and secured. (It's the black one that comes out the front of the engine next to the water pump). Thanks!

Michael
 
I'll have a look for you Michael but I'm not sure there are any emissions bits on this engine. The dome on top of the cam cover house a gauze filter that vents to atmosphere.
 
Back
Top