happy days
Active Member
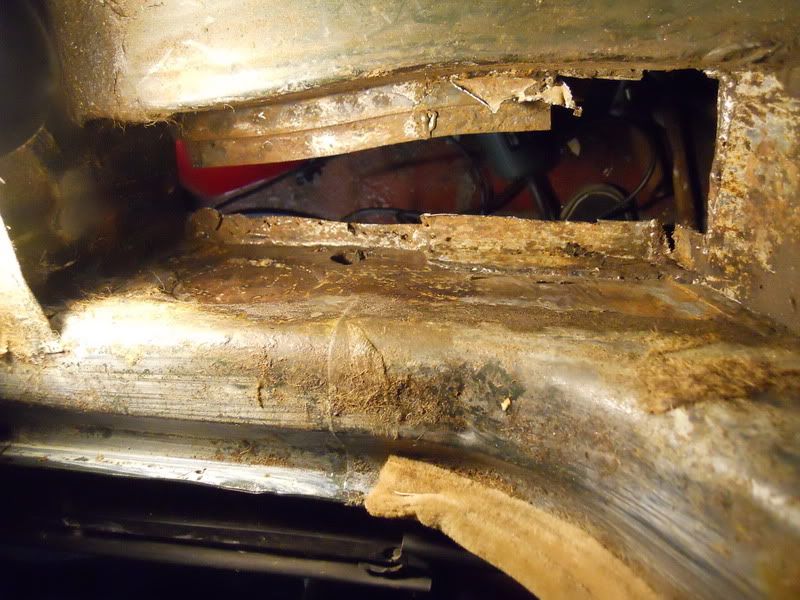
Is the heater box the same as fitted to a V8 ? If so looks a real pain to remove for any work on it.

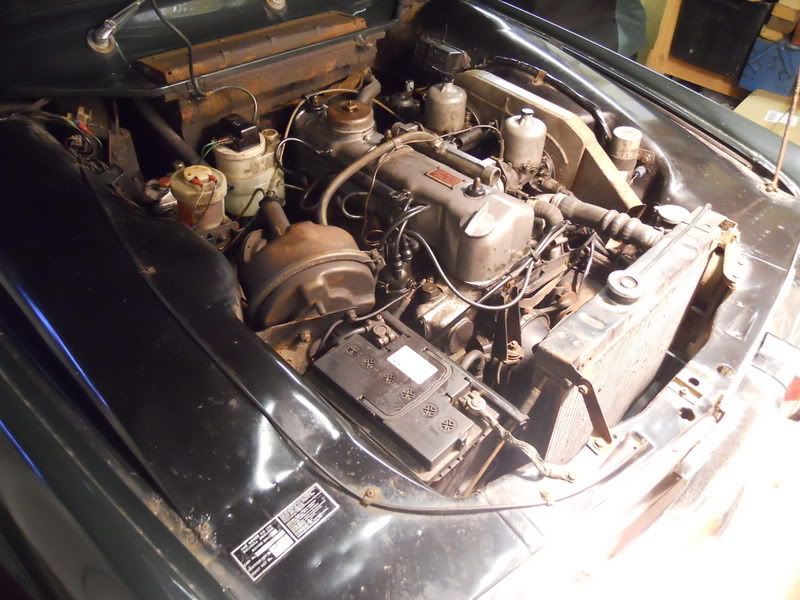
Demetris said:The coil position is correct for the year.
Demetris said:What makes me feel uncomfortable though is the naked negative terminal post on the battery. It is way too close to the servo,
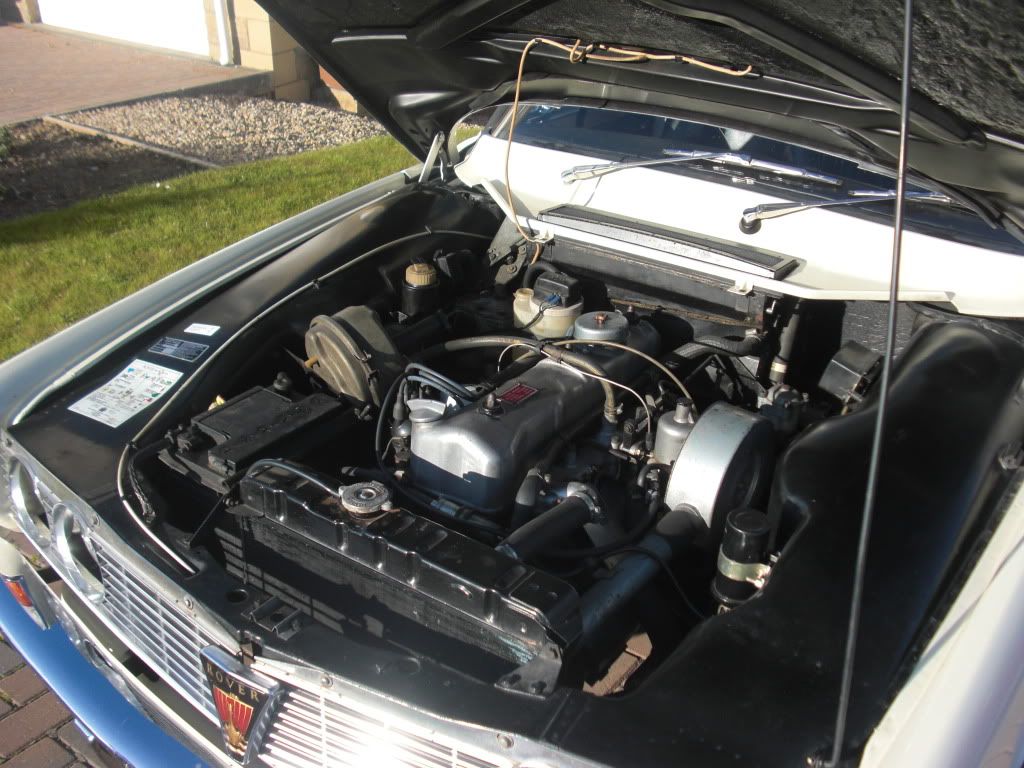
Dave3066 said:Negative earth car Demetris so that'll be the +ve terminal. You can probably make out from my photo above that my battery has it's posts on the other edge so a bit further away from the servo. Dave
testrider said:I didn't know that you could get batteries with terminals in different places.
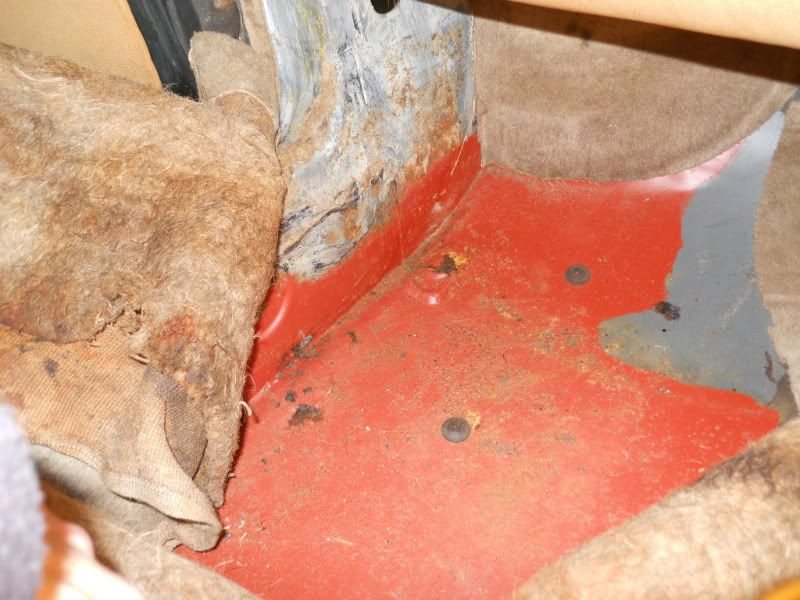
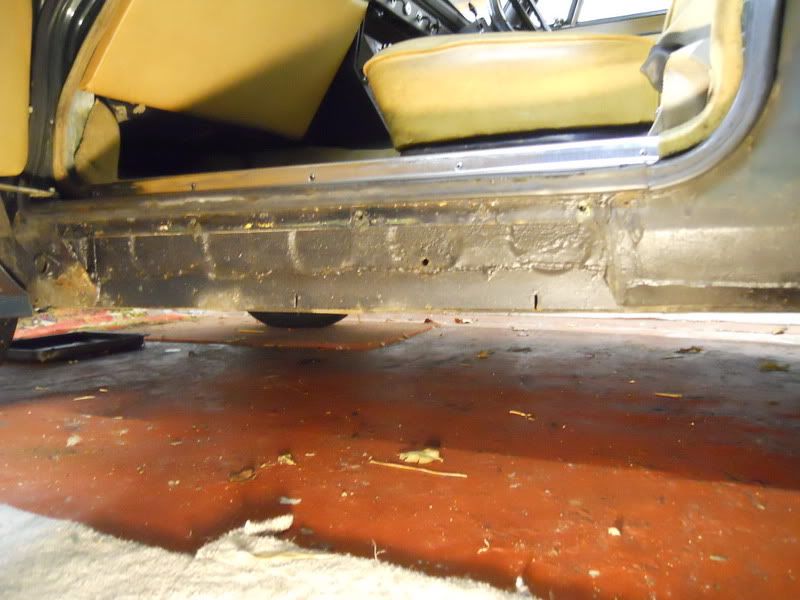
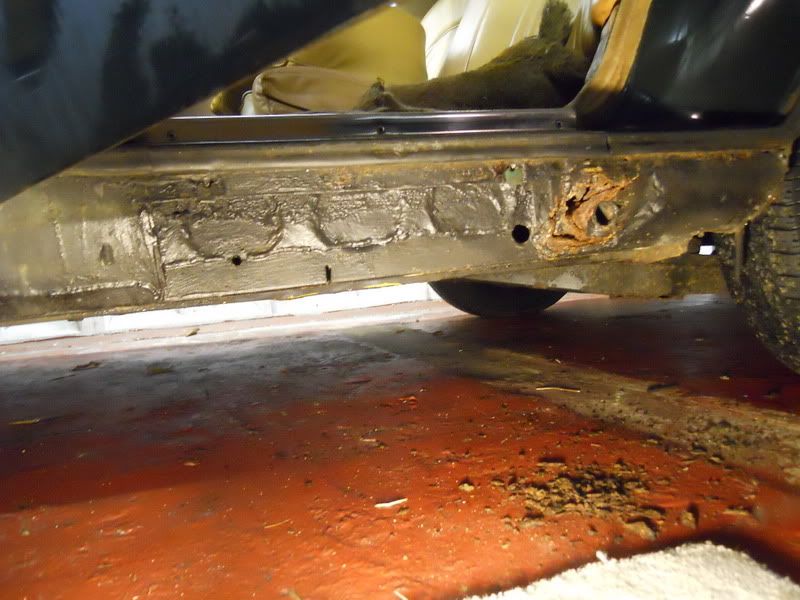
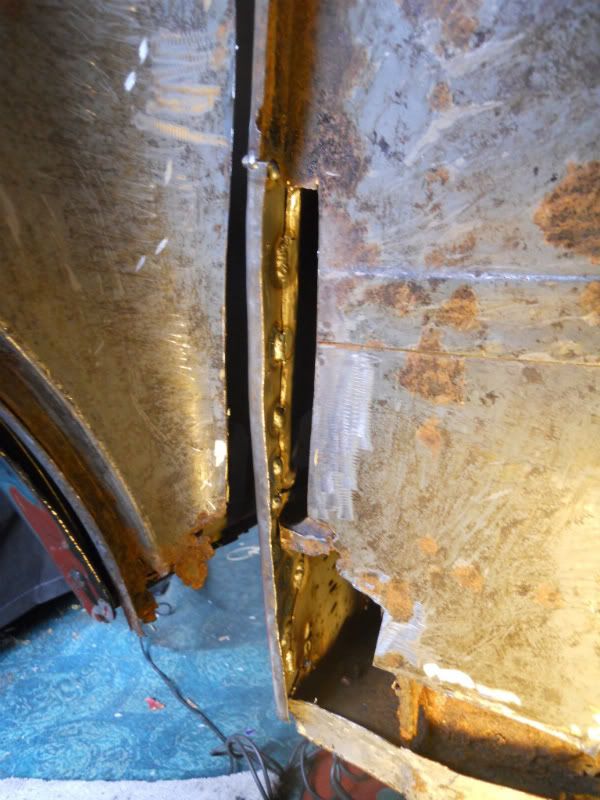
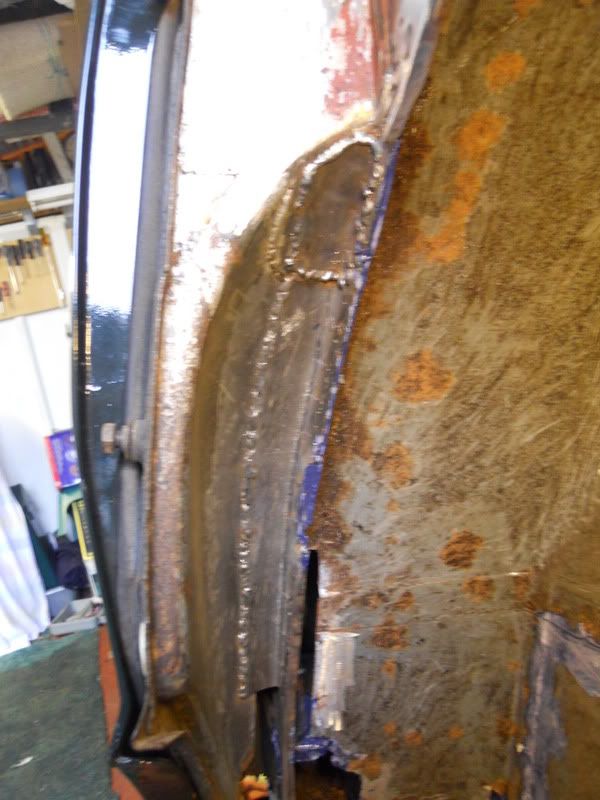
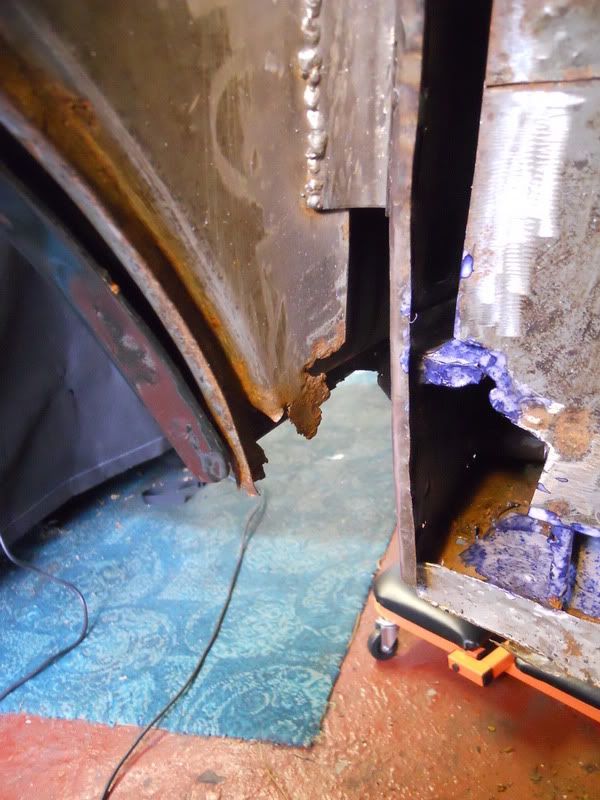
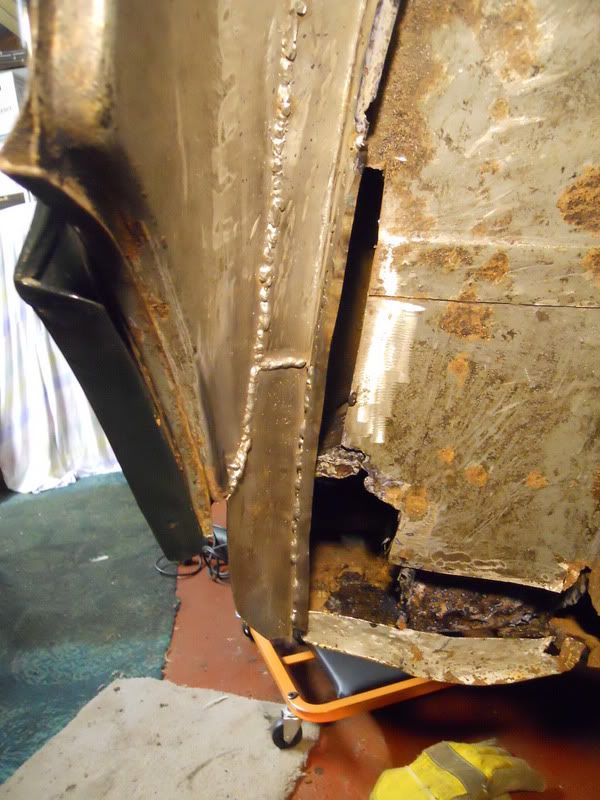
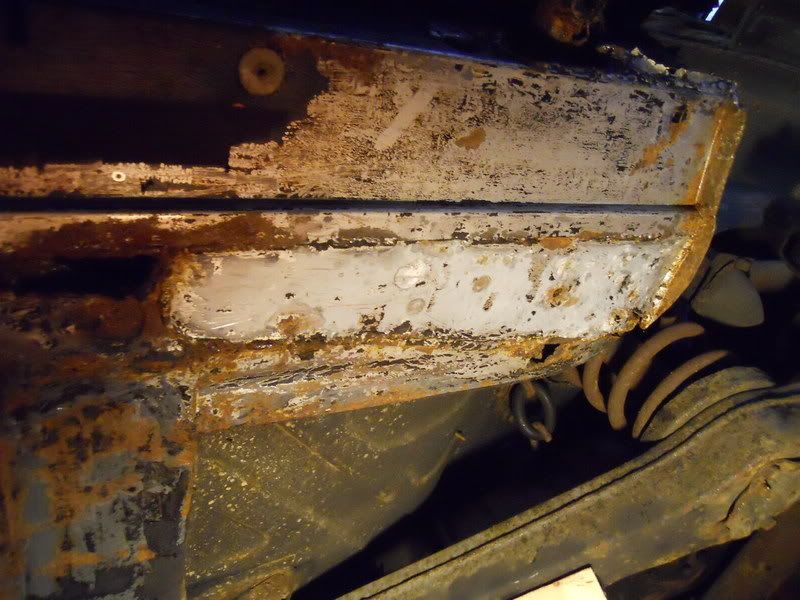
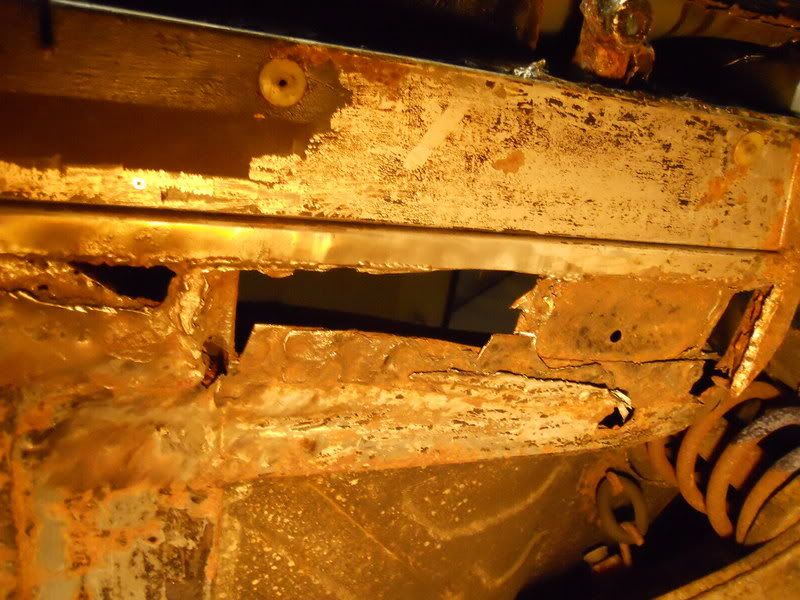
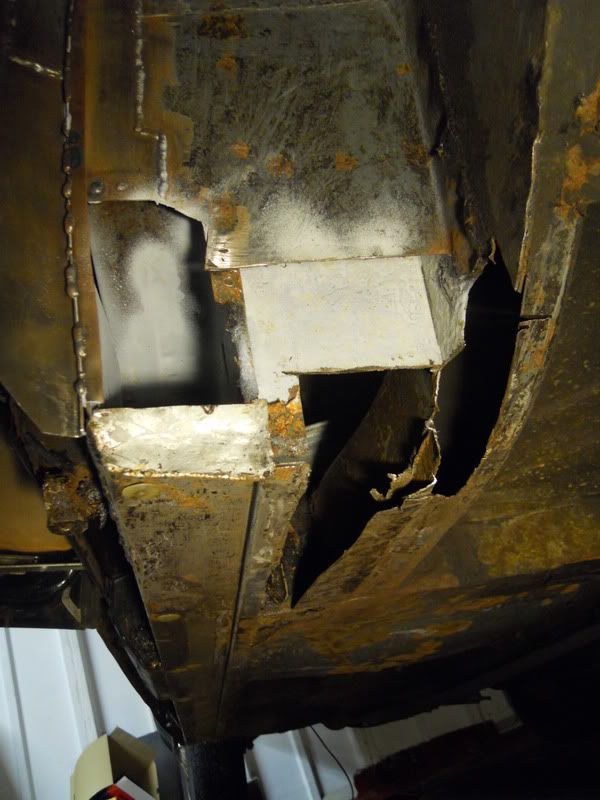
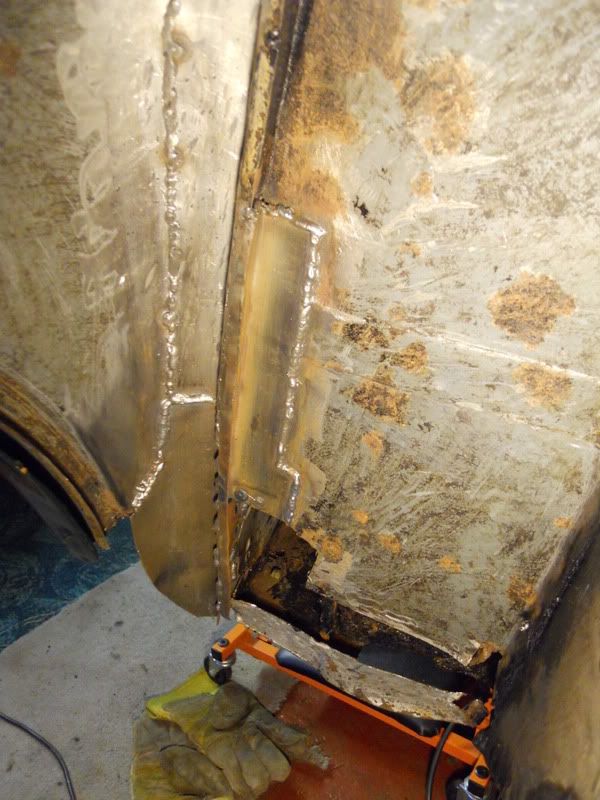
rockdemon said:Nice work... I had the same thing both sides on PAE... It's a difficult area to see what you're doing but i think that's better than i managed to pull off in terms of quality!
Dave3066 said:Good to see progress Paul
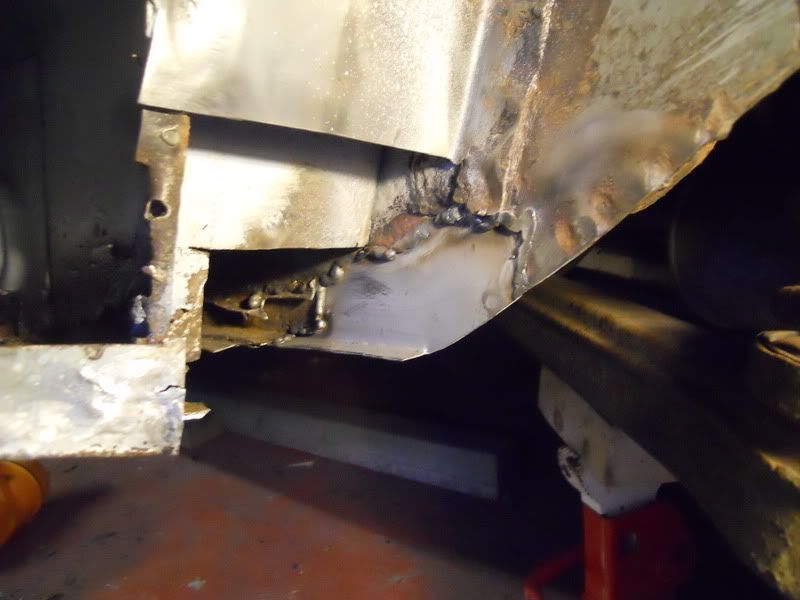
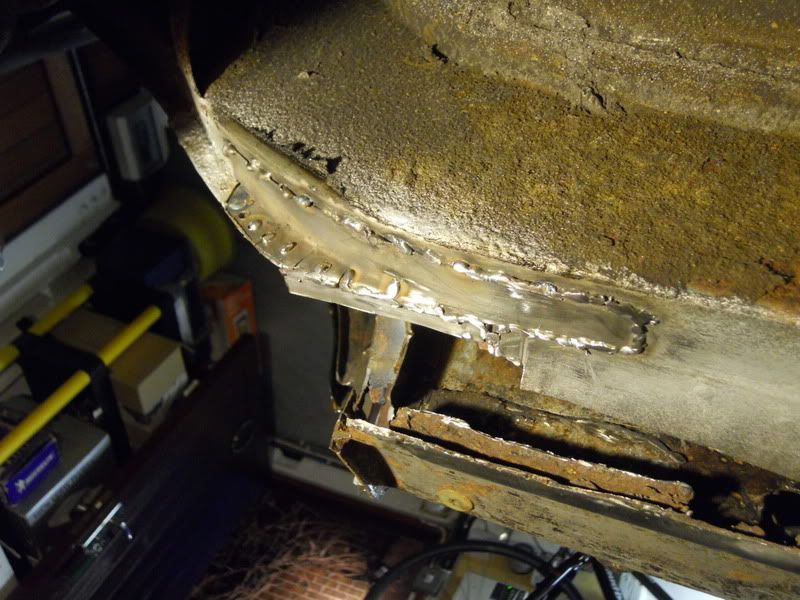
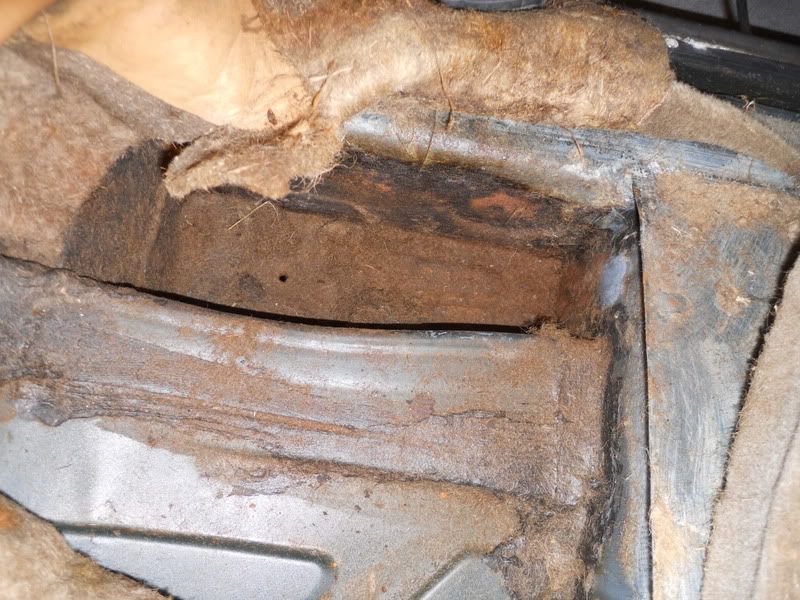
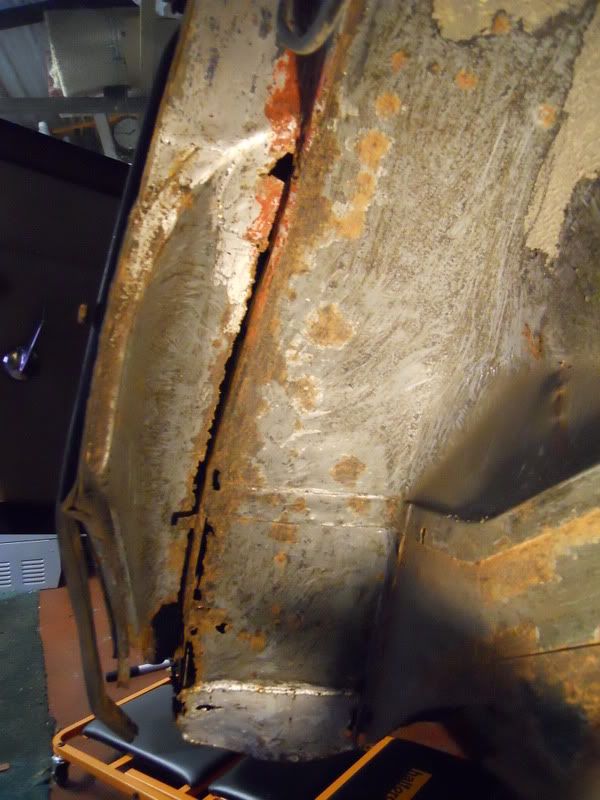
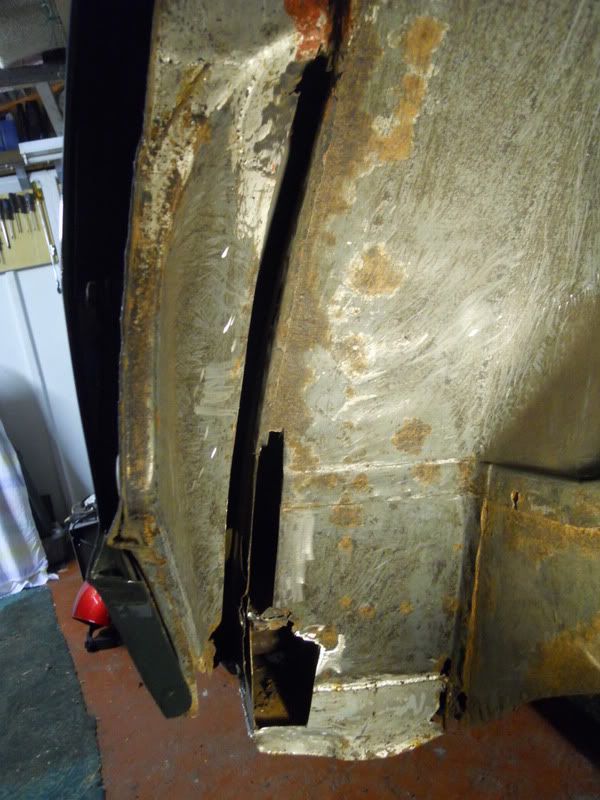
I had almost exactly the same job to do on Verity's rear jacking point and wheel arch this time last year and that last little triangular bit that has an 'S' profile was a real pain to figure out. The pics are in this thread if you need any pointers.
Dave
GrimV8 said:Coming on well