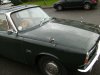
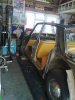
Re: My new 1968 P6 S1 V8's body makeover!!!!
The stripdown started today under the watchful eye of the boss,Casper Cat!

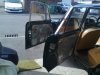
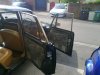
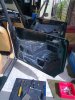
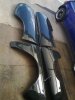
I still need to be able to drive the car on weds,so ive removed all badges, bumpers, front grille,inner door handles,door trims,bonnet finisher!
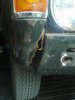
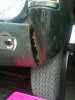
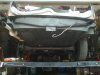
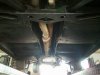
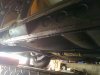
Removed then replaced front and rear valences to inspect them and have a look behind,and its all brilliant,just minor spots of dusty rust!
The headlight chrome fixing rings will need replacing!
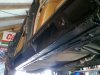
Not a single seized up bolt or screw so far,and everything is sticky in waxoil!

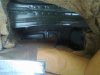
The foam filler below the radiator is near perfect condition!
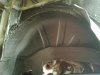
Given the engine and engine bay a good soaking in degreaser,another dose tomorrow then a hose down.
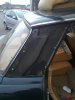
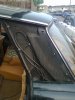
I am going to loosen off and do up all the door glass frames and fixings one by one,so I know it will be easy to whip them off when the time comes in the next week or so!
Got to loosen off,then nip back up the roof fixings,1/4 panels and decker screws!!
Hopefully none will be seized!
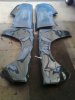
Also got to trial fit and fettle the new wings and sills before they go to paint!!
Hopefully when the time comes,it wont take me more than a relaxed couple of days to finally strip it and get all the panels to the painter!!
30 more pics at the end of the album!
Click on piccys in my signature below!
But heres a few for now!
ENJOY!