Pilkie
Active Member
Re: My 1968 S1V8P6Bs Refreshtoration,Refurb work has started!!
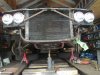
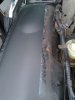
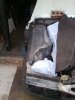
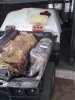
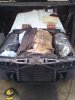
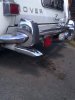
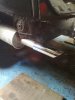
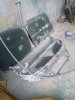
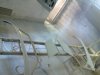
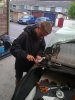
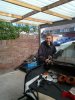
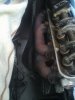
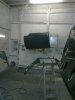
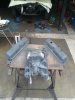
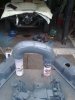
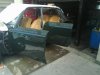
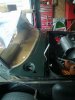
Did the nsf today!
After jacking it up,and making it stable and an easy height to work on,still not even a pinhole found!
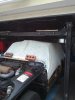
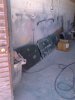
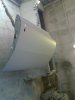
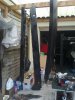
Will prep the dsf tomorrow,but ive run out of thick underseal,so will get some more at Beaulieu on sunday!
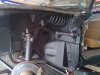
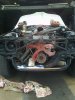
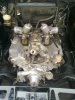
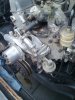
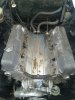
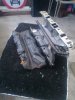
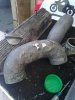
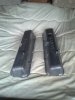
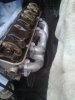
Also on the list suitable grey paint for the manifold,rockers and elbows!
Anyone recommend anything?
Did the nsf today!
After jacking it up,and making it stable and an easy height to work on,still not even a pinhole found!
Will prep the dsf tomorrow,but ive run out of thick underseal,so will get some more at Beaulieu on sunday!
Also on the list suitable grey paint for the manifold,rockers and elbows!
Anyone recommend anything?