Re: P6 project: BW35 to LT77 manual box swap: the verdict

Re: P6 V8 project: Engine upgrade, SD1 short block, 3.9cam/heads

Update, managed to get a better finish on the wing tops with gloss black spray, once fully hardened I'll gently wet sand & polish them.
Started to refit the bits n bobs, time consuming as all has to be cleaned/painted & put back with care! cheers for now
p6enginebay7_zps38028a73.jpg

p6enginebay8_zpse49e078b.jpg

p6enginebay9_zpsef60cb2d.jpg
 
Re: P6 V8 project: Engine upgrade, SD1 short block, 3.9cam/heads

Damien.

I see you too warm up your spray runs on the back of the garage door. I did this until the Mrs spotted it and tore me a new one! I now have a task to respray the entire door (double roller type). Davos White door coming up..

Underbonnet looks great. Will look sweet with the improved lump back in. Look forward to seeing continued progress. You car is proof that there is very little that cannot be done by the savvy home mechanic.

Cheers

James
 
Re: P6 V8 project: Engine upgrade, SD1 short block, 3.9cam/heads

Hi guys, thanks for the nice comments!,
Yeah James the garage door has become a 'spray test' panel over the last several years, mainly high build primer, british racing green & rover monza red! luckily my girlfriend has her own house so can't complain about my garage door!
Looking forward to getting the engine build started as soon as the bay is finished, be great to fire it up & get it running again for the spring..weather permitting 8)
Am very pleased with how its looking with my limited room in my make shift work shop/spray shop single garage, A small unit would be heaven though..lottery win needed, but I know I'd fill it up with 69 Dodge Charger as big stable mate, :D
 
Re: P6 V8 project: Engine upgrade, SD1 short block, 3.9cam/heads

Nearly there before I start on the engine build, hopefully next week, oh have now got my 'free' 52k miles SD1 5spd manual LT77 gear box complete with spare SD1 engine it was bolted too! much excitement, will start this swap after I've run the engine in on the BW35 auto box, sooo looking forward to a manual with the extra 5th gear & glorious V8 sound :)
p6front_zps13ff2fa2.jpg

p6front1_zps6f8deb97.jpg

sd1mangbox1_zps4b61d0d8.jpg

SD1v8engine_zps7ccc94e6.jpg
 
Re: P6 V8 project: Engine build started, engine bay finished

Hi There,
More updates, engine bay finished more or less, have some dynamat to go over the heater and bulkhead. Car now moved to another garage and have now stripped the engine down to just the block with crank & pistons left. I removed the 1st piston from the N/S bank, was shocked to see the wear on the bearings, even though there was no knocking or rumbling sounds when running, also found bits of debris in the oil strainer pick up pipe, looked to be small bits of rubber & gasget :shock:
Upon removing the flywheel I saw the block had the later rubber rear crankshaft seal, I asummed as my car is a late 72 model that it was the old rope seal, the timing chain cover had the rope seal when I replaced it last sept 2010 with the later rubber version during the top end rebuild. So I can only assume the engine block as been replace at some point with the later version. cheers.
enginebayfin_zps35720374.jpg

enginebayfin1_zps6a5a9cef.jpg

strippedp6v8_zpsc9bbdab7.jpg

strippedp6v82_zps07e994c2.jpg

strippedp6v81_zpsaa8031d1.jpg

wornbigends_zps463c15ad.jpg

p6enginenumber_zps53dcfe1d.jpg
 
Re: P6 V8 project: Engine upgrade finished! :)

Hi guys,

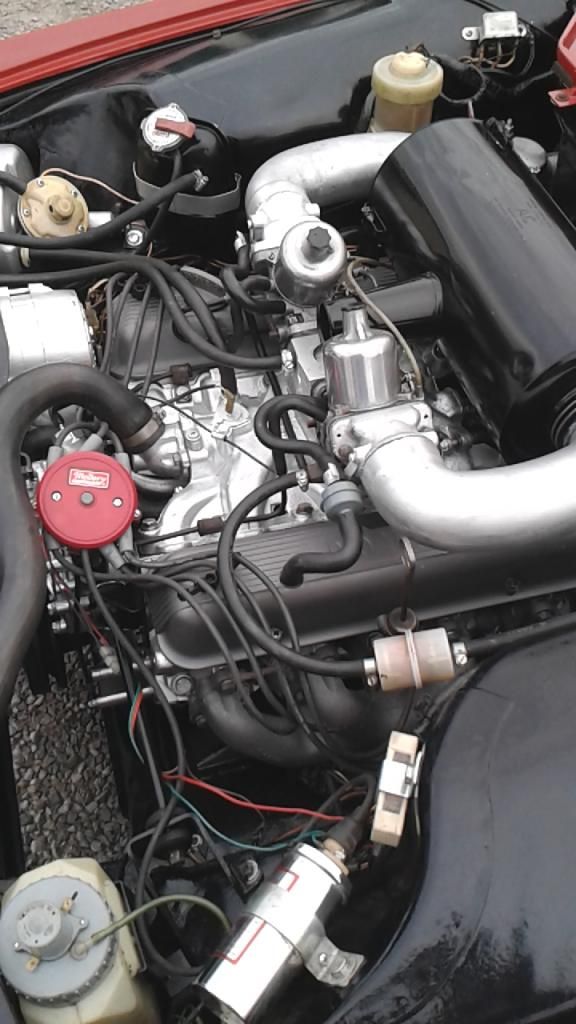
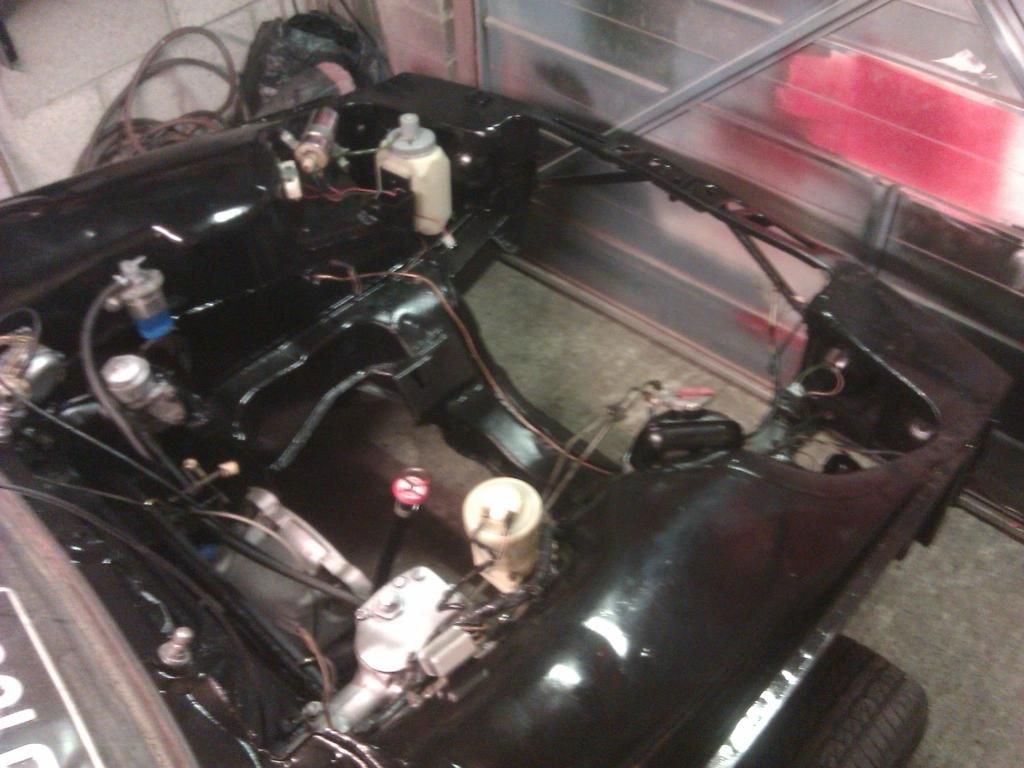
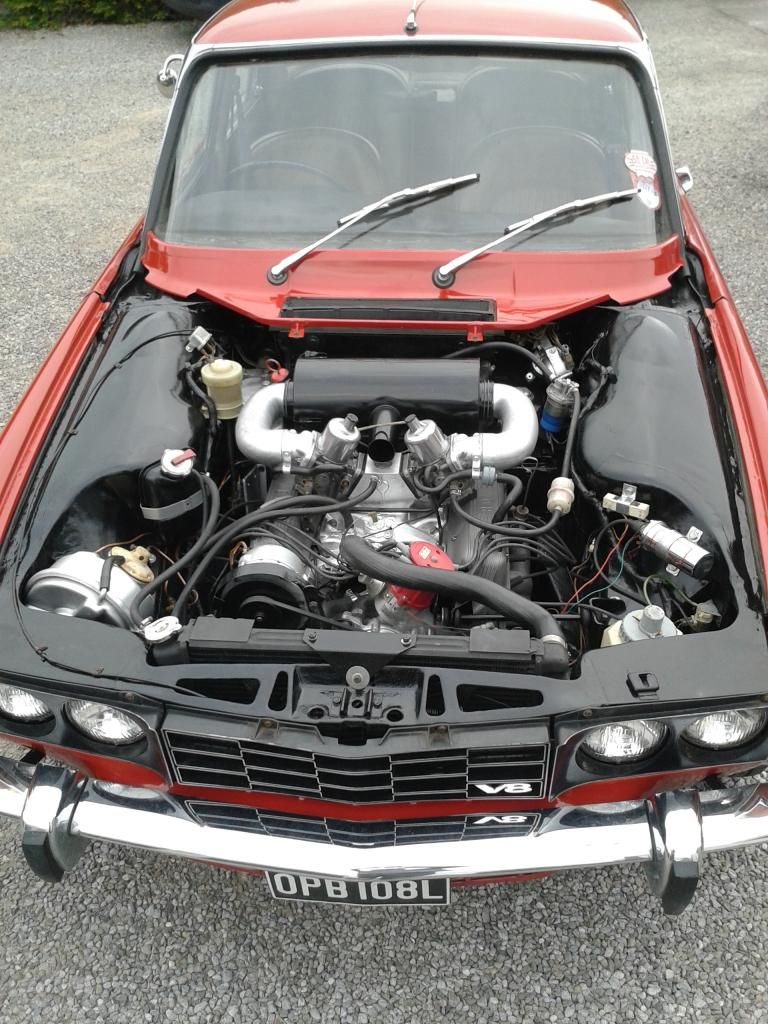
All done, engine rebuild/upgrade now complete :) it started first turn of the key (one I'd turned the rotar arm around 180° :oops: )

so new recon block, 3.9 heads, new 3.9 cam. last sept 2010 I fitted Mallory elec distributor, upgraded SD1 style oil pump, new lifters, push rods, rocker arms and shafts, new timing chain & gears.

Effectivly a new complete engine. Only done 10 miles sofar, so I reckon 500+ to run in properly, oil and filter change,then get some miles in.

Timing is set at -6°BTDC as per maual but should it be altered at all due to heads n camshaft? One ever slightly annoying is after engine is warm and has been switched off for say 15 mins, on start up it still puffs a bit of blue smoke.

Nothing when starting from cold though...Grrrrrr how frustrating after all my work, I can only assume that the new valve guide seals are crap or the heads have slightly worn valve guides, one thing is that the new block had the hole blockedfor the rear enghine breather, I removed the plug so I could use my old one as per factory set up, it is needed for a newer SD1 block?

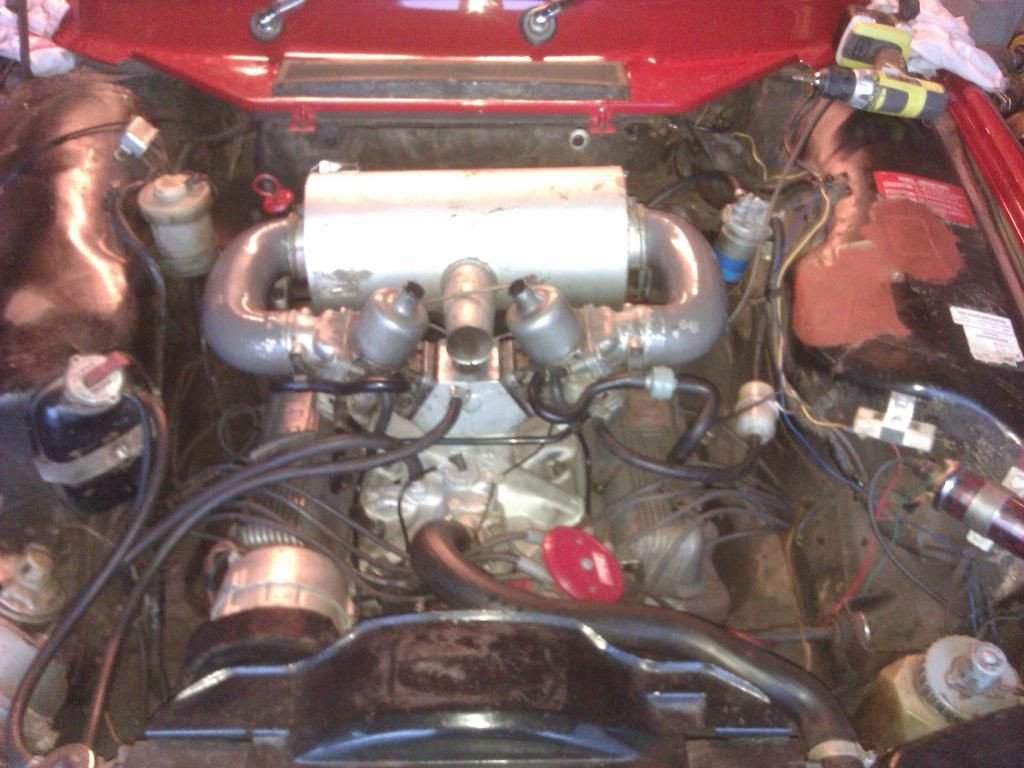
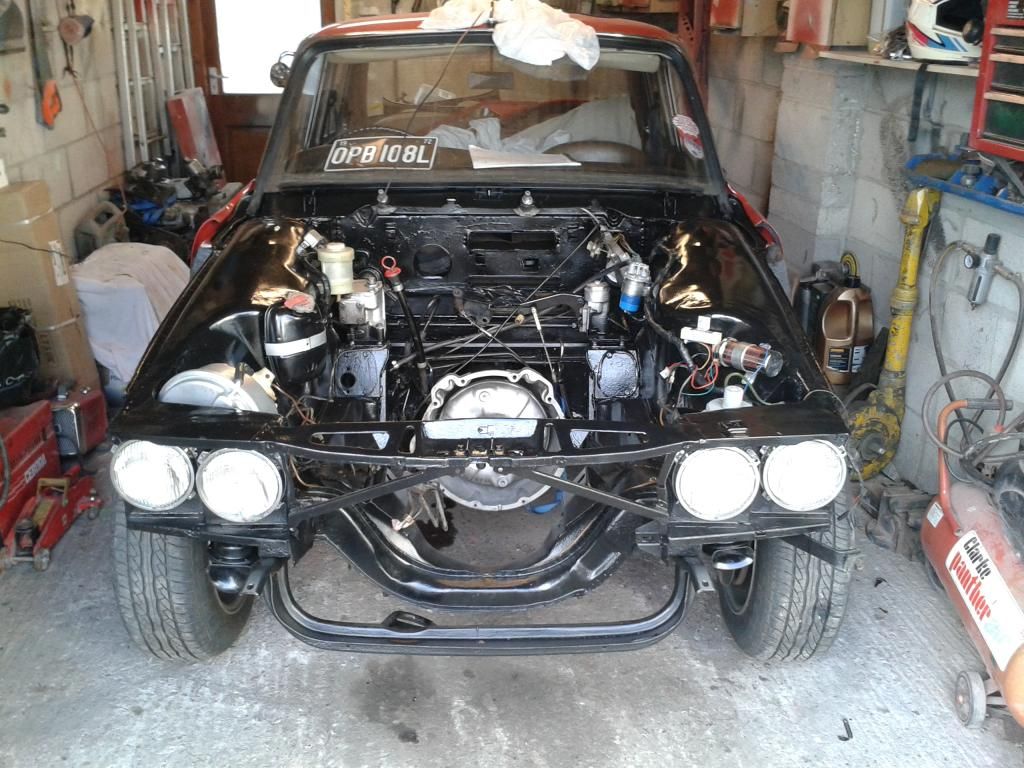
Aaprt from that the engine sounds superb, I'm very pleased with end reuslt, looks clean & presentable at last! some pics & youtube link that my friend took on Saturday, running high as on choke.

Cheers for now Damian

https://www.youtube.com/watch?v=ff-sloQ ... ata_player
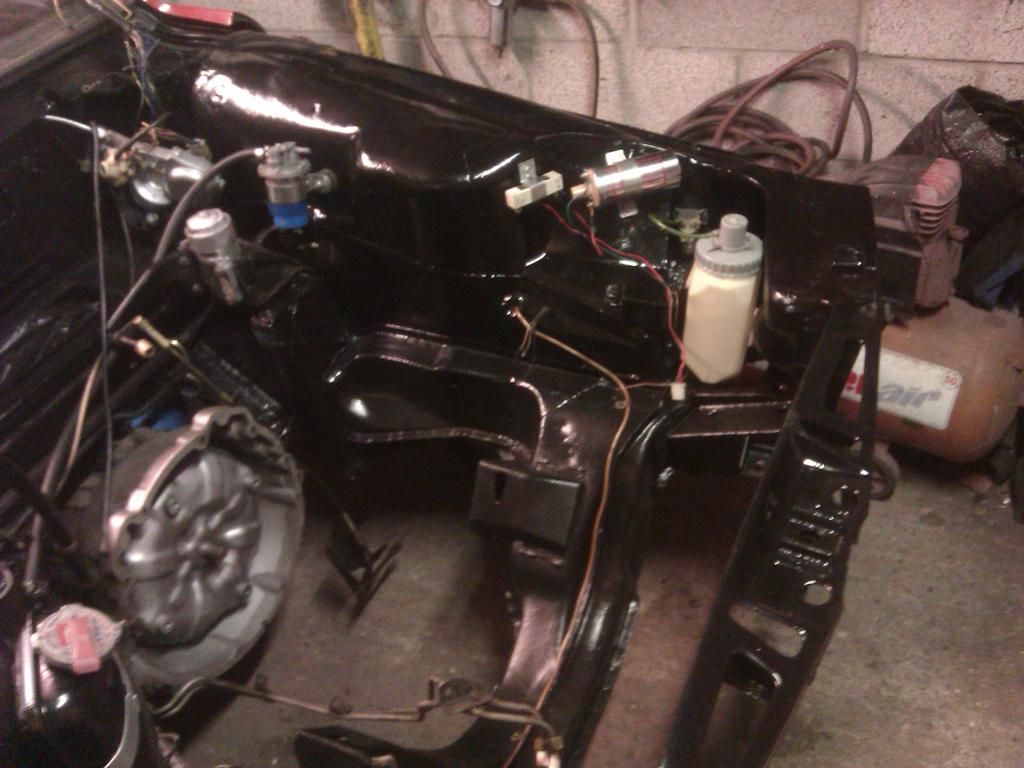
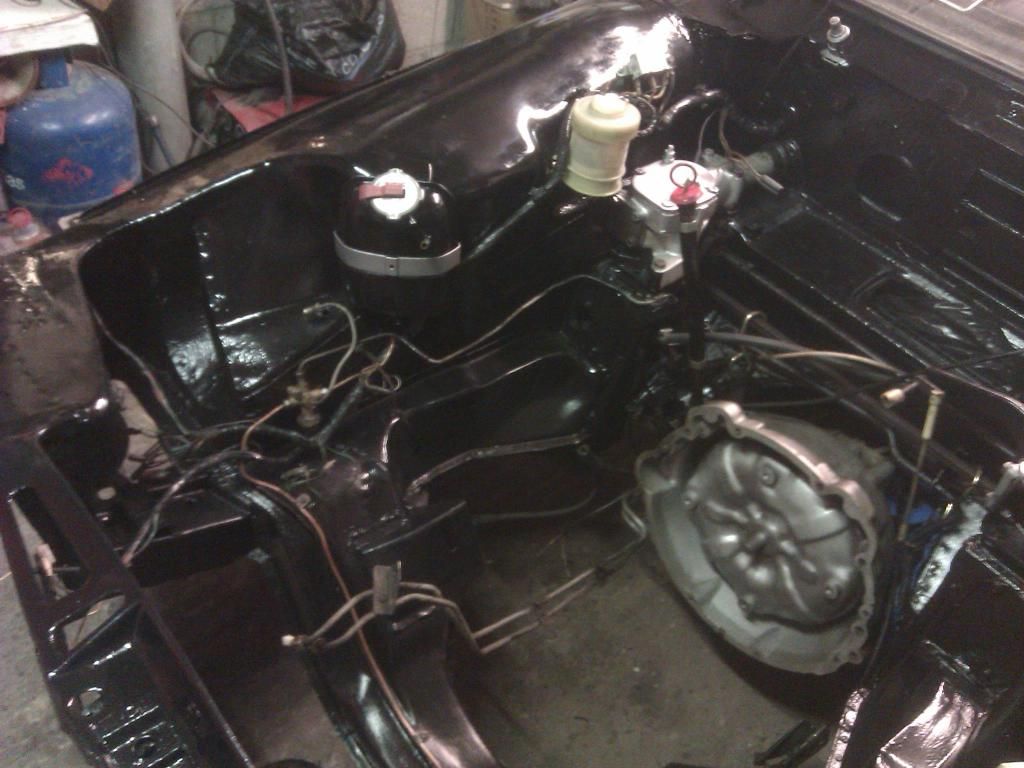
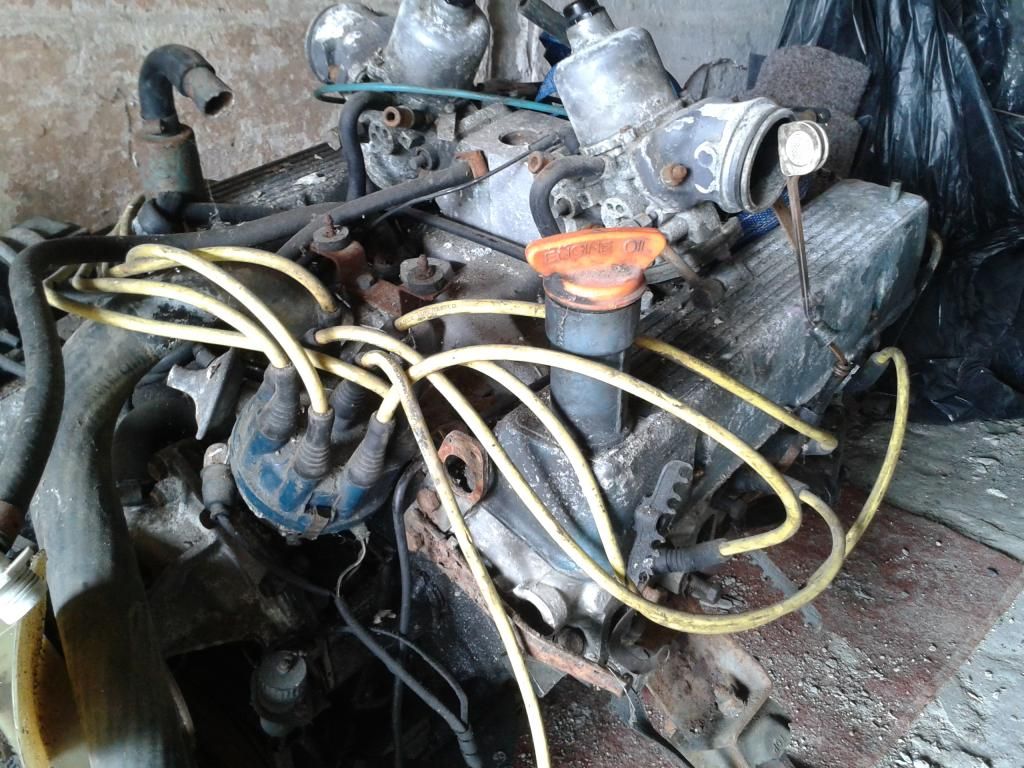
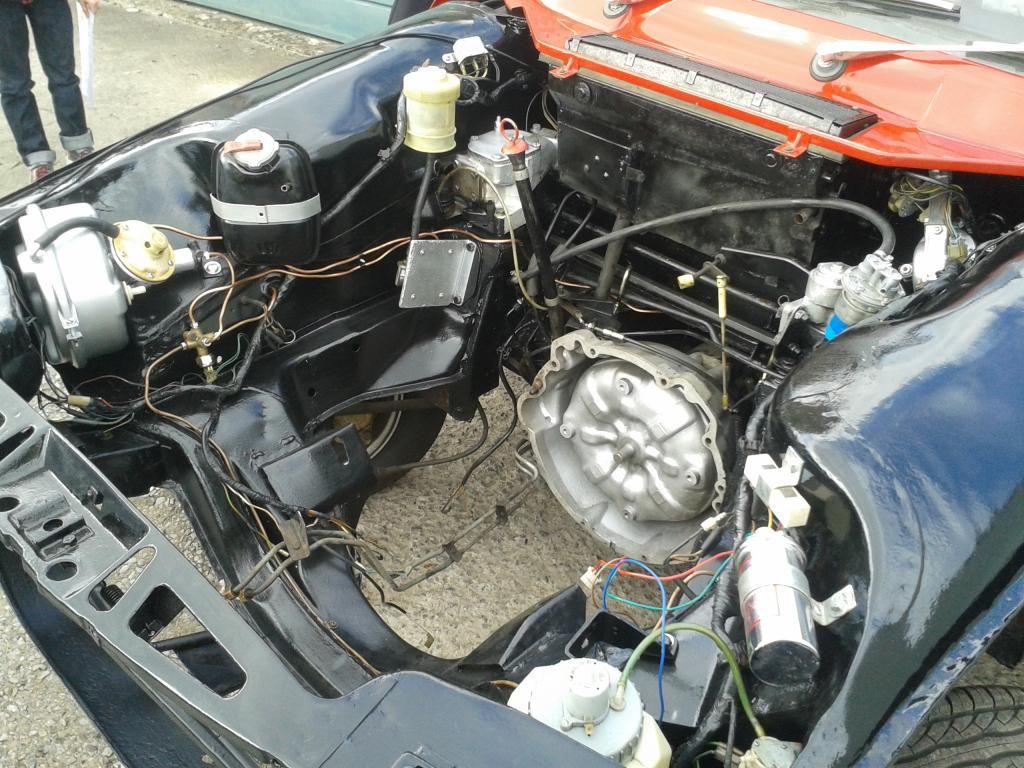


before pic

 
Re: P6 V8 project: Engine upgrade finished! :)

DamianZ28 said:
one thing is that the new block had the hole blockedfor the rear enghine breather, I removed the plug so I could use my old one as per factory set up, it is needed for a newer SD1 block?

SD1's have that blocked because the pipe for the engine breather comes off the rocker cover instead. You don't have that option with the P5B/P6B rocker covers, so remove the blanking plug and fit the early pipe and run the system the same as the P6B set up.
 
Re: P6 V8 project: Engine upgrade finished! :)

Engine and bay look fantastic Damian. Great work :D

Some day mine will look that good.

Where did you get the the pressure relief cap for your expansion tank?

Dave
 
Re: P6 V8 project: Engine upgrade finished! :)

Hi Harvey,

Thanks for the inofmation, I did as you advised an kept the P6 breather set up & removed the blanking plug to fit it into the SD1block.

To recap on the 'puff of blue smoke' as I've used skimmed 3.9 heads with composite head gaskets, I've torqued them down as per workshop/factory settings: 70lbs inner 10 bolts and 45lbs outter 4 bolts, should the outta be a higher torque as non stnadard, I thought maybe this could be letting in oil ? long shot I know or clutching at straws LOL

Thanks very much Damian
 
Re: P6 V8 project: Engine upgrade finished! :)

DamianZ28 said:
Only done 10 miles sofar, so I reckon 500+ to run in properly, oil and filter change,then get some miles in.

Looking good so far Damien.

Keep an eye on the oil during the bedding in though. When I changed the cam on mine the oil was ruined after 200 or so miles - it felt gritty on the dipstick.
 
Re: P6 V8 project: Engine upgrade finished! :)

Hi Dave,

The pressure cap came with the expansion bottle as bought of eBay, think it was from a V8 MBG, what a big difference in water loss as in none! certianly helps the cooling too!

Paul, will certainly keep an eye on the oil, I've used Halfords classic green stuff, mixed with a bottle of an additve mineral from Reel Steel, this is extra protection whislt running in.

After oild & filter change I'll switch to Joe Gibbs USA oil which has extra mineral protection for push rod flat tappet V8 engines

cheers damian
 
Re: P6 V8 project: Engine upgrade finished! :)

Hi Damian,

Looks very nice indeed :D

You could torque all 14 bolts as per the original spec or do as you have done. I fitted composite gaskets to my original engine in 1997, torqued all 14 bolts as per the P6B manual, never had a problem over the following 10 years.

Are you leaving the fan shroud off permanently?

The touch of oil smoke when the engine is hot on start up is from a little oil running down the guides. The valve stem oil seals that were standard fit from circa 1994 onwards come off during use, so Rover (Land Rover) stopped fitting them.

Ron.
 
Re: P6 V8 project: Engine upgrade finished! :)

Hi Guys, thanks for the feedback,
Hi Ron, I've torqued them down as per workshop/factory settings: 70lbs inner 10 bolts and 45lbs outter 4 bolts, but I asked Harvey on the engine board and he advised that the original settings were 65-75lbs with tin gaskets, the latter were to allow for the composite gaskets.
So to be sure I can torque all 14 bolts down to 70lbs with the composite gaskets?
With the blue smoke on warm start up, gotta be oil running down the valve guides, I should used the after market big umbrella style guid seals before I fitted the heads, hey ho, is there a method to do this without removing the heads ?
Cheers Damian
 
Re: P6 V8 project: Engine upgrade finished! :)

Hi Damian,

The official Rover 3500/3500S workshop manual states a torque setting of 65 to 70lbs/ft for all 14 bolts. When I refitted mine with composite gaskets, I set all 14 to 70lbs/ft. If I was doing it now though, I would reduce the torque on the outer 4 bolts. The 1997 Land Rover engine overhaul manual states for the 3.9 litre engine with all bolts lightly oiled and running tin gaskets,...outer row 44lbs/ft, centre and inner row...66lbs/ft.

I wouldn't worry too much about the valve stem oil seals, afterall the factory stopped fitting them. The 4.6 heads on my Rover had the valve guides "K Lined", and no valve stem oil seals were fitted.

Ron.
 
Re: P6 V8 project: Engine upgrade finished! :)

It is possible to remove the valve springs with the heads in situ by stuffing the cylinder with rope to stop the valve falling through, but it's probably just as quick to whip the heads off and do it properly if you need to.
 
Re: P6 V8 project: Engine upgrade finished! :)

If the smoke clears once it's started I'd leave it until another reason arises for head-off surgery
 
Back
Top